
This post may contain affiliate links. As an Amazon Associate, I earn from qualifying purchases. Please see my full disclosure policy for details.
Biscoff lovers, I’ve got the perfect summer drink for you!
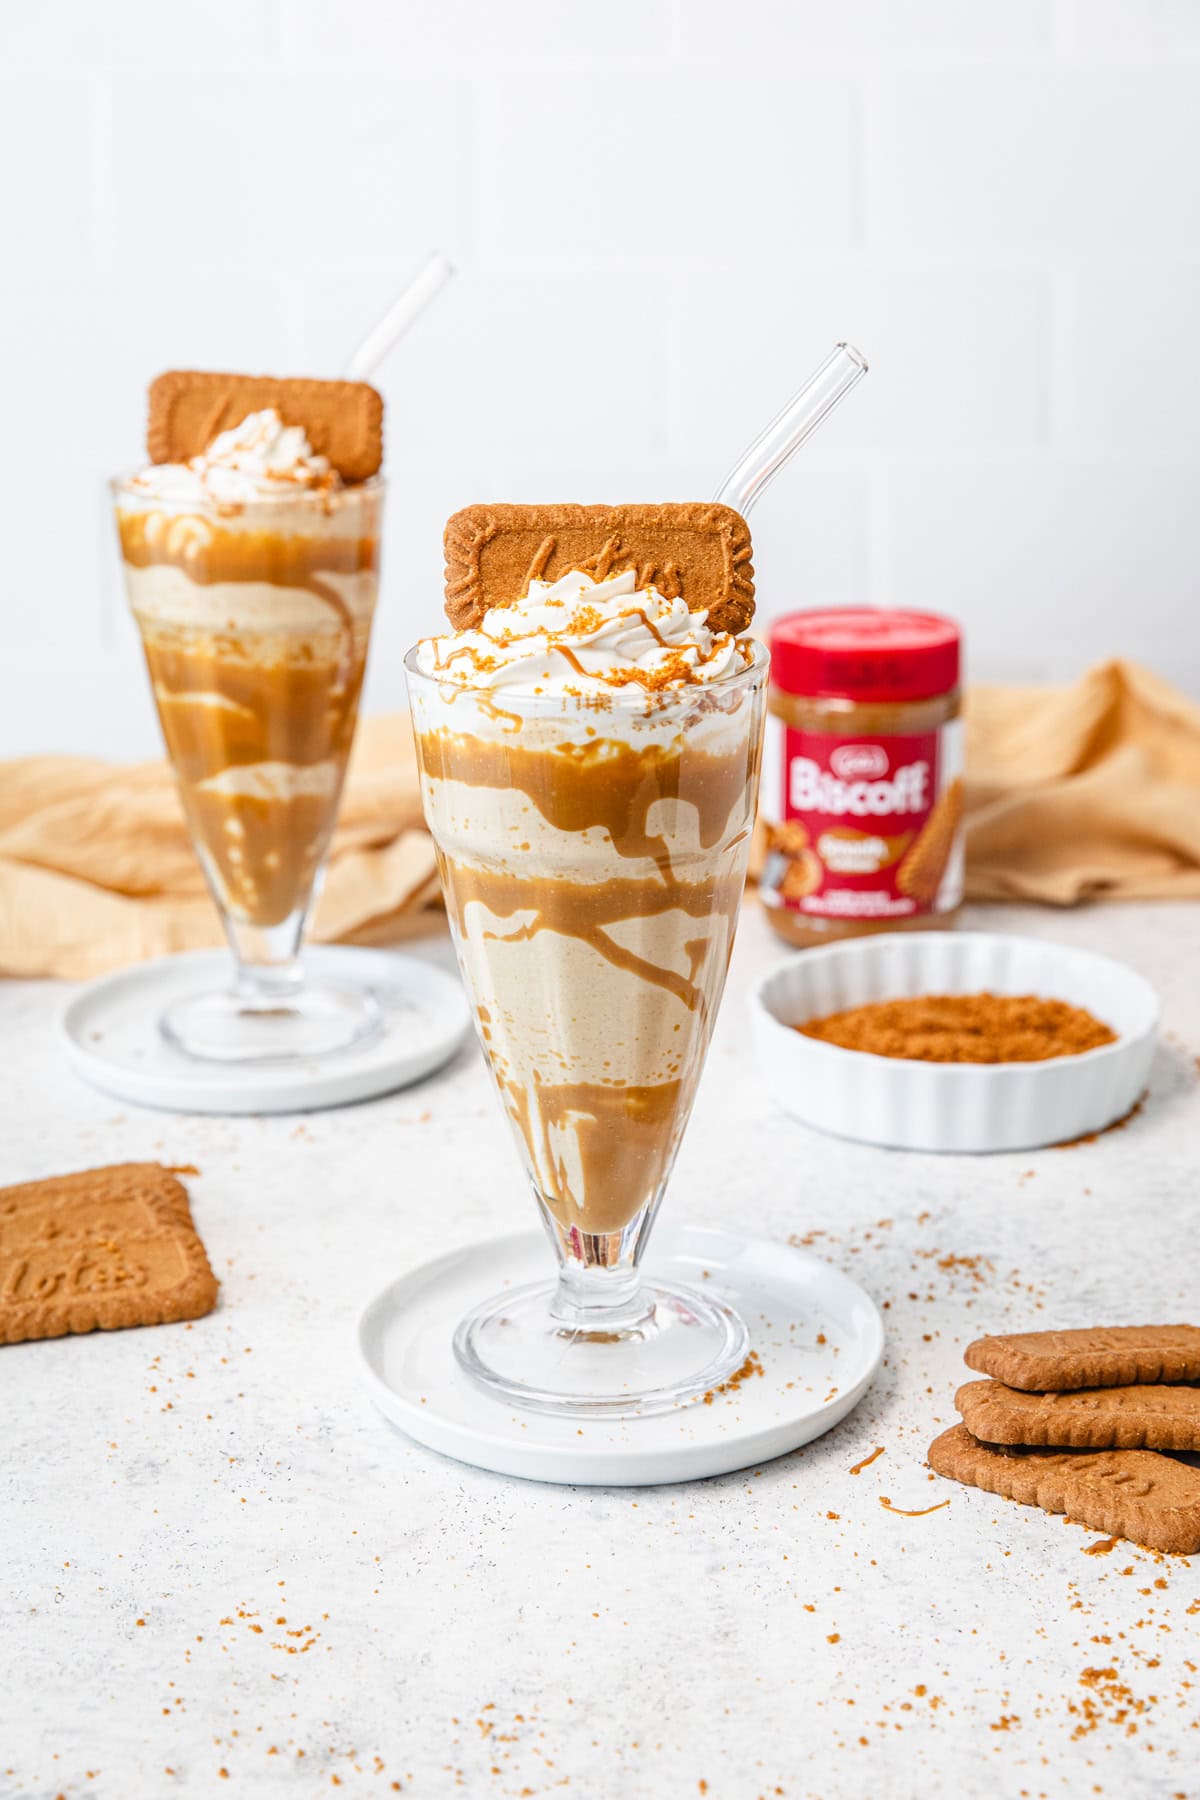
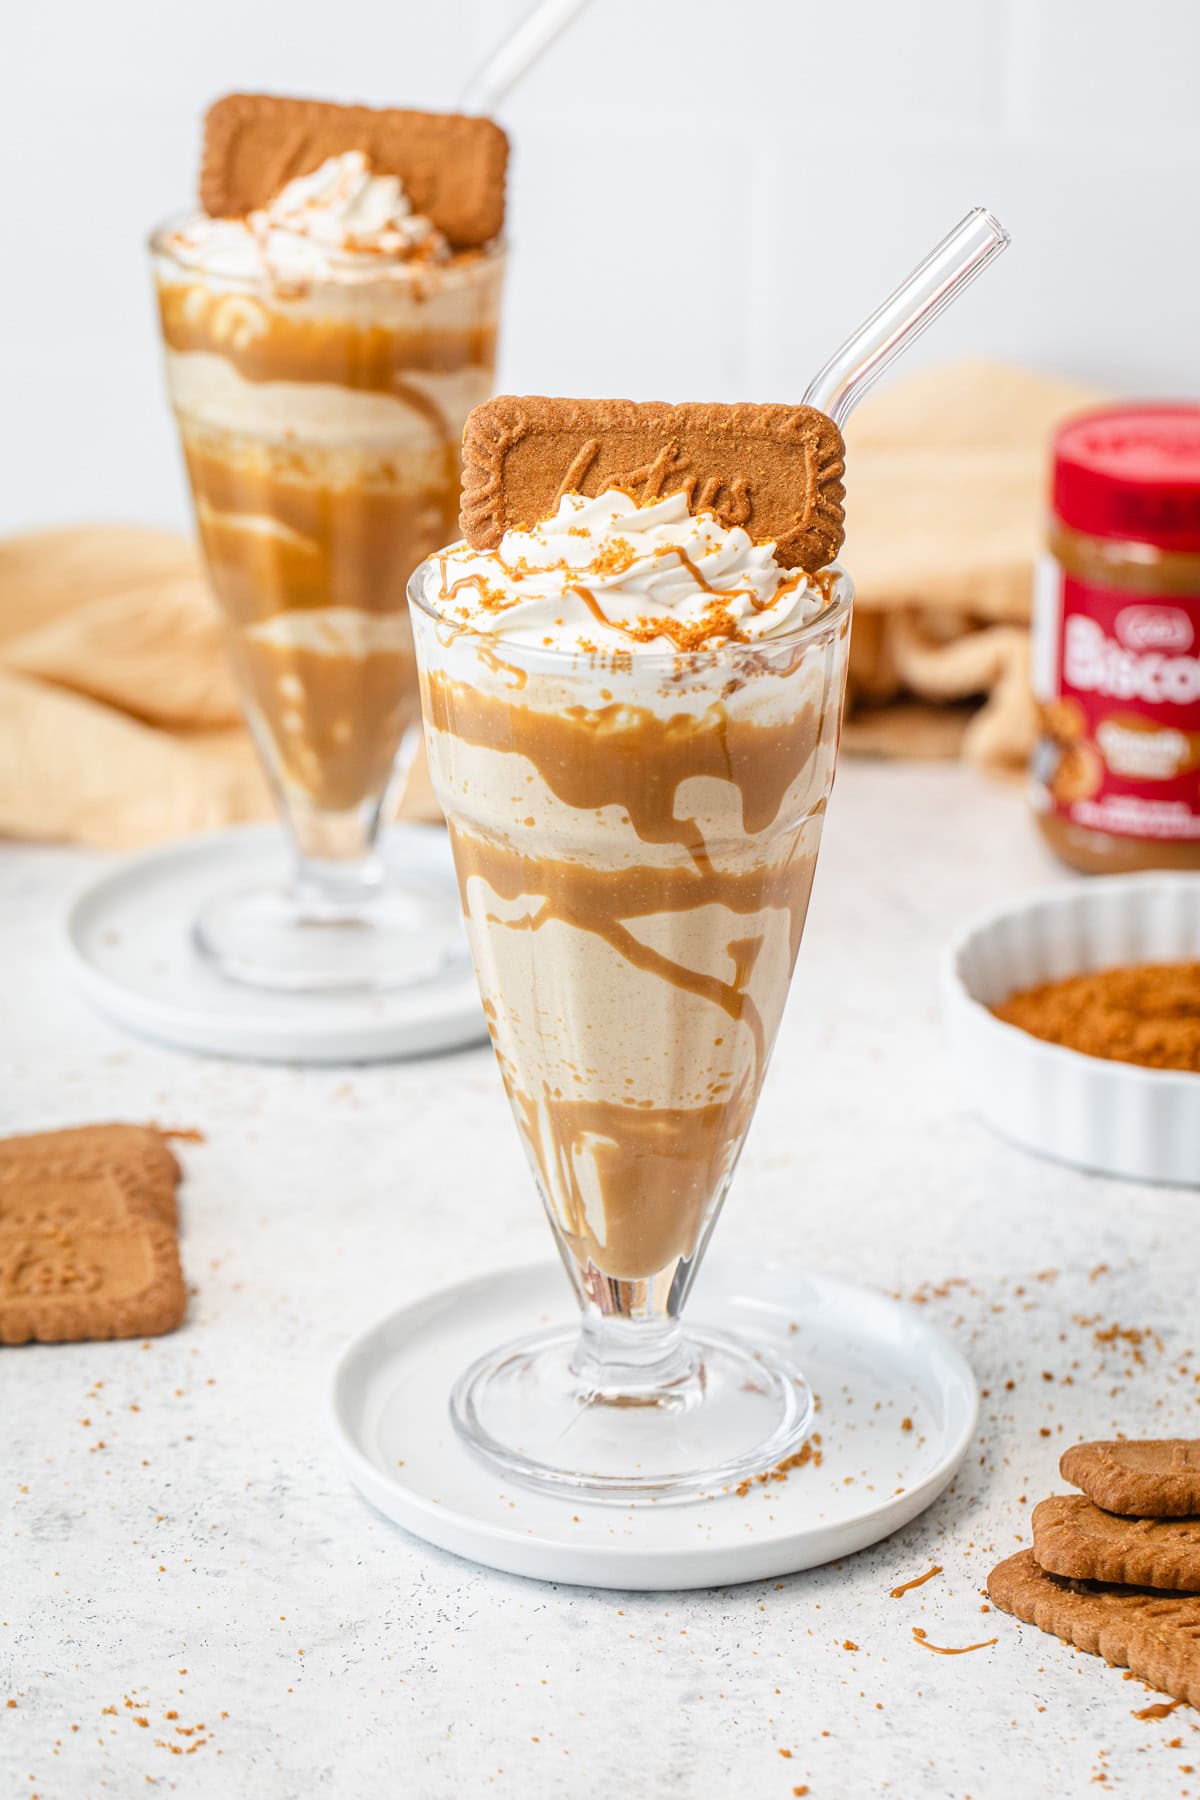
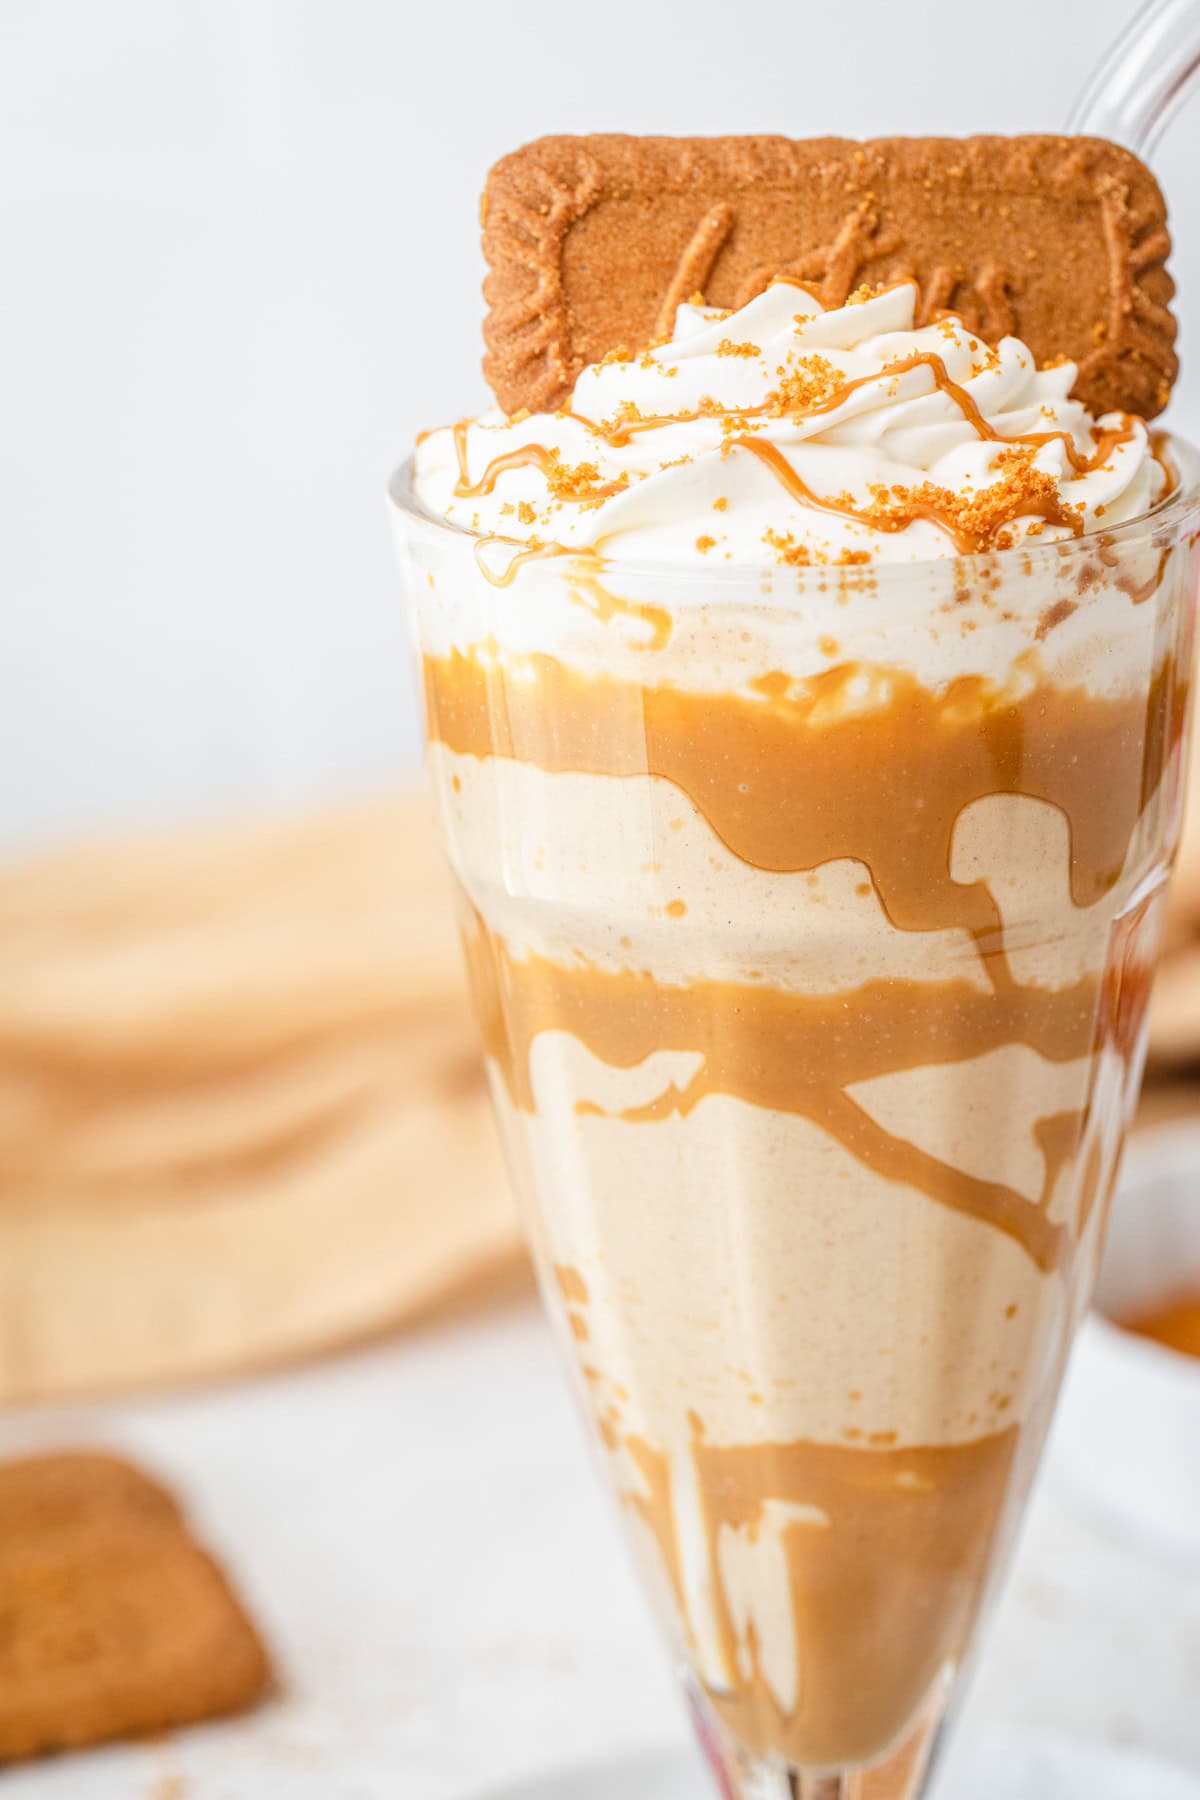
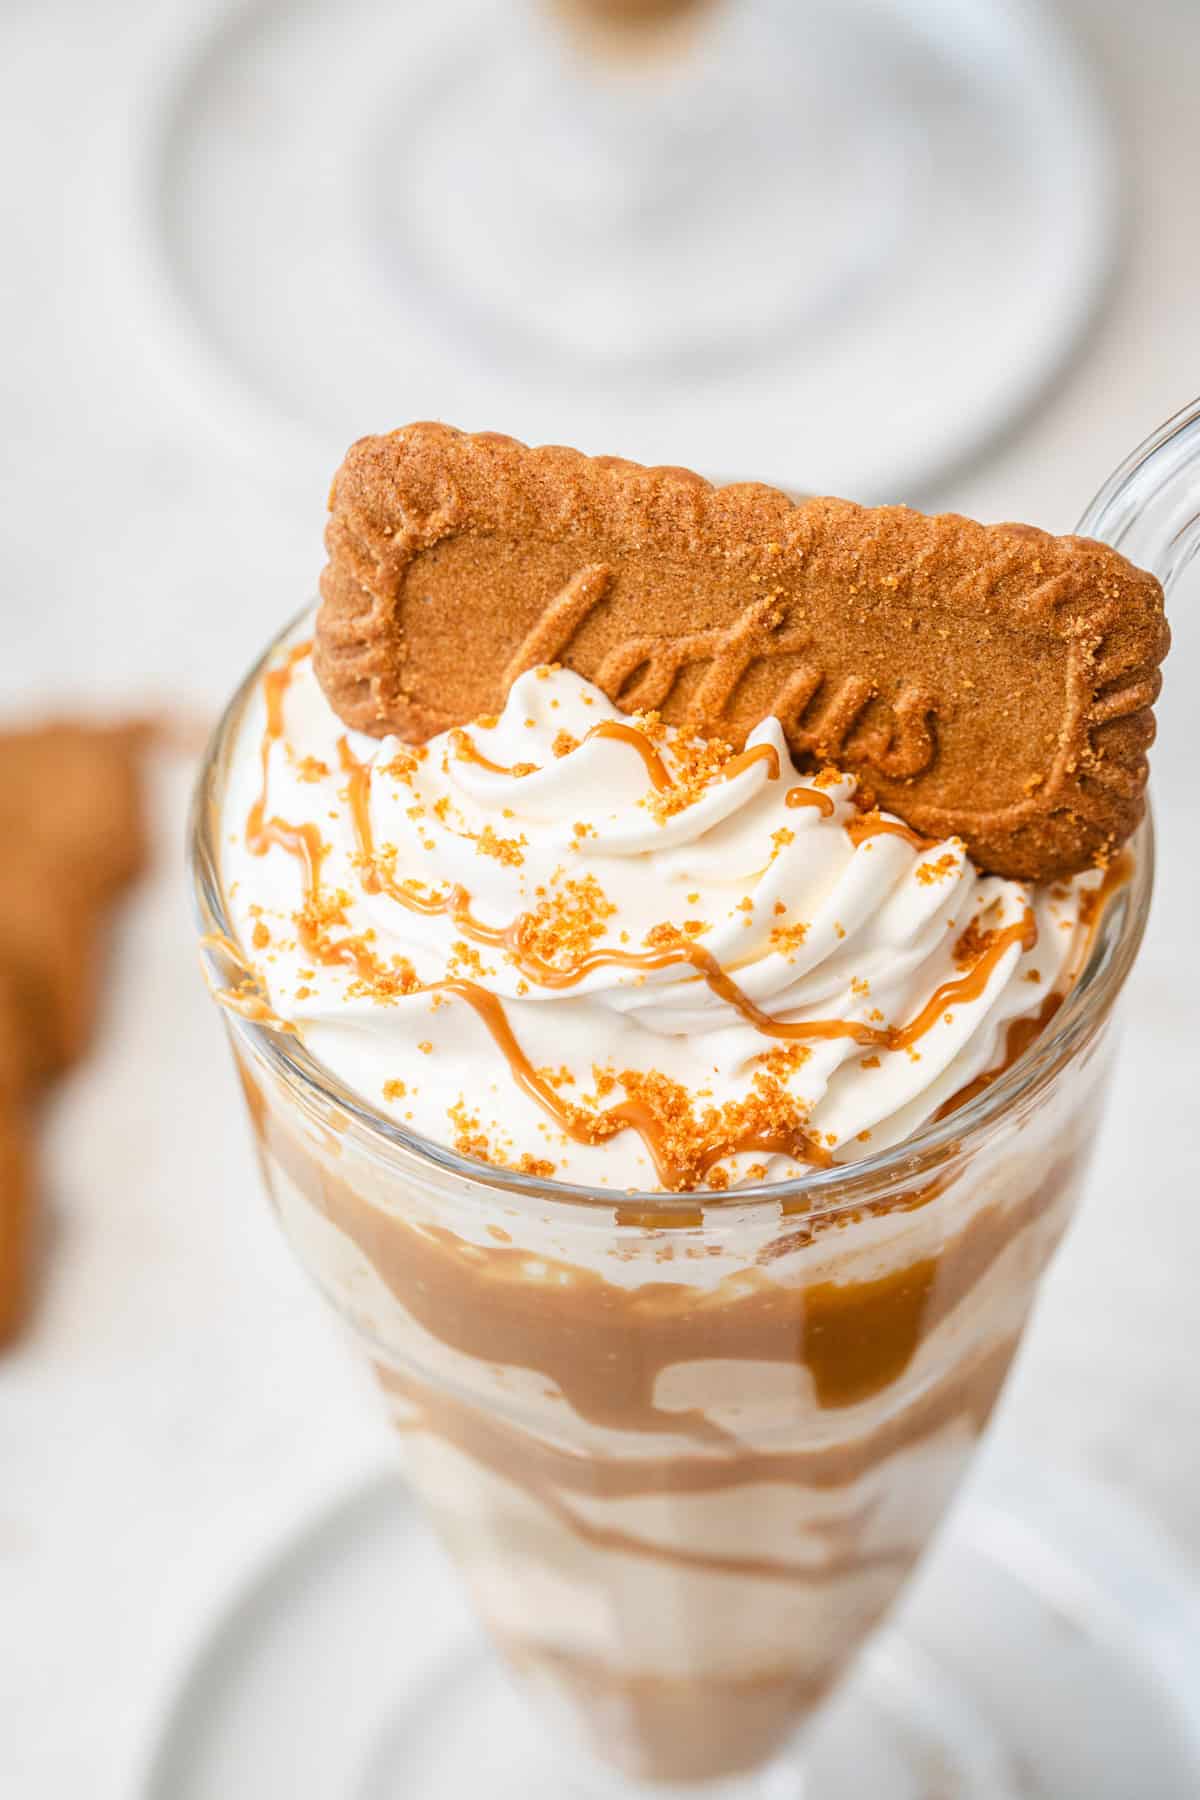
This Easy Biscoff Milkshake takes all the beautiful flavours of a Biscoff cookie and puts them in a deliciously creamy milkshake. Just four simple ingredients make up this yummy shake, and a swirl of whipped cream plus a drizzle of melted Biscoff butter, cookie crumbs and a whole Biscoff cookie all make the perfect touch!
If you haven’t tried Biscoff cookies yet, it’s a MUST TRY! They have a delicious, deep brown sugar/spiced flavour. Kind of like gingersnaps but sooo much better!
And with the combination of Biscoff cookie butter, there are endless dessert possibilities! To start my Biscoff dessert journey, I’m starting with the easiest thing: MILKSHAKES!
WHY THIS RECIPE WORKS
When it comes to a quick, delicious treat, there’s nothing simpler than a milkshake! Your typical milkshake only requires 2 ingredients: ice cream + milk.
From there, you can customize and add extra ingredients to change up the flavour of the milkshake, whether you want Chocolate, Brownie, Guinness Brownie, Chocolate-Strawberry, Strawberry Cheesecake, Piña Colada, S’mores, Salted Caramel or BISCOFF!
WHAT INGREDIENTS ARE IN BISCOFF MILKSHAKES?
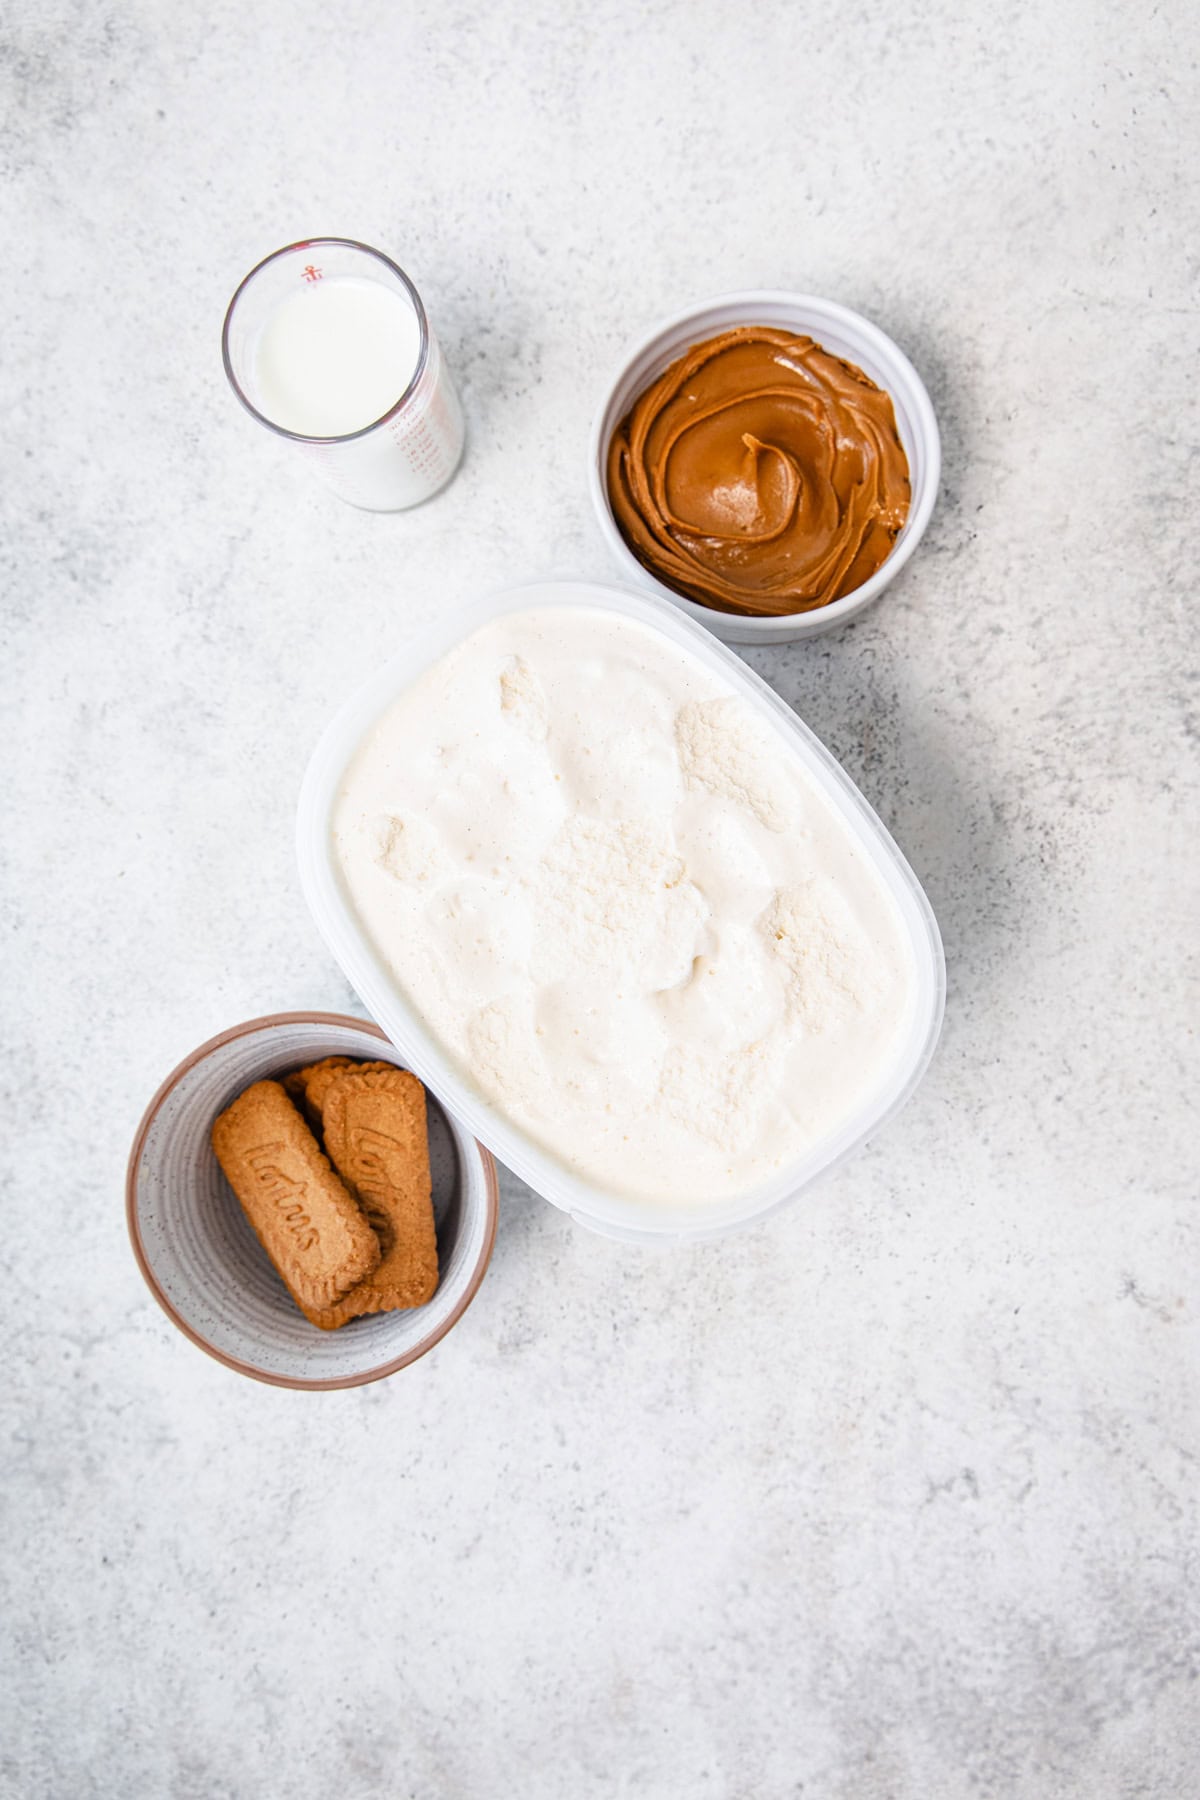
As I mentioned above, a classic milkshake only requires 2 simple ingredients: ice cream and milk. To turn that basic milkshake into a Biscoff milkshake, we’ll add 2 more ingredients: Biscoff cookie butter and Biscoff cookies!
Here’s a short breakdown of all four ingredients:
- Vanilla Ice Cream: the type you get is totally up to you, as long as it’s full-fat for the best texture/taste results! I’m not the biggest vanilla ice cream fan, so I just bought the highest quality one I could find at my local grocery store.
- Milk: I use whole milk for a creamier texture, but you can use 2% or even heavy cream. Use less or more, depending on how thick or thin you like your milkshake.
- Biscoff Spread: This will add all the yummy Biscoff flavour to the milkshake!
- Biscoff Cookies: Since the spread adds all the Biscoff flavour to the milkshake, this is mostly just for extra texture.
- Toppings: you can just make the milkshake itself, but if you wanna step it up a notch, add a swirl of whipped cream, drizzle of melted Biscoff spread, crushed Biscoff cookies and a whole Biscoff cookie!
STEP-BY-STEP INSTRUCTIONS
Read the instructions carefully, they’re very complex!
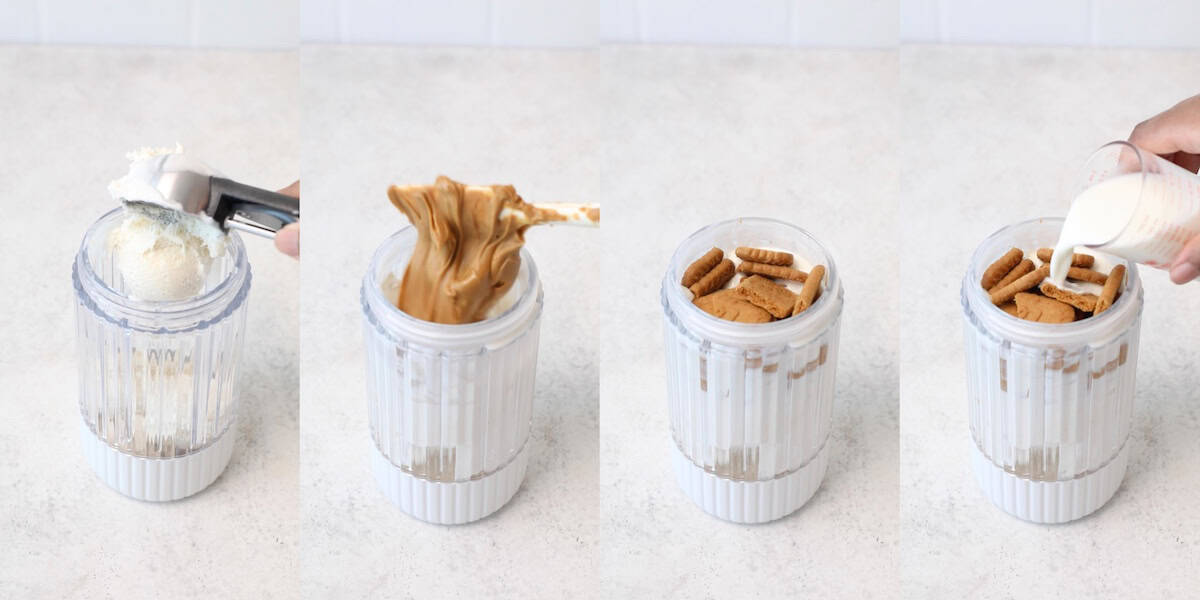
Step 1:
- Add the vanilla ice cream, milk, Biscoff butter and Biscoff cookies to a blender. Blend until smooth.
That’s it! So difficult, right? A few tips I have are to let your ice cream soften at room temperature for about 5-10 minutes to make it easier to scoop. Also, break up the cookies a bit before adding to the blender so they blend more easily.
Now you can just pour the milkshake into a glass and drink away, but if you want it to look as fancy as mine, here’s how you do it:
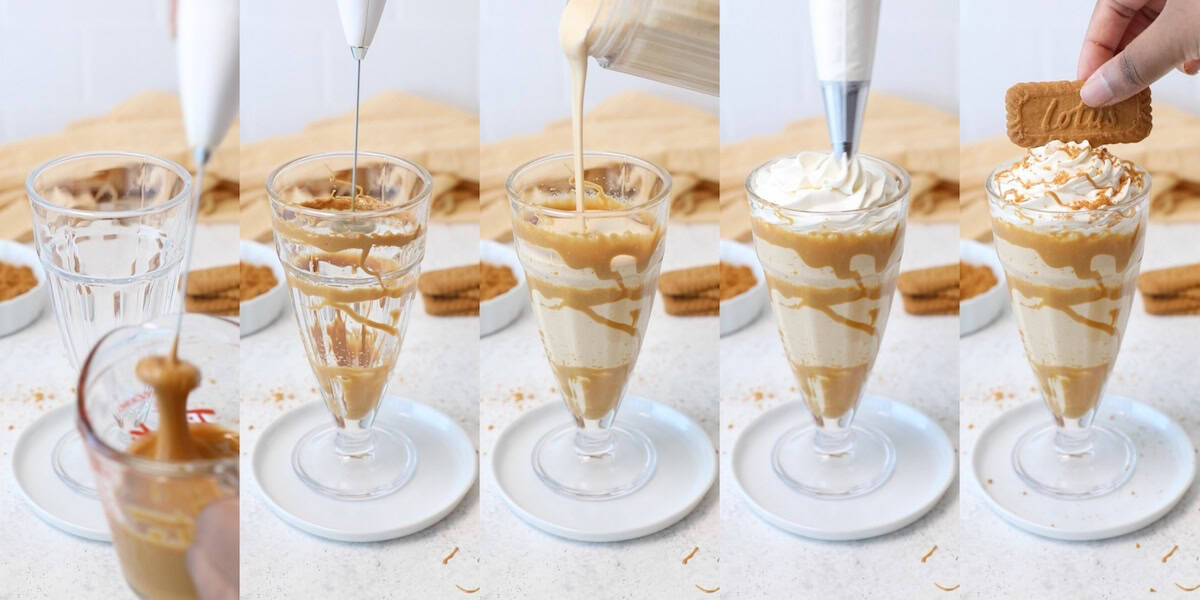
Decorate the Glass:
- Start by melting some of the Biscoff cookie butter in a small microwave-safe bowl for 30 seconds. I melted about 6 Tablespoons of the cookie butter.
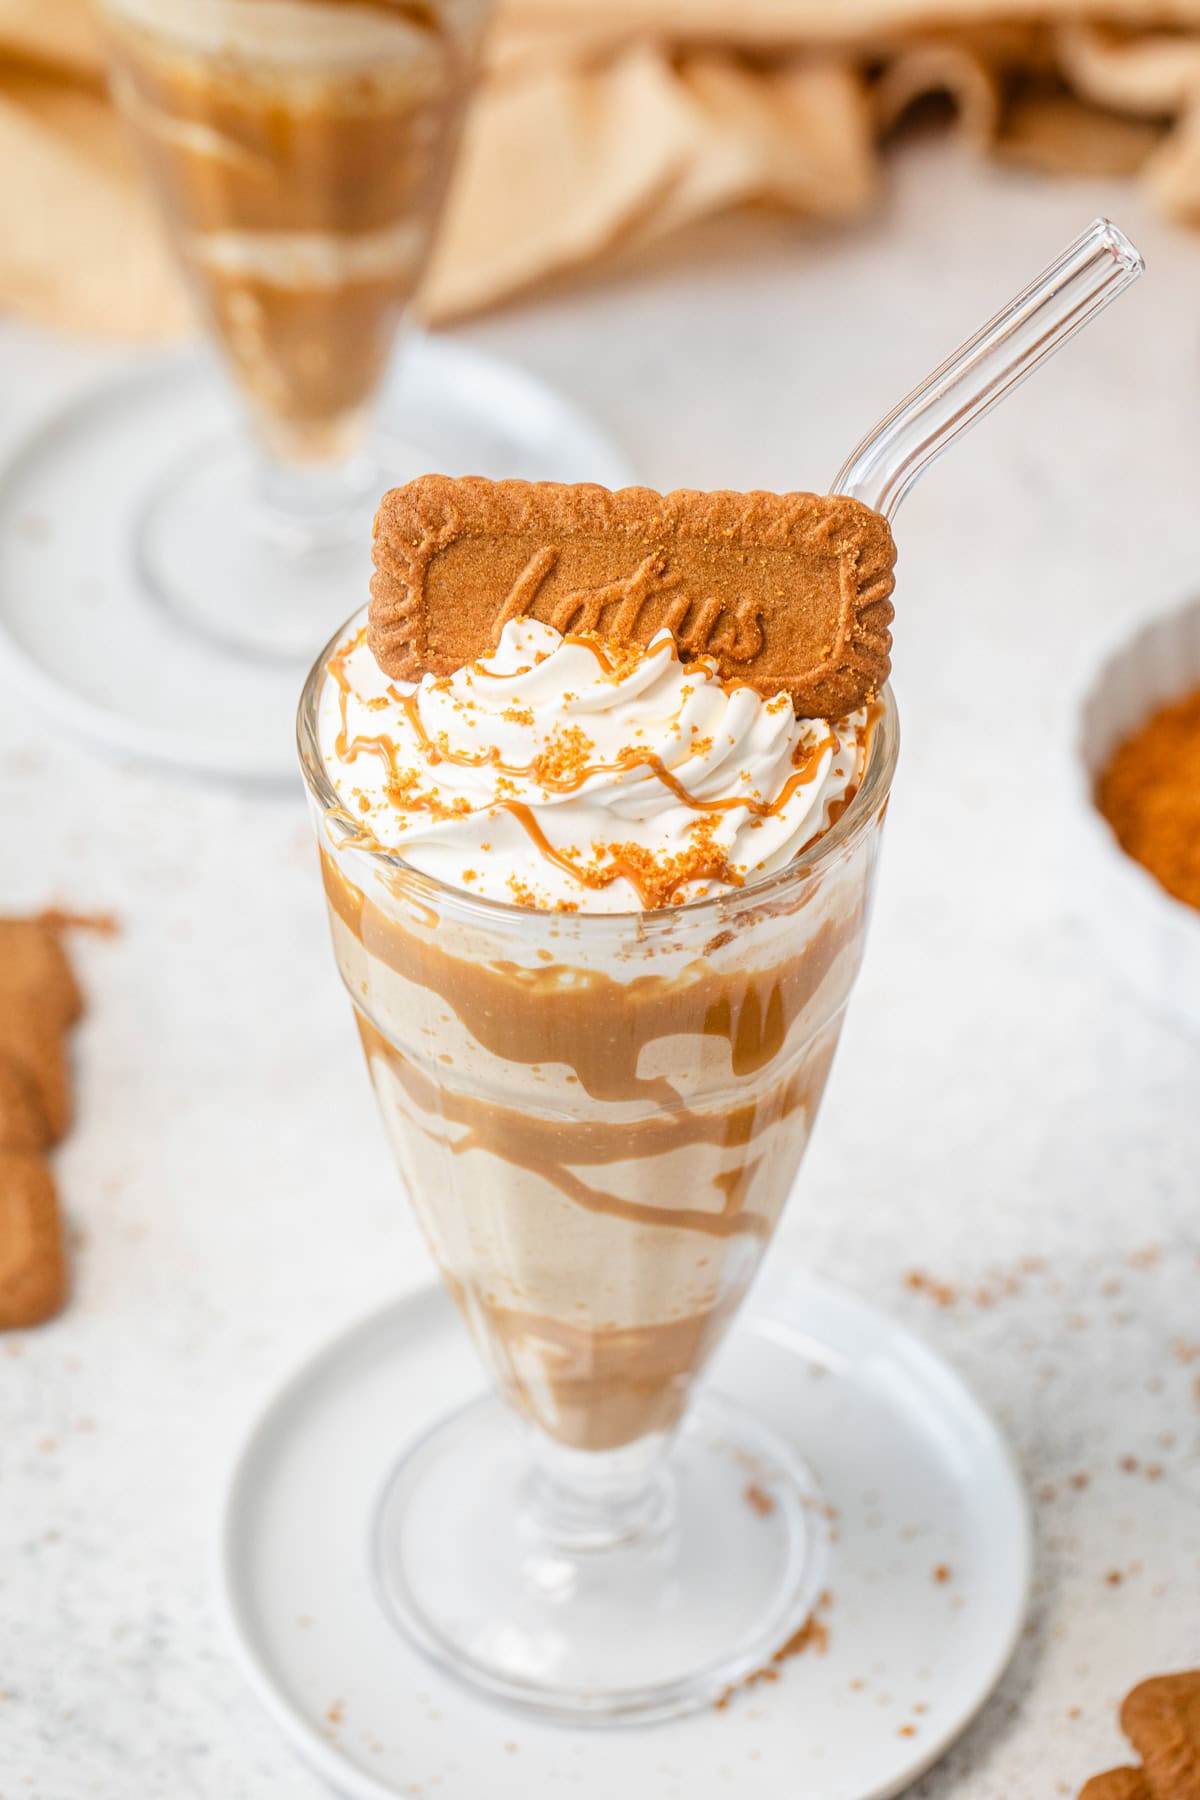
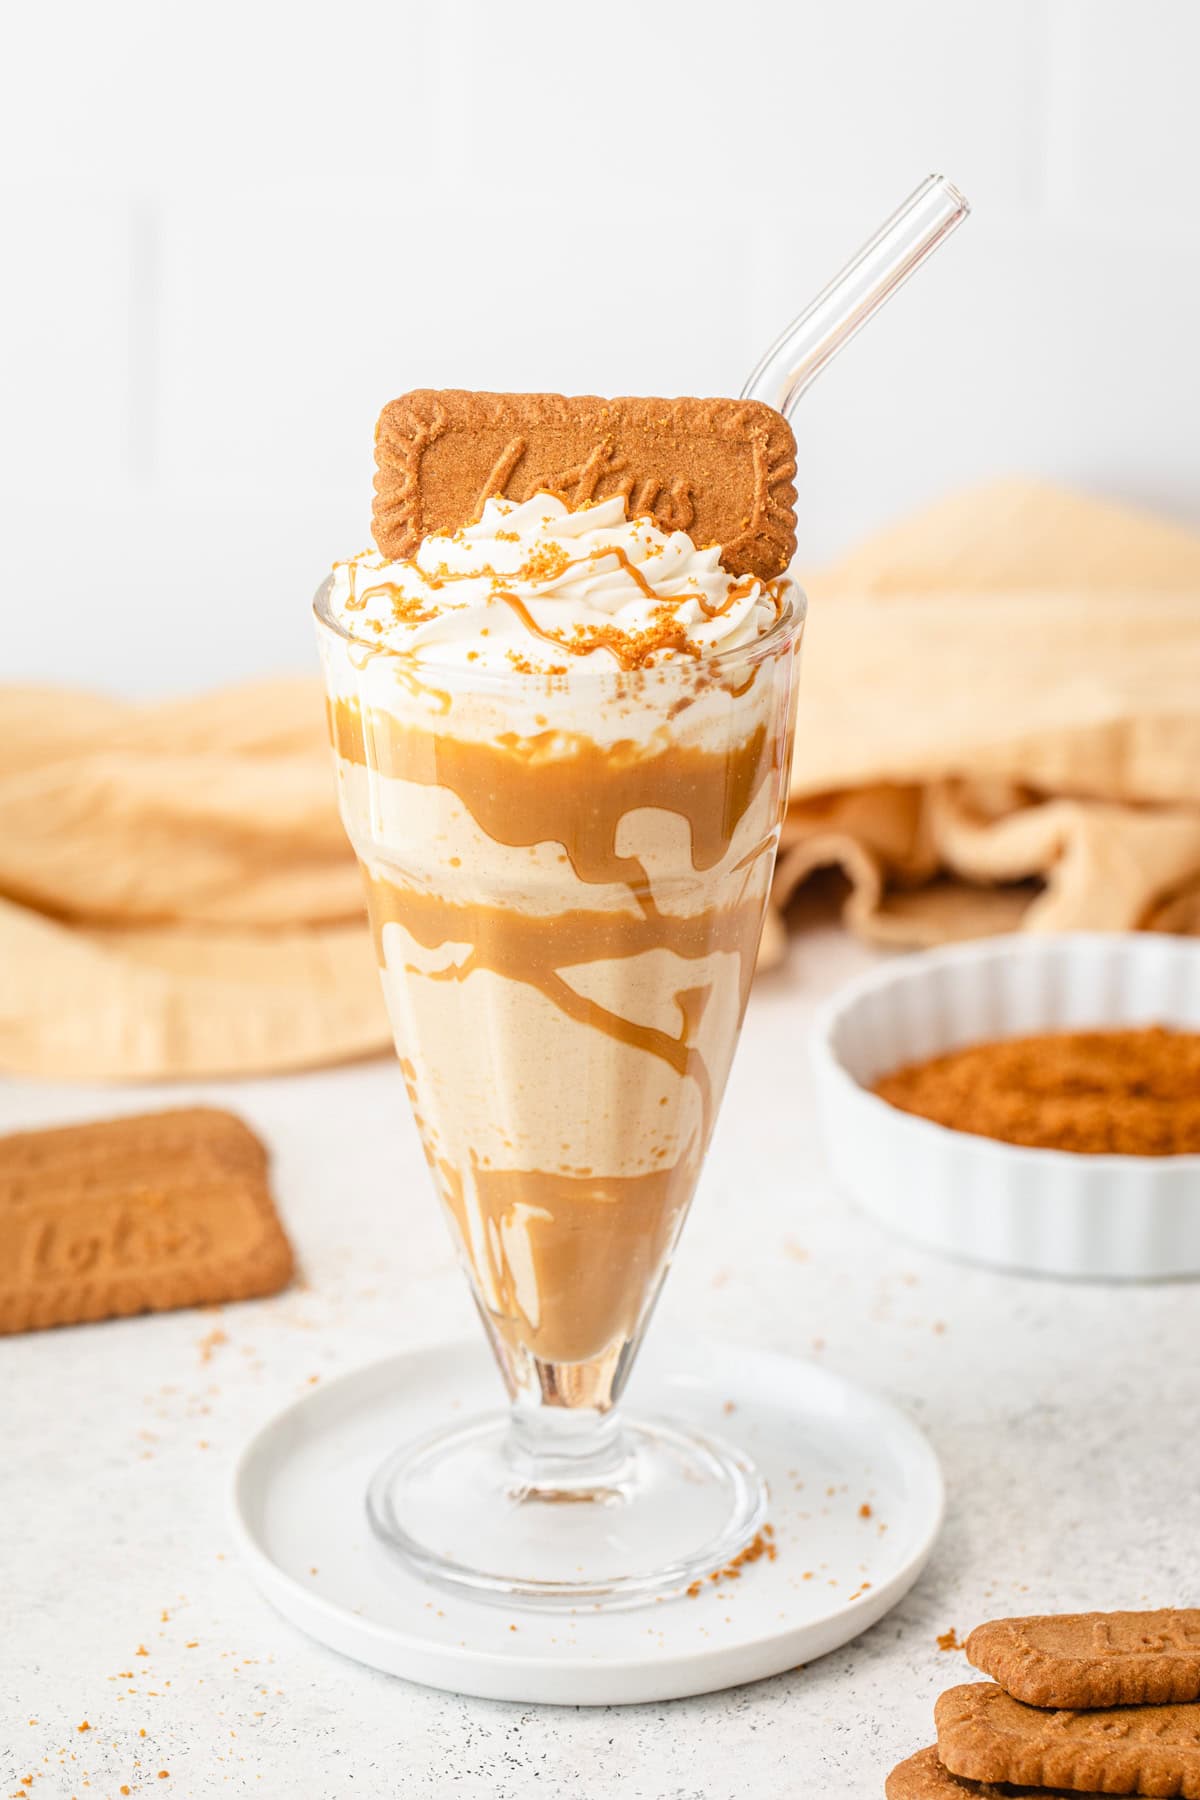
- Dip a handheld milk frother into the melted cookie butter, then position it at the bottom of the glass and turn it on for a second. This will create a fun design inside the glass. Keep doing this, but move up higher and higher each time. My design looks a bit messy because the cookie butter started dripping, but that’s totally fine!
- Pour in the milkshake, then top it off with a swirl of whipped cream. I used homemade whipped cream (recipe in the recipe card below), but you can use canned whipped cream.
- Swirl the remaining melted cookie butter on top of the whipped cream. I poured it into a disposable piping bag and snipped off a small piece of the tip, but you can just use a spoon or a ziplock bag.
- Top with crushed Biscoff crumbs and a whole Biscoff cookie. To crush the (2) cookies, I blended them in a mini food processor.
- Add a straw and sip, sip, sip!
You can find the measurements for each ingredient in the recipe card below, but honestly, milkshakes are super easy and forgivable, so if you wanna eyeball, go ahead! Feel free to add as little or as much Biscoff butter/cookies as you want, it’s your milkshake!
Tip: To help your milkshake stay cold, keep the empty glasses in the freezer while you prepare everything!
FREQUENTLY ASKED QUESTIONS
Can I customize these milkshakes?
Sure! You can change up the flavour by using different ice cream, maybe a chocolate biscoff milkshake or a caramel biscoff milkshake, by adding a few tablespoons of my Homemade Salted Caramel Sauce!
Lotus also makes these incredible Biscoff cookie sandwiches filled with Biscoff cream that you can use instead of the plain biscuits!
How can I make a dairy-free/vegan version?
Well, since Biscoff is already vegan-friendly, all we need to do is swap the ice cream and milk!
I recommend substituting the vanilla ice cream for about 3-4 frozen bananas, and substitute the milk with almond milk, coconut milk or any other plant-based milks you enjoy! And if you must have whipped cream on top, you can probably find canned coconut whipped cream at your local grocery store.
Can I make these milkshakes ahead of time?
Unfortunately, you can’t since milkshakes are made with ice cream, they’ll either melt if left in the refrigerator or they’ll re-solidify if put in the freezer. Fortunately, they are super quick and easy to make!
Now, if you plan on doing the whole shebang like I did here, you can certainly prepare other things ahead of time.
- Whipped cream: if you make the whipped cream from scratch, you can cover it with plastic wrap and leave it in the refrigerator for up to 2 days.
- Crushed cookie topping: you can crush the cookies ahead of time and keep the crumbs in a small ziplock bag or a small airtight container until ready to use.
- Decorated glasses: as I mentioned earlier, you can keep your milkshake glasses in the refrigerator or freezer to keep your milkshakes cold. You can also decorate the inside of the glass with the melted Biscoff cookie butter before then!
How can I make these milkshakes without a blender?
- Start by pre-crushing your cookies. You can either do this in a food processor or by smashing them in a ziplock bag with a rolling pin or heavy object.
- Melt the Biscoff cookie butter in the microwave for 30 seconds to make it easier to mix.
- Then add your very softened ice cream to a large bowl along with the milk, melted Biscoff butter and crushed Biscoff cookie crumbs.
- Using either a whisk, rubber spatula, hand mixer or hand blender, mix all the ingredients in the bowl until completely combined.
More Frozen Treats
- Ultimate Chocolate Lovers Freakshake
- No-Churn Oreo Ice Cream
- Peaches and Cream Floats
- Nutella Brownie Ice Cream Sandwiches
- Cookie Dough Ice Cream Cake
SHARE YOUR PICS!
Follow me on Instagram and tag #queensleeappetit so I can see and share all of your Queenslee Appétit creations in my stories and the QA Newsletter!
>>PIN THIS FOR LATER<<

FOLLOW QUEENSLEE APPÉTIT
Like what you see? Make sure you‘re following Queenslee Appétit for more tasty recipes!
Pinterest | Instagram | Facebook | YouTube
Have any questions about the recipe? Contact me here, and I’ll be happy to help!
SWEETEN UP YOUR INBOX!
SUBSCRIBE to the Queenslee Appétit Newsletter to receive new recipe notifications and sneak peeks at upcoming recipes, and more!
Let’s Get Baking
Easy Biscoff Milkshake
This Easy Biscoff Milkshake takes all the beautiful flavours of a Biscoff cookie and puts them in a deliciously creamy milkshake. Just four simple ingredients make up this yummy shake, and a swirl of whipped cream plus a drizzle of melted Biscoff butter, cookie crumbs and a whole Biscoff cookie all make the perfect touch!
Ingredients
Biscoff Milkshake:
- 4 cups vanilla ice cream, softened
- ¼ cup-½ cup whole milk
- ½ cup Biscoff spread
- 6 Biscoff cookies
Homemade Whipped Cream:
- ½ cup heavy whipping cream, chilled
- 2 tablespoon powdered sugar
- ½ teaspoon vanilla extract
Toppings:
- Melted Biscoff Cookie Spread
- Crushed Biscoff cookies
- Whole Biscoff cookies
Instructions
For the Milkshake Glass:
- Melt some Biscoff cookie spread in a small microwave-safe bowl for 30 seconds. I melted about 6 Tablespoons.
- Hand frother: I decorated the glass by dipping a hand frother into the melted spread, positioning it inside the glass, and pushing the button to spread the Biscoff. I repeated this a few times, dipping then positioning the frother higher and higher inside the glass each time I spread the Biscoff.
- Simple version: a simpler way to decorate the glass is to scoop some of the melted cookie spread with a spoon and drizzle it inside.
- Place the glass in the refrigerator while you prepare the milkshake.
For the Biscoff Milkshake:
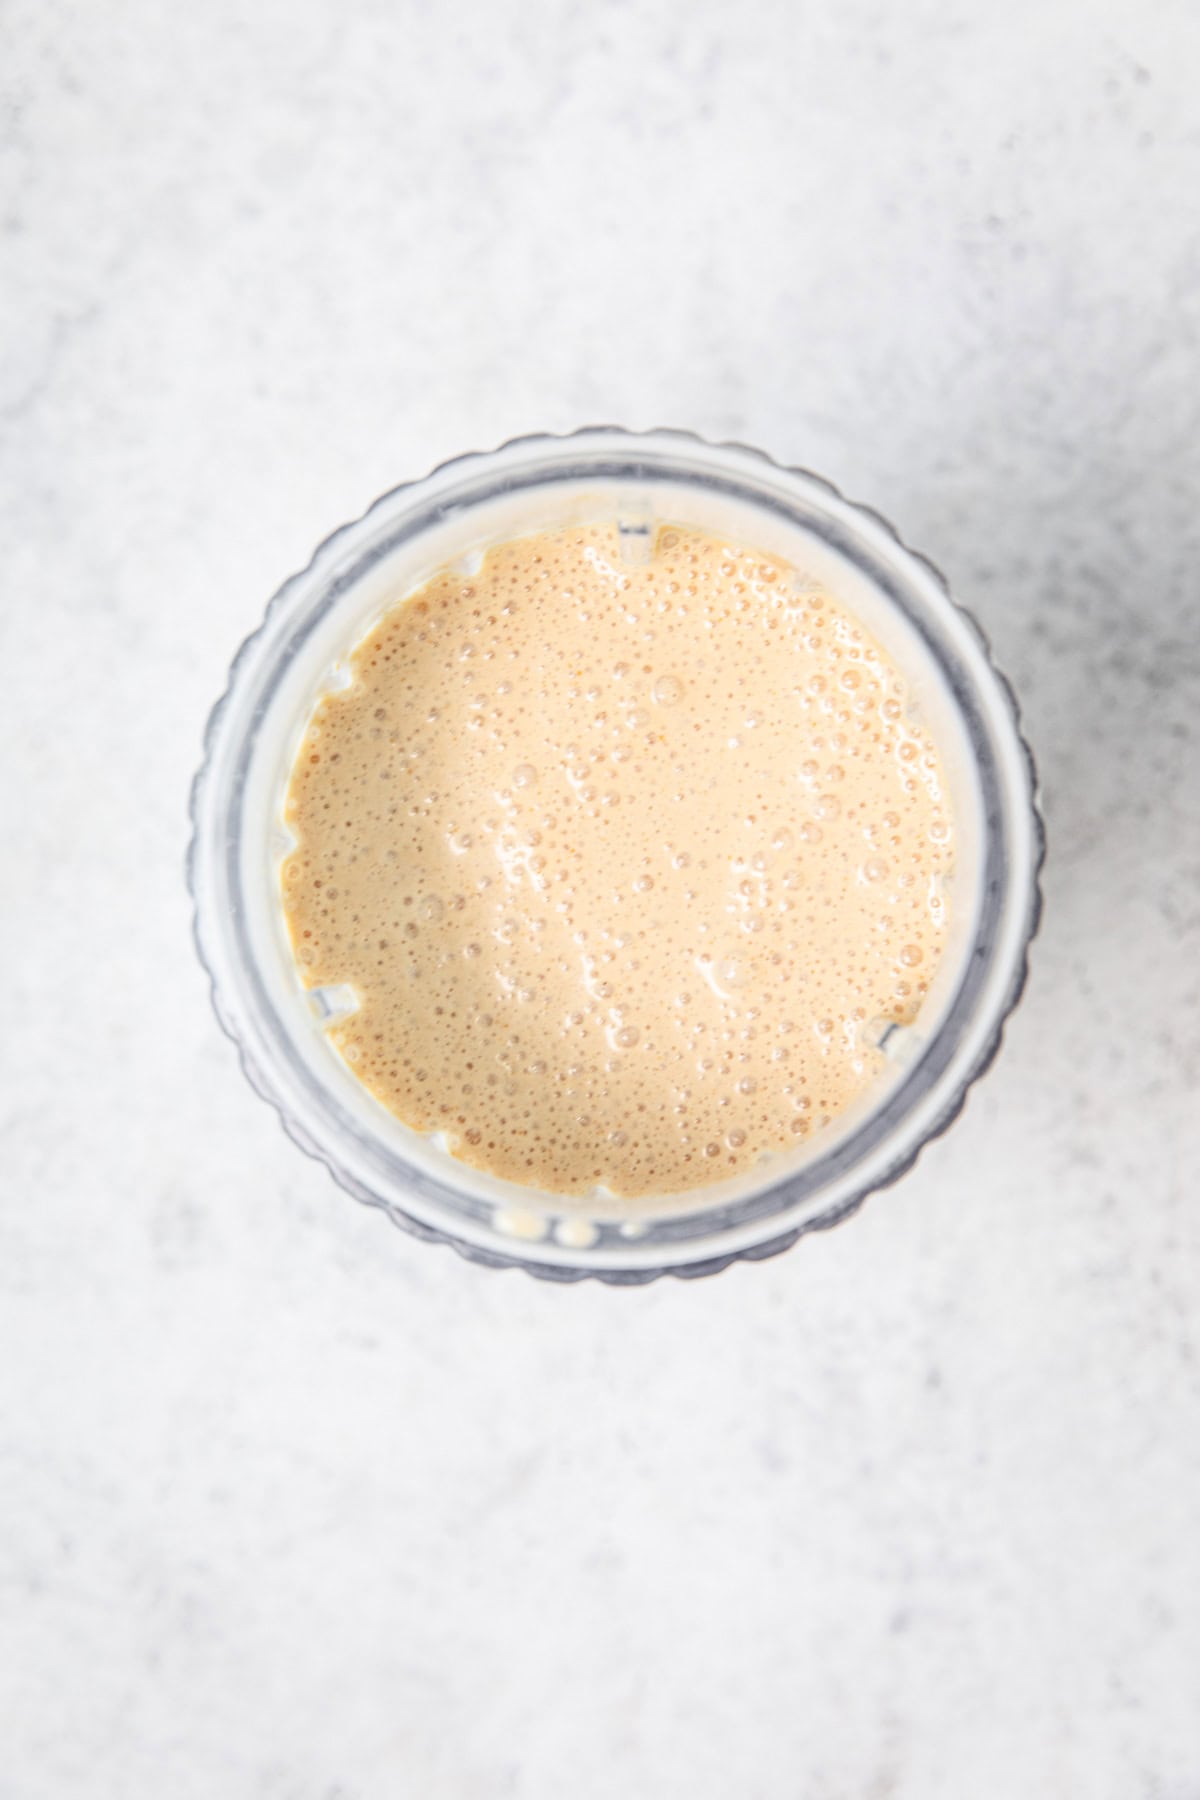
- Add ice cream, whole milk, Biscoff spread and Biscoff cookies to a blender. Blend until smooth.
- Start by adding ¼ cup (or less, if you prefer a thicker consistency) of whole milk, blend, and then add more, a little at a time, until you achieve the desired texture.
- Remove your glasses from the refrigerator, then pour in your milkshake a few inches below the top; you don’t want it to overflow when you pile on the toppings. Top with whipped cream (recipe below), extra melted Biscoff spread, crushed Biscoff cookies and a whole Biscoff cookie if desired. Enjoy!
For the Whipped Cream:
- Whip the chilled cream until it reaches soft peaks.
- Add the powdered sugar and vanilla; beat until the cream holds peaks.
- Scoop into a piping bag fitted with a 1M star tip and pipe a swirl onto your milkshakes.
Notes
- Products Used: Beast Blender | Milkshake Glasses | Hand Mixer | Disposable Piping Bags | 1M Piping Tip | Glass Straws
- Tips: soften the ice cream at room temperature for about 5-10 minutes to make it easier to scoop. Break up the cookies a bit before adding to the blender so they blend more easily.
- Ice Cream: The type of ice cream you get is totally up to you, as long as it’s full-fat for the best texture/taste results! You can also use different flavours like chocolate or caramel!
- Milk: I use whole milk for a creamier texture, but you can use 2% or even heavy cream if you want an even creamier milkshake. Use less or more, depending on how thick or thin you like your milkshake.
- Dairy-Free Version: Replace the ice cream with 4 frozen bananas and the milk with the same amount of plant-based milk of your choice (almond milk, coconut milk, etc.) The Biscoff is already vegan!
Nutrition Information:
Yield: 3 Serving Size: 1Amount Per Serving: Calories: 1074Total Fat: 63gSaturated Fat: 31gTrans Fat: 1gUnsaturated Fat: 27gCholesterol: 139mgSodium: 495mgCarbohydrates: 113gFiber: 3gSugar: 81gProtein: 17g
BON APPÉTIT!
Love, Dedra
©QUEENSLEE APPÉTIT. All images & content are copyright protected. Please do not use my images without prior permission. If you want to republish this recipe, please rewrite the recipe in your own words or link back to this post for the recipe.


Leave a Reply