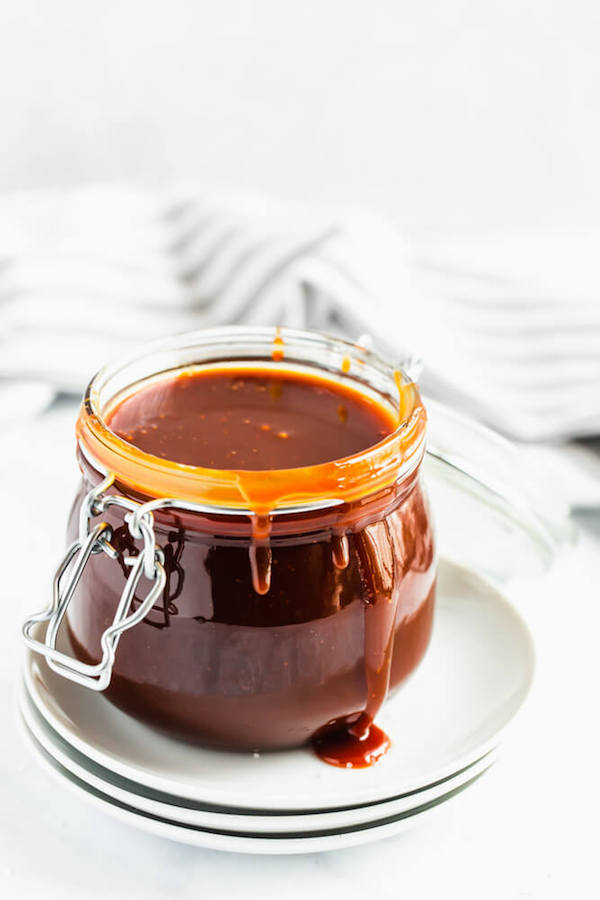
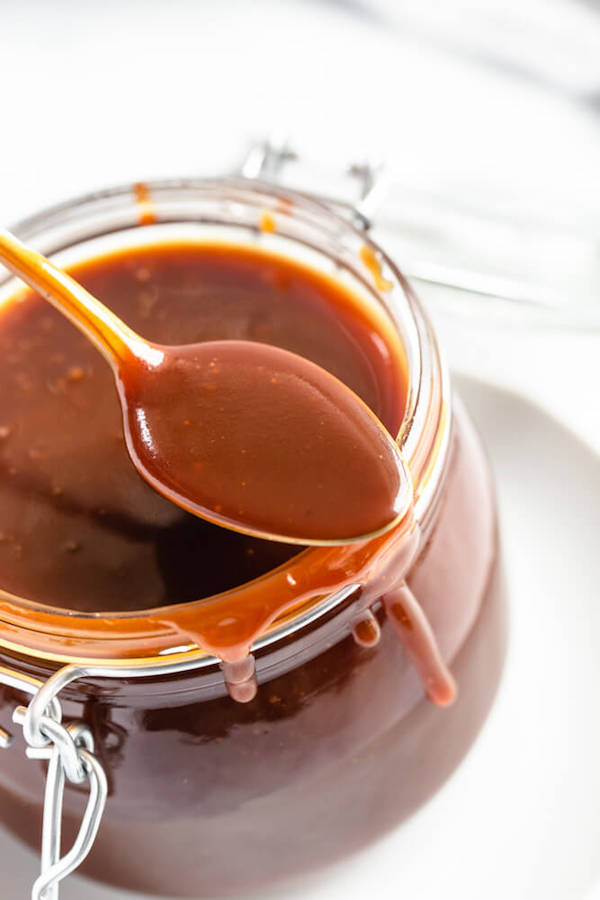
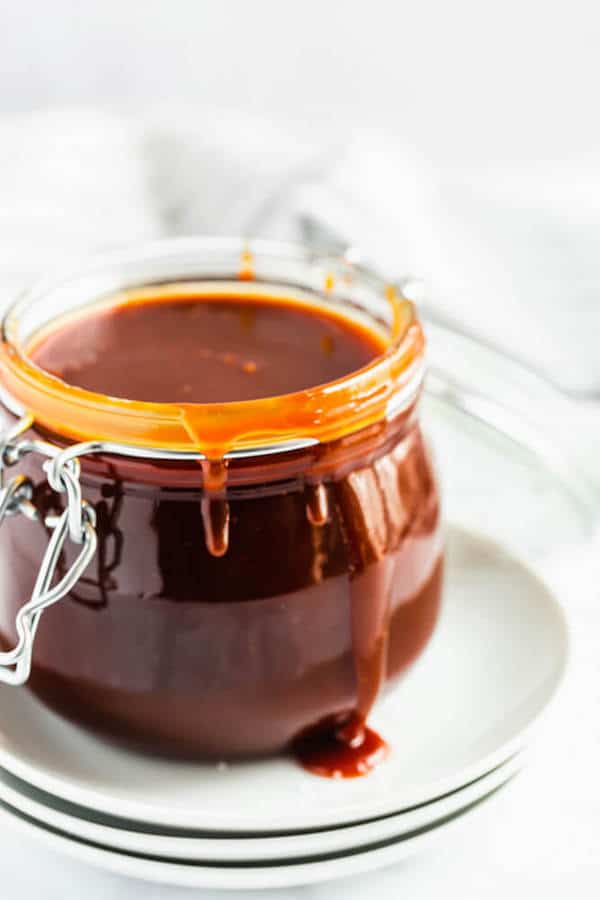
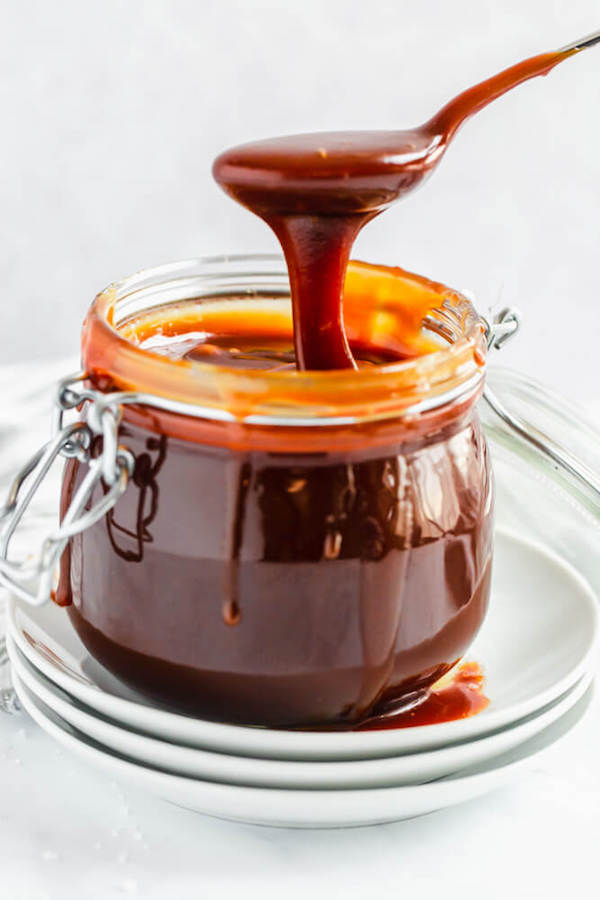
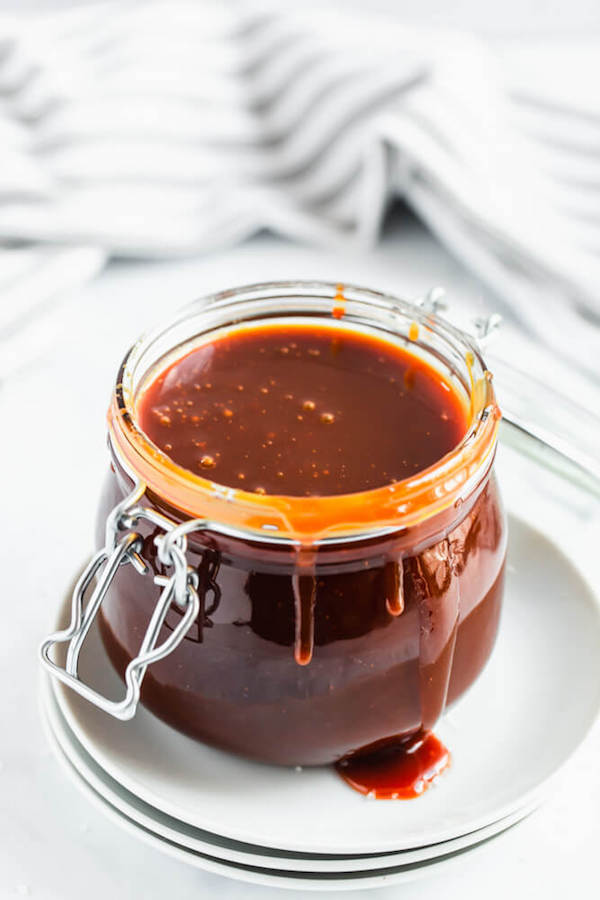
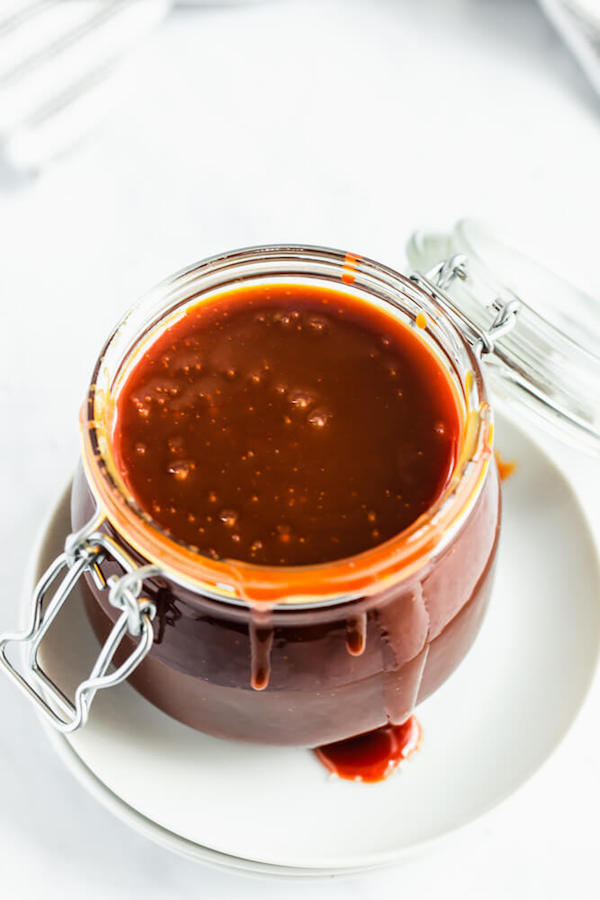
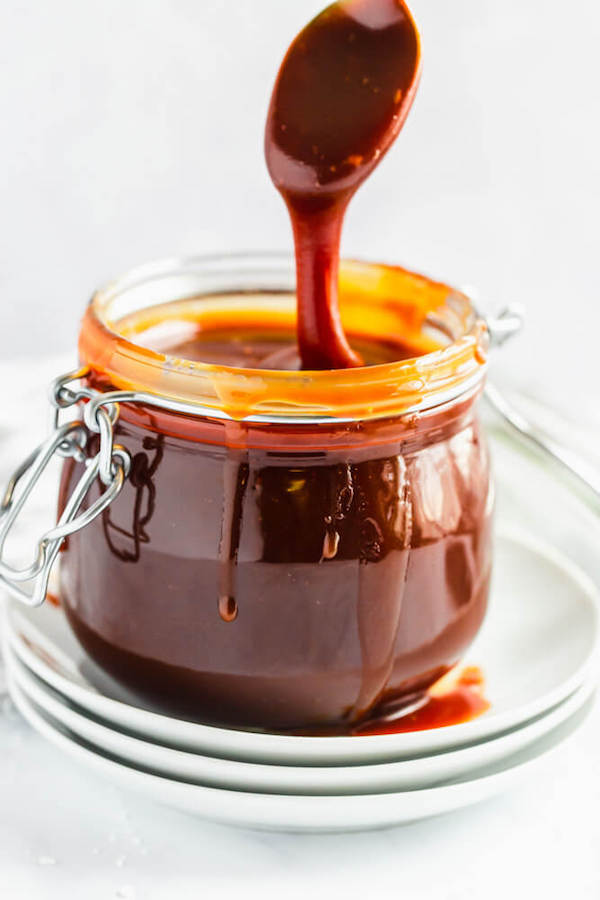
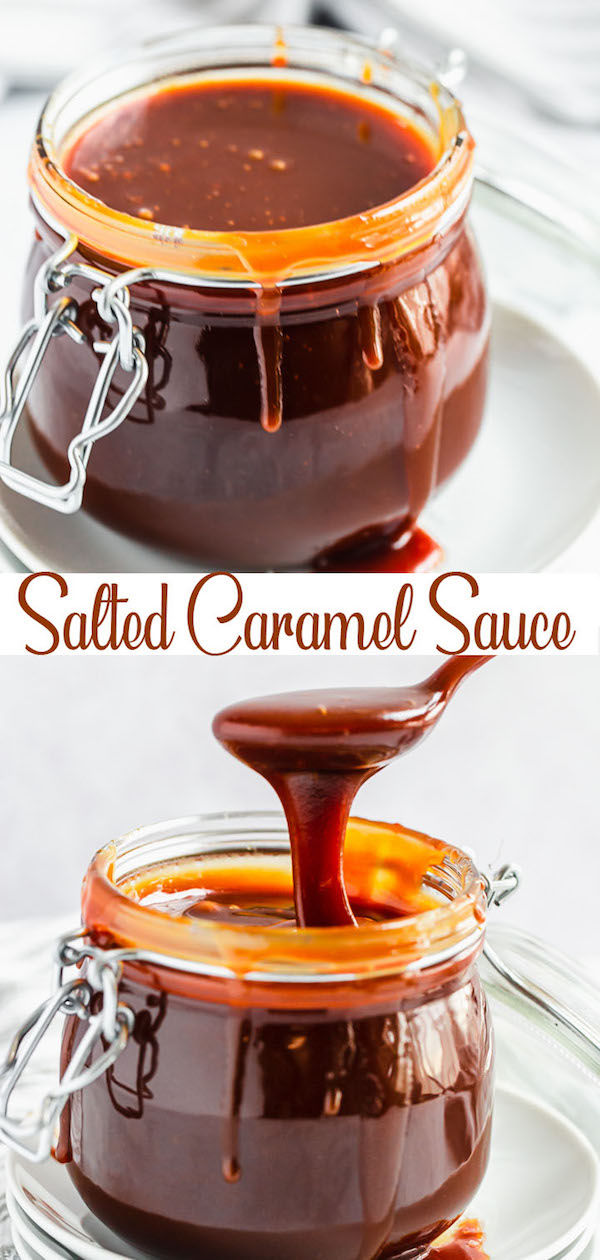
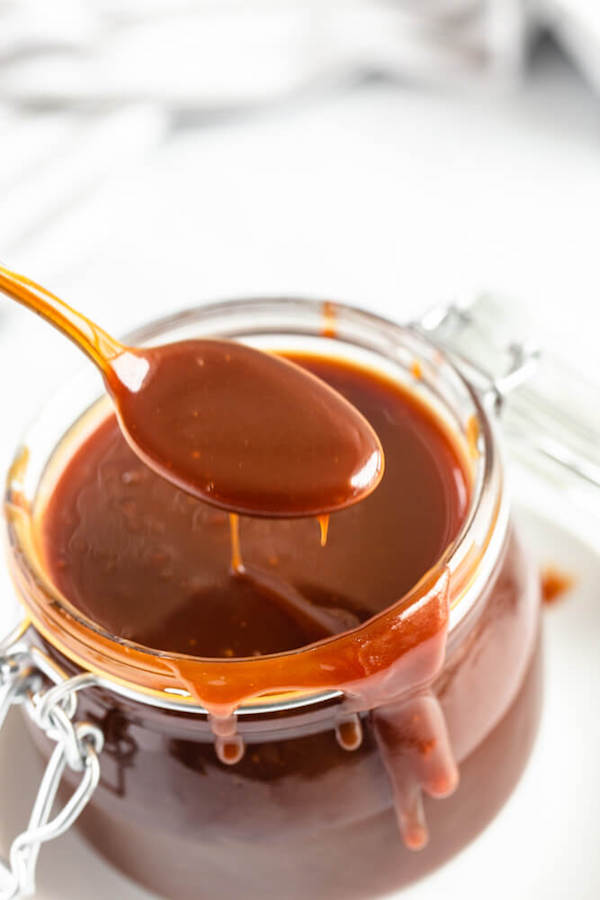
This salty and sweet Homemade Salted Caramel Sauce is perfect for any type of dessert, including cakes, cupcakes, cheesecakes, ice cream and so much more!
This post may contain affiliate links. Please see my full disclosure policy for details.
Post updated: 10/07/19
Salted Caramel Sauce: Wet Method vs Dry Method
A few days ago I shared my Homemade Caramel Sauce recipe, and now I’m bringing you the salted version! In the non-salted caramel sauce recipe, I used the “wet method” to make the caramel, which means I used water to help cook the sugar.
For this Salted Caramel recipe, I decided to try the “dry method” which, in my opinion, is even easier than the “wet method”!
No matter what method you use to make caramel sauce, I guarantee you that a candy thermometer is not needed. Just use the eyes the good lord gave you to determine when you’re ready to move on to the next step.
The “dry method” is simply melting the sugar on its own until it becomes a beautiful caramel colour. Once the sugar melts, add the butter, cream, vanilla and salt. So easy!
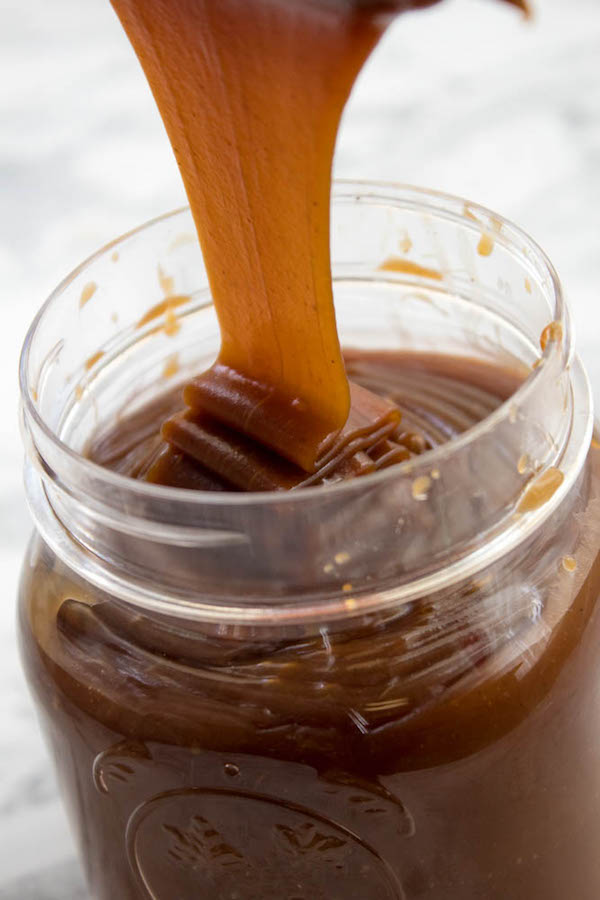
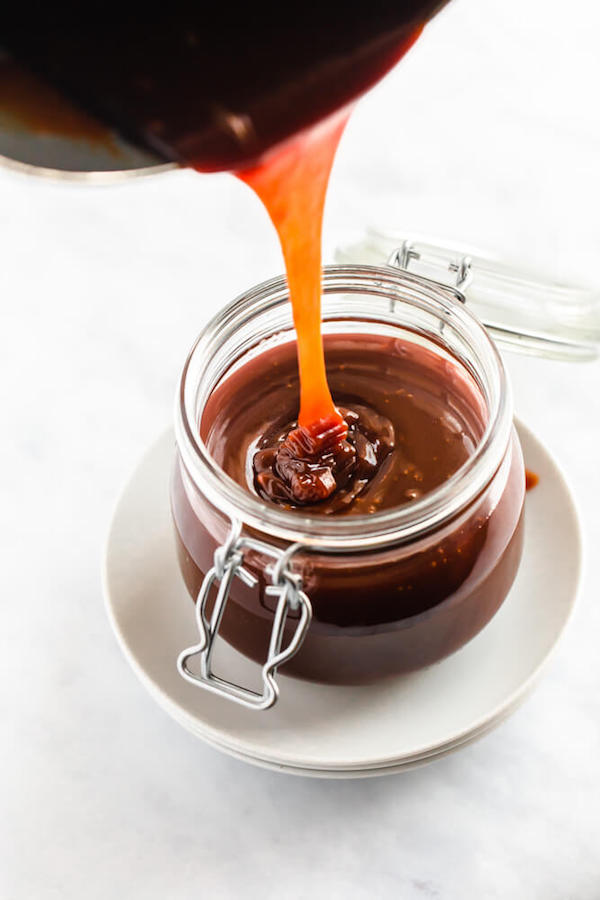
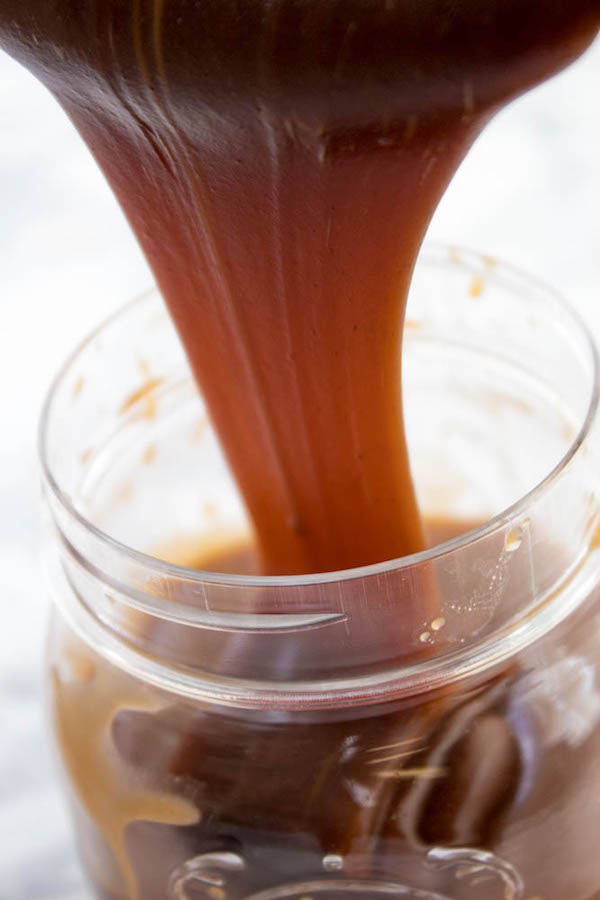
Since we aren’t adding water to the sugar in the beginning, the caramel will be a lot thicker. This means you will have to allow the caramel to come to room temperature after refrigeration, or microwave for a few seconds until it’s soft enough to pour.
HERE ARE A FEW TIPS TO FOLLOW WHEN MAKING SALTED CARAMEL SAUCE:
- Read through the entire recipe and prepare your ingredients before you begin. Use a liquid measuring cup to pour the heavy cream and cut up the butter into cubes so it melts easier. Once the sugar is melted, you will need to work fast when adding the next ingredients, so it’s important to have them ready.
- Make sure your heavy cream is at room temperature. If it’s not, the cold cream will cause the caramel to clump up.
- If your cream was too cold and your caramel does clump up, just continue to stir the caramel over the stove until it melts back down.
- Use a medium-large heavy-bottomed non-stick saucepan. A larger saucepan is necessary because you want to have plenty of room for the caramel to bubble up, and I prefer non-stick for easy clean up.
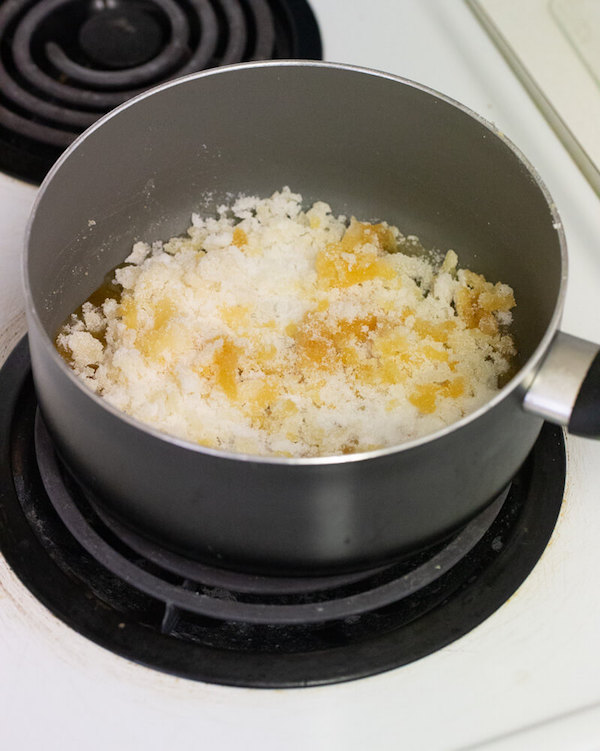
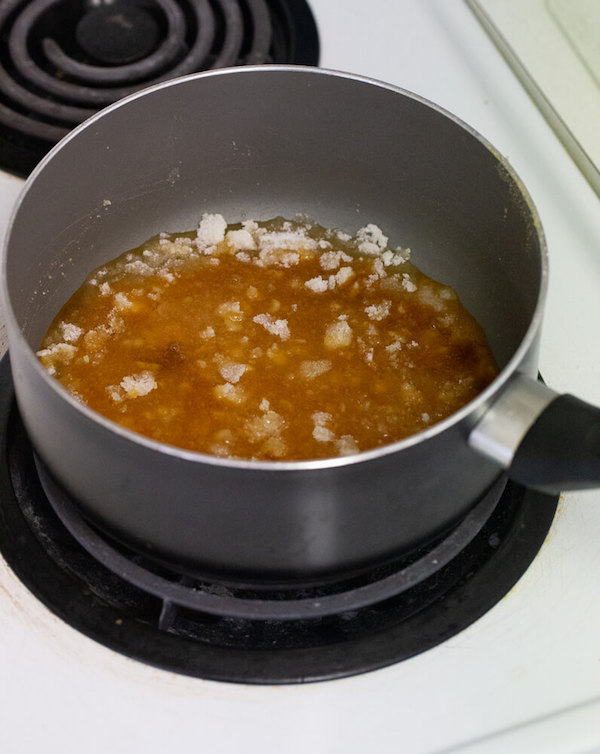
- Because there is no water added, the sugar will take longer to dissolve. Just continue to stir the sugar until it melts. It will clump up as you stir, but will eventually melt down into a beautiful amber liquid.
- And finally, DO NOT GET DISTRACTED! Caramel sauce can go from a beautiful amber coloured perfection, to a burnt disaster in a matter of seconds. This has happened to me before in my early caramel making days, and trust me, it is not a pleasant sight or smell.
Now that you know how to make salted caramel sauce from scratch, go ahead and give it a try. Once you get the hang of it, you’ll ditch the store-bought stuff and will want to make it over and over again!
More of a visual learner? I’ve included step-by-step photos below the recipe!
Recipes Using this Salted Caramel Sauce
- Pumpkin Cupcakes with Salted Caramel Cream Cheese Frosting
- Chocolate Caramel Turtle Cupcakes
- Easy Snickers Brownie Bites
- Salted Caramel Stuffed Chocolate Chip Cookies
- Turtle Chocolate Layer Cake
- Salted Caramel Dark Chocolate Cupcakes
- Salted Caramel Milkshake
- Salted Caramel Chocolate Chip Banana Bread
>>PIN FOR LATER<<
FOLLOW QUEENSLEE APPÉTIT
Like what you see? Make sure you‘re following Queenslee Appétit for more tasty recipes!
Pinterest | Instagram | Facebook | Twitter |
Have any questions about the recipe? Contact me here, and I’ll be happy to help!
SHARE YOUR PICS!
Tag me on Instagram @queensleeappetit or use the hashtag #queensleeappetit so I could see your gorgeous creations!
Let's get baking!
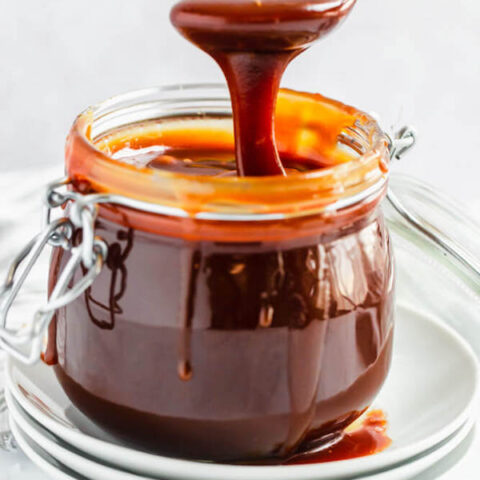
Homemade Salted Caramel Sauce
This salty and sweet Homemade Salted Caramel Sauce is perfect for any type of dessert, including cakes, cupcakes, cheesecakes, ice cream and so much more!
Ingredients
Salted Caramel Sauce:
- 1 cup granulated sugar
- 6 tablespoon salted butter, cubed
- ½ cup heavy cream, room temperature
- 1 teaspoon vanilla bean paste or pure vanilla extract (optional)
- 1 teaspoon fine sea salt
Instructions
For the Salted Caramel Sauce:
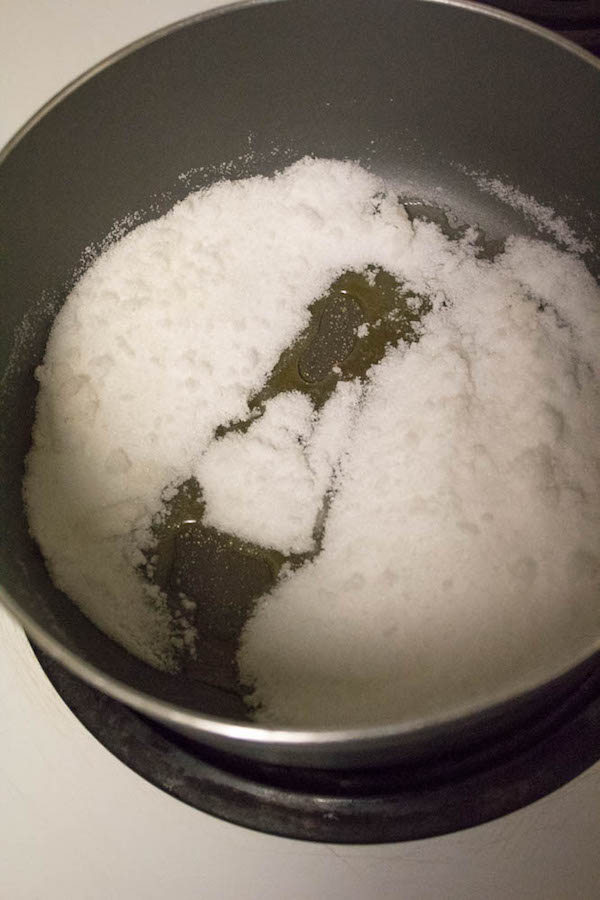
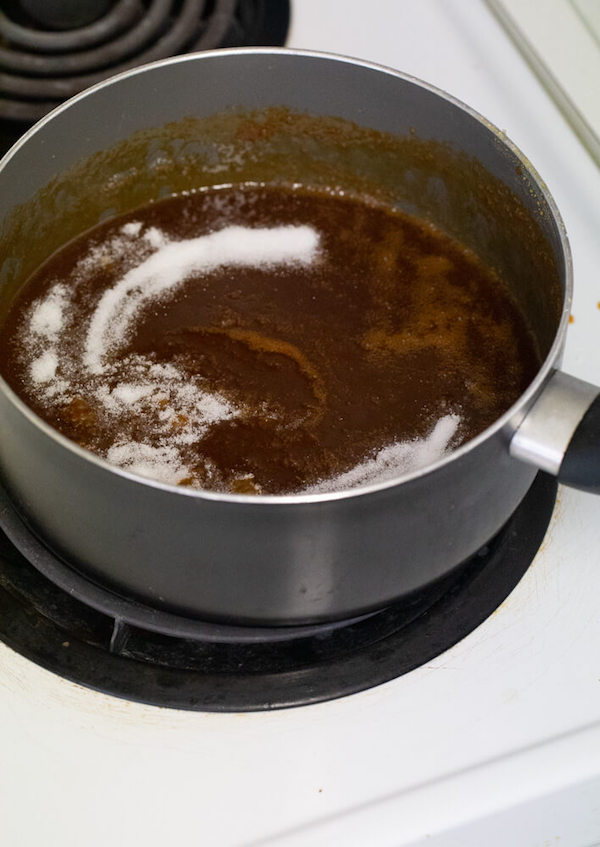
- Add the sugar to a large heavy-bottomed non-stick saucepan and heat over medium-high heat, stirring constantly using a heat-resistant rubber spatula or a wooden spoon until the sugar is melted and turns a medium amber caramel colour, about 5-6 minutes. Don't worry if the sugar clumps up, just keep stirring and it will melt smoothly. Keep a close eye on the pot as the sugar can easily burn, and you will have to start over.
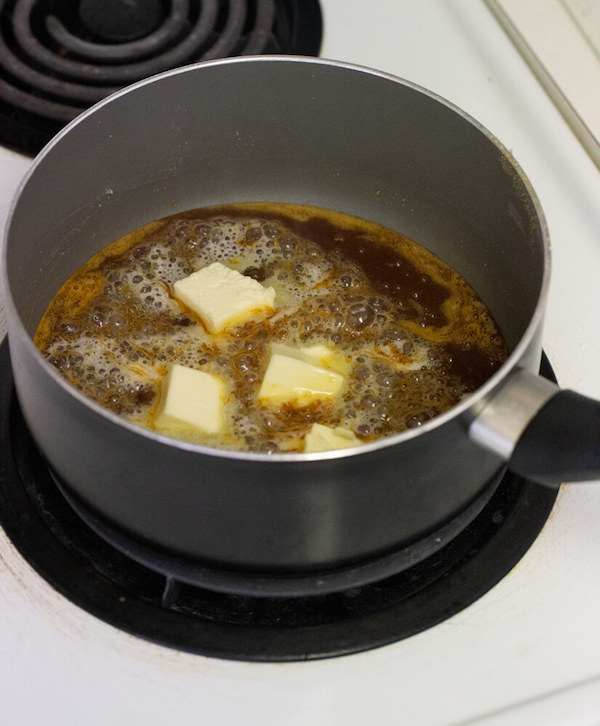
- As soon as the caramel turns a deep amber, lower the heat to medium-low and add the butter cubes, whisking constantly until the butter is melted and fully combined.
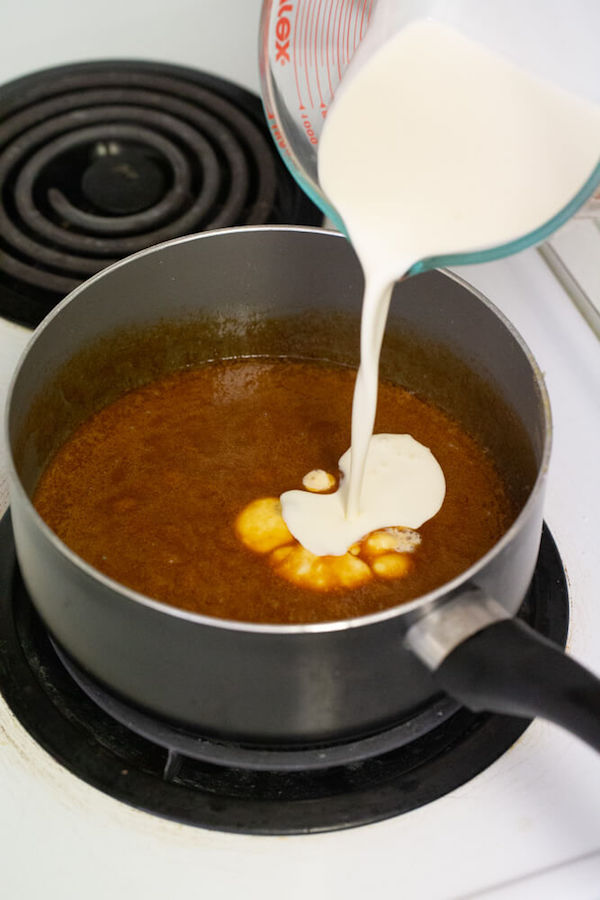
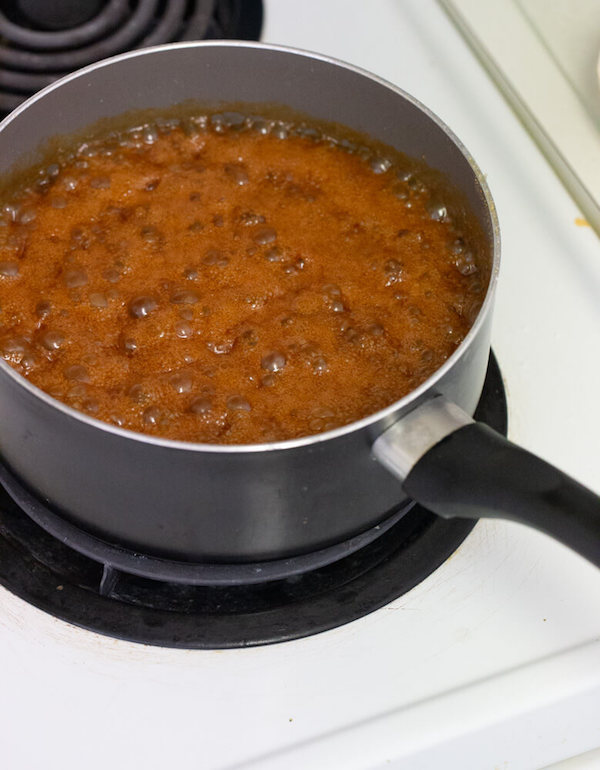
- Once butter is combined, slowly pour in the heavy cream while whisking vigorously, be careful as it will begin to bubble up furiously. If your cream is too cold, the caramel may begin to clump together. To fix this, just increase the heat back to medium-high and continue stirring until caramel melts back down.
- Allow caramel to boil for 1 minute, then remove from heat. Stir in the vanilla, if using, and salt.
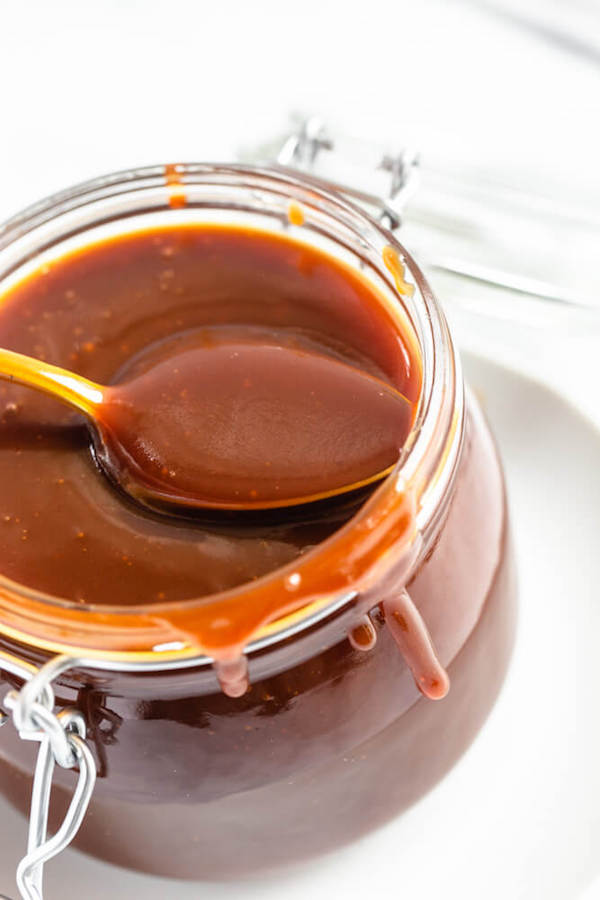
- Let caramel cool to room temperature before using.
Notes
- Store caramel in a jar in the refrigerator for up to a month.
- Recipe can easily be doubled. Just make sure your pot is large enough to handle the caramel bubbling up.
Recommended Products
As an Amazon Associate and member of other affiliate programs, I earn from qualifying purchases.
-
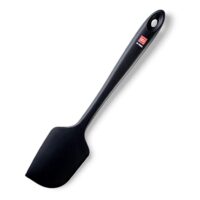
Award-Winning Pro-Grade Silicone Spatulas By DI ORO - 600°F Heat-Resistant Seamless Rubber Spatula - Perfect for Baking, Cooking, Scraping - Premium Stainless Steel Core Technology (BLACK Single)
-
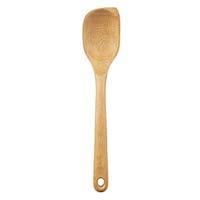
OXO Good Grips Wooden Corner Spoon & Scraper
-
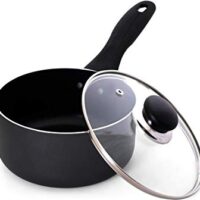
Utopia Kitchen 2 Quart Nonstick Saucepan with Glass Lid - Induction Bottom - Multipurpose Use for Home Kitchen or Restaurant
Step-by-Step Photos:
- Add the sugar to a large heavy-bottomed non-stick saucepan and heat over medium-high heat, stirring constantly using a heat-resistant rubber spatula or a wooden spoon until the sugar is melted and turns a medium amber caramel colour, about 5-6 minutes.
2. Don't worry if the sugar clumps up, just keep stirring and it will melt smoothly. Keep a close eye on the pot as the sugar can easily burn, and you will have to start over.
3. As soon as the caramel turns a deep amber, lower the heat to medium-low and add the butter cubes, whisking constantly until the butter is melted and fully combined.
4. Once butter is combined, slowly pour in the heavy cream while whisking vigorously, be careful as it will begin to bubble up furiously. If your cream is too cold, the caramel may begin to clump together. To fix this, just increase the heat back to medium-high and continue stirring until caramel melts back down.
5. Allow caramel to boil for 1 minute, then remove from heat. Stir in the vanilla, if using, and salt.
6. Let caramel cool to room temperature before using.
BON APPÉTIT!
Love, Dedra
©QUEENSLEE APPÉTIT. All images & content are copyright protected. Please do not use my images without prior permission. If you want to republish this recipe, please re-write the recipe in your own words, or link back to this post for the recipe.


Ashley
Will it work without a nonstick pan?
Dedra | QueensleeAppetit
yes it will, the non-stick pan is just suggested for easier cleanup.
Julian Child
Oh, Ashley, thank you so much for asking this and, of course, thank you, Debra, for your reply. I am very interested in this particular recipe but I am an organic-y kinda guy and I have yet to research a non-stick coating (cast iron aside) with which I am comfortable.
Debra, I am looking forward to trying your recipe. I made a caramel "sauce" for an apple cake, this past Thanksgiving, and it turned out to be not a sauce at all, but actual chewy caramel. I'll be topping cream puffs with it as a prospective product for a startup patisserie and I'll let you know how it turns out. Most of the recipes I've researched call for caramels or a prepared caramel sauce and I am a strictly-from-scratch cook.