If you’re interested in food blogging, or blogging in general, here are some of the products and services that are used here at Queenslee Appétit. This list may continuously change or update as this site evolves.
Disclaimer: some of the links below are affiliate links. This means, at no additional cost to you, I will earn a commission if you are to click and purchase any of these products. I have used all of the products and services listed below and trust them enough to recommend to you.
Tools to start your own food blog

The Genesis Framework — This is one of the most popular themes used by food bloggers, and I’m currently using it here at Queenslee Appétit. The best thing about Genesis is that is has many gorgeous “child themes” that you can easily customize. Think of Genesis as the base of your theme (or “parent theme” as they call it). It’s the foundation of a WordPress site, and the child themes are the pretty little decorations you add to make it your own. The child themes can be purchased as a package with the Genesis Framework. Although, if you want to purchase another WordPress theme that isn’t on the StudioPress site, that’ll have to be purchased separately.
Foodie Pro Theme — This is the “child theme” I have running on Queenslee Appétit. This is definitely one of the most popular themes among food bloggers and I highly recommend it as a beginner theme. The default look is very clean and simple, but as you can see on my site, there are many different ways you can customize it to your liking. As I mentioned above, the child themes can be purchased with the Genesis Framework, so together it costs $129.95 (or more depending on your currency. It can be quite costly, but it’s definitely worth it if you want your site to have a clean and professional look.
Vaultpress — Backing up your blog is vital. I can’t count how many heart-stopping experiences I’ve had with my site suddenly disappearing or messing up in one way or another. Those situations usually got fixed without me having to do anything since the problem wasn’t on my side, but it’s still a terrifying experience. In order to avoid suffering a heart attack at 20, I finally decided to get Vaultpress. I sleep so much better knowing that if, God forbid, anything goes horribly wrong with my site, Vaultpress allows me to recover everything I lost with a backup.
WordPress Plugins
Limit Login Attempts — This is a plugin to buff up security for your blog. I’m honestly amazed at the amount of people who attempt to hack my site everyday, so far there’s been 1,411 blocked malicious login attempts on my site. Insane, right? This plugin limits the amount of times a person can attempt to login. This means if you enter the incorrect password once, you have 3 tries left before you’re blocked.
EasyRecipe — Every food blog needs a recipe card! This is the plugin I use for my recipes. Just like the title states, it’s easy to use! The thing I love most about this plugin is that it helps with your SEO rankings when people search for recipes on google. It even displays a nice little thumbnail next to your blogs recipe in the search results, which will encourage more people to click on your blog! Another perk is that every recipe you share using this plugin automatically gets posted on fooderific.com so more people can see your yummy creations. Yay for traffic!
Social Warfare — This is the social media plugin I use on Queenslee Appétit. I chose the buttons: Pinterest, Facebook, Google+, StumbleUpon and Twitter. These are all the sites visitors can share my recipes on with a simple click of a button. I’m currently using the free version, but the pro version has a lot more perks like additional sharing buttons, a Pinterest button on all your images and more!
Akismet — Akismet is the anti-spam plugin I use on my blog. This plugin is what guards my blog from spam comments, which you’ll find gets worse and worse the more your blog grows.
Contact Form 7 — Displaying your email address on your blog can lead to countless spam. Using a contact form plugin allows your readers to contact you and makes them certify that they’re humans and not robots.
Build Your Community
Social Media
If you have a blog, brand, business etc. you HAVE to bee on social media. It’s an absolute must! A majority of my traffic comes from social media. When you hit publish, you can’t just leave it there and expect people to see it. You have to promote your content for people to notice you, and social media is the best way to do it. You don’t have to be on every social media platform ever made, but it’s good to be on at least 2 or 3. Here are the platforms I’m on, in the order from most traffic to least.
Pinterest — This is definitely my highest source of traffic! A majority of my visitors come from Pinterest. If you check out some of my most popular posts (like this one and this one) you’ll see that almost all of the shares are from Pinterest. I’ll go into more details about Pinterest in a future post, but here’s a few things you should do to get your blog noticed on Pinterest:
- Make a business account.
- Create long appealing pin images
- Join a few group boards
Instagram — This is my second most popular social media site. This is the first social media site I joined when I decided to take my baking hobby to the next level.
I love to follow other foodies on here and see all of their delicious creations. I also love the kind comments and feedback I get when I share photos of my own recipes.
Twitter — Honestly, this is the social media site I use the most, but I barely have any followers on here. I’m sure it’s because I’m pretty inactive on my business account, because I’m always tweeting from my personal account (which I won’t share because it’s far from professional). I don’t know, I love twitter but I’m just having a hard time putting my focus on my professional account. I’ll put more effort into it one day, I promise.
FaceBook — I have never gotten into Facebook. It’s to the point where I feel like an elderly woman when I’m on it because I don’t know how it works! I do share all of my posts on there, but that’s about it. I do get a bit of traffic from here, but it’s mostly from people who share my recipes on their own Facebook pages. I honestly don’t see my Facebook page getting a ton of views and followers unless I “pay to promote” like they insist. Don’t nobody got time for that.
StumbleUpon — This is another site I don’t understand very much. I know that you’re supposed to set your interests and then you get shown different articles/blog posts that relate. I recently downloaded the app and made an account, but the most I do is submit my posts. Once again, the traffic I get from here is mostly from others sharing my recipes on their accounts.
SEO
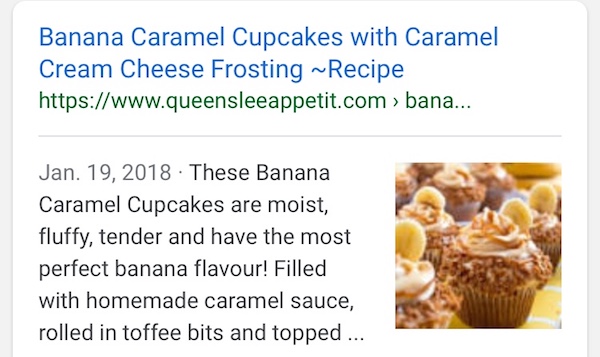
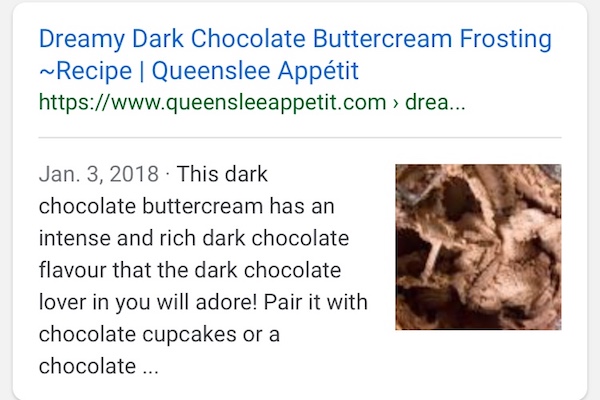
Also known as Search Engine Optimization. This is an essential part of blogging. Good SEO makes your content more visible so that search engines can actually find your blog. I use Yoast SEO and I love it! You basically have to input a keyword (that’s relevant to your post) and write a meta description summarizing what the post is about. This helps search engines index your blog. So for instance, if someone were to search up “banana caramel cupcakes” or “dark chocolate buttercream” they’ll find my recipes.
These two posts were found on page 1 and page 2 on google. The more views your post gets, the higher up it’ll be in the search results!
Food Sites

These are some of the most popular food photo submission sites out there. Apparently, back in the day, if your photo was published on these sites you would gain thousands of visitors. Unfortunately, that isn’t really the case anymore, but it’s still a great source of traffic and the sense of accomplishment you feel if your photo manages to be approved is totally worth it. So far I’ve only submitted my photos to Foodgawker, and to my surprise they actually approved all of my submissions! They are pretty strict with their submissions though, so you need to make sure your photos are high-quality and appealing. Aside from Foodgawker, there’s also:
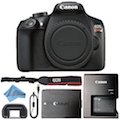
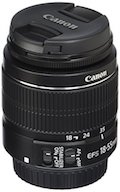
Food Photography

Must Have Baking Tools
If you’re a new baker looking for the best tools to stock your kitchen with, then look no further. Here’s a list of tools every baker needs:
Silicone Baking Mat — Parchment paper is great for lining cake pans and all, but when it comes to using baking sheets, these silicone mats are unbeatable! I love these baking mats because they can be used over and over again, they’re non-stick and they’re easy to clean! Whether I’m baking cookies, dipping truffles, roasting nuts or rolling dough, I always do it on a silicone baking mat.

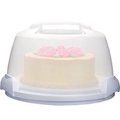
Cake Caddy — This is a great thing to have if you need to transport cakes, cupcakes, cheesecakes, or any other dessert. It’s also a perfect storage container for your cakes.
