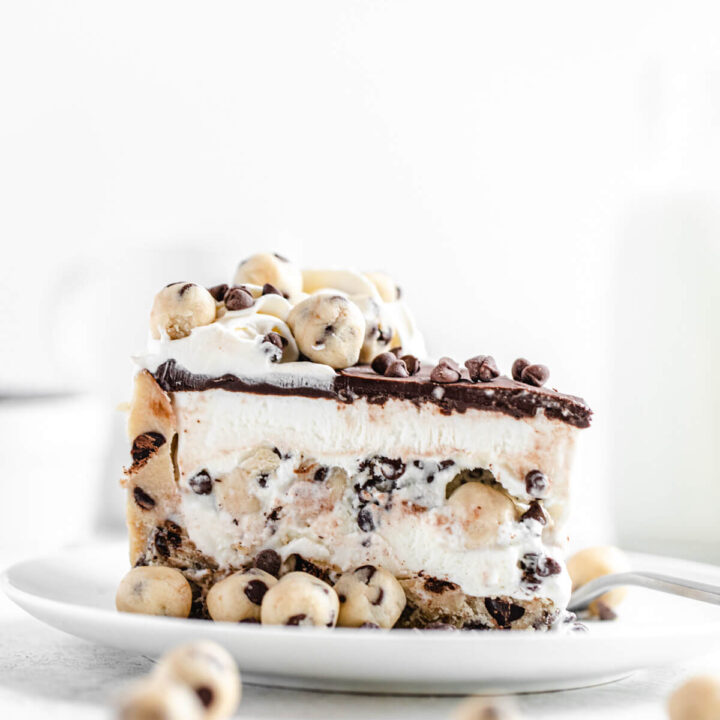
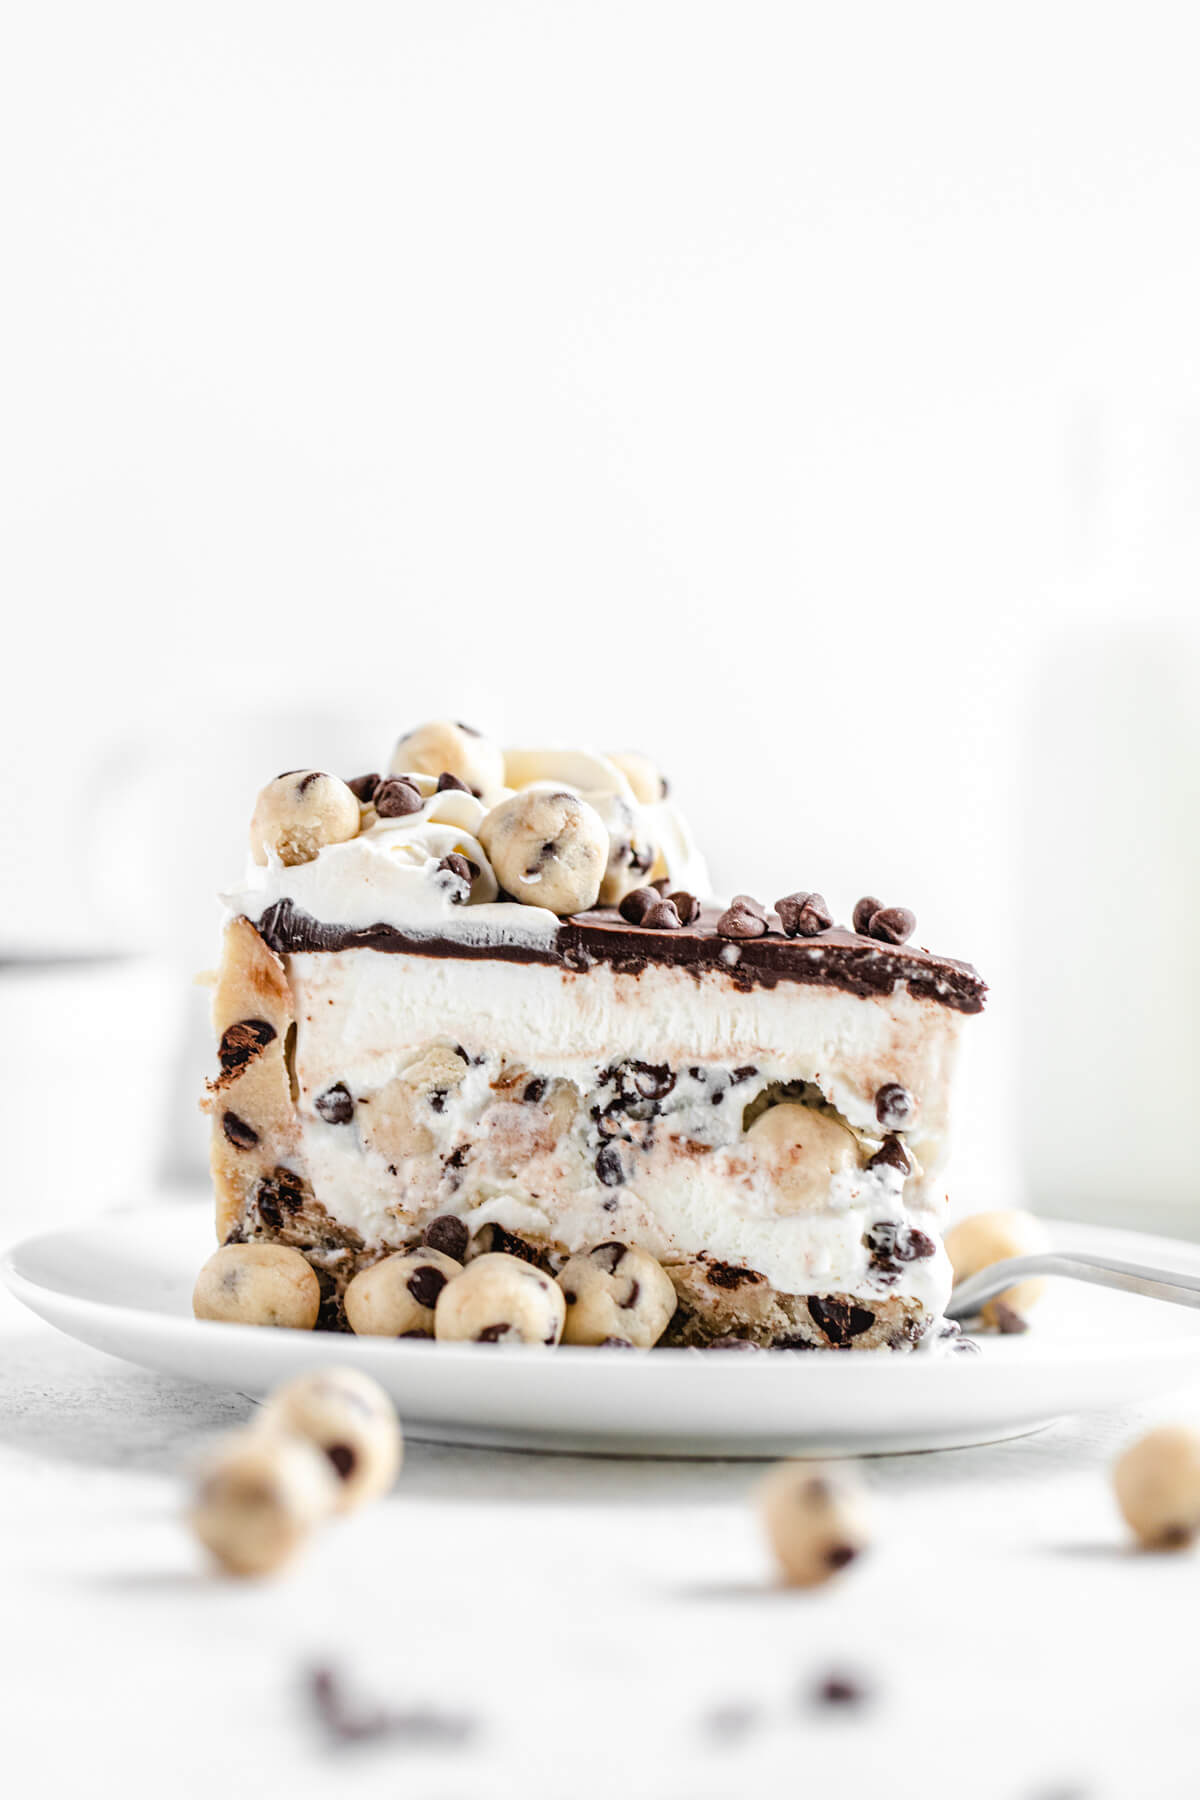
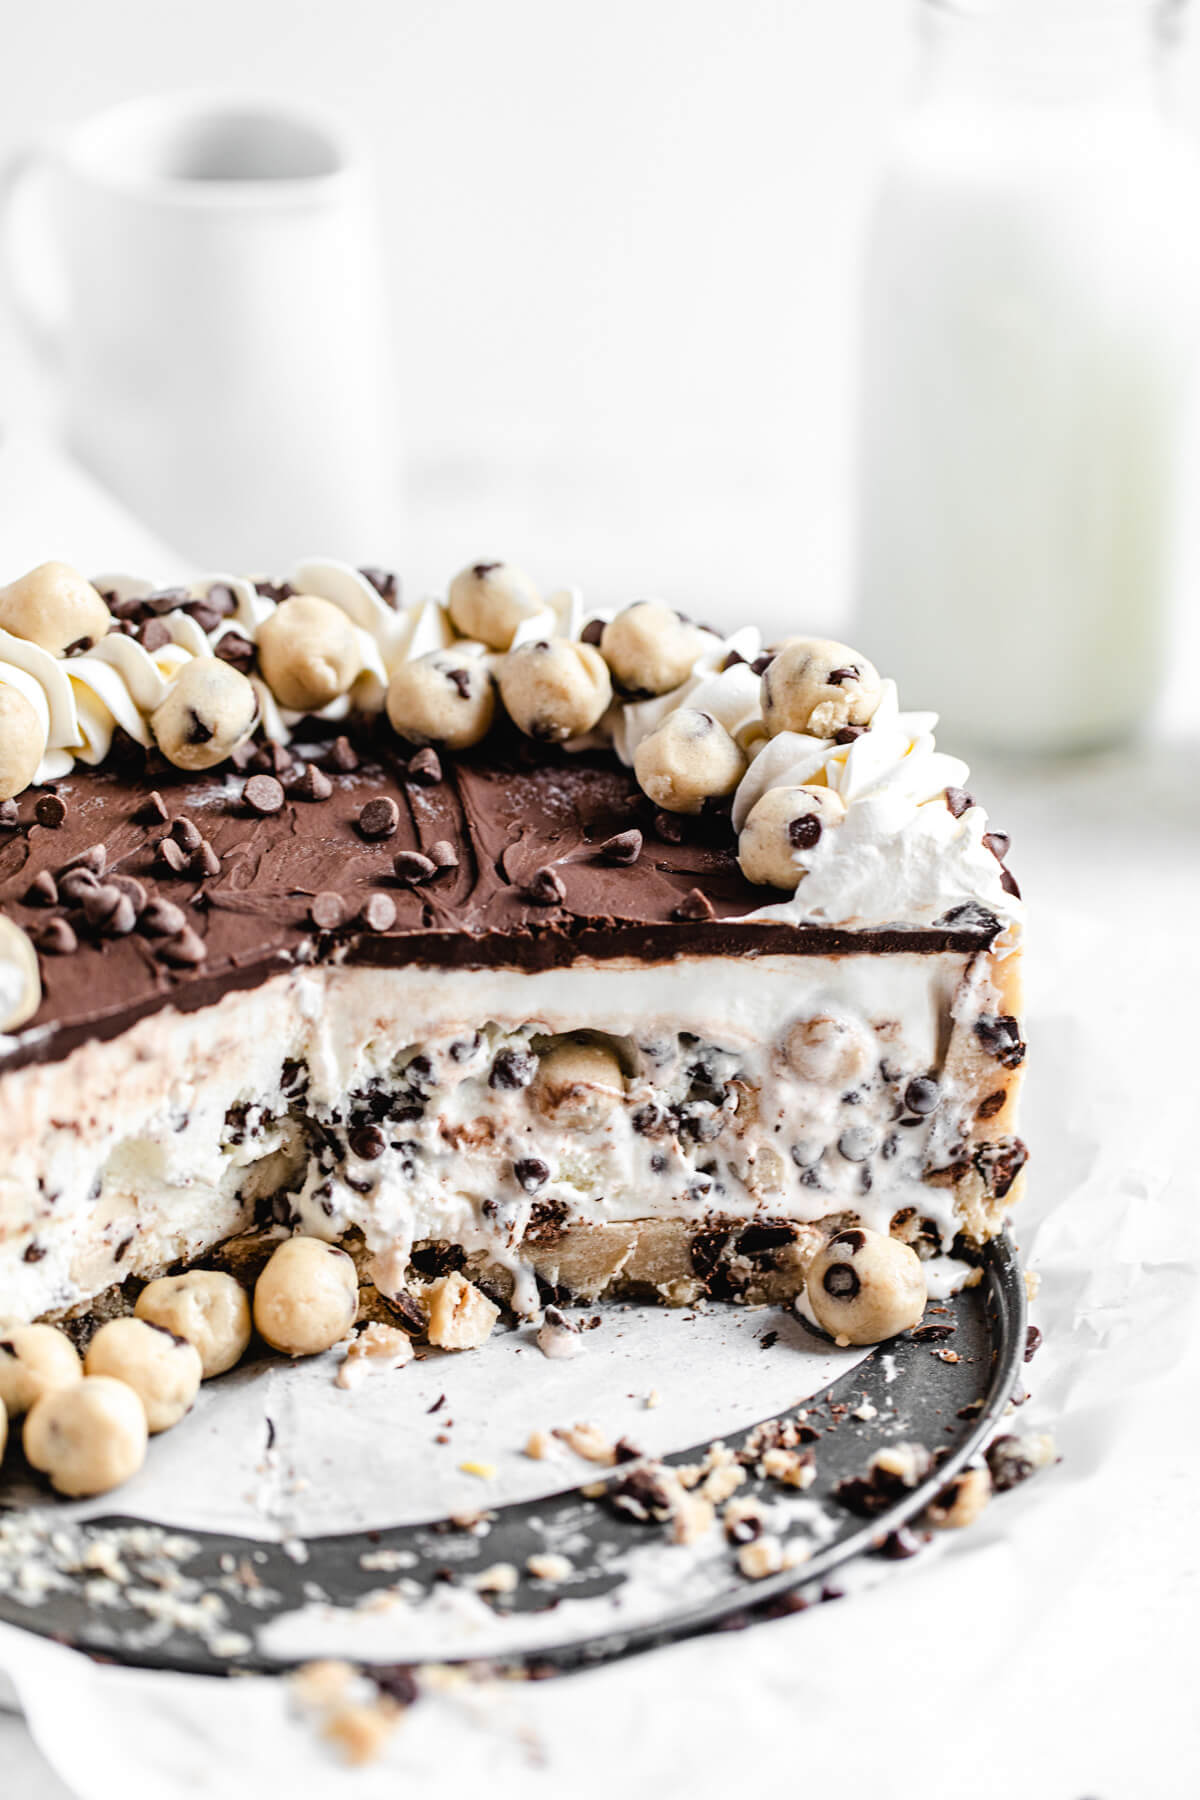
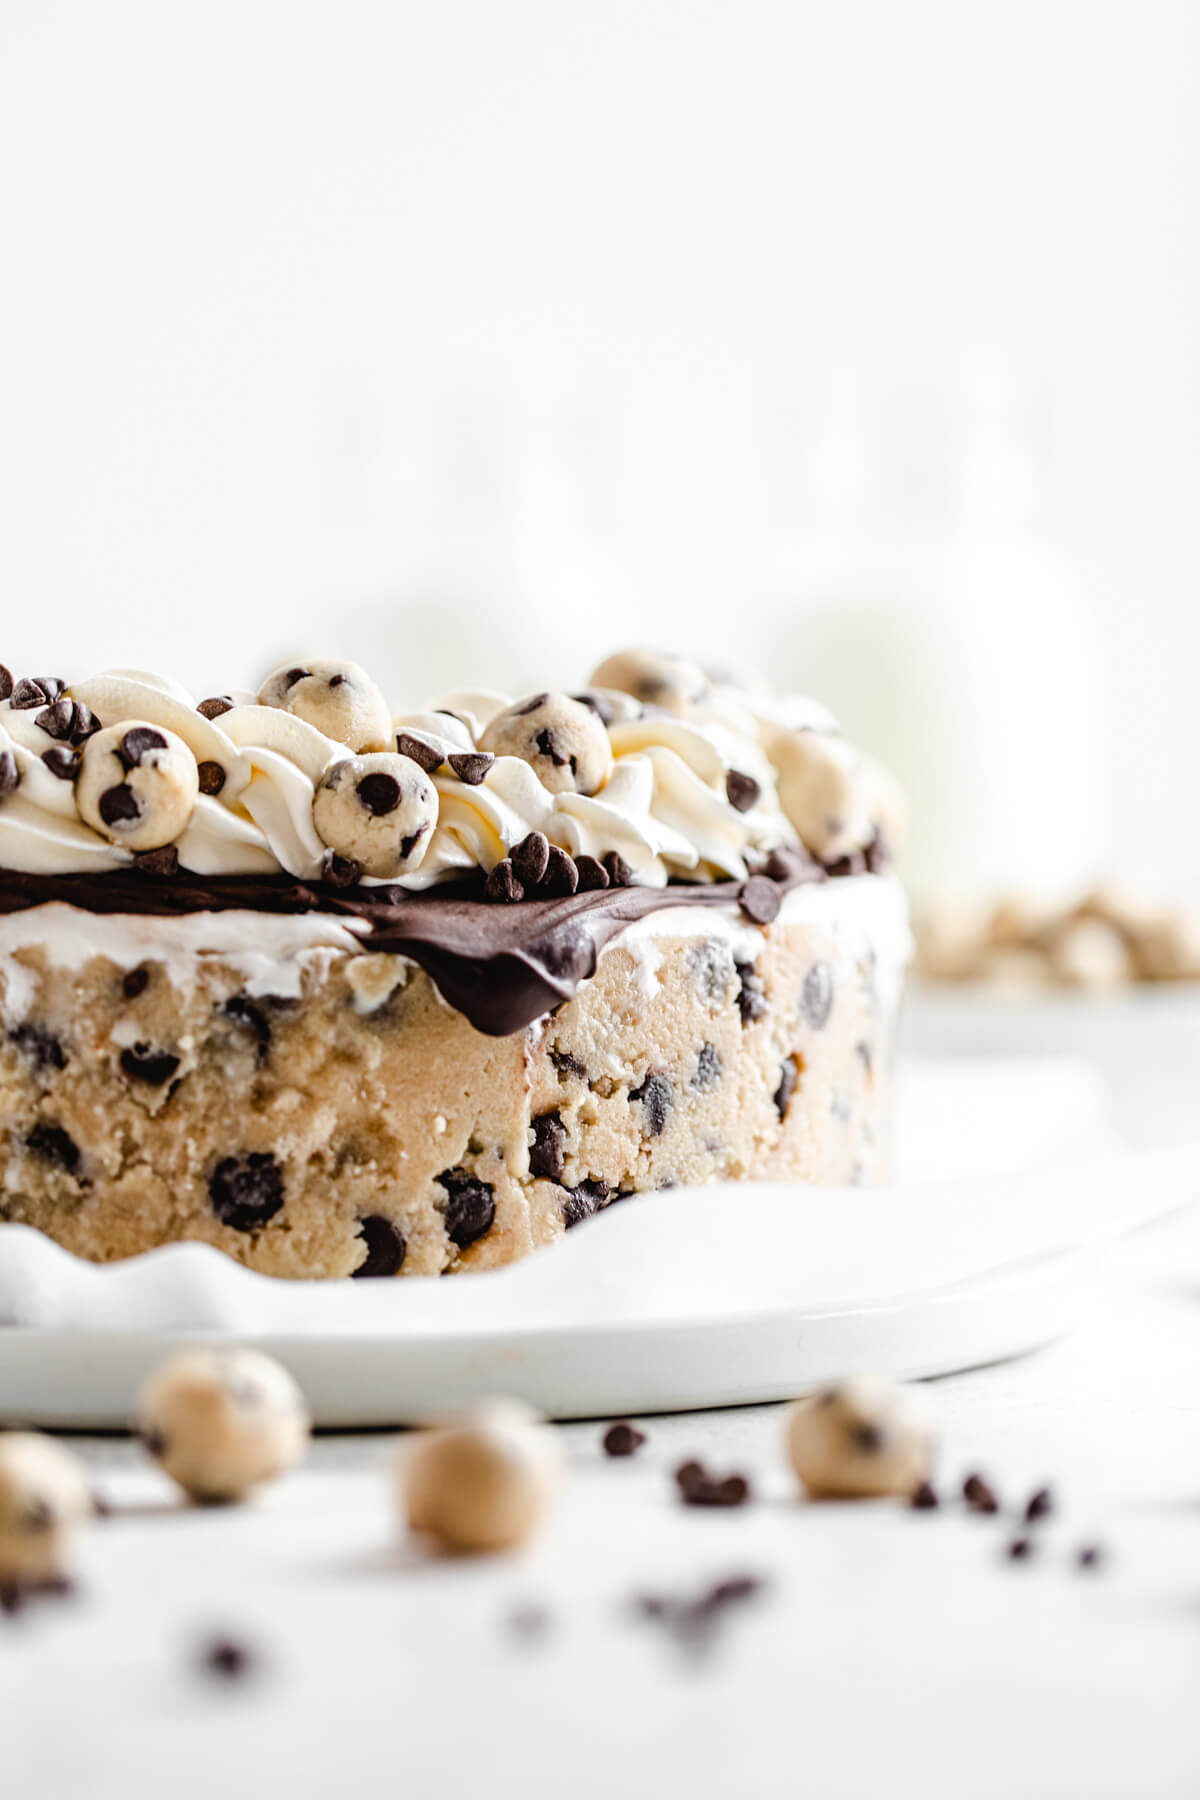
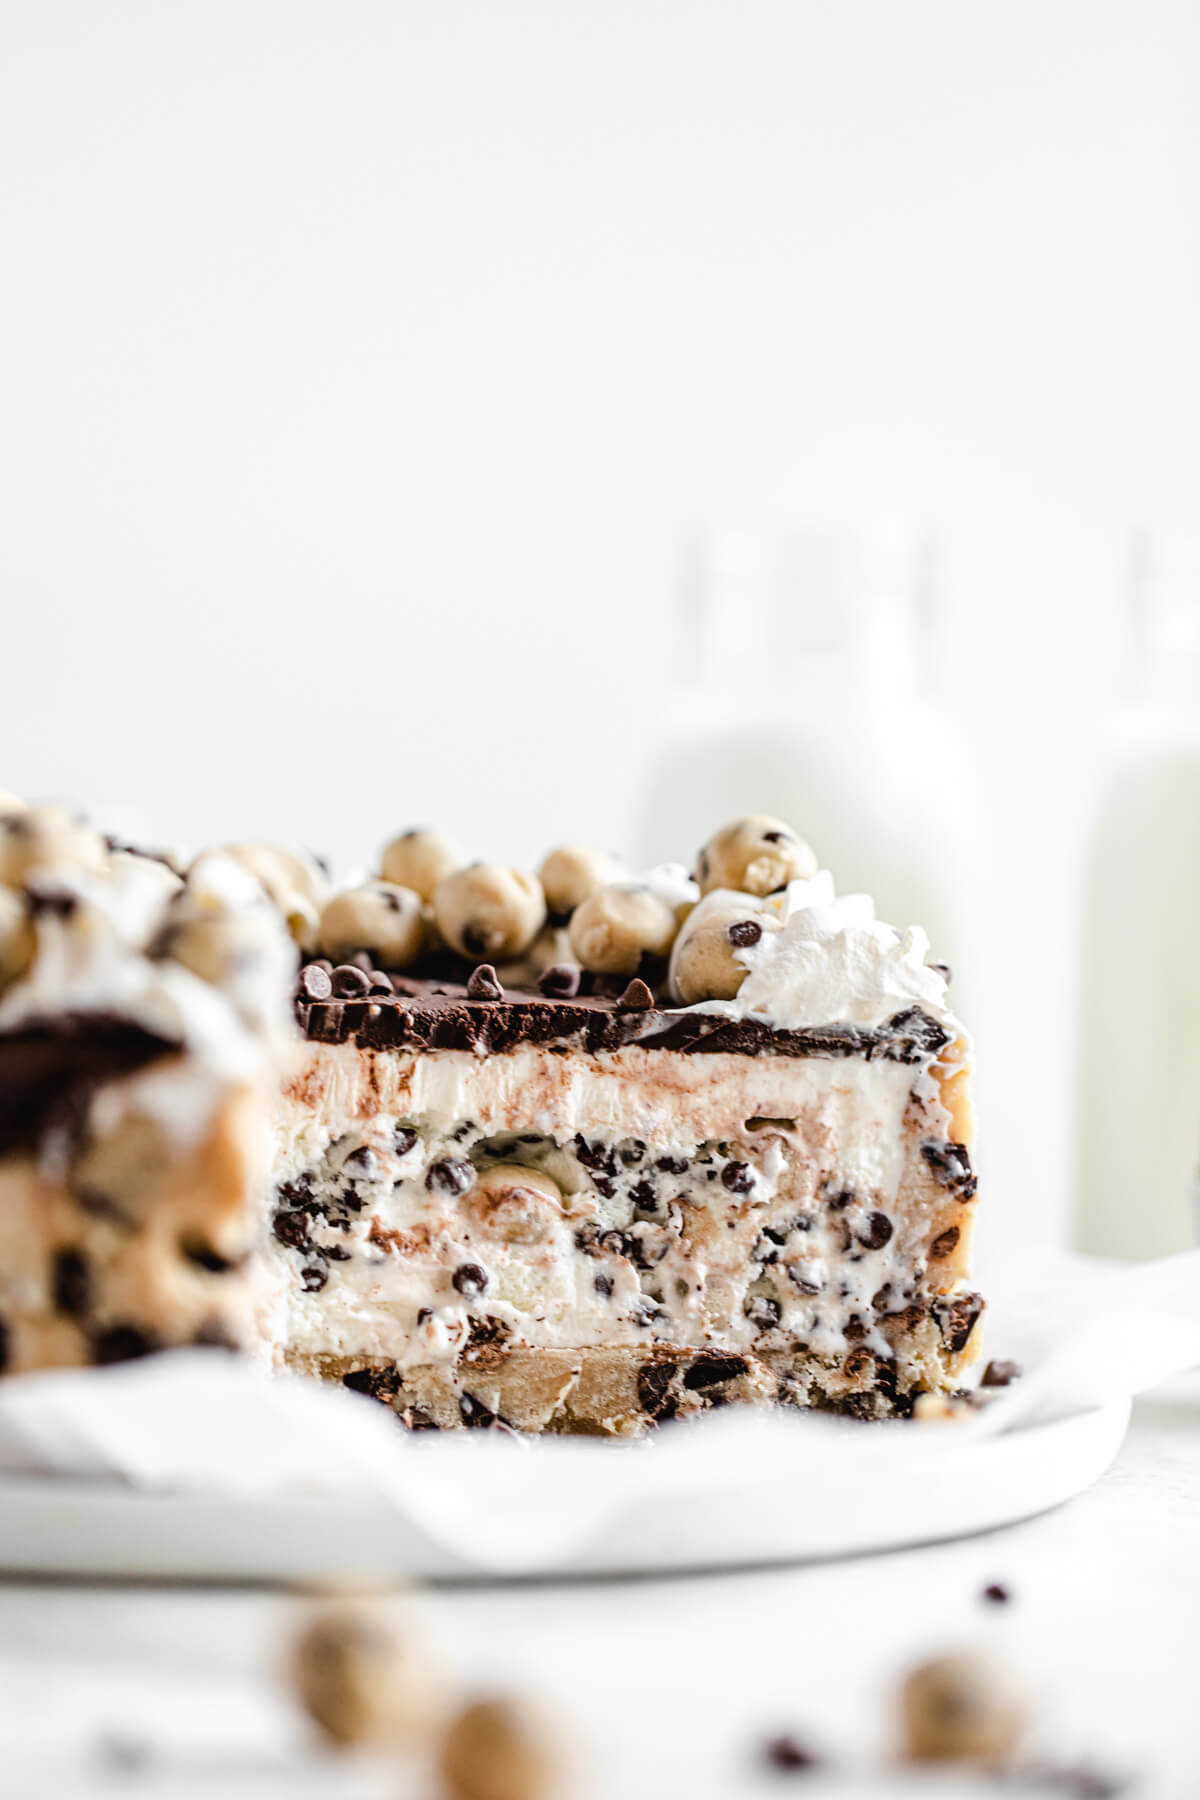
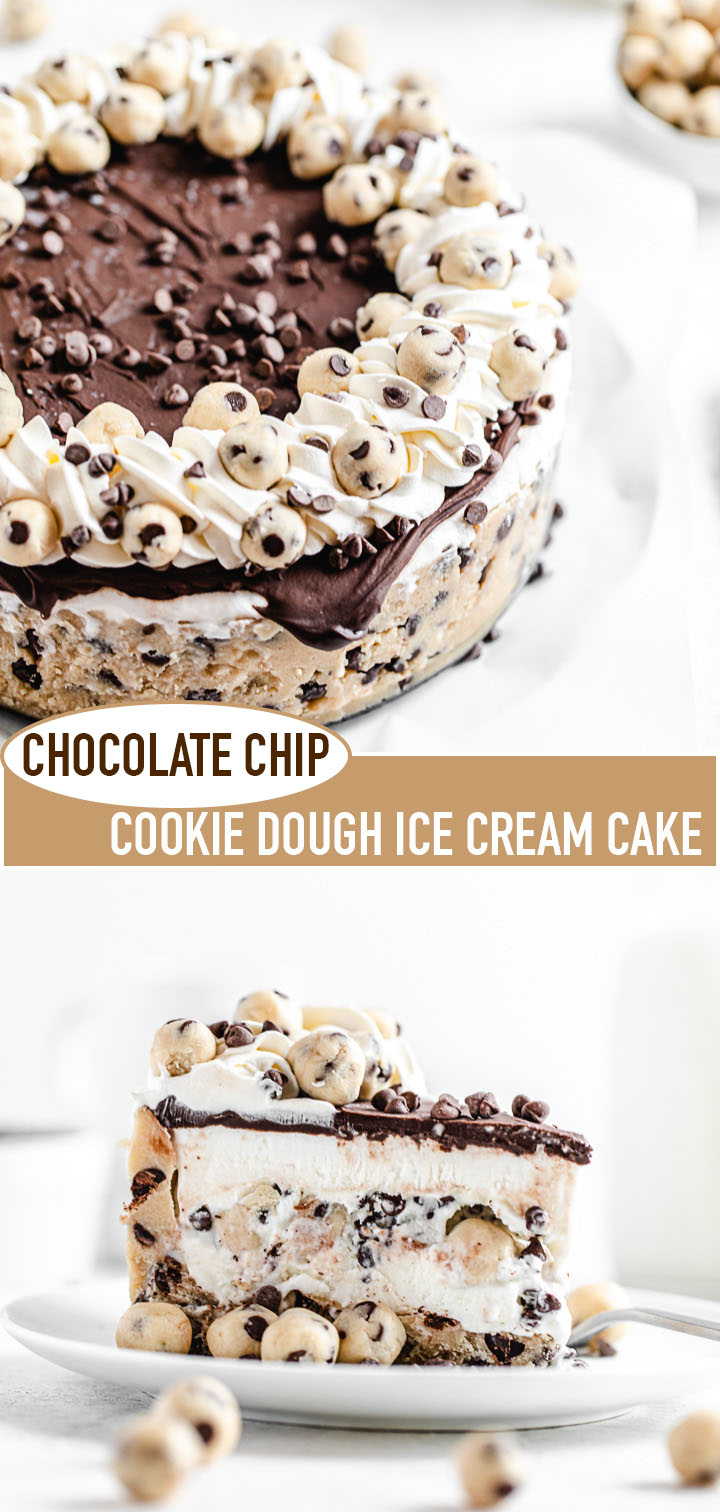
This Chocolate Chip Cookie Dough Ice Cream Cake combines creamy vanilla ice cream with loads of edible cookie dough balls and chocolate chips. All of this creamy goodness is encased in an edible cookie dough crust and topped with rich chocolate ganache for an outstanding summer treat!
This post may contain affiliate links. As an Amazon Associate I earn from qualifying purchases. Please see my full disclosure policy for details.
*This recipe was originally published on July 2, 2018 and was updated on July 23, 2020 with new photos and more helpful information*
Ah, cookie dough, a classic guilty pleasure. I’m pretty sure we’ve all eaten a few spoonfuls of raw cookie dough before baking them. It’s really not the best idea, but it’s so addictive!
I’ve been having a huge craving for cookie dough lately, so this week here at Queenslee Appétit, it’s Cookie Dough Week! This is the first cookie dough recipe I’m posting, but I had so much cookie dough left, so I decided to make another insane cookie dough creation which I’ll be sharing soon.
Update: Here it is! Cookie dough stuffed CUPCAKES!
4 Parts to This Ice Cream Cake
There are 4 things you’ll be preparing to make this ice cream cake:
- Cookie Dough Crust: no baking needed! The cookie dough base is completely edible.
- Mini Cookie Dough Balls: making the cookie dough balls miniature-sized makes the ice cream cake far easier to eat.
- Ice Cream Filling: I was going to make a no-churn ice cream for the filling, but to make things as easy as possible, we’ll be using a tub of vanilla ice cream! Use your favourite brand for the best flavour.
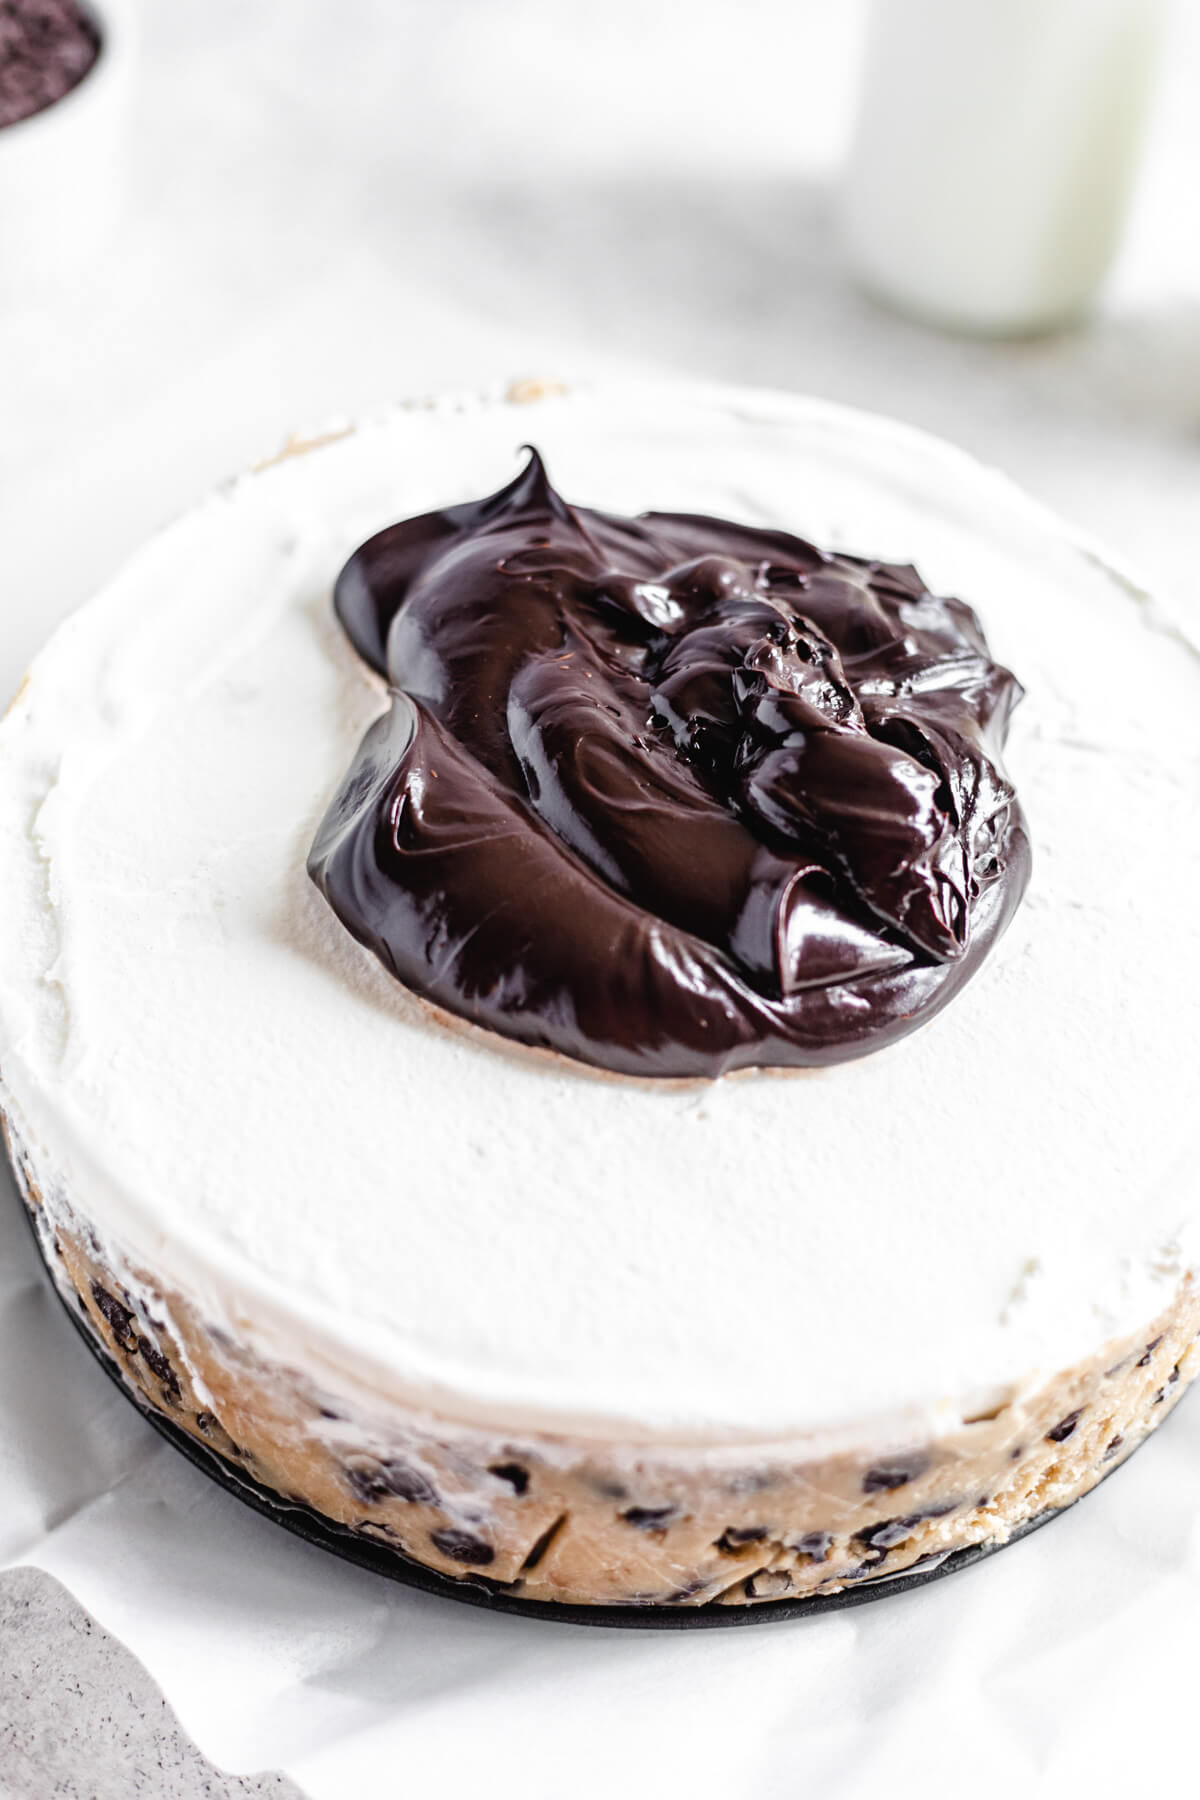
- Ganache Topping: Letting this cool completely is key. Even if it’s only a little warm, the ganache would melt the top layer of ice cream. Once it’s cooled, you can quickly spread it onto the cake with little melting.
Edible Cookie Dough Crust
This crust is pure cookie dough perfection! I’ve seen a lot of edible cookie dough recipes that are simply a basic cookie recipe without the eggs and leaveners (like baking soda and baking powder). I used to think that as long as raw cookie dough was eggless, it would be completely safe, but guess what? It’s NOT!
I learned that consuming raw flour is also unsafe because of dangerous bacteria, so even if your cookie dough has no eggs, you can still get ill because of the flour.
Thankfully, there’s an easy solution! All you need to do is heat treat the flour in the oven to make it perfectly safe for consumption. I baked my flour in the oven at 350°F for 5-10 minutes to kill any of that bacteria before adding it to the rest of my ingredients.
Grease your pan with nonstick spray before adding the cookie dough so it doesn’t stick when removing the springform pan ring.
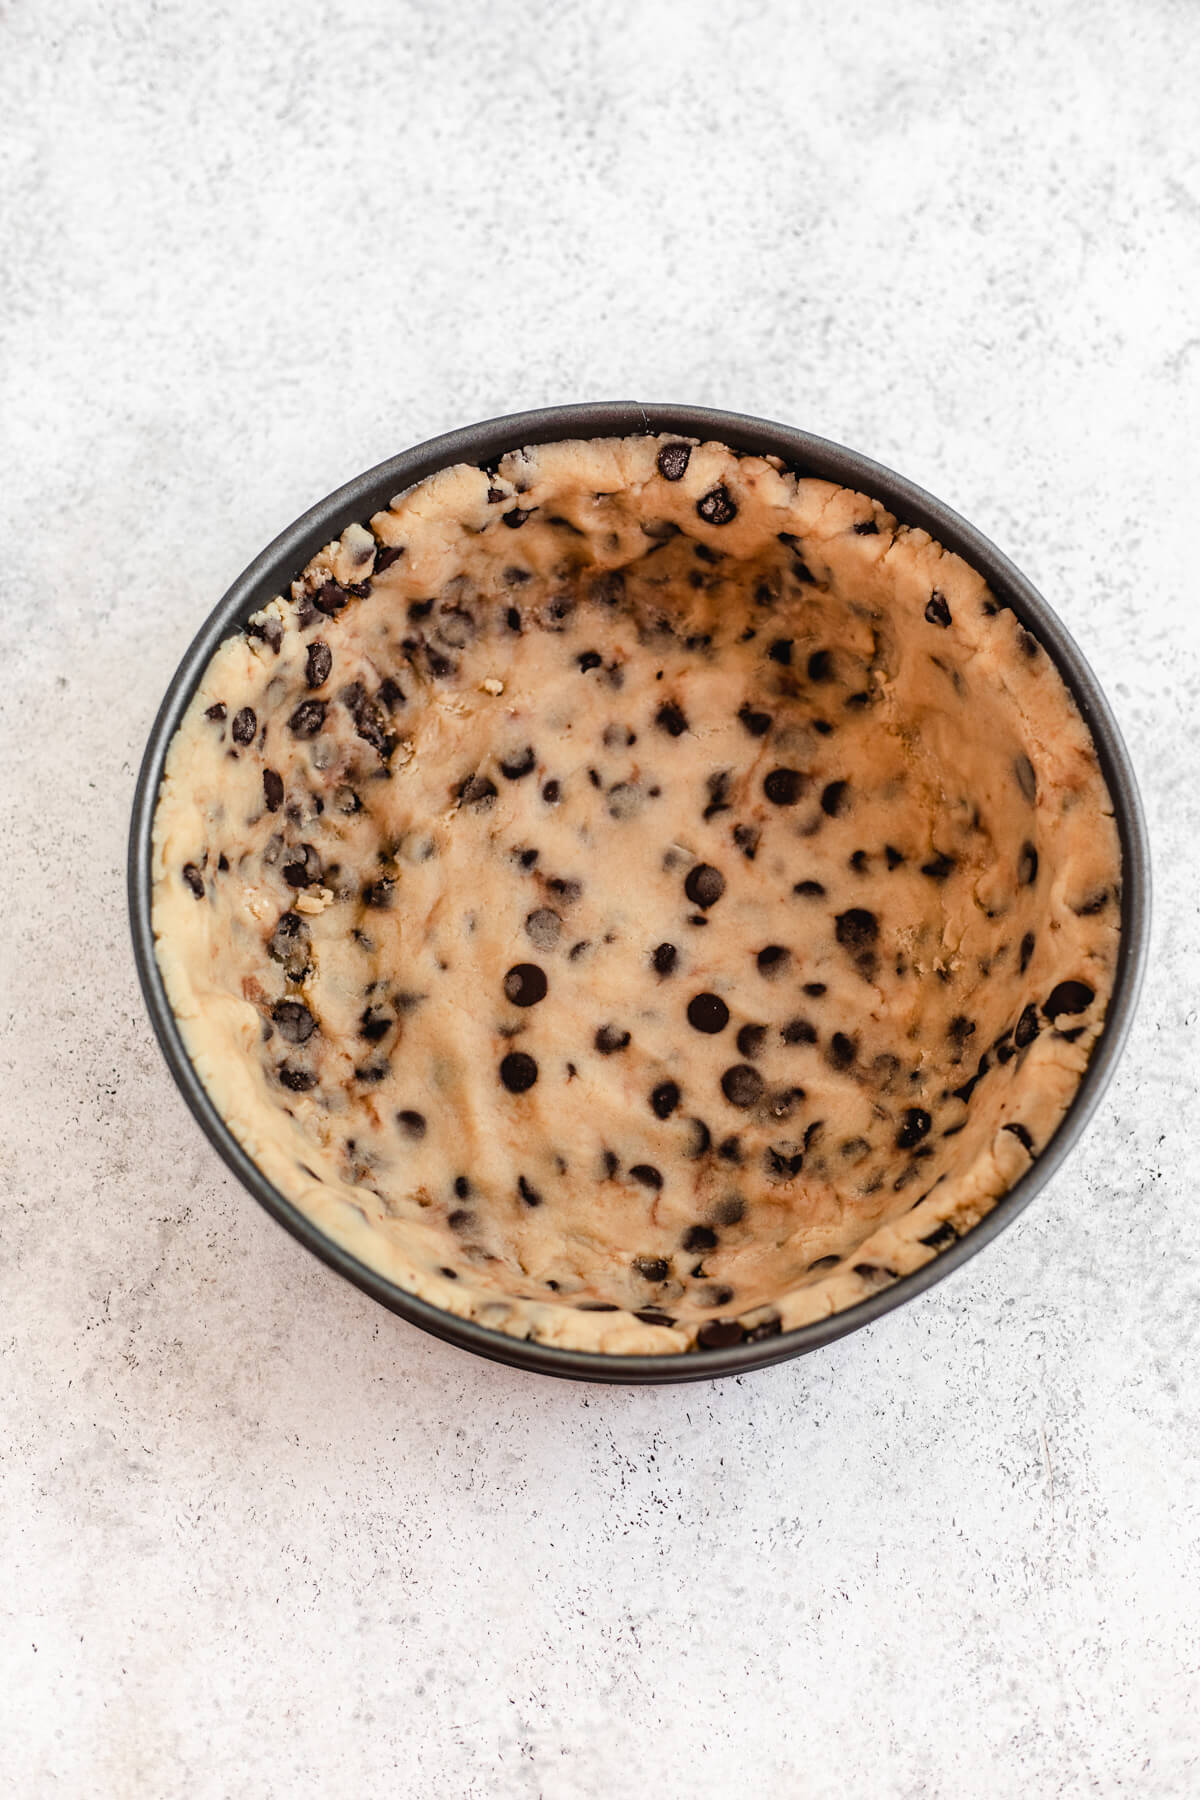
To press the cookie dough into the pan, use your fingers to flatten down the bottom into an even layer. Use your fingers to press up the excess cookie dough around the sides. Then use your knuckles to push into the creases to make your crust as straight as possible.
Edible Cookie Dough Balls
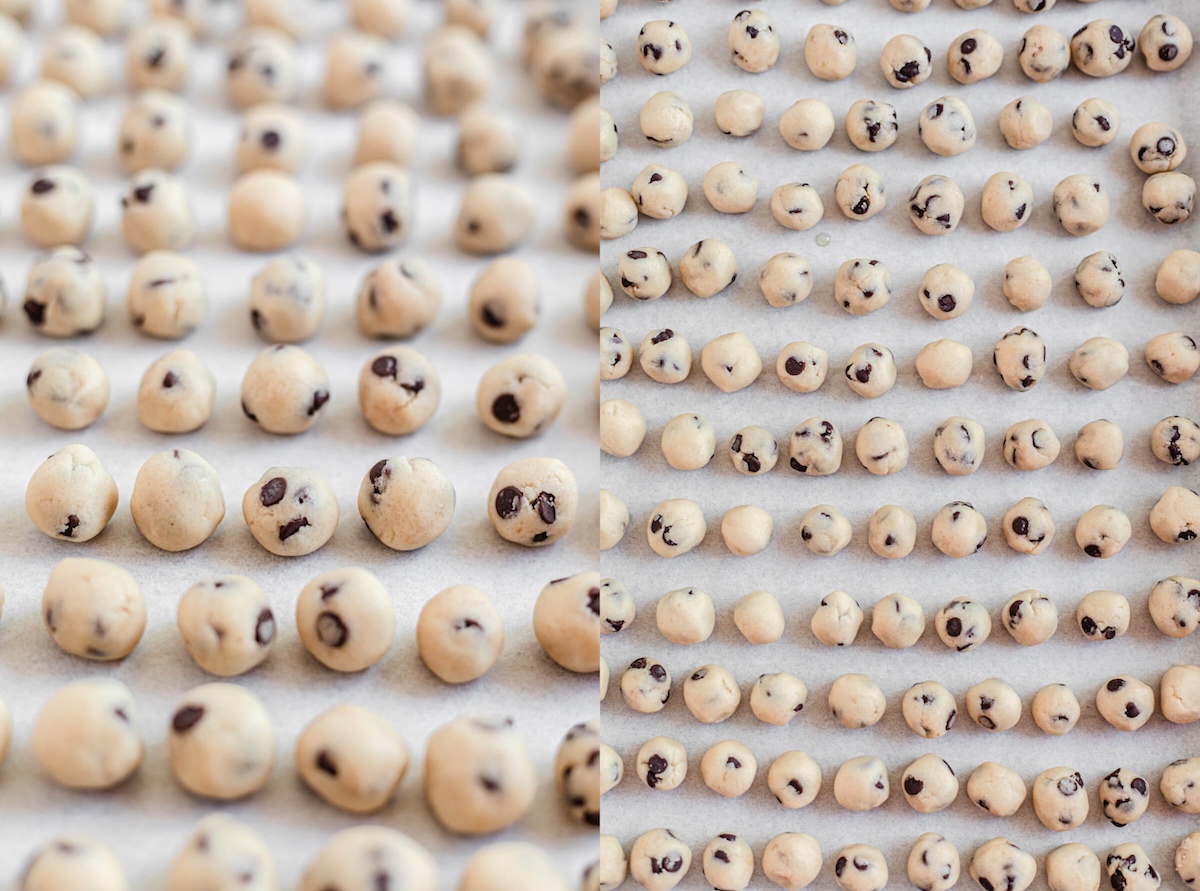
Once you’re done with the crust, you’re gonna make another batch of edible cookie dough. The reason why you need to make two separate batches is because the cookie dough balls need mini chocolate chips to make them easier to roll in a smooth ball.
I used a ½ teaspoon measuring spoon to roll out mini cookie dough balls. You should end up with enough to mix into the ice cream and decorate on top. The first time I made this cake, I rolled out 1 tablespoon sized dough which made the cake difficult to slice and eat.
So I highly recommend keeping them small, at least for the filling. You can, however, roll out bigger portions to decorate the top with. You can also roll them all out in 1 tablespoon portions and cut them into quarters.
Cookie Dough Ice Cream Filling
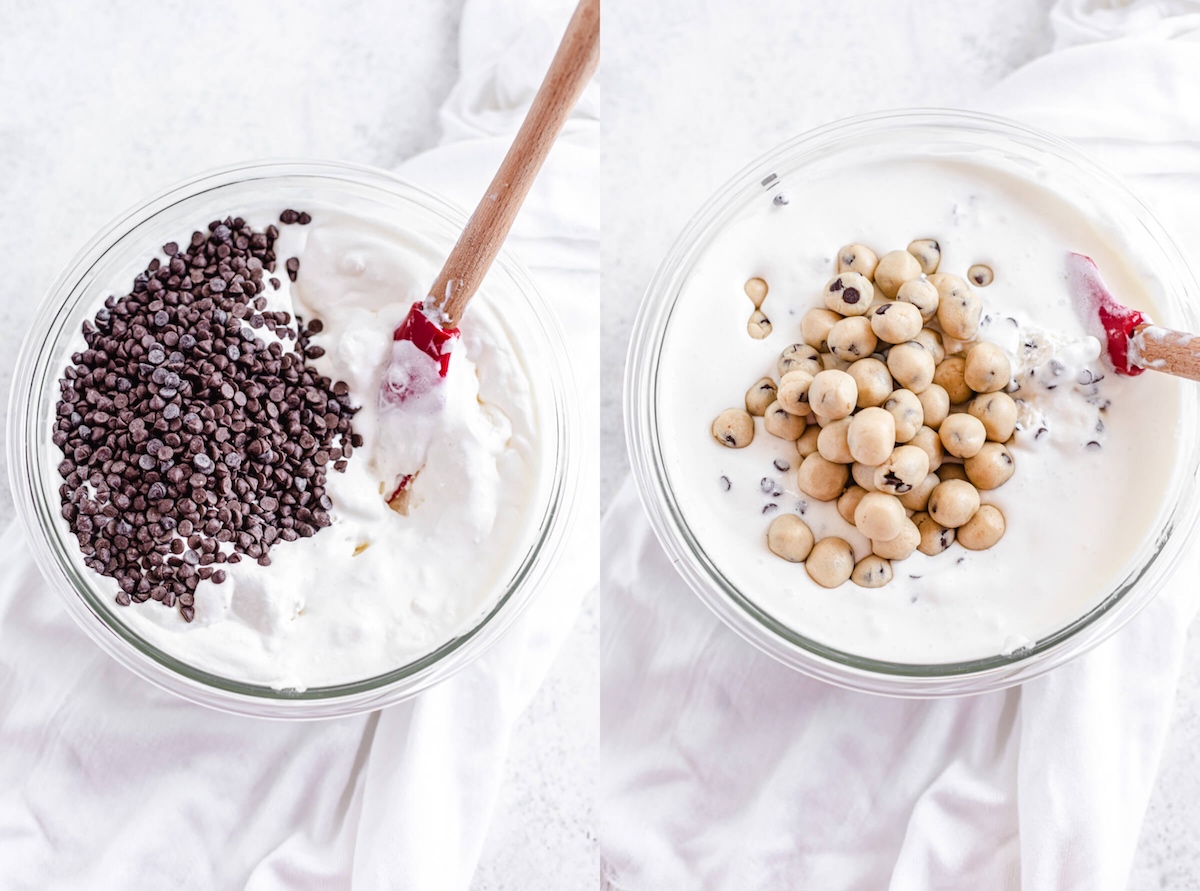
You’ll need to leave the ice cream out at room temperature for at least 30 minutes to an hour, depending on how frozen your ice cream was. You want the ice cream to be nice and soft so we can easily mix in the cookie dough balls and chocolate chips and spread it smoothly in the pan. It shouldn’t be completely melted though, because the chocolate chips will just sink to the bottom.
Ganache Topping
As I mentioned above, after making the ganache, allow it to cool COMPLETELY. I let mine sit at room temperature for 2-3 hours. You definitely don’t need to let it sit for that long. You can either keep it in the refrigerator and stir it every 30 minutes to keep it loose or you could drizzle the ganache on top instead of spreading it.
The ice cream should be frozen solid before you pour the ganache on top. Still, a very thin layer of ice cream on the top can start to melt while you’re spreading the ganache, which would cause it to move around so work as quickly as possible then immediately pop it back in the freezer for at least an hour or two.
Let’s Decorate!
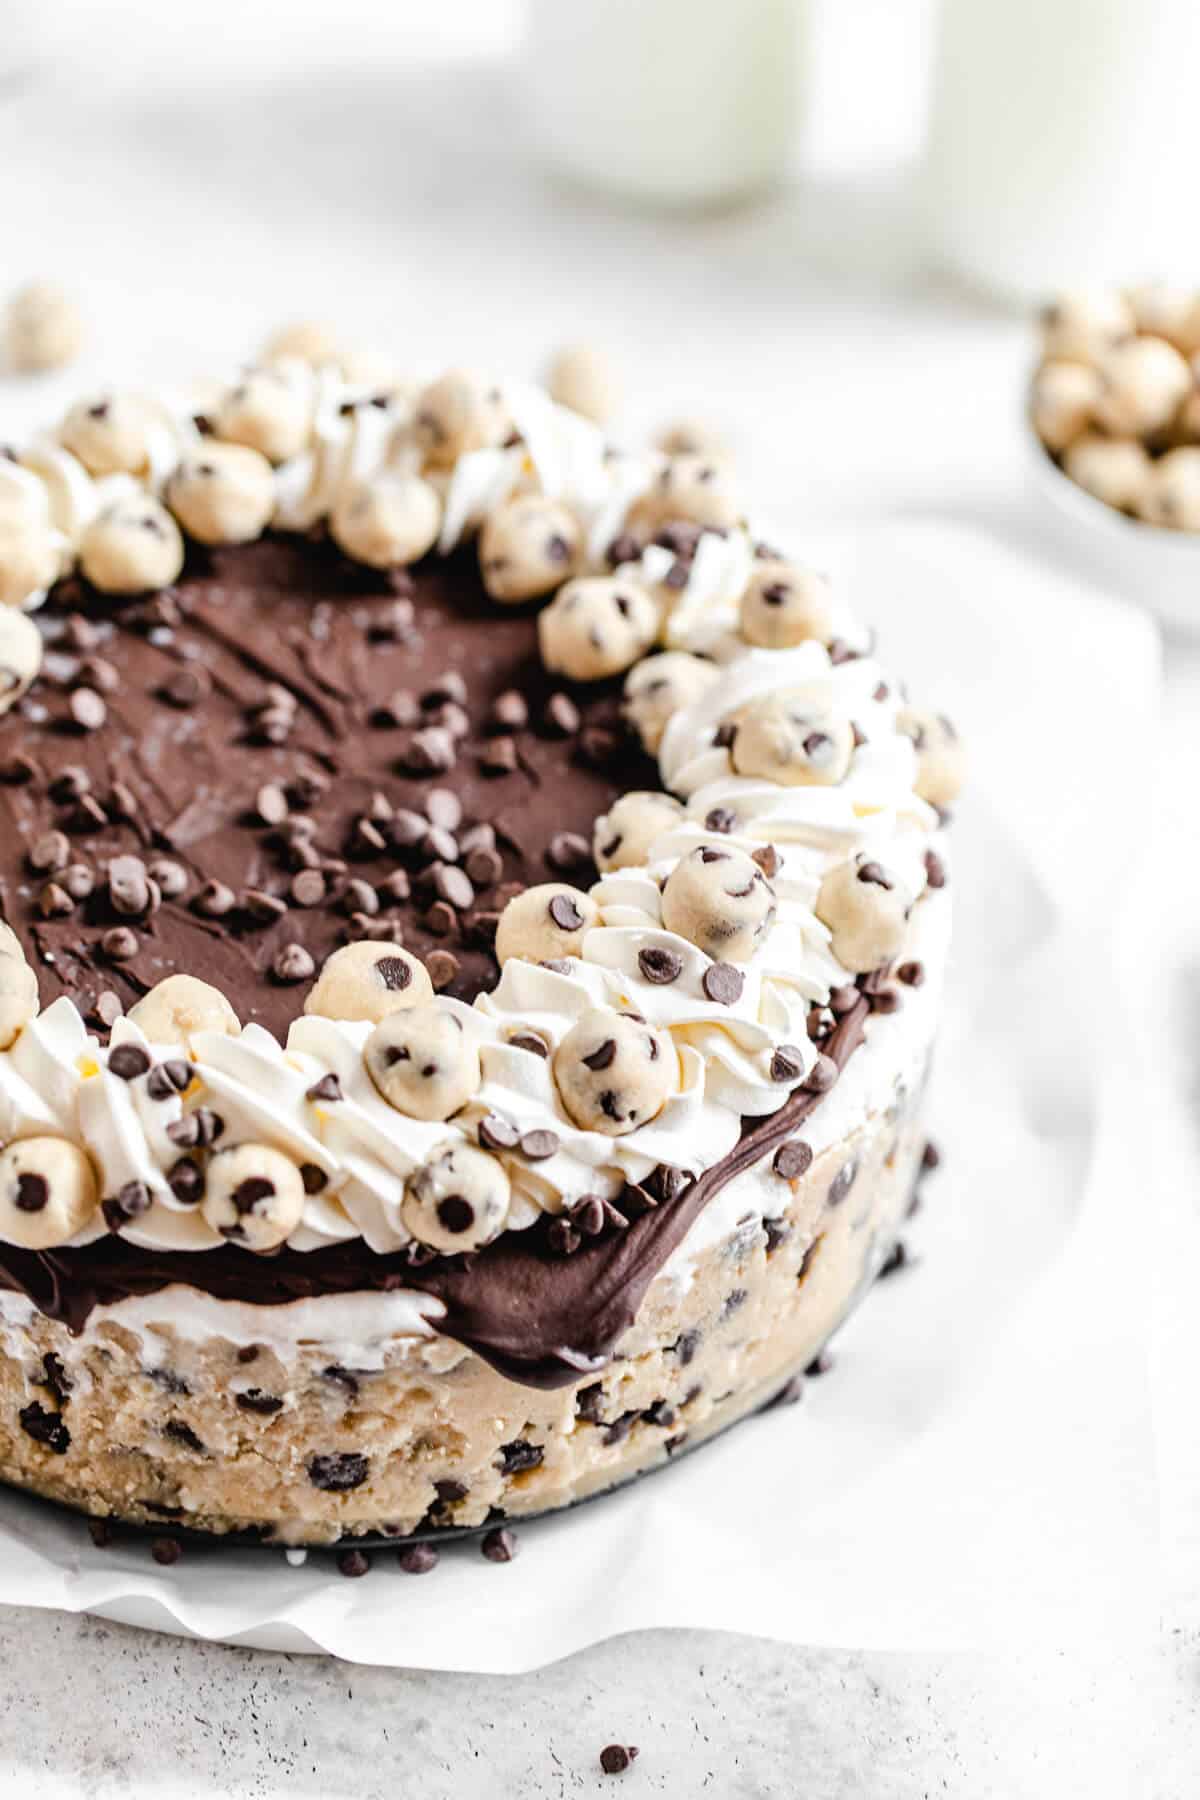
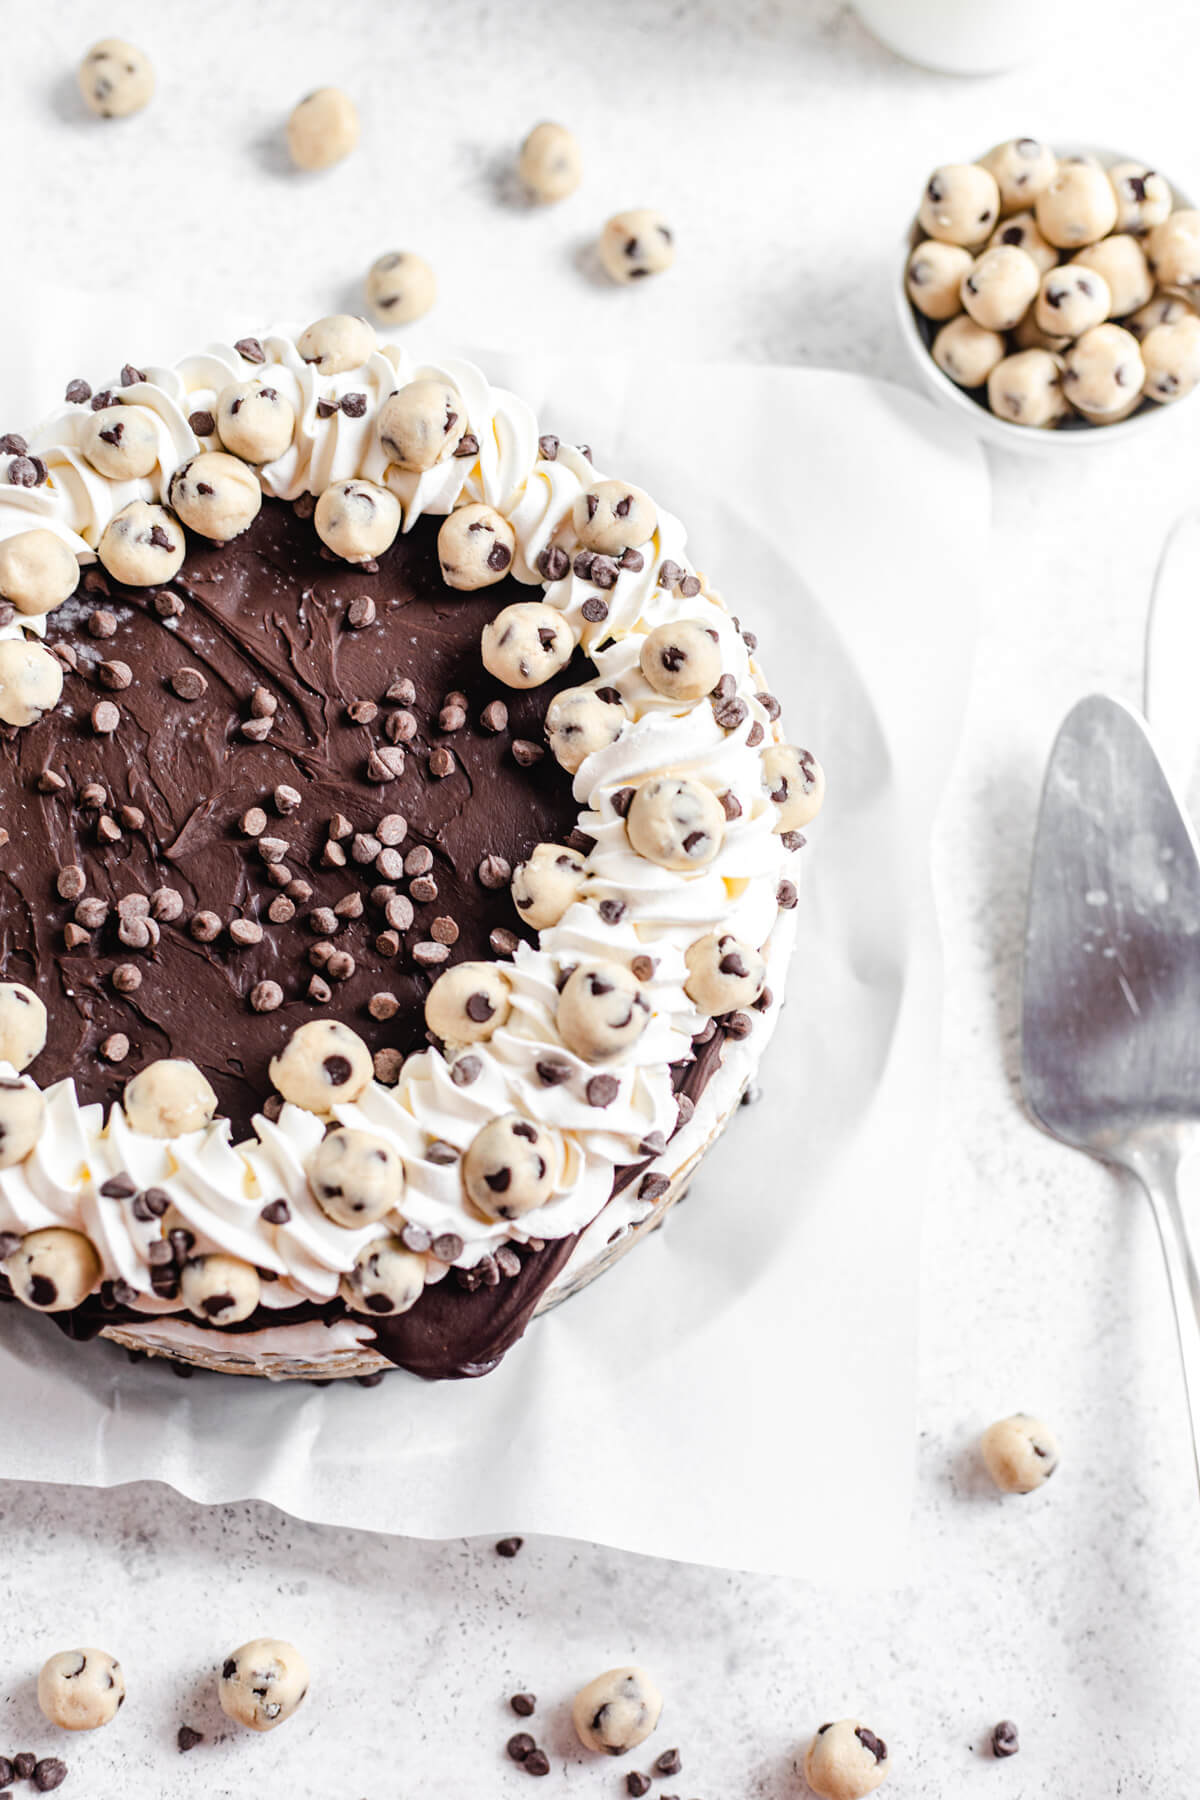
I didn’t really like the way I decorated this cake last time, so for my new decoration, I started by piping a rope of whipped cream around the edges. No recipe here, I just used a tub of cool whip.
Next, sprinkle some mini chocolate chips over the whipped cream and in the centre of the cake. Take your extra cookie dough balls and arrange them over the whipped cream, around the edges and in the corners.
How Do You Eat This Thing?
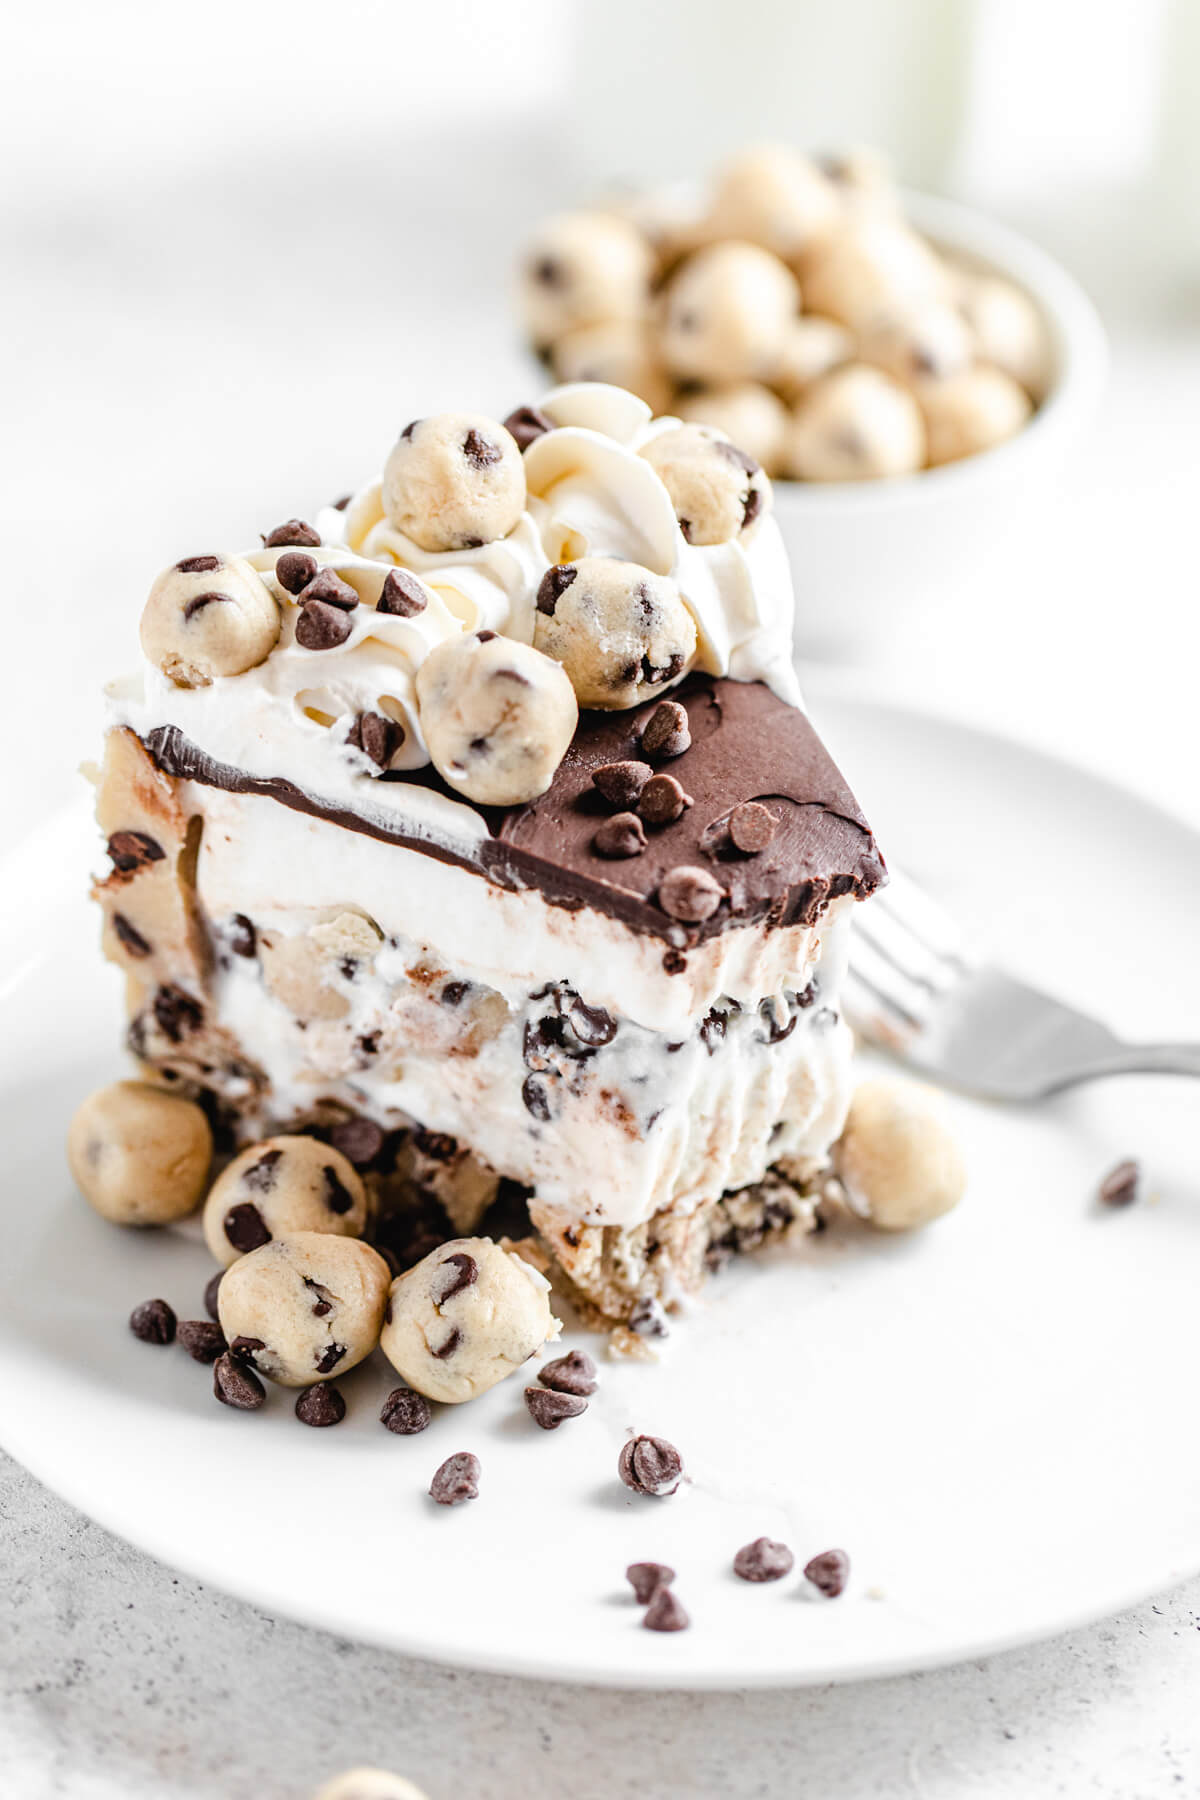
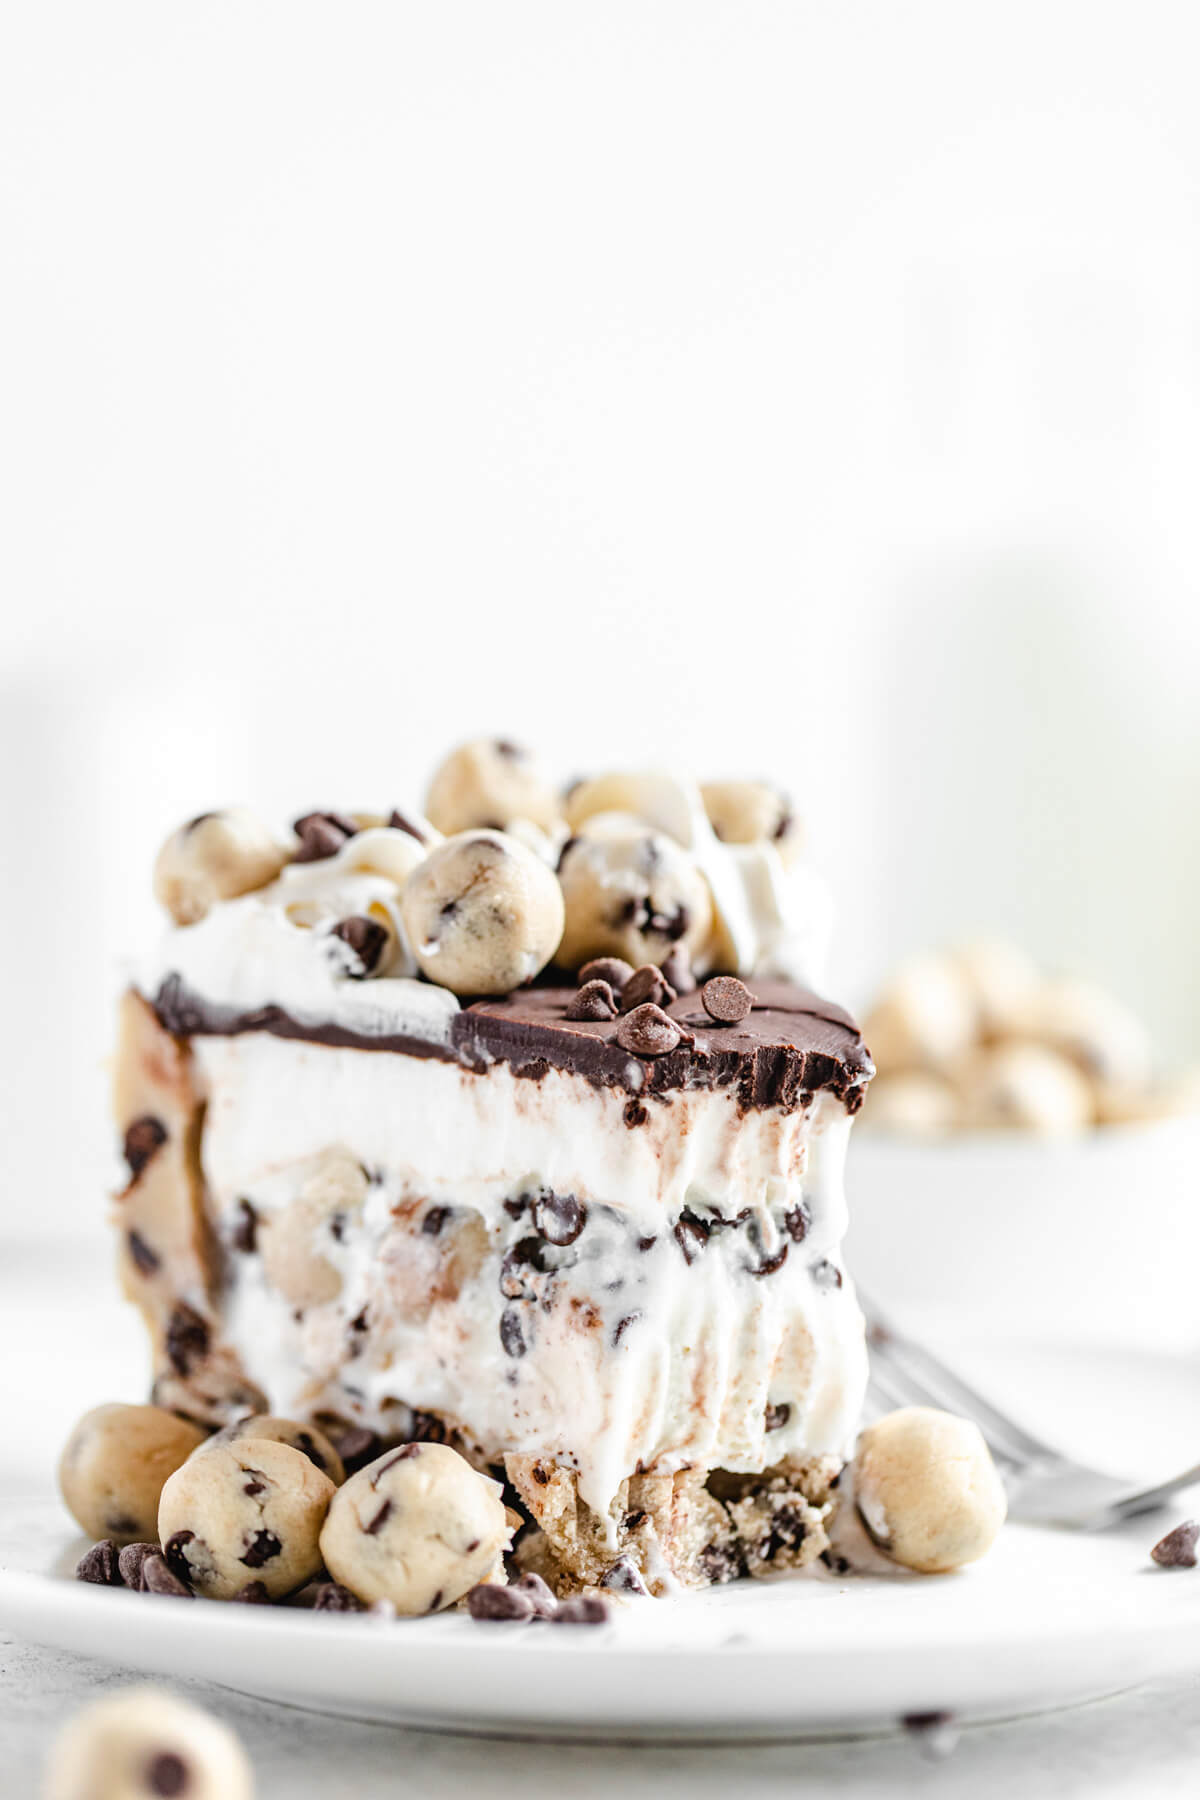
So you’re probably wondering, with the frozen cookie dough crust, frozen cookie dough balls and ganache — how the heck do you eat this? Well after many, many tests, I found the best plan of attack is to:
- Use a regular fork, not a plastic fork or a spoon.
- Eat the ice cream filling and ganache topping first. I’m one of the few normal people who let’s my ice cream melt in my mouth rather than eating it with my teeth. Combine this with the ganache and they both just melt in your mouth, then you can enjoy the chocolate chips and cookie dough that was stuffed inside
- Once you’re done with all that, the cookie dough bottom should have thawed enough for you to enjoy as an extra snack!
If you’re in love with cookie dough and ice cream, like I am, I highly encourage you to make this ice cream cake! We have 100% safe-to-eat cookie dough, creamy ice cream, chocolate chips AND ganache! This is the perfect treat to beat the heat, and it’s a dessert you’ll want to make every summer!
SHARE YOUR PICS!
Follow me on Instagram and tag #queensleeappetit so I can see and share all of your Queenslee Appétit creations in my stories and the QA Newsletter!
>>PIN ME FOR LATER<<
FOLLOW QUEENSLEE APPÉTIT
Like what you see? Make sure you‘re following Queenslee Appétit for more tasty recipes!
Pinterest | Instagram | Facebook | Twitter |
Have any questions about the recipe? Contact me here, and I’ll be happy to help!
SWEETEN UP YOUR INBOX!
SUBSCRIBE to the Queenslee Appétit Newsletter to recieve new recipe notifications, monthly baking tips, sneak peeks to upcoming recipes, exclusive recipes and more!
Let’s get baking!
Chocolate Chip Cookie Dough Ice Cream Cake
This Chocolate Chip Cookie Dough Ice Cream Cake combines creamy vanilla ice cream with loads of edible cookie dough balls and chocolate chips. All of this creamy goodness is encased in an edible cookie dough crust and topped with rich chocolate ganache for an outstanding summer treat!
Ingredients
Edible Cookie Dough Balls:
- 1 and ¼ cups all purpose flour
- ½ cup unsalted butter, cold
- ½ cup light brown sugar, packed
- ½ cup granulated sugar
- 1 teaspoon pure vanilla extract
- ¼ teaspoon salt
- 2-4 tablespoon milk
- ½ cup mini semisweet chocolate chips
Edible Cookie Dough Crust:
- 2 and ½ cups all purpose flour
- 1 cup unsalted butter, cold
- 1 cup light brown sugar, packed
- ½ cup granulated sugar
- 2 teaspoon pure vanilla extract
- ½ teaspoon salt
- ¼ cup milk
- 2 cups semisweet chocolate chips
Cookie Dough Ice Cream Filling:
- 1.5 L carton vanilla ice cream, softened (see notes)
- 1 and ½ cups Edible cookie dough balls (recipe above)
- 1 cup mini semisweet chocolate chips
Ganache Topping:
- 1 cup dark chocolate chips
- ½ cup heavy cream
Optional Toppings:
- Whipped Cream
- Extra cookie dough balls
- Mini chocolate chips
Instructions
Baking the Flour:
- Preheat oven to 350°F. Line a baking sheet with parchment paper or a Silpat mat. Pour 1 and ¼ cup of flour onto the baking sheet and spread into an even layer. Bake flour in preheated oven for 5 minutes. Pour into a separate bowl and set aside to cool, keep the oven on.
- Pour the 2 and ½ cups of flour onto the same baking sheet and bake in preheated oven for 10 minutes. Pour into a separate bowl and set aside to cool.
For the Edible Cookie Dough Balls:
- Microwave the cold butter for 15-25 seconds, or until it’s only half melted.
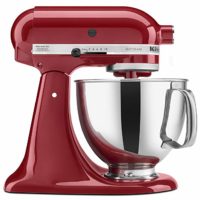
- In the bowl of a stand mixer fitted with a paddle attachment, or in a large mixing bowl using a hand mixer, add the half-melted butter and both sugars. Beat on medium speed until light and fluffy, about 4-5 minutes. Mix in vanilla, 1 and ¼ cups of flour and salt.
- If the cookie dough is crumbly, add milk one tablespoon at a time and beat until dough comes together in large clumps. Mix in the mini chocolate chips on low speed.
- Scoop out ½ teaspoon sized portions of cookie dough and roll into a smooth ball. Place onto a prepared baking sheet. You could also scoop out 1 tablespoon sized portions and cut some in half to add to the ice cream. Chill in the refrigerator until ready to use.
For the Edible Cookie Dough Crust:
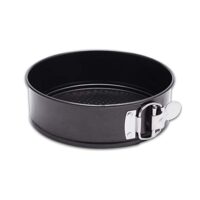
- Line the bottom of a 9-inch springform pan with parchment rounds and grease the sides with non stick cooking spray. Set aside.
- Microwave the cold butter for 30 seconds, or until it’s only half melted.
- In the bowl of a stand mixer fitted with a paddle attachment, or in a large mixing bowl using a hand mixer, add the half-melted butter and both sugars. Beat on medium-high speed until fully combined, about 4-5 minutes. Mix in vanilla, 2 and ½ cups of flour and salt.
- If the cookie dough is crumbly, add milk 1 tablespoon at a time until dough comes together. Slowly mix in chocolate chips.
- Transfer cookie dough to the prepared springform pan and use your clean hands to press the dough into the bottom and up the sides of the pan. Transfer to the freezer while you prepare the filling.
For the Cookie Dough Ice Cream Filling:
- Scrape the softened ice cream into a large bowl. Remove the cookie dough balls from the refrigerator and measure out 1 and ½ cups to add to the ice cream along with the mini chocolate chips.
- Fold in the cookie dough and chocolate chips using a rubber spatula. Remove cookie dough crust from the freezer and pour in the ice cream filling. Spread into an even layer.
- Cover with plastic wrap, placing the plastic directly on top of the surface. Freeze for 6-8 hours or preferably overnight.
For the Ganache Topping:
- In a heat safe bowl, add the chocolate chips and heavy whipping cream and microwave in 30 second intervals, for about 1 minute. Stir slowly until mixture comes together to form a silky ganache.
- Set aside to cool completely for at least 1-2 hours, stirring occasionally. If the ganache is warm, it’ll melt the top layer of ice cream, making it too messy to spread.
Assembly:
- Run a sharp knife around the edges of the pan to loosen the cake. Gently remove the springform pan ring.
- Pour the cooled ganache over the top of the ice cream cake. Immediately return to the freezer for 30 minutes to an hour.
- Once ganache has set, remove cake from freezer and transfer cake to a serving platter.
- Transfer cool whip to a piping bag fitted with a large star tip and pipe a rope border around the edge of the cake.
- Decorate with the remaining mini cookie dough balls and mini chocolate chips. Store finished cake in the freezer until ready to serve. Enjoy!
Notes
- Storage: Store any leftovers in an airtight container in the freezer for up to one week.
- Slicing: I recommend using a sharp knife dipped in hot water (and wiped dry) to cut this cake.
- Vanilla Ice Cream: Let your container of ice cream sit at room temperature for about 30 minutes or longer until it’s soft-serve consistency.
Recommended Products
As an Amazon Associate and member of other affiliate programs, I earn from qualifying purchases.
Nutrition Information:
Yield: 12 Serving Size: 1Amount Per Serving: Calories: 1037Total Fat: 61gSaturated Fat: 37gTrans Fat: 0gUnsaturated Fat: 21gCholesterol: 106mgSodium: 272mgCarbohydrates: 124gFiber: 6gSugar: 101gProtein: 9g
BON APPÉTIT!
Love, Dedra
©QUEENSLEE APPÉTIT. All images & content are copyright protected. Please do not use my images without prior permission. If you want to republish this recipe, please re-write the recipe in your own words, or link back to this post for the recipe.



Aspen
this looks absolutely fantastic! found this recipe on a tumblr post, and i'm definitely going to try this at some point in time. huge fan of the ganache layer on top, it looks super yummy and i'm guessing it probably helps to prevent the ice cream absorbing unwanted flavours/odours in the freezer