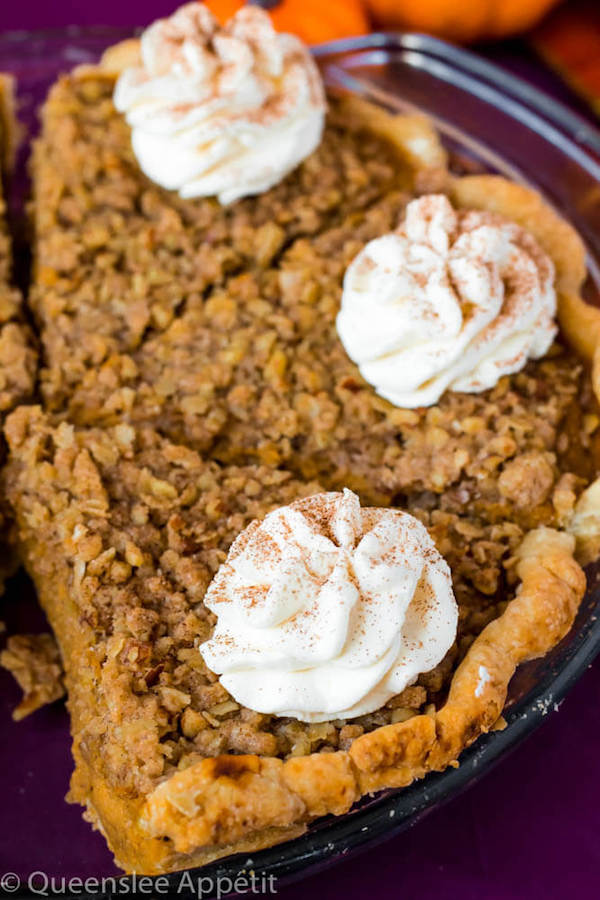
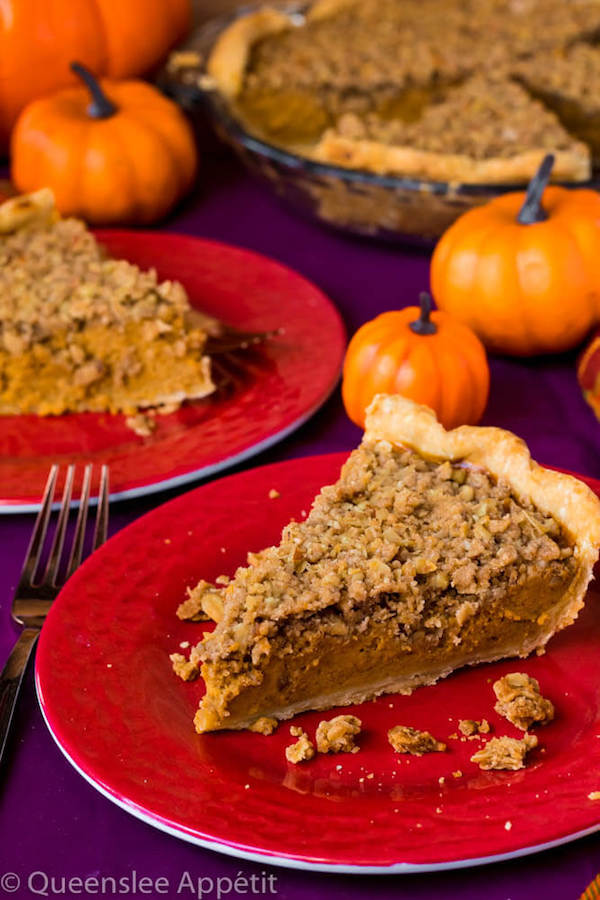
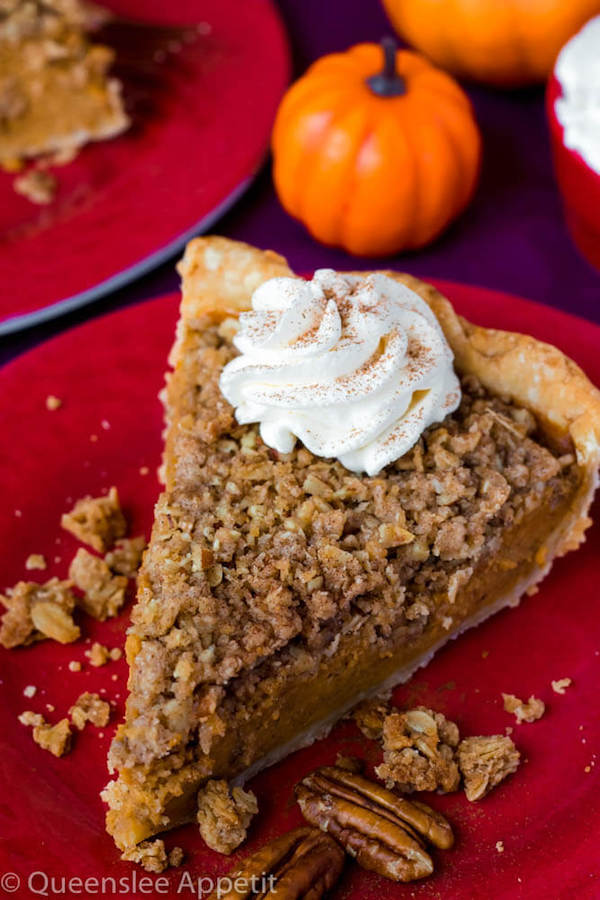
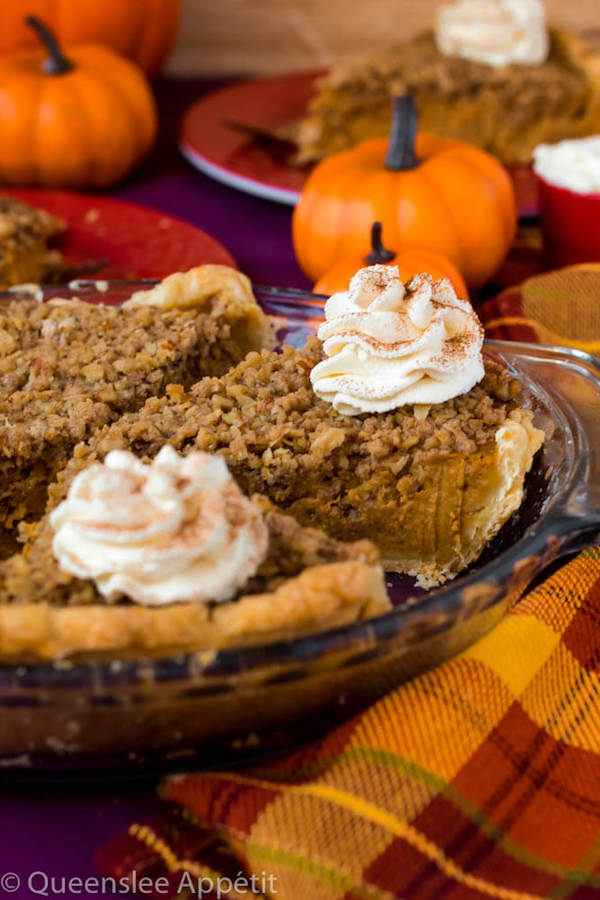
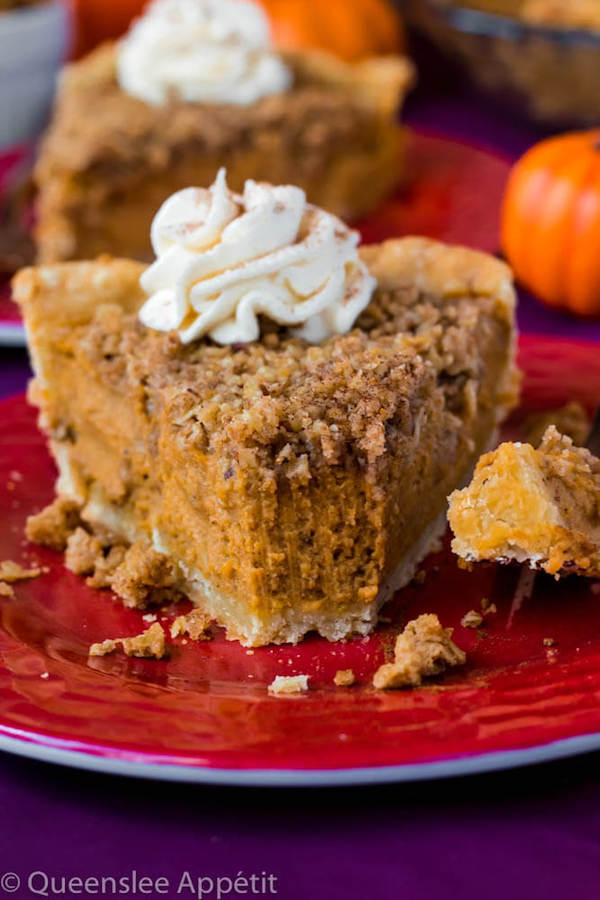
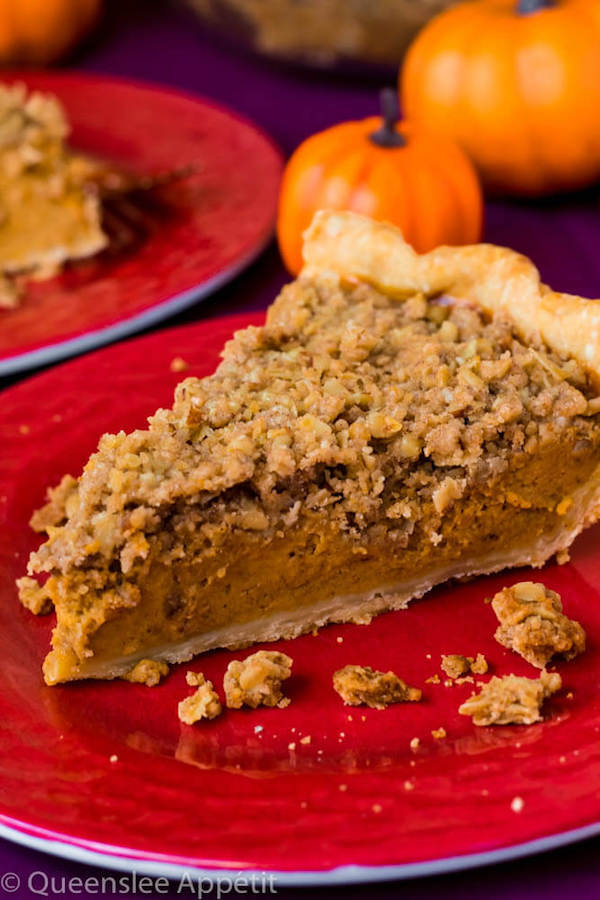
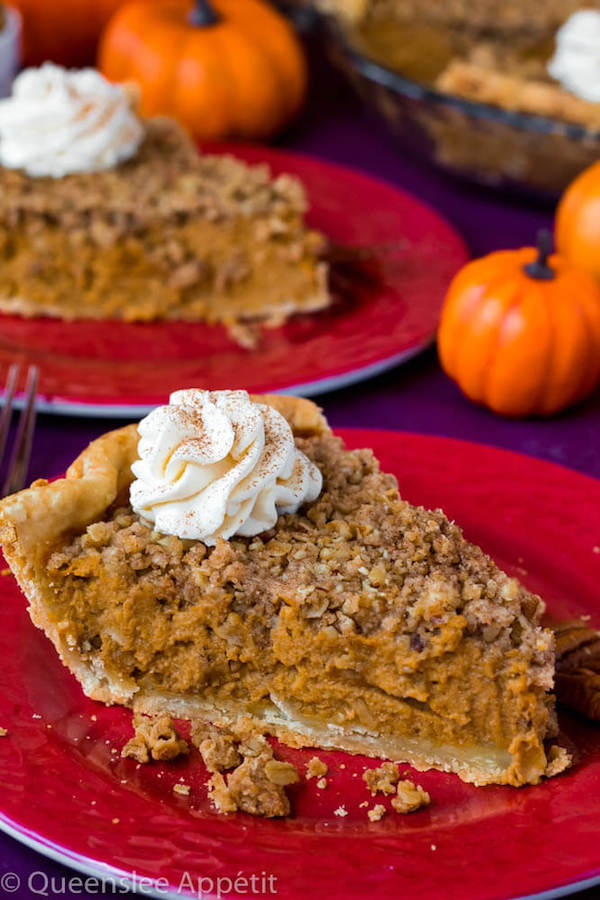
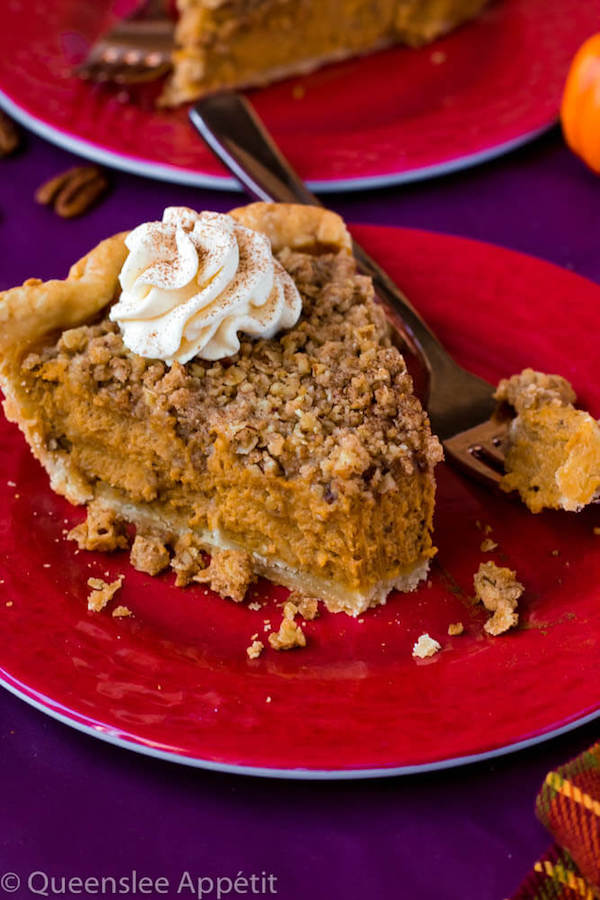
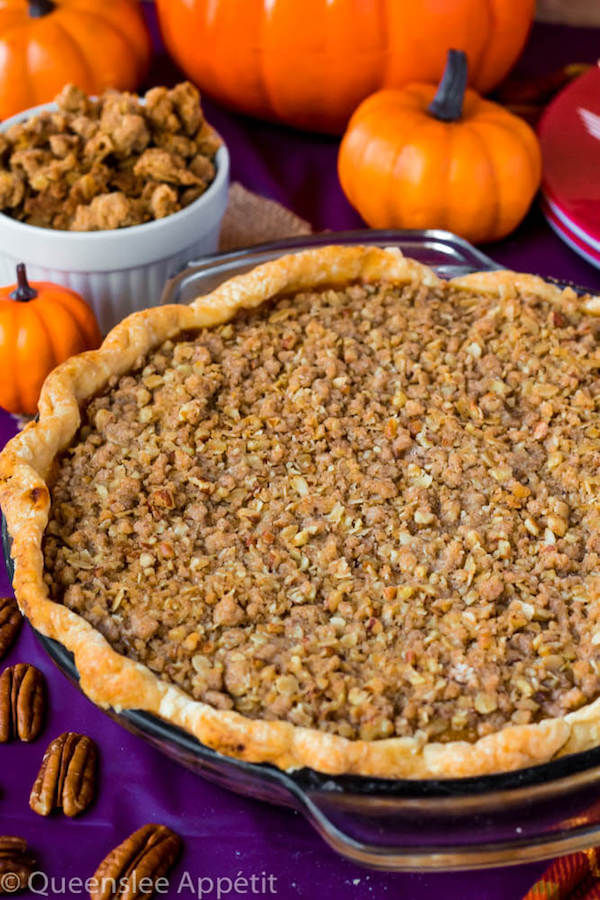
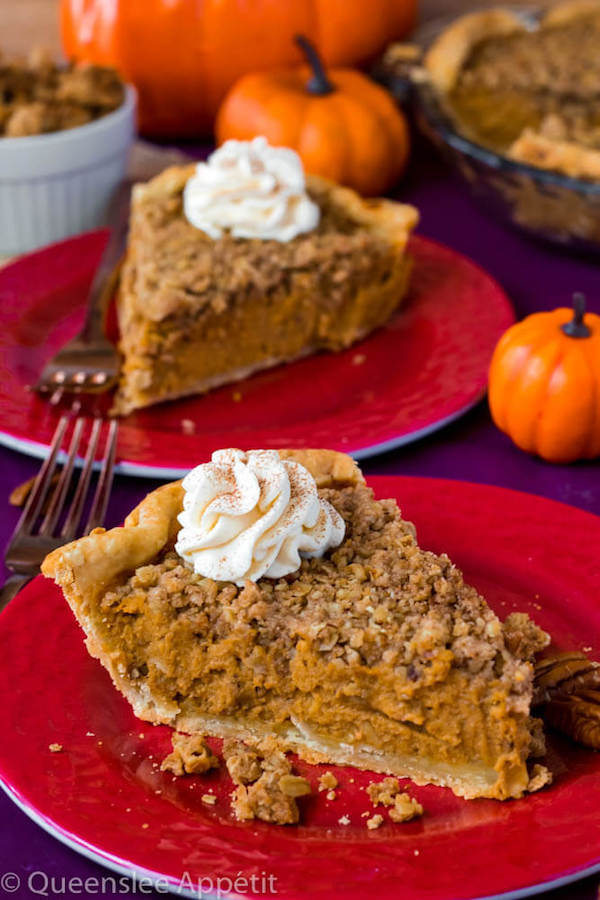
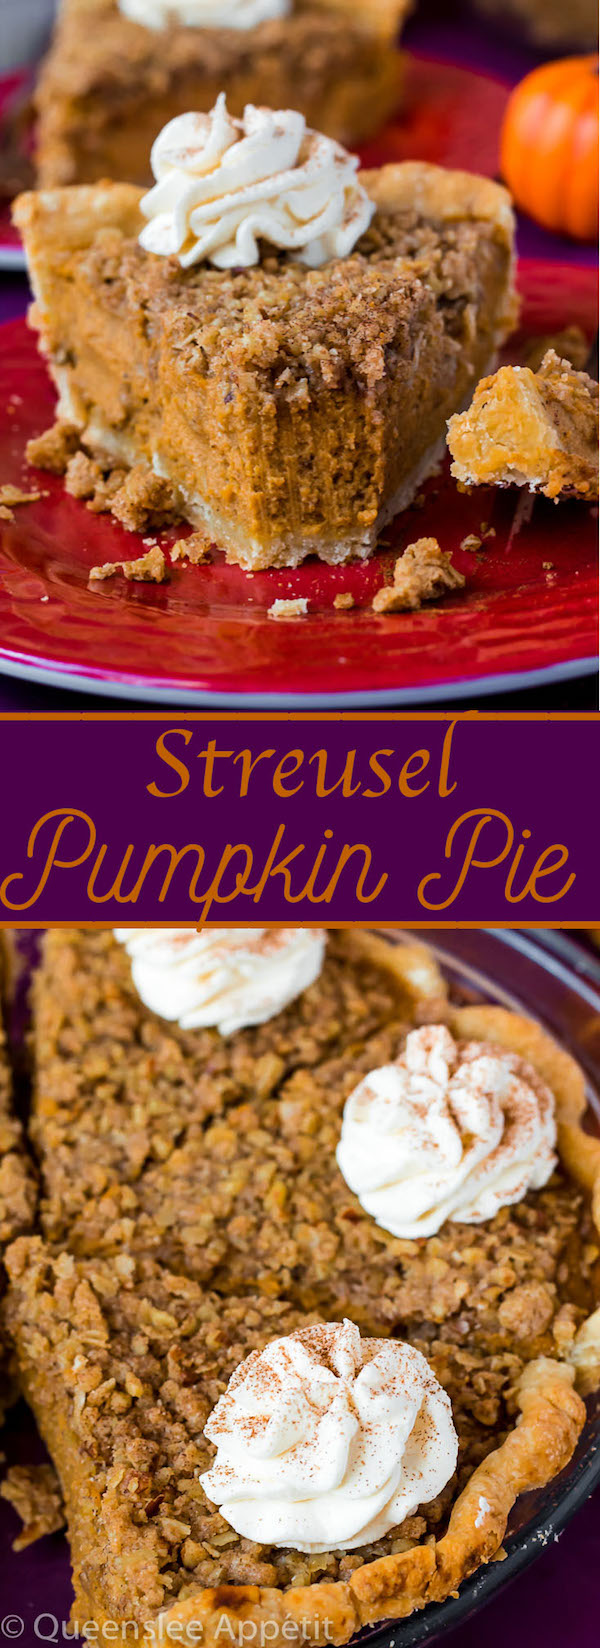
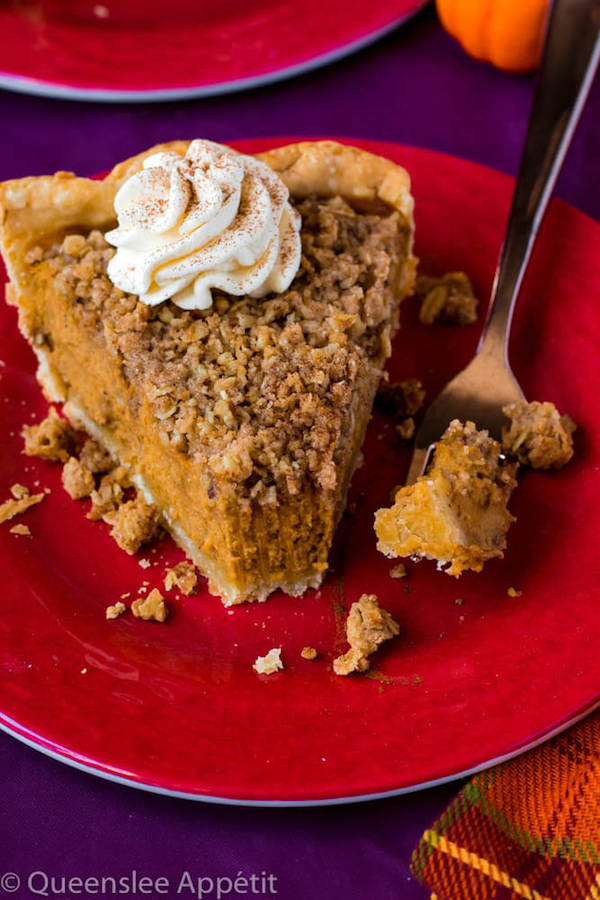
Introducing my new obsession: Streusel Pumpkin Pie! Smooth, rich and flavourful pumpkin filling sits inside a buttery, flakey homemade pie crust and is topped with a crunchy pecan streusel topping. This is the perfect dessert to serve for Thanksgiving!
Today is all about the classic Pumpkin Pie. Canadian Thanksgiving is next week, and ever since I made Pumpkin Pie for the first time ever last year, I’ve decided to make it again with something extra!
Streusel Pumpkin Pie
The pumpkin pie I made last year was a simple, fool-proof recipe that used a store-bought crust and a homemade pumpkin pie filling.
This year I decided to challenge myself a bit and made the entire pie from scratch and even added a crunchy streusel on top!
My family were never fans of pumpkin pie, in fact, they hated it. Why? Not because they tasted it and decided they didn’t like it, it’s because it looked “disgusting”. I’ll admit, I used to think the same and because of this silly reason, we all missed out on this insanely delicious pie every Thanksgiving.
This year a few family members mentioned that this pumpkin pie was the only pumpkin pie that looked appealing to eat. After consideration, they finally agreed to give it a try, so I let them all share a slice while I saved the rest for myself.
They were blown away! They had no idea pumpkin pie tasted THAT good, and honestly that was my exact reaction when I tried it for the first time last year.
Since I refused to share another slice, I agreed to make another one for Thanksgiving. Although I doubt I’ll share that one either.
The Best Pie Crust
There are 2 main parts that will make the perfect pumpkin pie: the perfect crust and the perfect filling. Let’s start with the crust.
I mentioned before that I used a store-bought pie crust for last years pumpkin pie recipe. This is because it was my first time making pie and I was super nervous about making pie crust from scratch.
A little while after that, I did some research then created a post on how to make the perfect pie crust (with or without a food processor). It really does make the most perfectly tender, buttery and flakey pie crust ever!
To Pre-Bake or not to Pre-Bake
I just recently discovered that pumpkin pie crusts need to be pre-baked before adding the filling to prevent it from getting soggy. My heart immediately sank because I’ve tried pre-baking before and it was a complete disaster! I didn’t own any pie weights so I used 2 pounds of rice and some aluminum foil.
And then the worst happened. Not only did the foil mess up some of my crust, but when I went to take out the rice...it spilled. Into the crust. So after spending a 10+ minutes picking the rice out of the crust (yuck), I returned it to the oven and hoped for the best.
Which didn’t come. My crust ended up shrinking into a pile of burnt misery. I ended up throwing the entire thing away and swearing off pre-baked pie crusts for good. Until now.
One year and tons of research later, I’ve finally succeeded at perfectly pre-baking my crust. And thanks to this very helpful article, I found out the things I did wrong and how to fix them. Here are a few of my tips on how to pre-bake a pie crust the right way:
- When shaping your pie crust, make sure it’s a bit bigger than it’s supposed to be. Once baked, your crust may shrink a bit so it’s best to make it bigger than normal. When I first did this, my crust barely reached to the top of the pie dish, so by the time it was done baking, it was barely deep enough to add my filling.
- Freeze the crust before baking. We chill the dough right after mixing, but we need to chill it again after shaping it in the pan. This is a very important step as it solidifies the fat which will prevent your crust from shrinking.
- Make sure the weights go up the sides. I used to think the weights were only supposed to be on the bottom, but then the sides of my crust shrank down. This time, I poured the rice until it was also weighing down the sides of the pie. That way the entire thing will be nice and secure while baking.
I’ve included more details on how to get the best pie crust in the recipe below!
Perfect Pumpkin Pie Filling
This is the second easiest part of this pie, next to the streusel topping. I recommend using canned pumpkin purée instead of fresh pumpkin purée, because 1) it’s easier and 2) it creates a sturdier filling.
To the pumpkin purée we add 3 eggs which helps the filling set up nicely and gives it its smooth and rich texture. I also used a mixture of evaporated milk and heavy cream. The heavy cream makes the filling so silky and smooth and dreamy!
For the “dry” ingredients, I added dark brown sugar for a bite of sweetness and cornstarch to help thicken the filling so it can set up and stay in place when slicing. I also added some ground cinnamon, nutmeg, cloves, ginger and allspice which are the spices you’d find in pumpkin pie spice.
I didn’t use pre-made pumpkin spice because I know how difficult it is for people to find it in their local grocery stores. It may be more expensive to buy all of those different spices, but if you have a bulk food store in your city, you could get about a spoonful of each and save money!
Streusel Topping
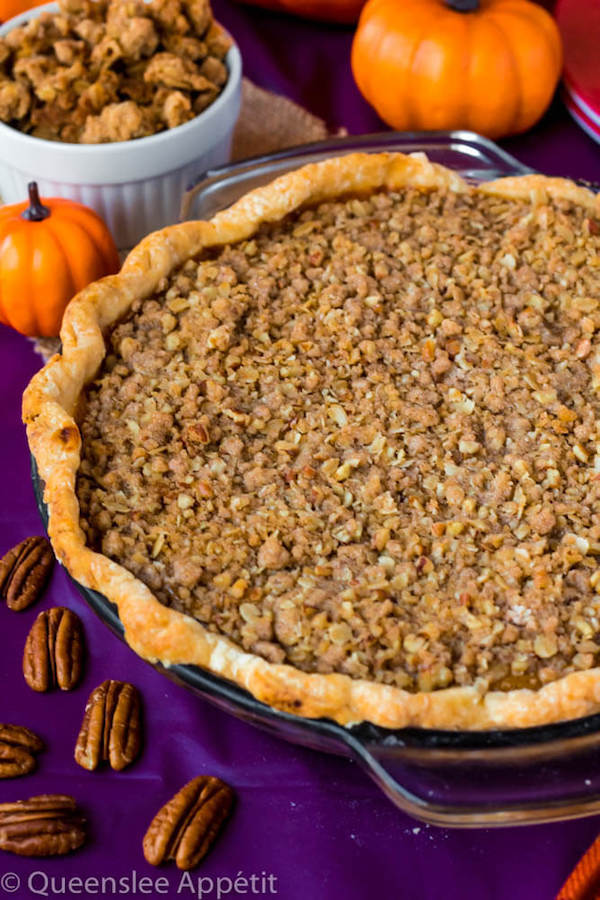
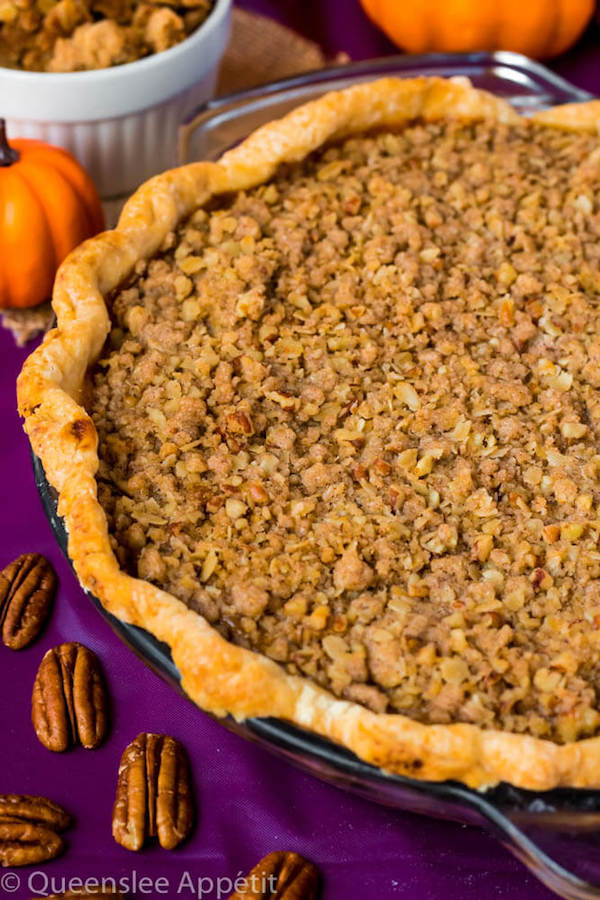
The streusel topping took this pie to a whole new level! It adds so much extra flavour and texture, I love it!
Now I gotta say that THIS is the easiest part. To make it, all you have to do is throw all the ingredients into a food processor and pulsed until everything becomes nice and crumbly. If you don’t own a food processor, you can use a fork to cut the butter into the flour, or your hands so you can really get a feel of the butter to make sure it’s crumbled well enough.
Bake the pie for about 30 minutes so the top can set up a bit, then sprinkle the streusel on top and continue to bake until it’s golden brown.
Between the buttery and flaky crust, rich and silky smooth pumpkin filling and crunchy streusel topping, this is one pie you’ll want to make over and over again!
>>PIN ME FOR LATER<<
FOLLOW QUEENSLEE APPÉTIT
Like what you see? Make sure you‘re following Queenslee Appétit for more tasty recipes!
Pinterest | Instagram | Facebook | Twitter |
Never miss a recipe, SUBSCRIBE at the bottom of this post!
Have any questions about the recipe? Contact me here, and I’ll be happy to help!
Let’s get baking!
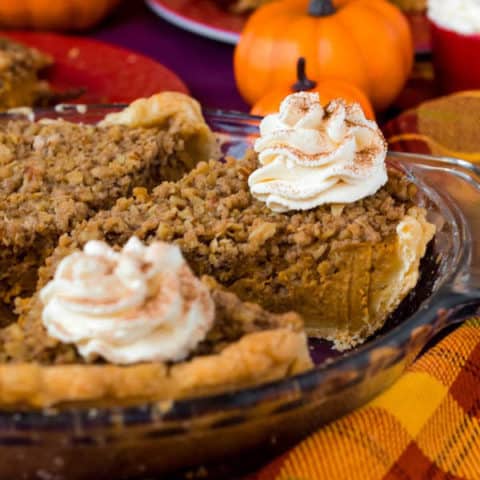
Streusel Pumpkin Pie
Introducing my new obsession: Streusel Pumpkin Pie! Smooth, rich and flavourful pumpkin filling sits inside a buttery, flakey homemade pie crust and is topped with a crunchy pecan streusel topping. This is the perfect dessert to serve for Thanksgiving!
Ingredients
Crust:
- 1 and ¼ cups all purpose flour
- 1 tablespoon granulated sugar
- ½ teaspoon salt
- ¼ cup unsalted butter, cold and cut into pieces
- ¼ cup vegetable shortening, cold and cut into pieces
- 3- 4 tablespoon ice water
Pumpkin Pie Filling:
- 1 cup dark brown sugar, packed
- 1 tablespoon cornstarch
- 1 teaspoon ground cinnamon
- ½ teaspoon ground ginger
- ¼ teaspoon ground nutmeg
- ¼ teaspoon ground cloves
- ¼ teaspoon ground allspice
- ½ teaspoon salt
- 3 large eggs
- 2 cups (16 oz.) pumpkin purée
- ½ cup heavy whipping cream
- ⅔ cup evaporated milk
Streusel Topping:
- ¼ cup all-purpose flour
- ¼ cup light brown sugar, packed
- ¼ teaspoon baking powder
- ½ teaspoon ground cinnamon
- ⅛ teaspoon ground nutmeg
- Pinch of salt
- 4 tablespoon unsalted butter, chilled and cut into cubes
- ¼ cup pecan halves, finely chopped
- ¼ cup old-fashioned oats
Sweetened Whipped Cream:
- ½ cup heavy whipping cream, chilled
- 2 Tbsp. powdered sugar
- ½ tsp. pure vanilla extract
- Cinnamon or pumpkin spice, for dusting
Instructions
For the Crust:
- See my step-by-step guide on how to prepare the pie dough with or without a food processor. The recipe above makes 1 crust.
- Once you’ve pressed the dough into a 1-inch thick disc and wrapped it in plastic wrap, chill in the refrigerator for 30 minutes.
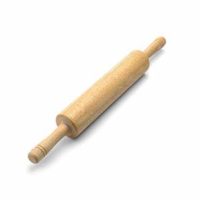
- After 30 minutes, remove disk from the refrigerator and place onto a floured work surface. Using a floured rolling pin, roll dough out into a circle that is 3-4" inches larger than your pie dish (12" inches for a 9" inch pie dish). Allow dough to rest for 5 minutes.
- Carefully roll the dough over the rolling pin, lift it up and un-roll it over the pie dish.
- Press the dough into the bottom and sides of the dish. Use a sharp knife or kitchen scissors to trim off the overhang. Use your fingers to crimp the rim.
- Using a fork, poke holes into the bottom and sides of the crust. Transfer crust to the freezer for 10-15 minutes. Meanwhile, preheat the oven to 400°F. Position your oven rack in the centre.
- Put a sheet of aluminum foil or parchment paper into the pie crust, letting in tent over the edges, and weigh bottom and sides of the shell down with 2 Ibs. of dried beans, dry rice or pie weights.
- Bake in preheated oven for 10-13 minutes. Remove the crust from the oven and carefully take out the foil and weights. Return to oven and continue to bake for another 5-10 minutes, or until crust is lightly browned. Set aside to cool while you prepare the filling.
For the Pumpkin Pie Filling:
- Increase oven temperature to 425°F. In a large mixing bowl, add the brown sugar, cornstarch, cinnamon, nutmeg, ginger, cloves, allspice and salt. Whisk to combine.
- In a separate bowl, beat the eggs, then add the pumpkin purée and sugar and spice mixture. Whisk until combined and smooth. Add heavy cream and evaporated milk and mix until well combined.
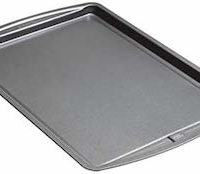
- Pour filling into the pie crust and cover the edges with a pie shield or aluminum foil. Place pie on a baking sheet and bake in preheated oven for 30 minutes. Meanwhile, prepare the streusel topping.
For the Streusel Topping:
- Add all the ingredients to a food processor and pulse until combined and crumbly.
- If you don't have a food processor, add the ingredients to a medium bowl and use a fork or pastry cutter to cut butter and into the mixture until everything is crumbly. Cover the streusel and refrigerate until ready to use.
- Once the pie has baked for 30 minutes, remove from oven and lower the temperature to 350°F. Sprinkle the streusel over the top of the pie, then return to the oven and continue to bake for another 25-30 minutes or until a knife inserted into the center comes out clean.
- Allow pie to cool to room temperature on a wire rack, then store in the refrigerator for up to 3 days. Serve with whipped cream (recipe below) and a dust of cinnamon or pumpkin spice.
For the Sweetened Whipped Cream:
- In a medium stainless steal bowl, using a handheld mixer, whip the chilled cream, powdered sugar and vanilla until cream holds peaks. Store extra whipped cream in an airtight container in the refrigerator.
Notes
- The filling can be made a day ahead and kept covered in the refrigerator.
- The pie can also be stored in the freezer for up to 1-2 months.
- You can substitute the spices with 2 teaspoons of pumpkin spice.
- Brown Sugar can be substituted for granulated sugar.
- When pre-baking the crust and baking the pumpkin pie, I recommend covering the edges of your pie crust with foil paper or a pie shield the entire time. This helps prevent your crust from over-browning.
Recommended Products
As an Amazon Associate and member of other affiliate programs, I earn from qualifying purchases.
BON APPÉTIT!
Love, Dedra
DID YOU MAKE A RECIPE?
I’d love to see how it turned out! Follow me on Instagram and use the hashtag #queensleeappetit so I can see all of the Queenslee Appétit recipes you’ve made!
©QUEENSLEE APPÉTIT. All images & content are copyright protected. Please do not use my images without prior permission. If you want to republish this recipe, please re-write the recipe in your own words, or link back to this post for the recipe.
This post may contain affiliate links. Please see my full disclosure policy for details.




Leave a Reply