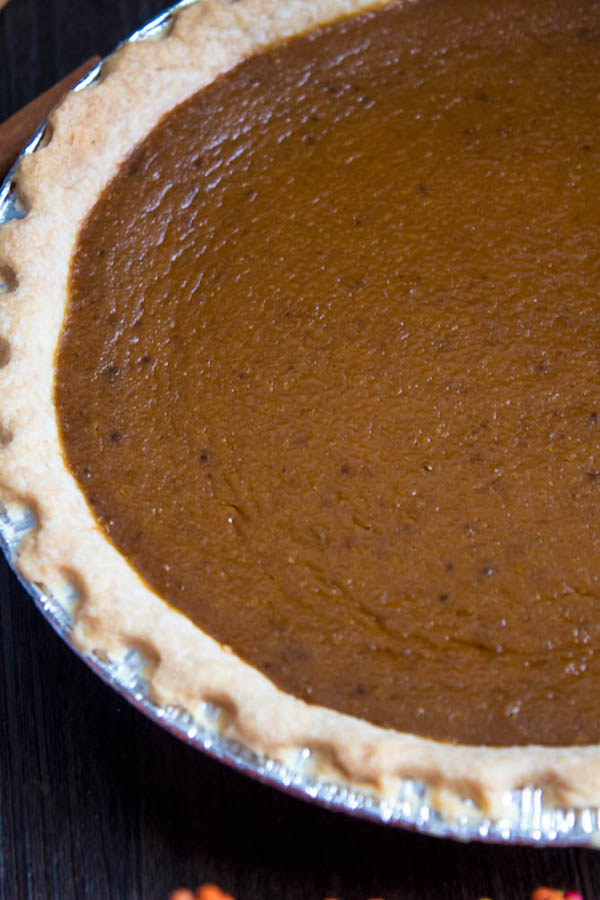
This Easy Homemade Pumpkin Pie is the perfect dessert for Thanksgiving. You'll only need a few simple ingredients to create a rich and delicious pie that'll surely wow all your guests!
Thanksgiving is coming up, for us Canadians, that is. Americans, don't worry, you'll be getting your Thanksgiving recipe next month, or you can just save this recipe and make it then.
I grew up in a Jamaican family, so our Thanksgivings have never been traditional. This means no turkey, no ham and no pumpkin pie. I know, it's extremely depressing. Our dinners usually consist of curry goat, roasted chicken, rice and peas, and rum cake for dessert. Bleh. Anytime I'd ask if we could have a turkey or pie for dessert this Thanksgiving, I would always receive dirty looks.
I'm a firm believer that every Thanksgiving dinner table should have at least one of these pies on it:
- Pecan Pie
- Apple Pie
- Sweet Potato Pie
- Pumpkin Pie
My dinner table has never had the pleasure of having any of these delectable desserts on it, but that's about to change. Luckily, since I'm the baker of the family now, everyone looks to me to provide the best desserts for the Holidays. And this year, I decided to make pumpkin pie!
Today's recipe is creamy, smooth and completely fool-proof. There's no need for a hand or stand mixer, that is unless you decide to make my sweetened whipped cream to pile on top of each slice! You could always use some good ol' cool whip to save time.
I wanted to make this recipe as easy as possible. Easy enough to throw together just before your guests arrive for dinner. So instead of making a homemade pie crust, I used store-bought, and I'm not ashamed at all. The best part about using store-bought pie shells? I was able to make 2 pies instead of 1! Store bought "deep dish" pie shells aren't that big, so my filling was luckily able to fill 2. That means I'll have one pie for Thanksgiving dinner and one for me, myself and I. Well, it wasn't really intended for just me, but after I realized I ate half the pie on my own, there was no turning back.
Since we're using a store-bought pie crust, there's no need to pre-bake it before filling. Simply thaw it out, fill, then bake. 100% Fuss-free.
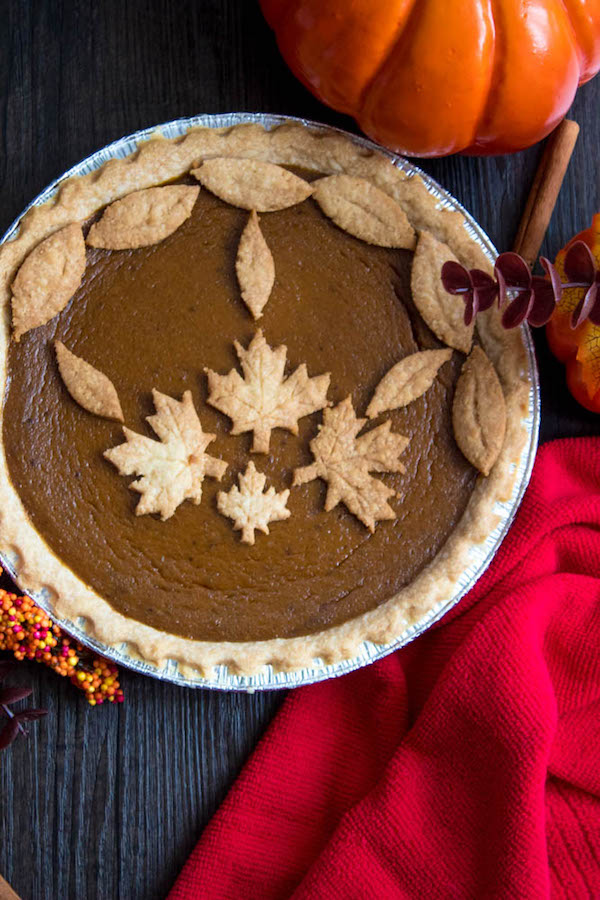
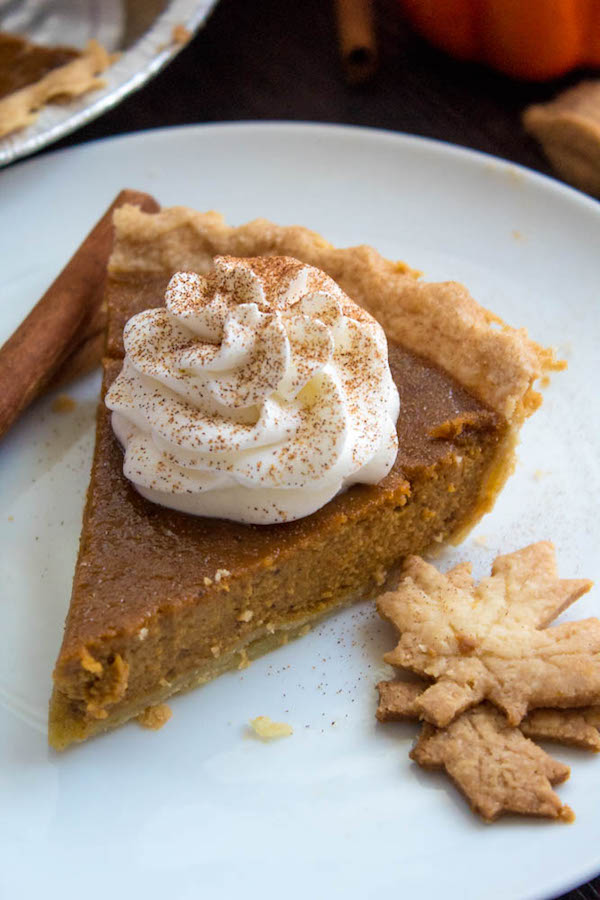
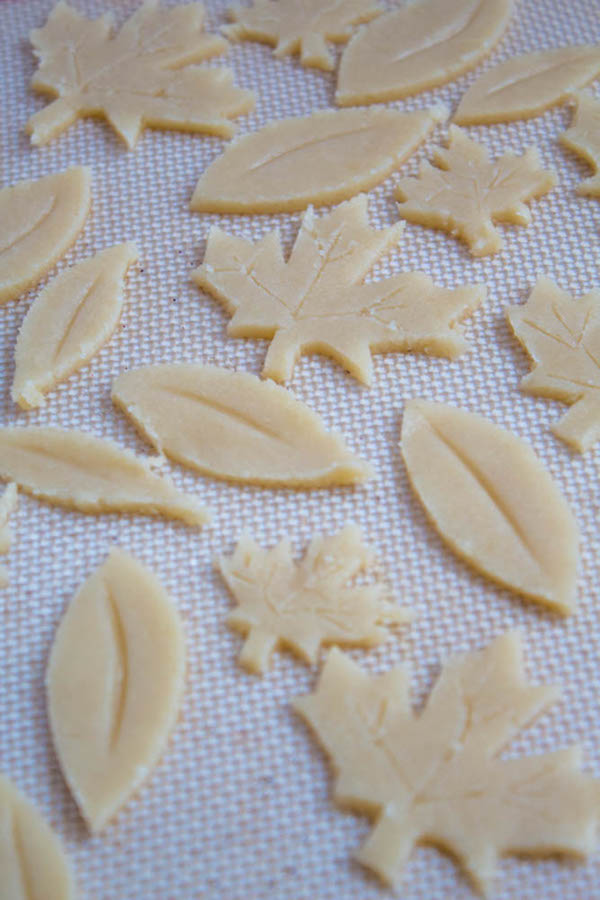
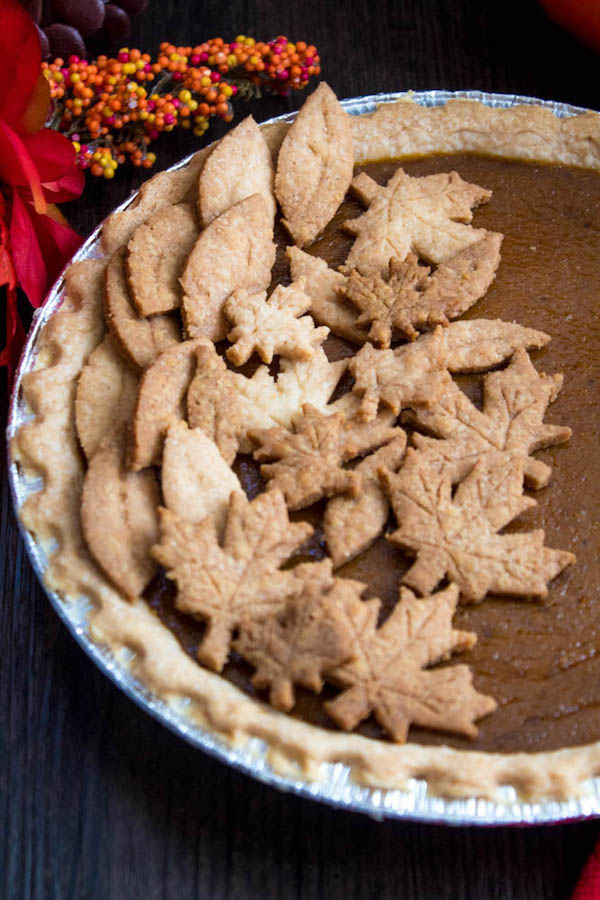
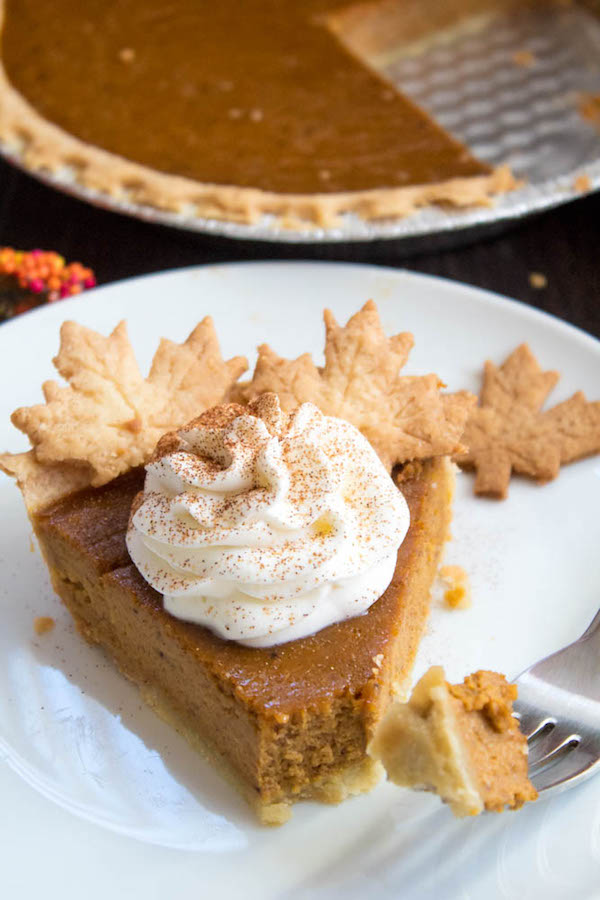
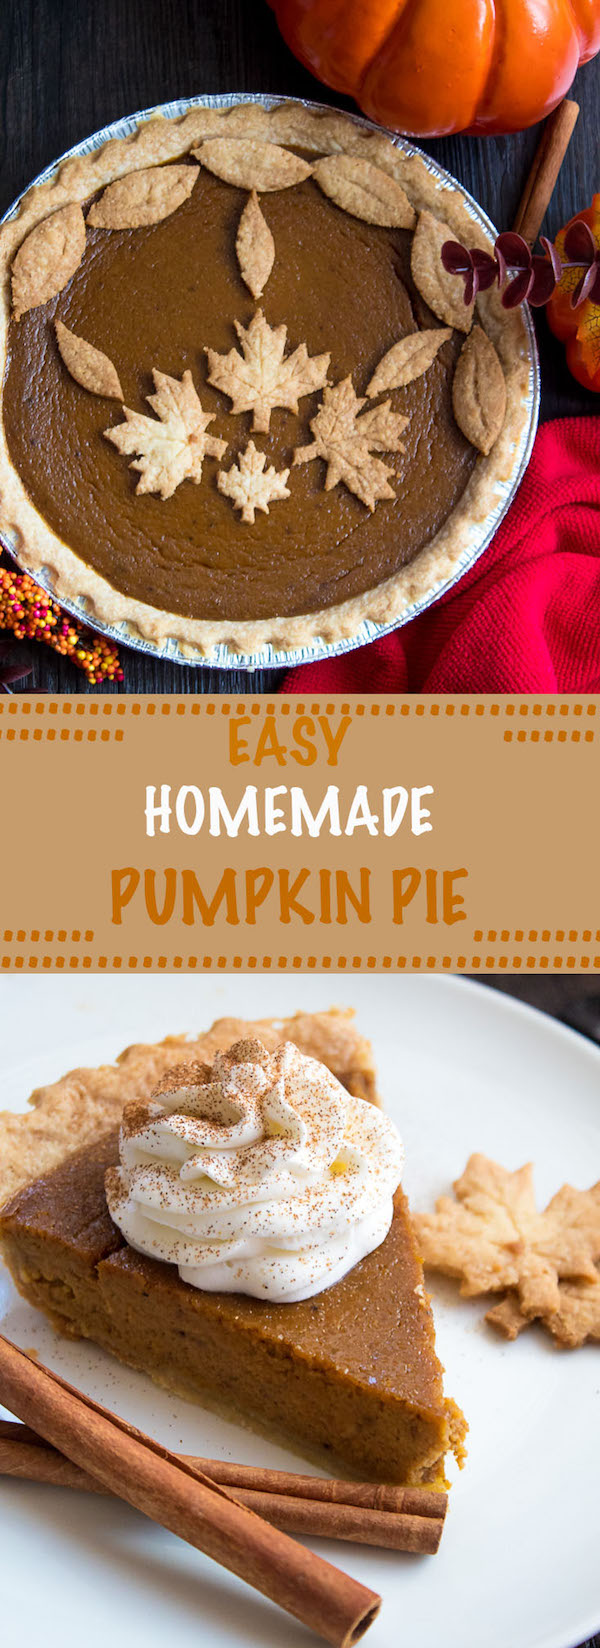
To make the pie crust leaves on top, I thawed the second pie shell, rolled it out and cut out little leaf shapes. I was planning on using this Autumn Pie Crust Cutter set, but they were sold out in stores. Instead, I used my artistic skills to draw some leaves on paper, cut them out, then used them as an outline to trace on my dough. The leaf design was made manually, but I recommend using the leaf crust cutters, because the design is already printed on and it's way easier and neater.
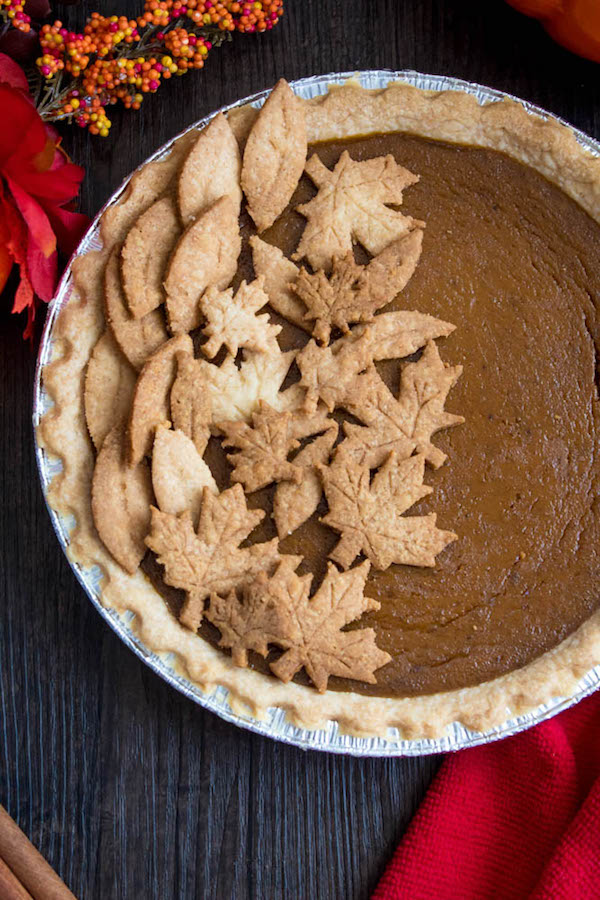
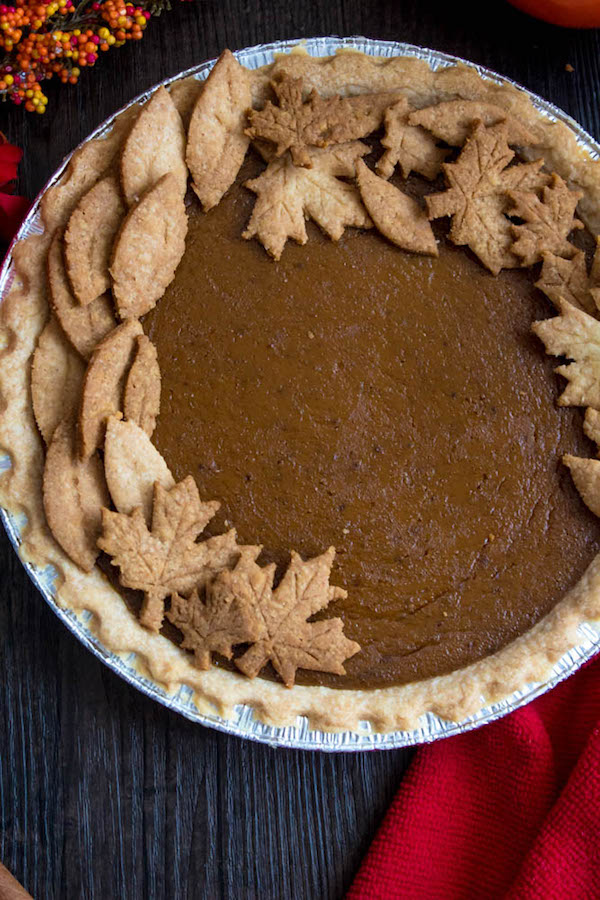
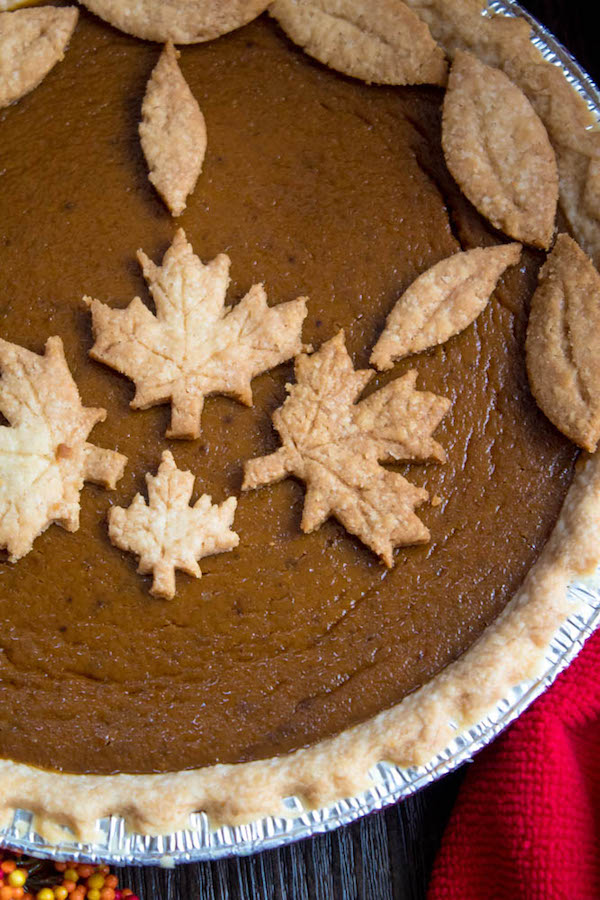
I baked the leaves separately from the pie, but you could place them on the rim as a fancy crust decoration, if you like. Baking them separately allowed me to fool around with the decoration on top and decide what looked best.
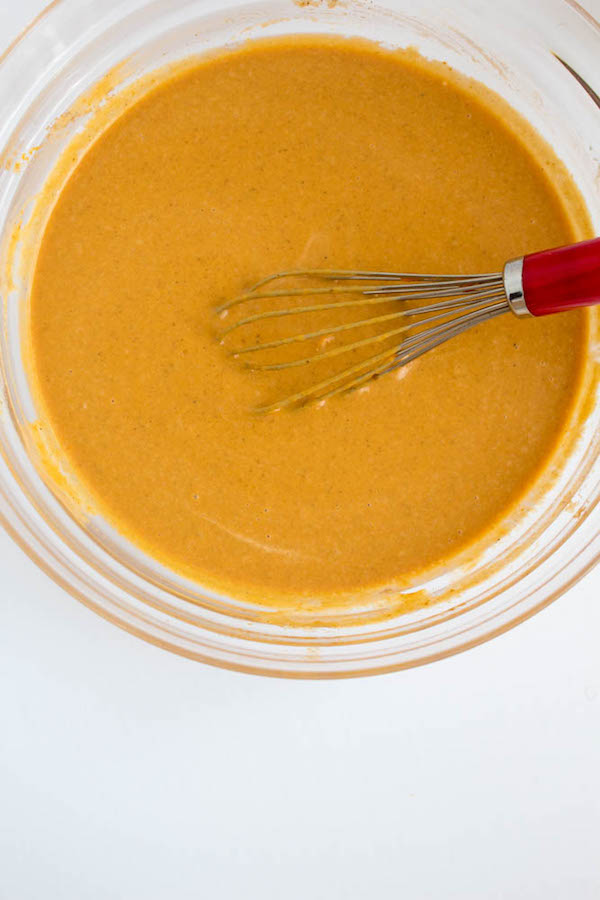
The pumpkin filling is unbelievably easy to make. I'm talking mix the dry ingredients and wet ingredients separately, then mix them together type of easy. You'll need to use canned pumpkin purée, not to be mistaken for pumpkin pie filling. I prefer to use canned pumpkin purée, rather than fresh as it creates a sturdier filling.
I threw in a bunch of different spices that, when combined, creates pumpkin spice! Put together, these spices make about 2 teaspoons of pumpkin spice, so if you want to substitute with that, feel free! I didn't use pre-made pumpkin spice because I know how difficult it is for people to find it in their local grocery stores. It may be more expensive to buy all of those different spices, but if you have a bulk store in your city, you could get about a spoonful of each and save money!
Instead of using evaporated milk on its own like in a traditional pumpkin pie, I combined it with come heavy cream. The heavy cream makes the filling so silky and smooth and dreamy!
When baking the pie, I recommend covering the edges of your pie crust with foil paper or a pie shield for the first 15-20 minutes. This helps prevent your crust from over-browning.
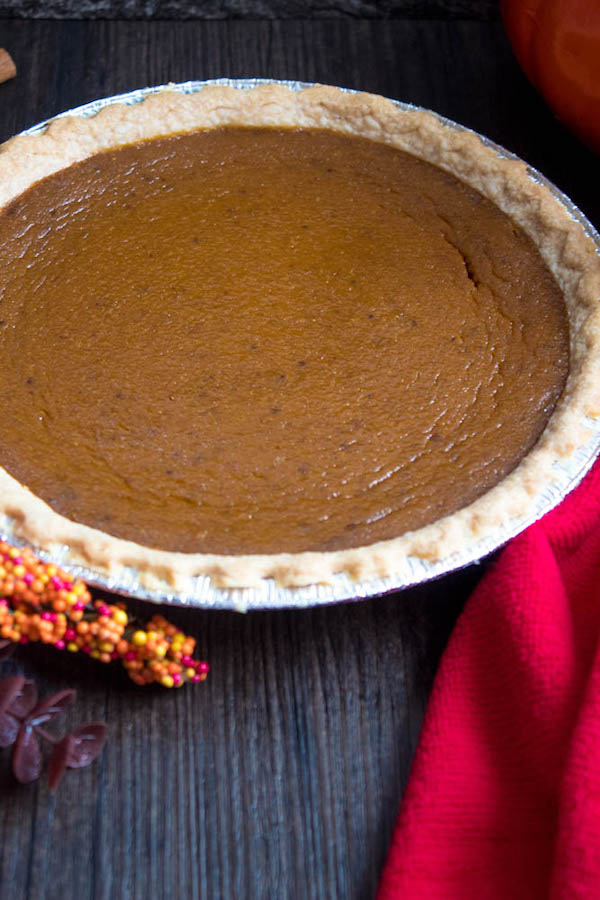
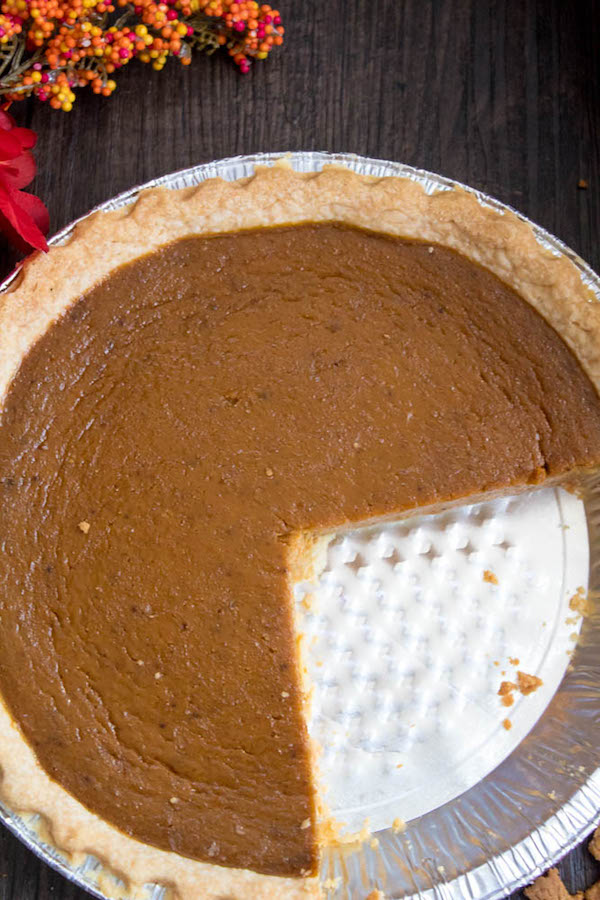
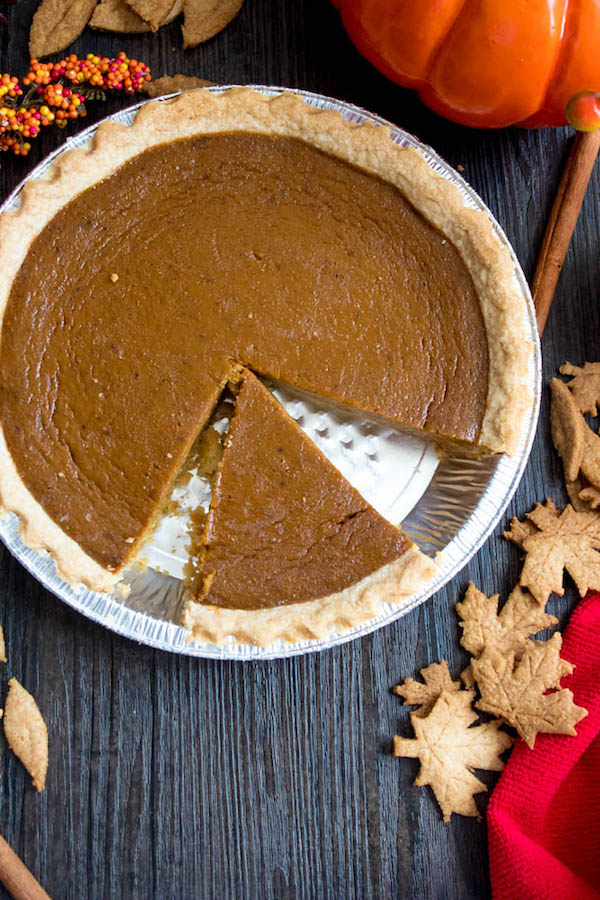
The pie is finished baking when the centre wobbles slightly when nudged. The centre will set up while it's cooling. My pie took about 55 minutes to bake, but I recommend you check yours at the 45 minute mark, and every 5 minutes after that until you're sure it's done. Be careful not to over-bake the pie, because that will cause the filling to crack. But if you do end up with a crack, don't worry! That's where the pie crust leaves come in!
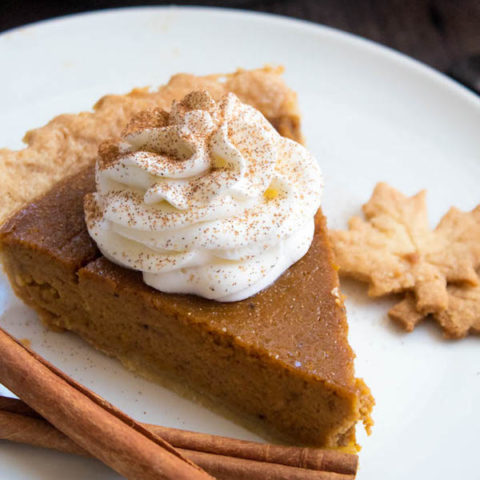
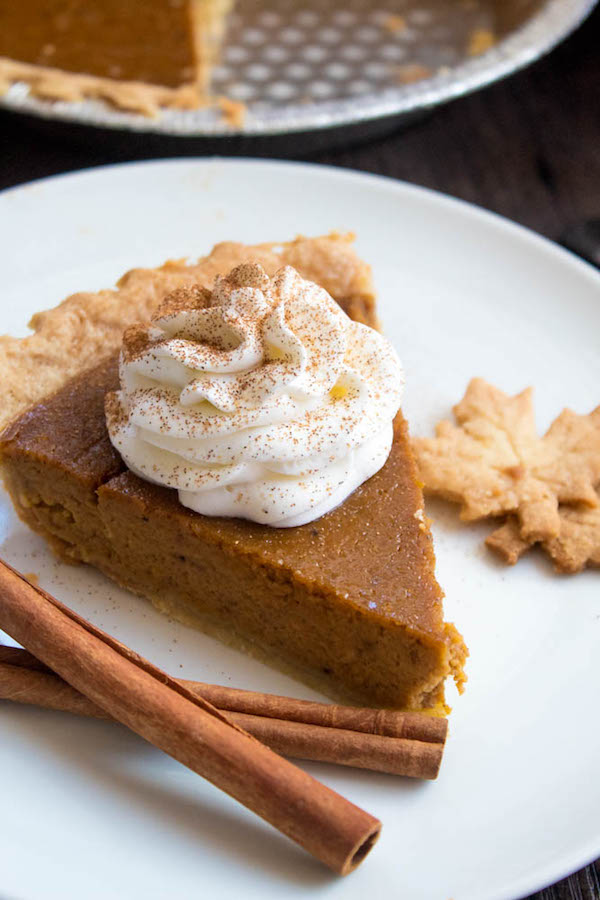
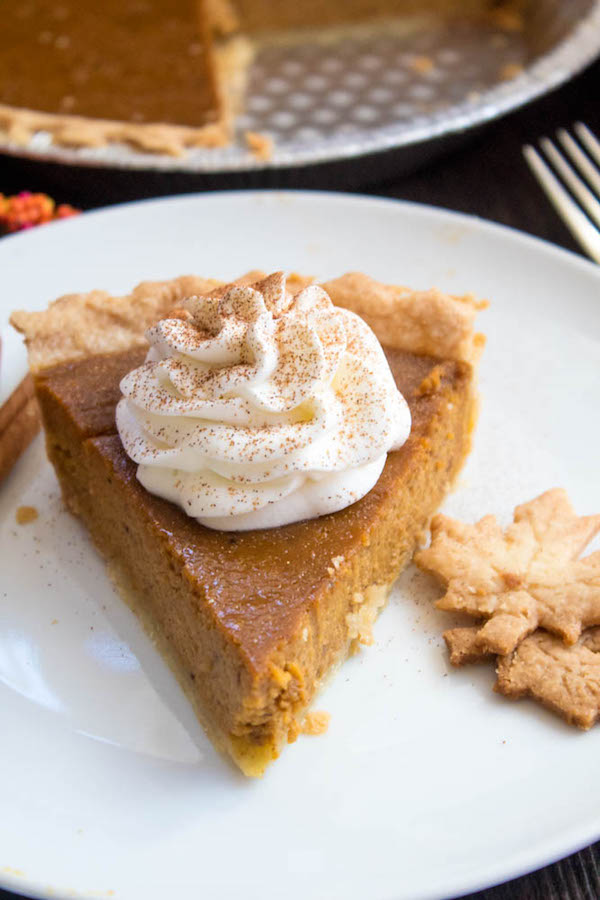
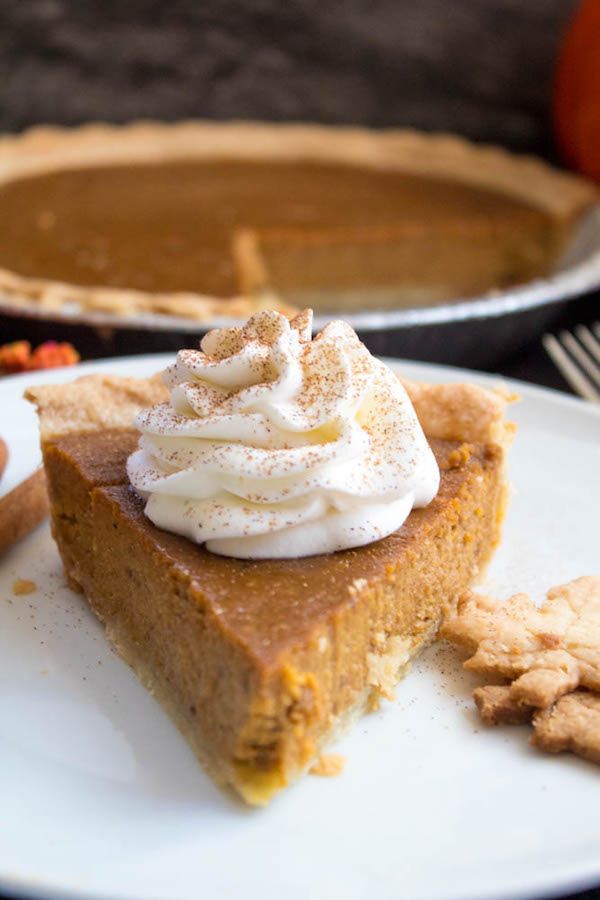
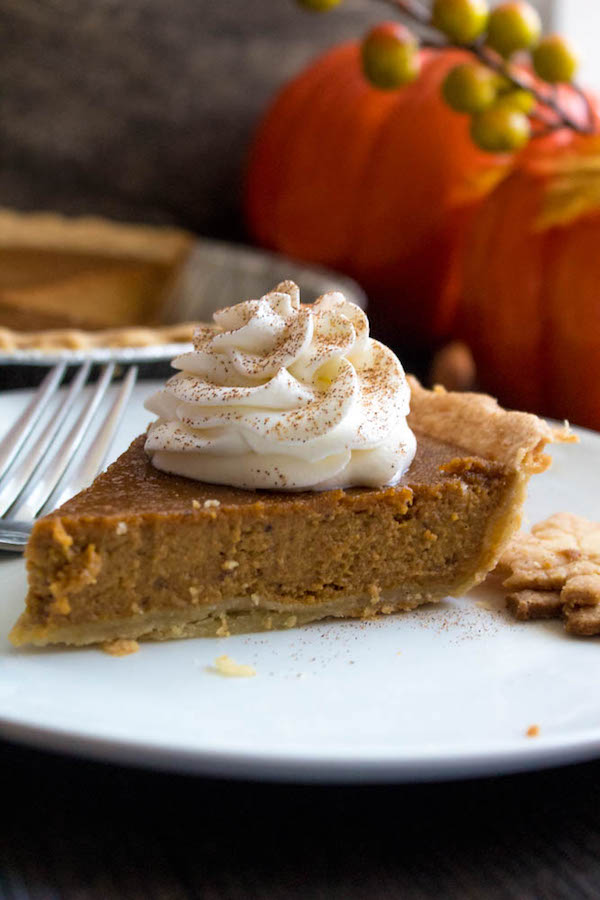
Once the pie is done cooling, slice it, top it with piles of homemade sweetened whipped cream, dust with cinnamon (or pumpkin spice) and dig in!
I hope all of my fellow Canadian readers have a Happy Thanksgiving! Enjoy.
Shop The Recipe
Easy Homemade Pumpkin Pie
This Easy Homemade Pumpkin Pie is the perfect dessert for Thanksgiving. You'll only need a few simple ingredients to create a rich and delicious pie that'll surely wow all your guests!
Ingredients
Pumpkin Pie:
- 1 unbaked 9-inch deep dish pie shell (I used store-bought)
- 1 cup (220g) dark brown sugar, packed
- 1 tablespoon cornstarch
- 1 teaspoon ground cinnamon
- ¼ teaspoon ground nutmeg
- ½ teaspoon ground ginger
- ¼ teaspoon ground cloves
- ¼ teaspoon ground allspice
- ½ teaspoon salt
- 3 large eggs
- 2 cups (16 oz.) pumpkin purée
- ½ cup (120ml) heavy whipping cream
- ⅔ cup (150ml) evaporated milk
Pie Crust Leaves:
- Pie Dough (homemade or store bought- I just used the second pie shell)
Sweetened Whipped Cream:
- ¾ cup (180ml) heavy whipping cream, chilled
- 2 Tbsp. (16g) powdered sugar
- ½ tsp. pure vanilla extract
- Cinnamon or pumpkin spice, for dusting
Instructions
For the Pumpkin Pie:
- If using a store-bought shell, allow it to thaw out before baking.
- Preheat oven to 425F. In a large mixing bowl, add the brown sugar, cornstarch, cinnamon, nutmeg, ginger, cloves, allspice and salt. Whisk to combine.
- In a separate bowl, beat the eggs, then add the pumpkin purée and sugar and spice mixture. Whisk until combined and smooth. Add heavy cream and evaporated milk and mix until well combined.
- Pour filling into unbaked pie shell and cover the edges with a pie shield or aluminum foil. Place pie on a baking sheet and bake in preheated oven for 15 minutes. Remove the shield or foil and lower oven temperature to 350F, then bake for an additional 40-45 minutes, or until a knife inserted into the center comes out clean.
- Allow pie to cool to room temperature on a wire rack or cover and refrigerate for up to 3 days.
For the Pie Crust Leaves:
- Preheat oven to 350F. Line a baking sheet with a silicone mat or parchment paper. Set aside.
- Using a floured rolling pin, roll dough out until ⅛" thick. Using a leaf shaped cookie cutter or leaf pie crust stampers, cut leaves out of the dough. (If using a cookie cutter, trace out the leaf veins using a sharp knife.)
- Place on prepared baking sheet and bake in preheated oven for about 8-10 minutes or until lightly golden. Allow to cool completely before decorating the pie.
For the Sweetened Whipped Cream:
- In a medium stainless steal bowl, using a handheld mixer, whip the chilled cream, powdered sugar and vanilla until cream holds peaks.
- Slice pumpkin pie and serve with a dollop of whipped cream and a sprinkle of cinnamon or pumpkin pie spice. Enjoy!
Queenslee's Notes:
- Since I used a store-bought pie crust, I was able to fill 2 pie shells. It may or may not be the same for you, depending on how deep your pie shell is.
- The filling can be made a day ahead and kept covered in the refrigerator.
- The pie can also be stored in the freezer for up to 1-2 months.
- You can substitute the spices with 2 teaspoons of pumpkin spice.
- Brown Sugar can be substituted for granulated sugar.
- To make the pie crust leaves on top, I recommend using this Autumn Pie Crust Cutter set, because the leaf details are already printed on and it is so much prettier and neater.
- When baking the pie, I recommend covering the edges of your pie crust with foil paper or a pie shield for the first 15-20 minutes. This helps prevent your crust from over-browning.
Did you make a recipe? I'd love to see how it turned out! Follow me on Instagram and use the hashtag #queensleeappetit so I can see all of the Queenslee Appétit recipes you've made!
Bon Appétit!
Love, Dedra ❤️
©All images & content are copyright protected. Please do not use my images without prior permission. If you want to republish this recipe, please re-write the recipe in your own words, or link back to this post for the recipe.


Leave a Reply