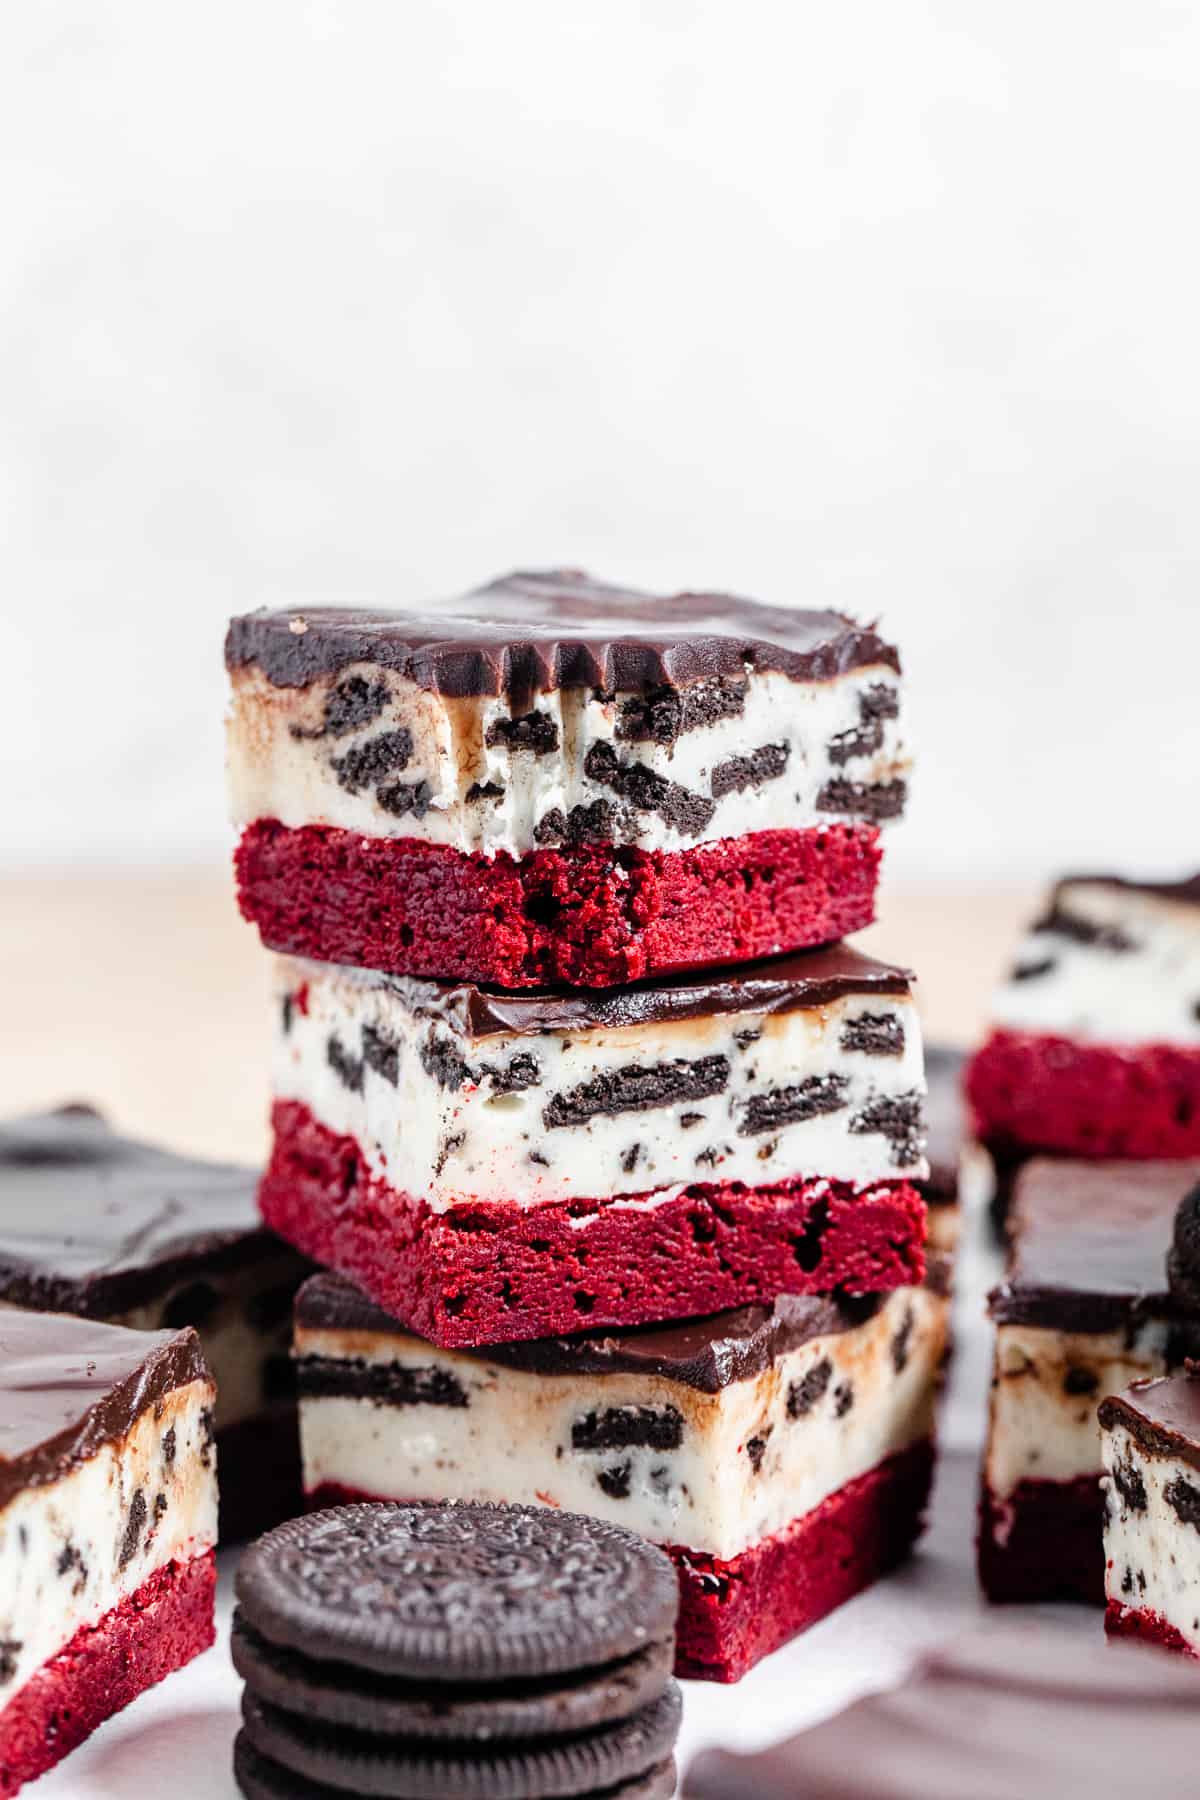
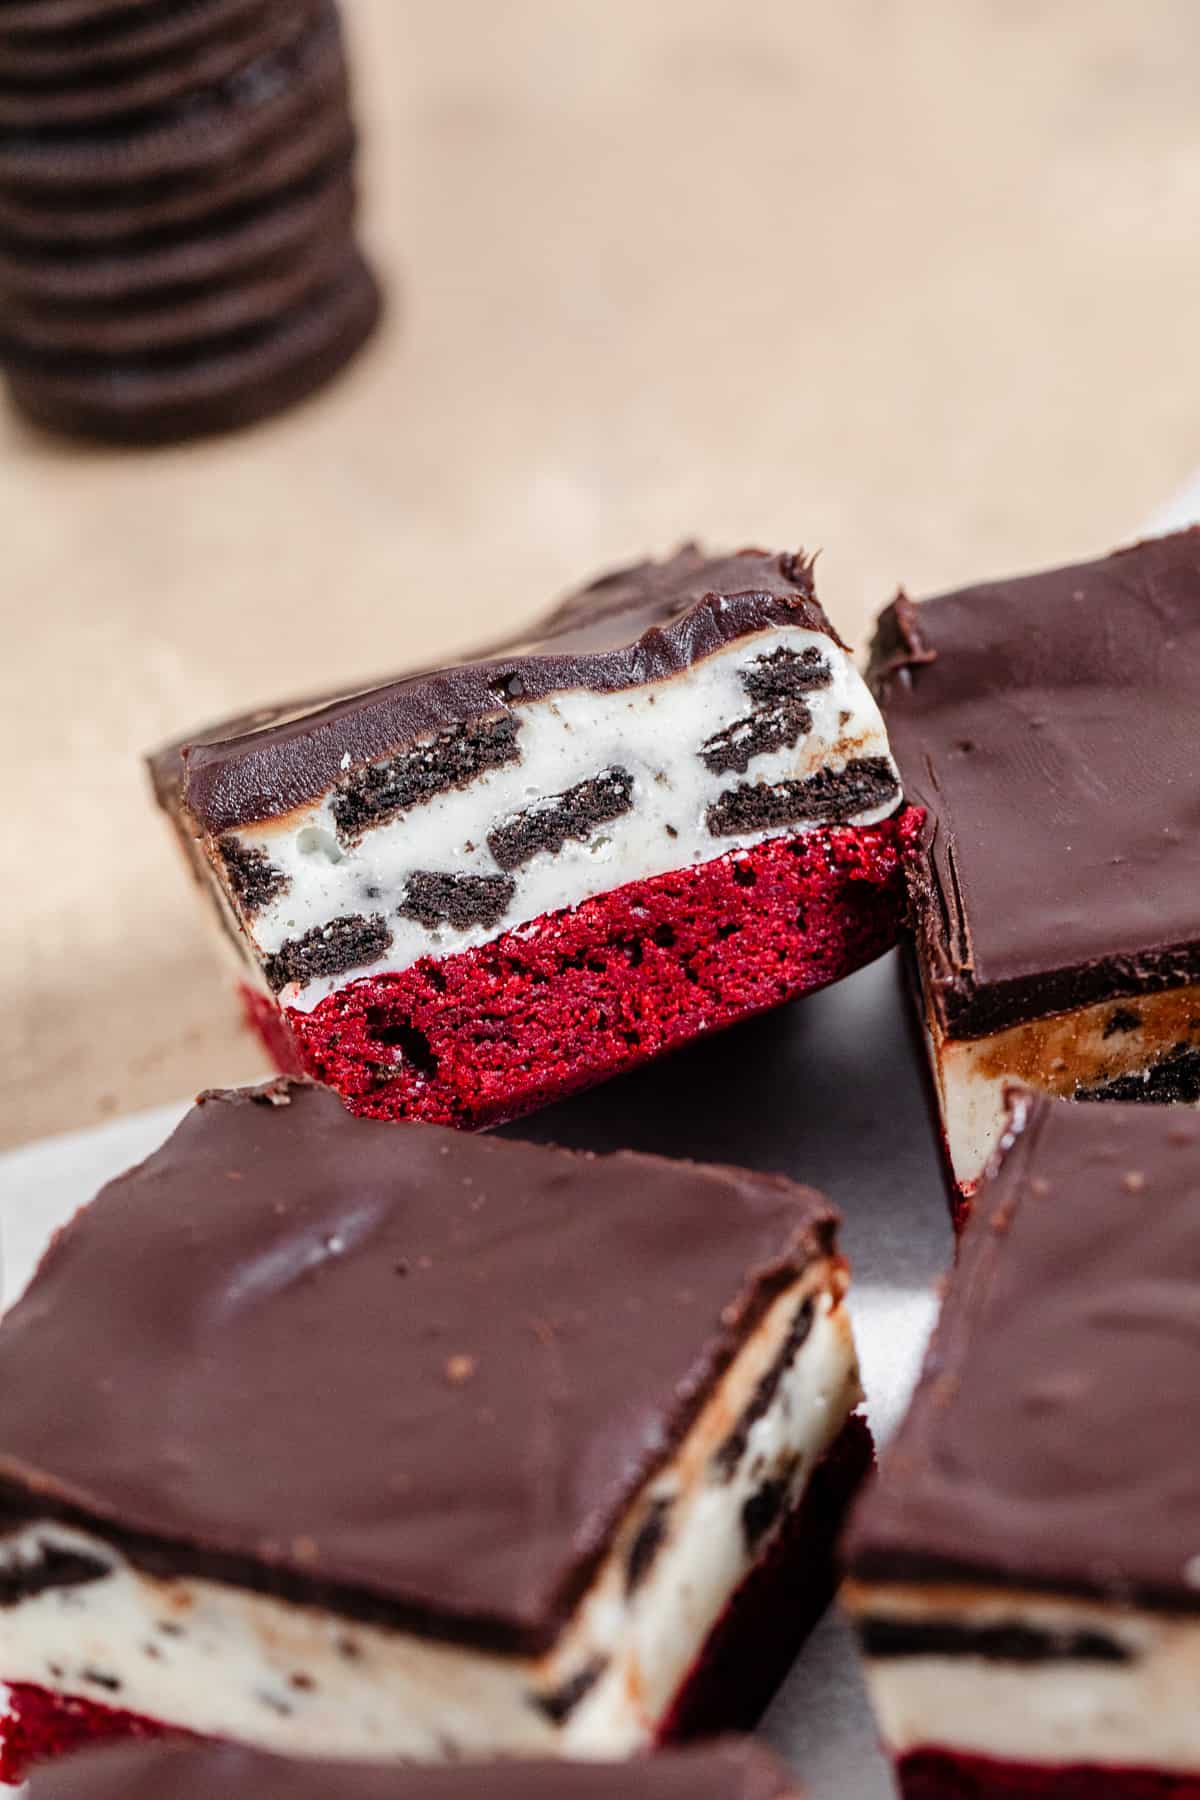
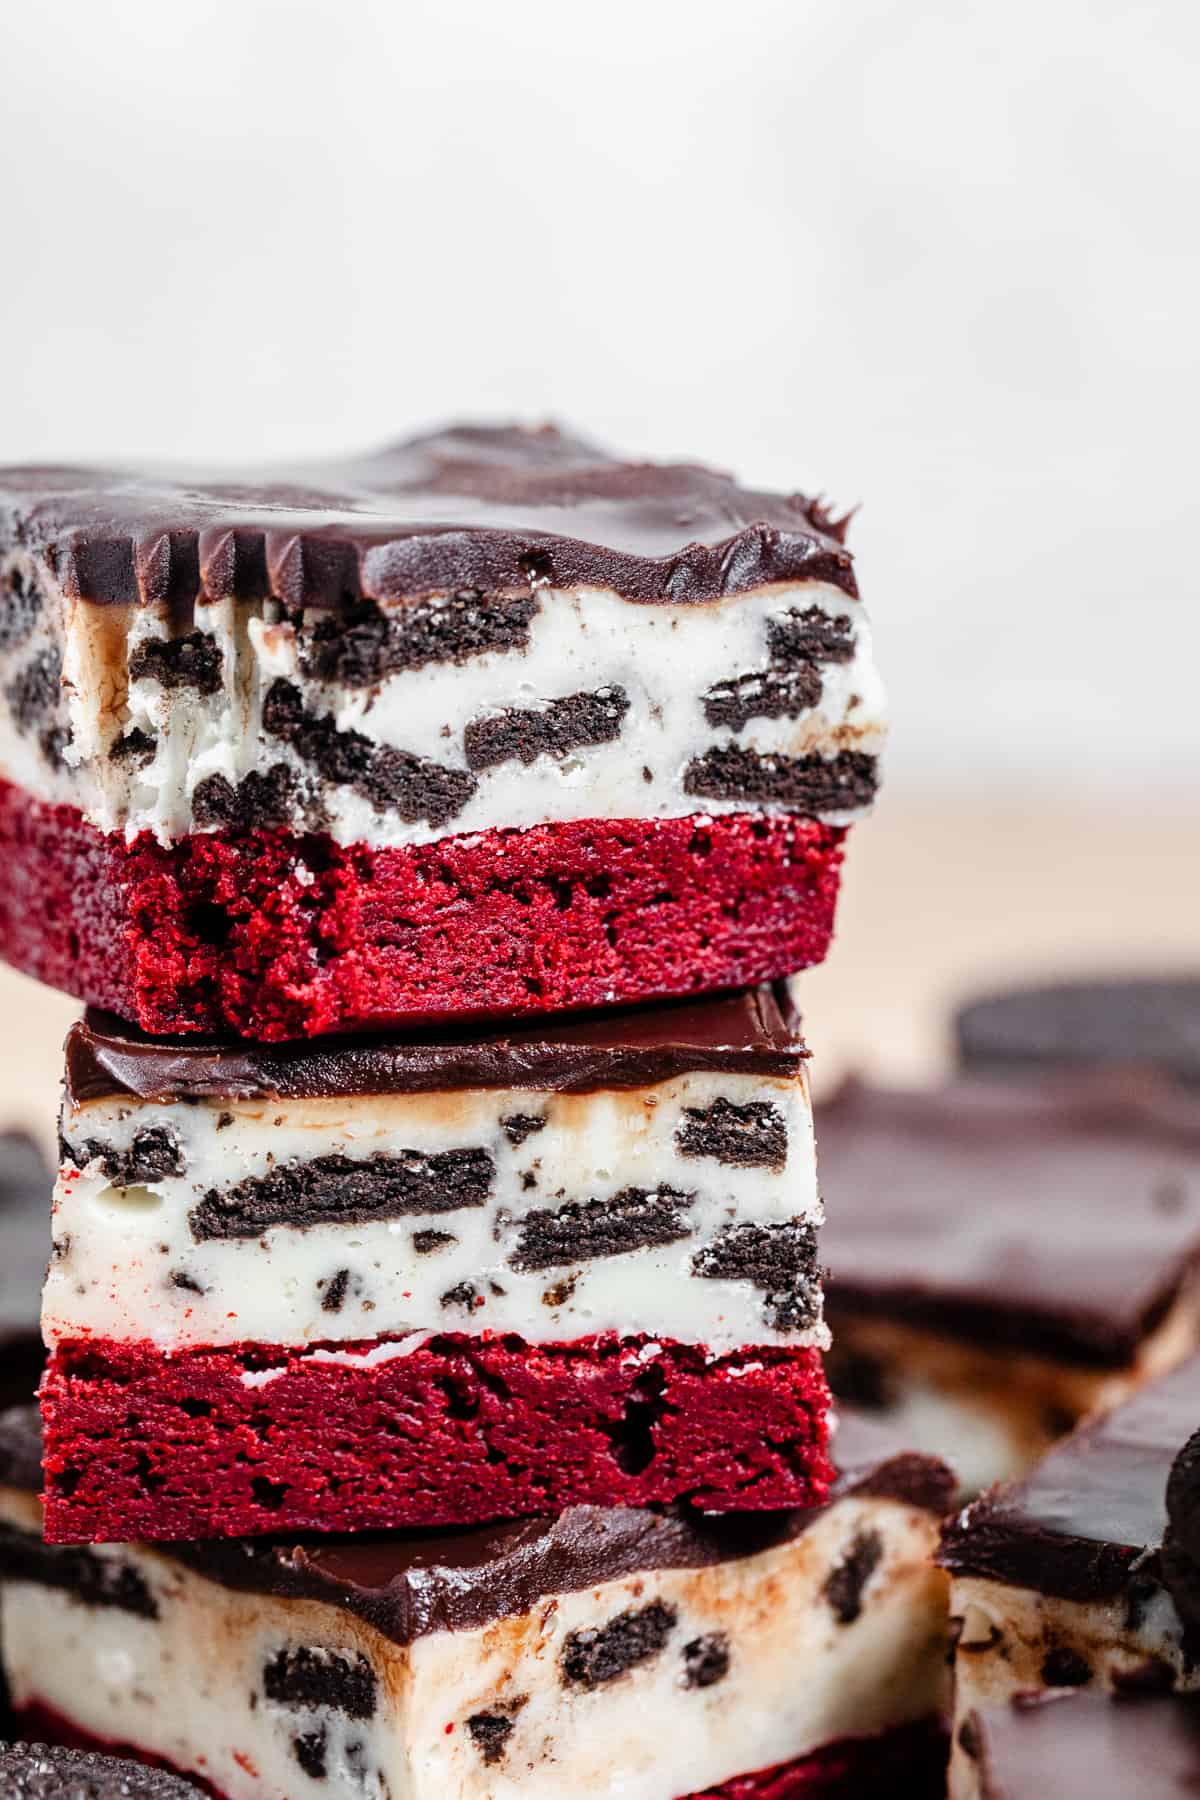
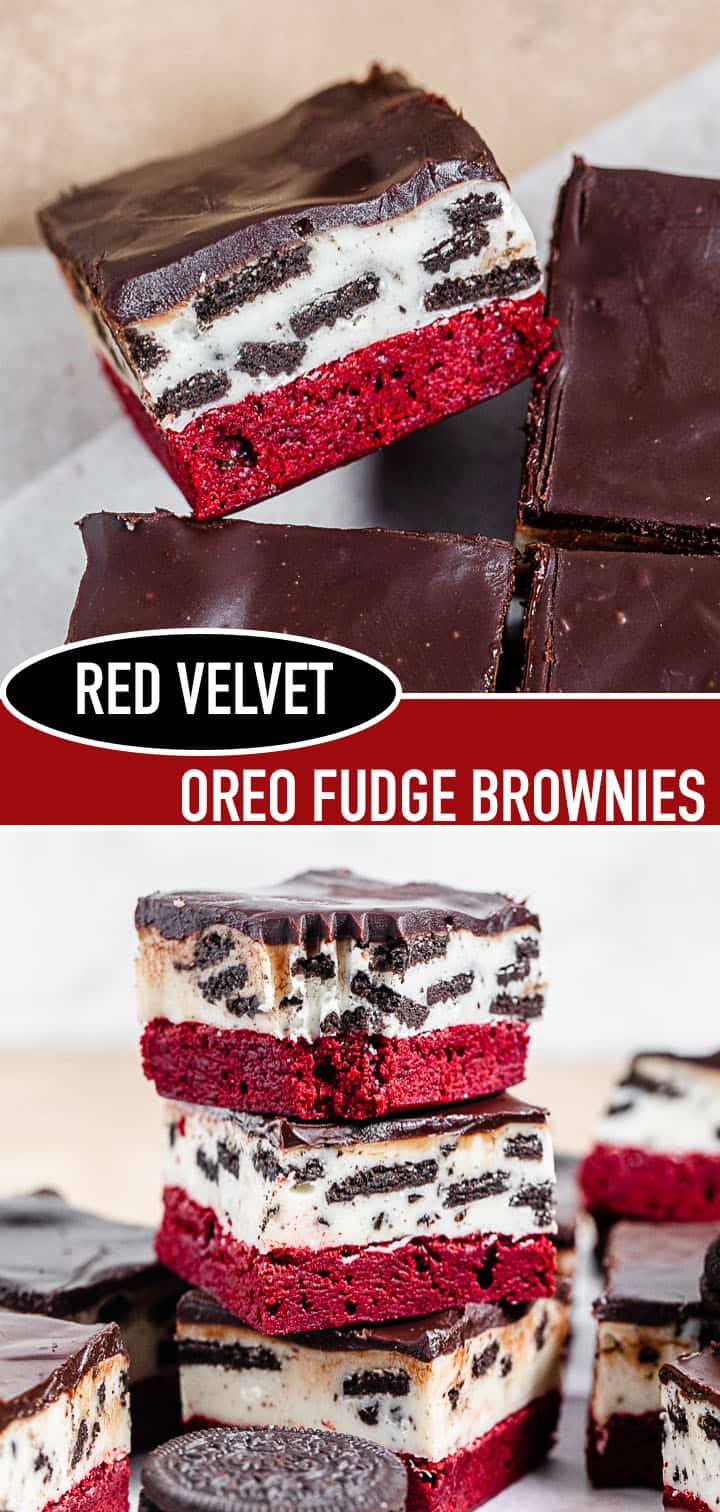
Brace yourself for a taste sensation like no other! These heavenly Red Velvet Oreo Fudge Brownies are towering delights that will take your taste buds to new heights.
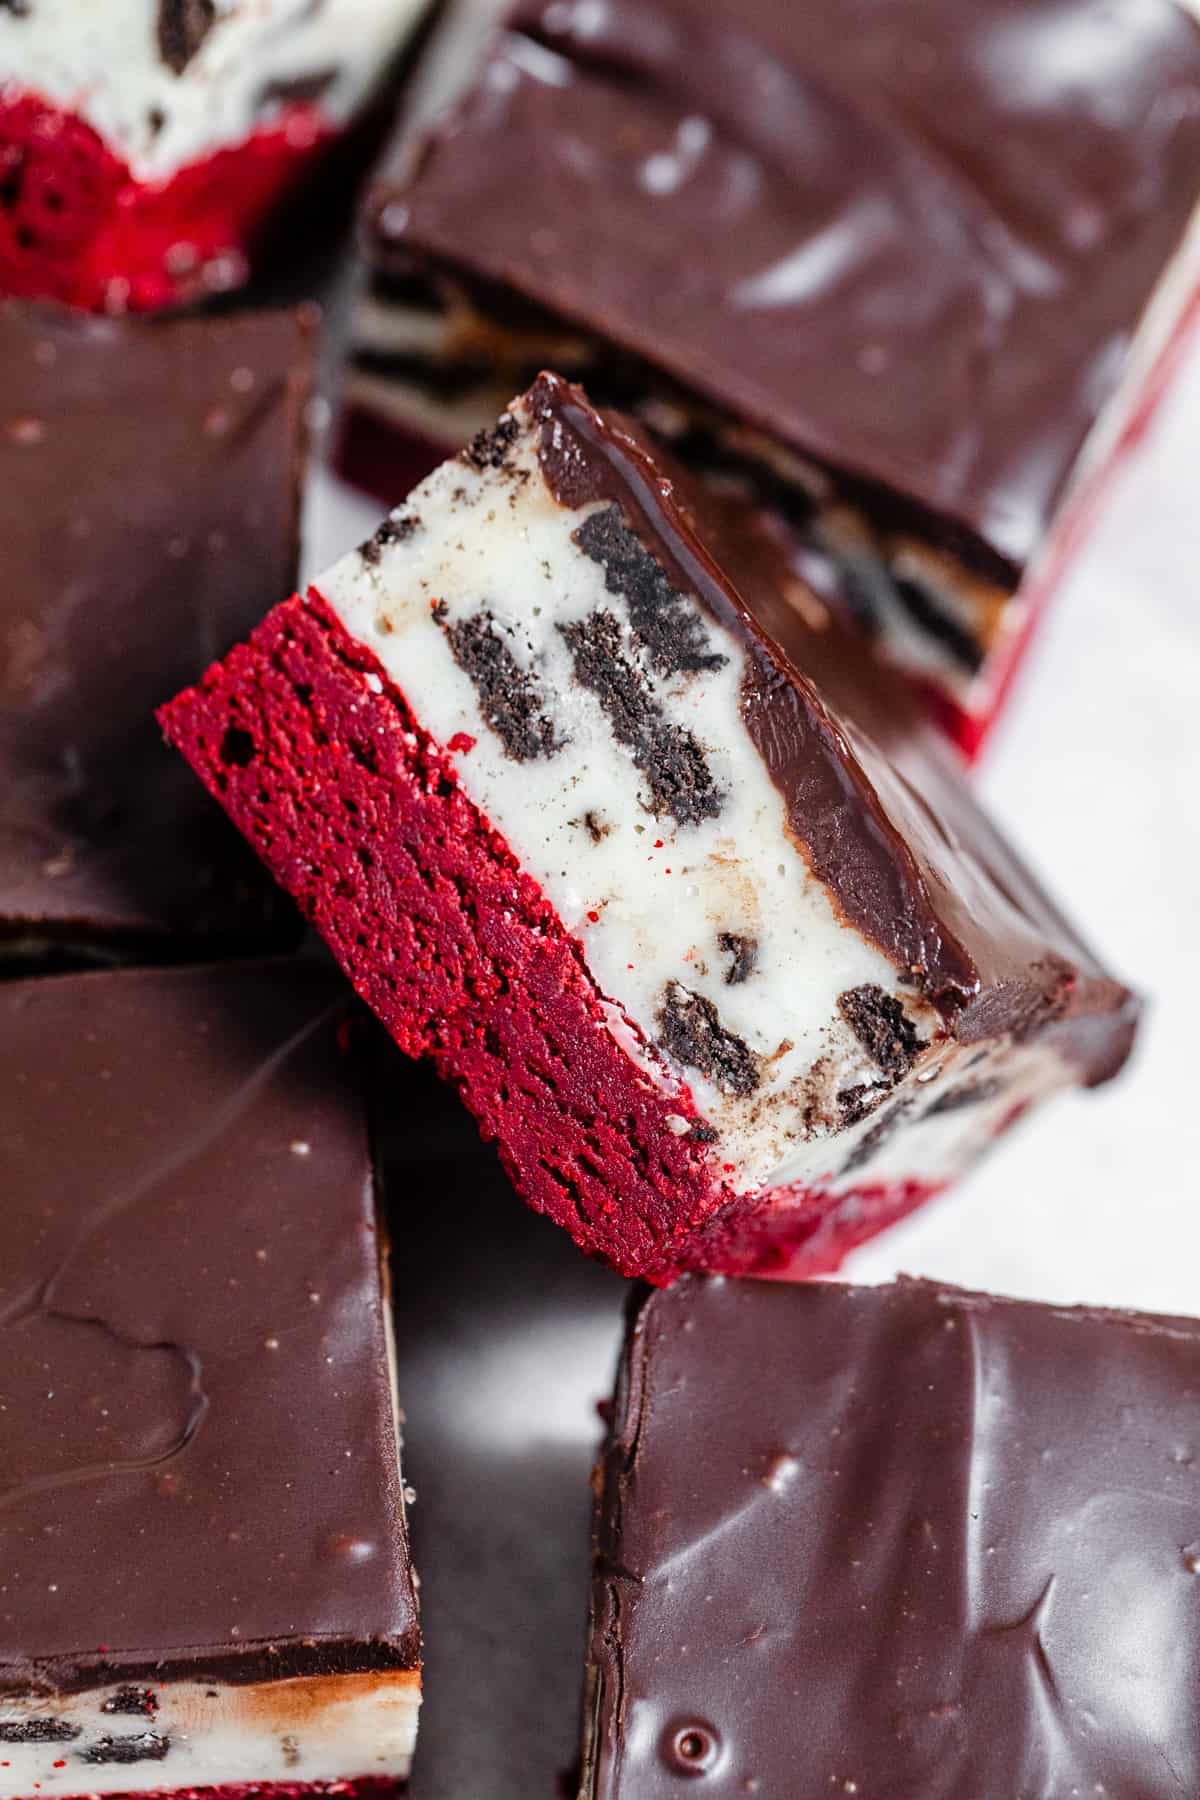
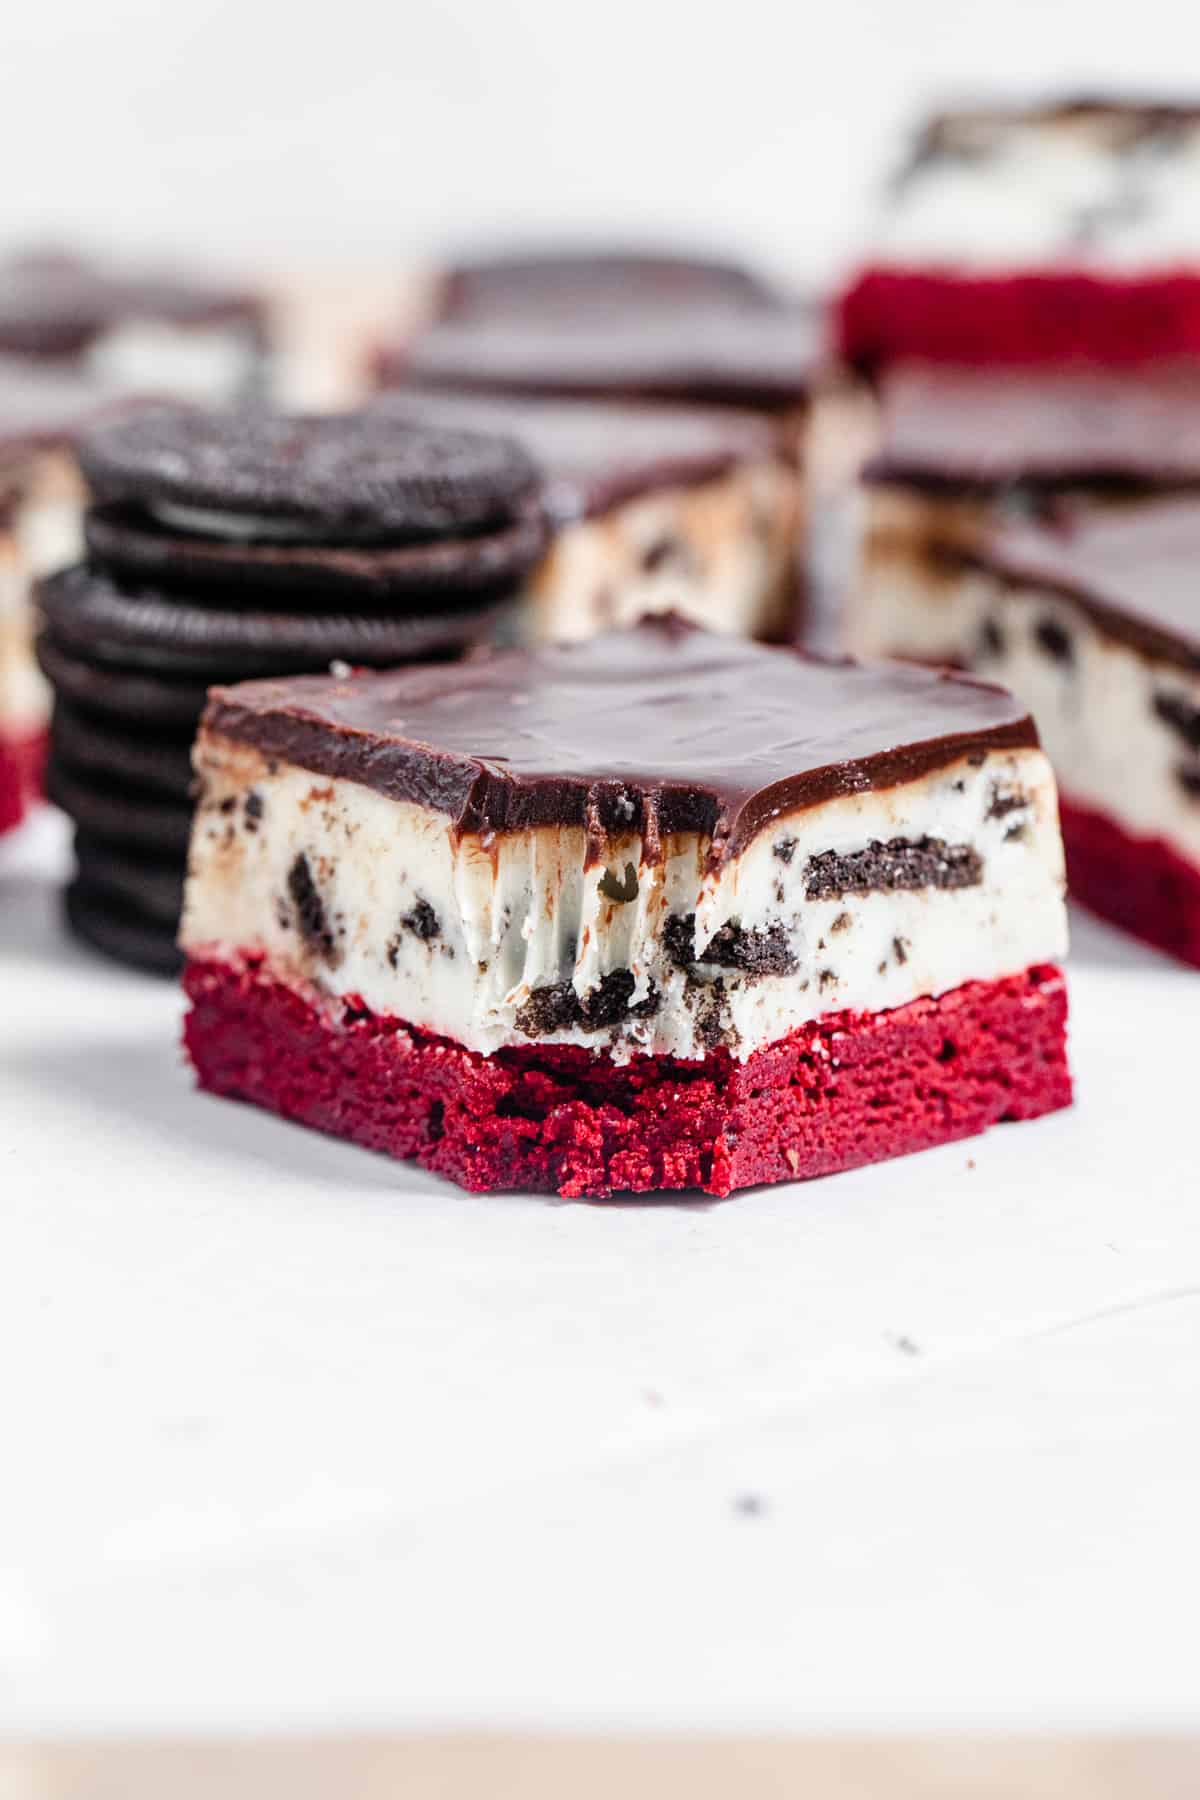
With four delectable layers, including fudgy red velvet brownies, irresistible white chocolate Oreo fudge, and a velvety smooth chocolate ganache, these sinfully delicious brownies are the epitome of indulgence!
This post may contain affiliate links. As an Amazon Associate, I earn from qualifying purchases. This in no way affects my opinion of those products and services. All opinions expressed on this site are my own. Please see my full disclosure policy for details.
Red velvet is enchanting! It's a delightful fusion of chocolate and vanilla, creating a truly unique flavor. Since creating my very first red velvet cake recipe in this fun Game of Thrones themed cake, my mind has been brimming with imaginative ideas to enhance this vibrant and luxurious flavour!
If you've been following me for a while, you're probably familiar with my famous fudge brownie recipes. It's a delightful combination of a brownie (or blondie) with a luscious fudge topping!
Over the years, I've experimented with countless flavors and variations, but one of the earliest fudge brownie creations I made were these adorable Valentine's Day treats. They featured a heavenly blend of white chocolate fudge and red velvet brownie, perfectly capturing the essence of love and sweetness.
Now I’ve decided to combine that recipe with my beloved Oreo Fudge Brownies to create the ultimate dessert!
Three Parts to These Brownies
These brownies have 3 layers:
- Red Velvet Brownie Layer
- White Chocolate Oreo Fudge Layer
- Ganache Layer
But don’t worry, this recipe is not difficult at all! Each layer requires only a few ingredients and is incredibly easy to prepare. Allow me to explain each section in detail.
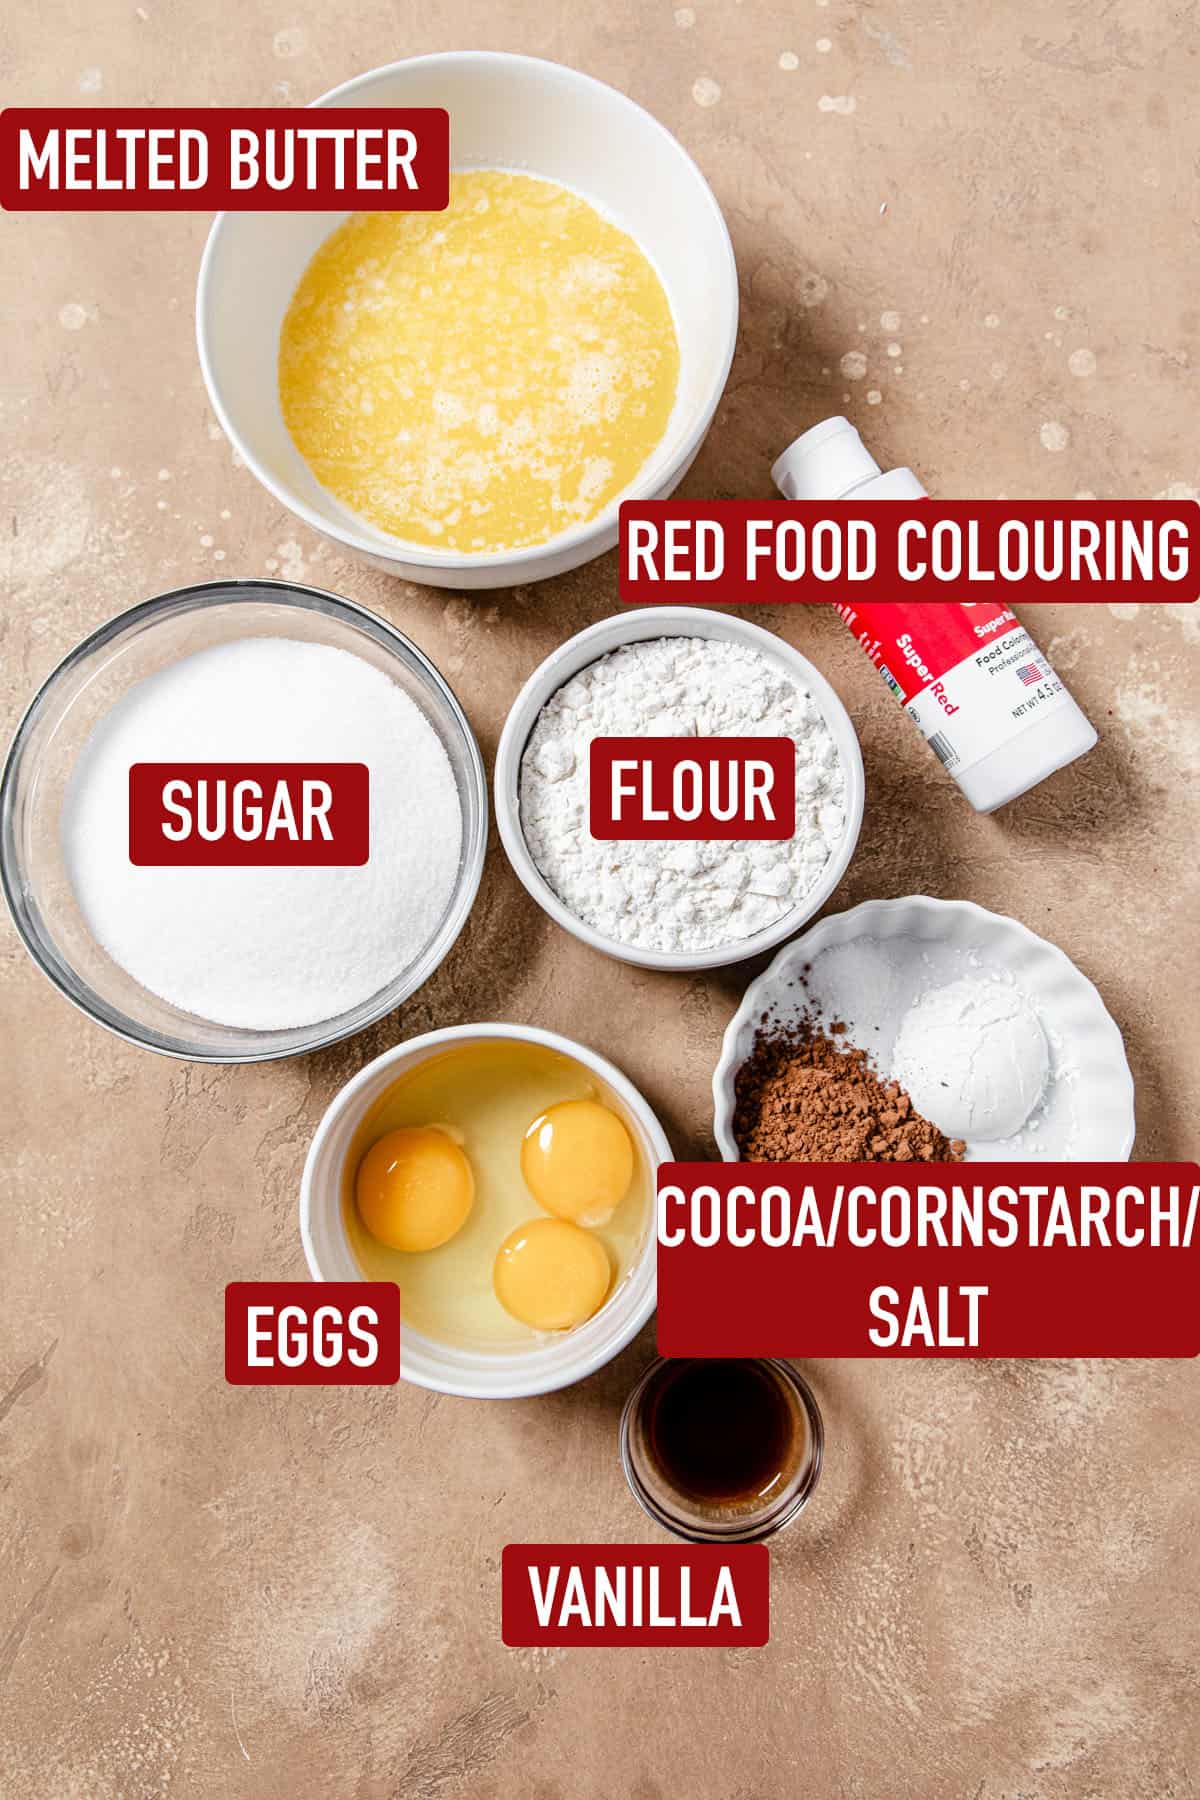
What you need for these Red Velvet Oreo Brownies
1. RED VELVET BROWNIE BASE
- Butter — we’ll be using unsalted butter in this recipe. Pop it in the microwave in 30 second intervals until it’s melted, then set it aside to cool.
- Granulated Sugar — Typically, I combine granulated and brown sugar in my brownie recipes. However, for these brownies, we desire a stunning, vibrant red velvet hue. Therefore, we should be cautious about adding ingredients that might alter the batter's color.
- Eggs — Adding two whole eggs and one egg yolk brings an abundance of richness, structure, and fudginess to these delectable brownies!
- Vanilla Extract — for flavour, of course! As always, use pure vanilla extract for the best results!
- Red Food Colouring — To preserve the delightful texture of your brownies, opt for gel food coloring instead of liquid. By using a high quality brand of food colouring (like this one), you can achieve a vibrant red hue without the need for excessive amounts.
- All Purpose Flour — To achieve a more fudgy and less cakey texture, just 1 cup of flour is required for these brownies.
- Unsweetened Cocoa Powder — As is the case with every red velvet recipe, just a few tablespoons of cocoa are enough to add a hint of chocolate flavor, without overpowering the cake with a full-on chocolate taste.
- Cornstarch — The addition of cornstarch is what gives the brownies their ideal texture.
- Salt — The addition of salt helps to balance out the sweetness, creating a harmonious blend of flavors.
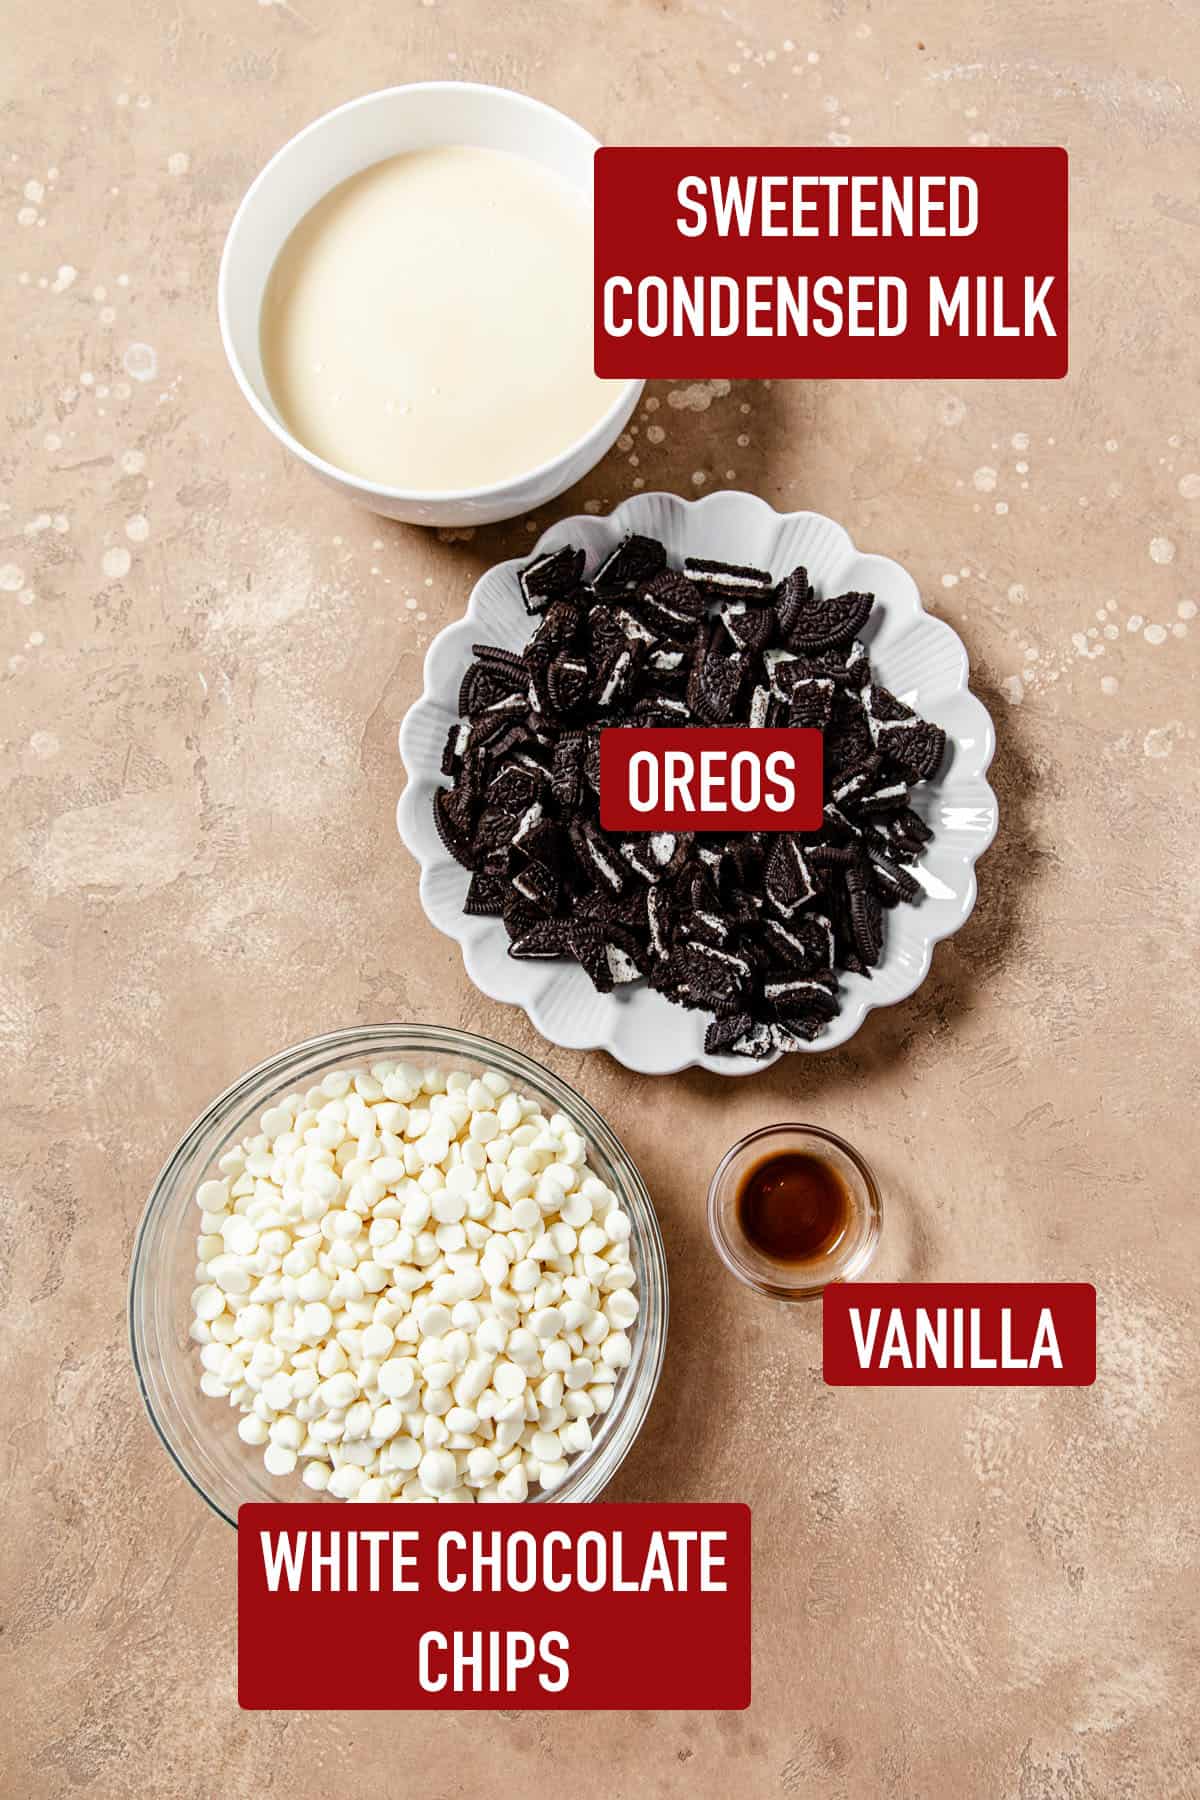
2. OREO FUDGE
- Sweetened Condensed Milk — When it comes to fudge, the entire recipe revolves around a single 14 ounce can of sweetened condensed milk. In Canada, the majority of our cans are 300ml, which is less than 14 ounces. To meet the required quantity, you'll have to purchase 2 cans. To measure the right amount, you can use a kitchen scale or measure out 1 and ¼ cup.
- White Chocolate Chips — Finding the ideal consistency for our fudge is crucial - not too thin, not too thick. After some experimentation, I discovered that 3 cups of white chocolate chips is just right! To ensure smooth melting, it's important to opt for a high-quality brand of chocolate chips.
- Vanilla Extract — to add a little bit of flavour to the fudge.
- Oreo Cookies — chop 15 Oreos, then stir them into the fudge. You can also crush them into crumbs in a food processor, but I personally prefer having chunks of Oreo in my fudge.
3. CHOCOLATE TOPPING
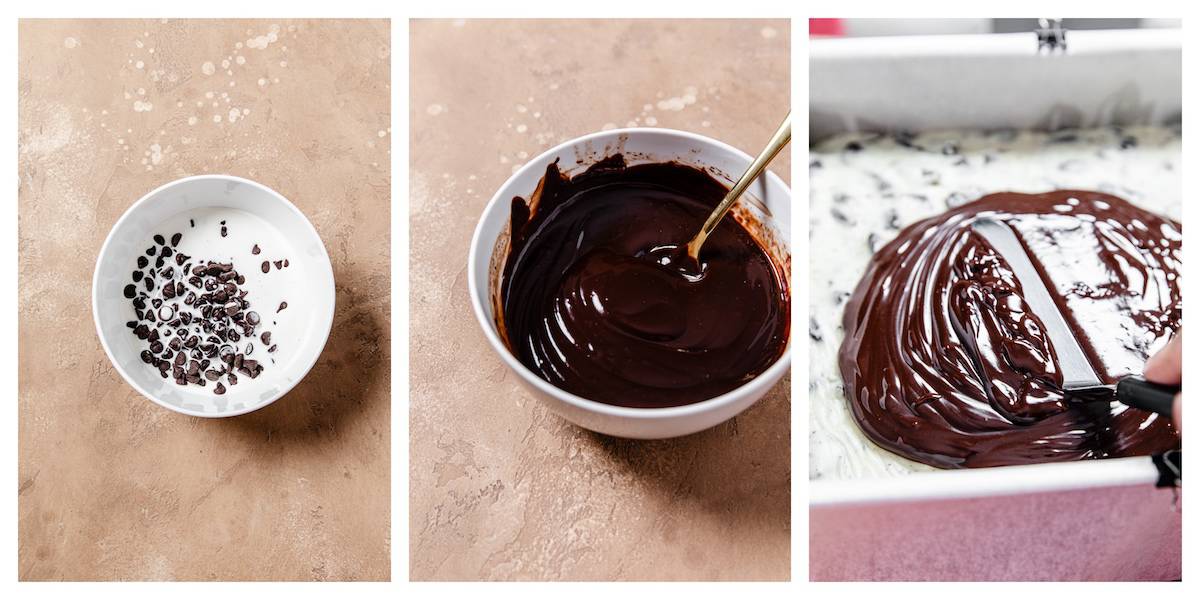
- Heavy Cream & Chocolate Chips — only 2 ingredients are needed to make this simple ganache topping. I used 1 cup of dark chocolate chips and ½ cup of heavy cream to achieve the perfect consistency.
Now that you have a list of ingredients to collect, let’s put them all together!
The Red Velvet Brownie Layer
In the first red velvet brownie recipe I made, I had used melted chocolate like I do with all my brownie recipes. However, the melted chocolate had resulted in a deep dark red brownie. Now this isn’t a big deal, but for this recipe we want bright red brownies.
After making some tweaks to my previous recipe, I decided to skip the melted chocolate and instead added a touch of cocoa.
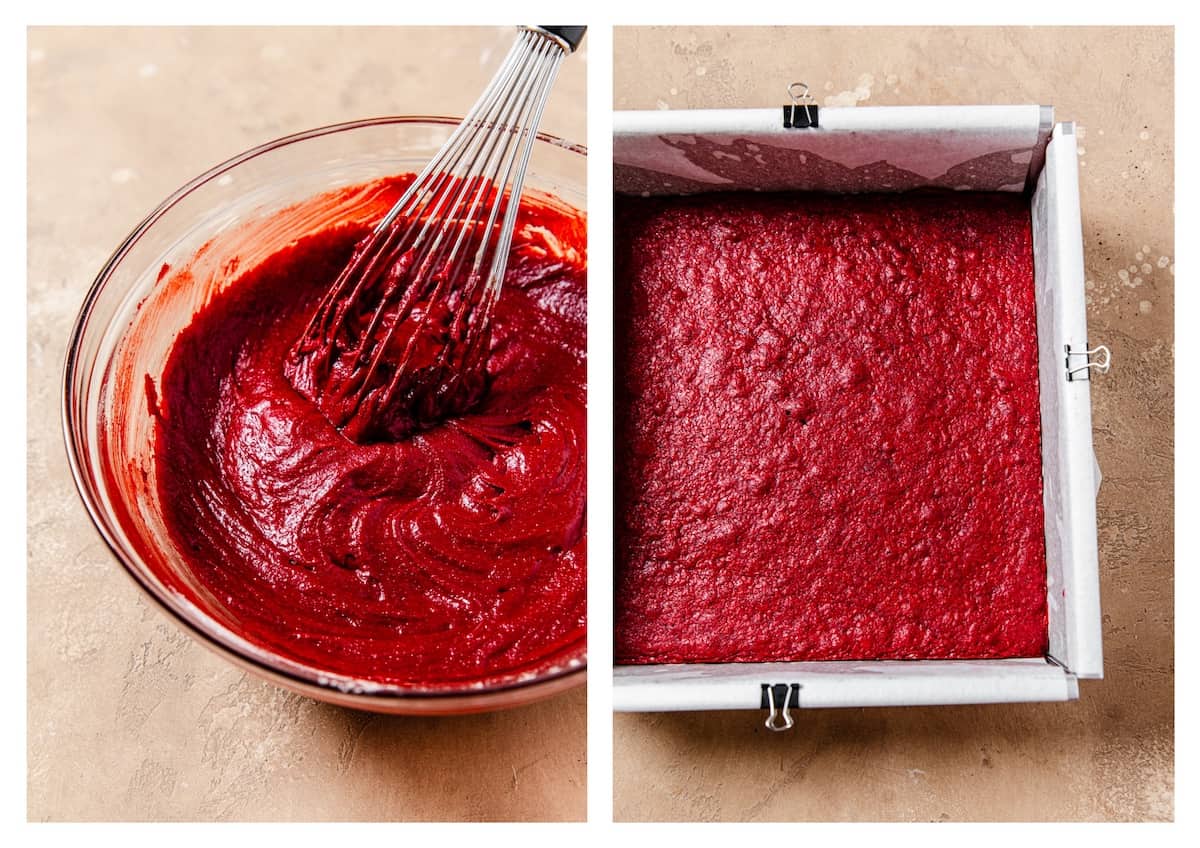
Making these brownies is a breeze! Simply combine the melted butter and sugar, whisking until you achieve a smooth consistency. Next, add in the eggs, vanilla, and a touch of food coloring for that extra pop of color. Finally, mix in the dry ingredients, and voila! You've got yourself a delicious batch of red velvet brownies. It's as easy as pie!
Baker’s Tip: To ensure easy removal of your brownie bars from the pan, start by cutting two long sheets of parchment paper that perfectly fit the bottom of your 9x9-inch pan and hang off the edges. Give the sides and bottom of the pan a quick spray of nonstick cooking spray. Next, line the bottom of the pan with one sheet of parchment paper and spray it again. This will allow the second sheet to stick in the opposite direction. Take a look at the photo below for a visual example of how I lined my pan using this method. With this technique, you'll have no trouble lifting your brownie bars out of the pan effortlessly!
The White Chocolate Oreo Fudge
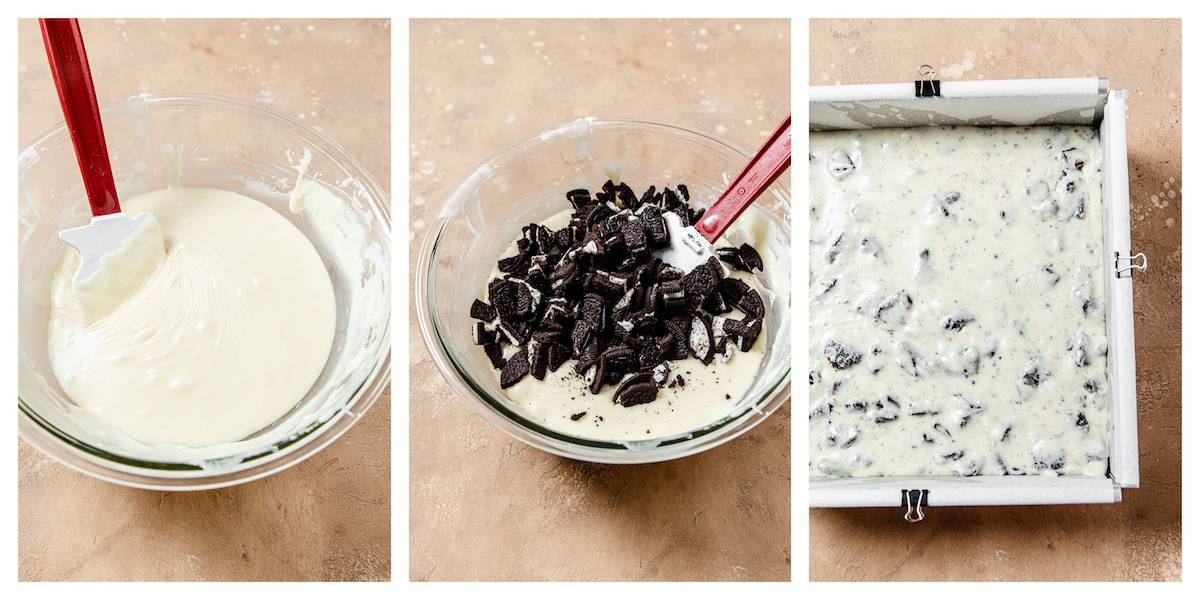
To make the fudge, just combine the condensed milk and white chocolate chips in a bowl placed over a saucepan of gently simmering water. Stir the mixture until it becomes melted and smooth, adding a touch of vanilla extract for flavor.
Afterwards, gently fold in the chopped Oreos. The fudge will have a thick consistency. Spread this yummy mixture over the brownies and then transfer the whole thing to the refrigerator to chill. While it's chilling, you can start preparing the ganache!
The Chocolate Ganache Topping
Elevate your brownies to a whole new level with this irresistible chocolate ganache topping! Made using just chocolate chips and heavy cream, this decadent layer of chocolate effortlessly brings all the elements of these bars together in perfect harmony!
The flavor explosion in these extraordinary brownies will captivate both red velvet enthusiasts and those who aren't. Prepare to be amazed by each extravagant layer, taking your taste buds on a wild ride. Don't hold back, because these brownies are the epitome of indulgence!
More Oreo Desserts:
- Red Velvet Oreo Cheesecake
- Oreo Cheesecake Brownies
- Birthday Cake Oreo Fudge Brownies
- Mint Oreo Fudge Brownies
- Oreo Cookie Dough Brownies
- Mini Oreo Cheesecakes
- No-Churn Fudge Swirl Oreo Cheesecake Ice Cream
SHARE YOUR PICS!
Follow me on Instagram and tag #queensleeappetit so I can see and share all of your Queenslee Appétit creations in my stories and the QA Newsletter!
>>PIN THIS FOR LATER<<
FOLLOW QUEENSLEE APPÉTIT
Like what you see? Make sure you‘re following Queenslee Appétit for more tasty recipes!
Pinterest | Instagram | Facebook | YouTube
Have any questions about the recipe? Contact me here, and I’ll be happy to help!
SWEETEN UP YOUR INBOX!
SUBSCRIBE to the Queenslee Appétit Newsletter to receive new recipe notifications and sneak peeks at upcoming recipes and more!
Let’s get baking!
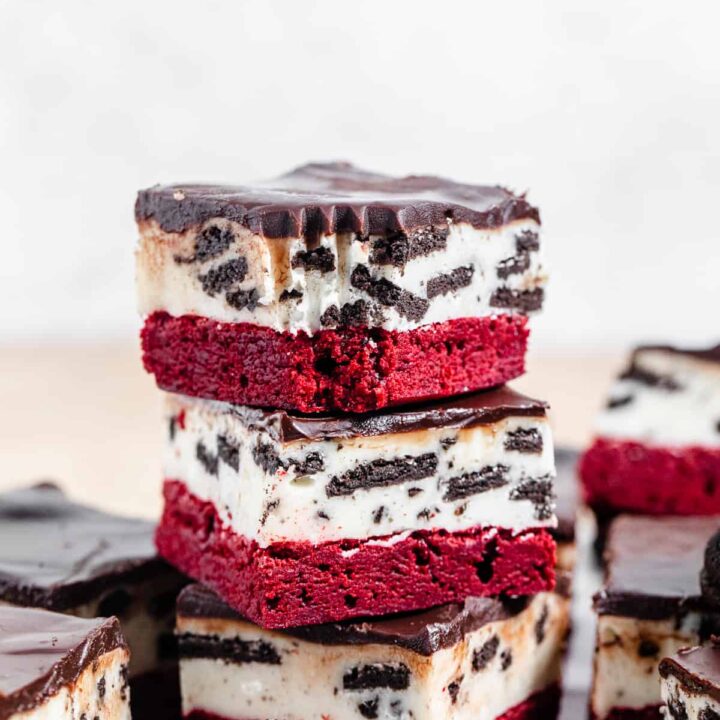
Red Velvet Oreo Fudge Brownies
With four delectable layers, including fudgy red velvet brownies, irresistible white chocolate Oreo fudge, and a velvety smooth chocolate ganache, these sinfully delicious brownies are the epitome of indulgence!
Ingredients
Red Velvet Brownies:
- ¾ cup unsalted butter, melted and cooled
- 1 and ¼ cups granulated sugar
- 2 large eggs, room temperature
- 1 large egg yolk
- 2 teaspoons pure vanilla extract
- 1-2 tablespoon red liquid or gel food colouring
- 1 cup all-purpose flour
- 3 tablespoon unsweetened cocoa powder, sifted
- 1 tablespoon cornstarch
- ¼ teaspoon salt
Oreo Fudge:
- 1 and ¼ cup (14 oz) sweetened condensed milk
- 3 cups white chocolate chips
- 1 teaspoon pure vanilla extract
- 15 Oreos, roughly chopped
Chocolate Topping:
- 1 cup dark chocolate chips
- ½ cup heavy cream
Instructions
For the Red Velvet Brownies:
- Preheat the oven to 350°F (176°C). Spray a 9x9-inch square baking pan with non-stick cooking spray, then line with parchment paper, leaving about 2-inches hanging over the sides. Spray with more non-stick spray then line another sheet of parchment in the other direction to form a cross (see photos in post for example). Set aside.
- Add sugar to melted butter and whisk until combined. Add eggs and vanilla and whisk until completely smooth. Mix in the red food colouring.
- In a separate medium bowl, add the flour, cocoa, cornstarch and salt. Whisk to combine.
- Add the flour mixture to the red velvet batter then slowly whisk until everything’s combined.
- Pour the batter into the prepared pan and spread into an even layer. Bake for 25-30 minutes or until a toothpick inserted into the brownie comes out with a few moist crumbs. Allow to cool completely in the pan on a wire rack.
For the Cookies and Cream Fudge:
- Add the condensed milk, white chocolate chips and vanilla to a large heat-proof bowl and melt over a saucepan of simmering water stirring constantly until fully melted and smooth.
- Fold in the chopped Oreos and spread over cooled brownies. Place a sheet of plastic wrap on top and flatten into an even layer. Refrigerate for 4 hours or preferably overnight.
For the Chocolate Topping:
- In a heat safe bowl, add the chocolate chips and heavy whipping cream and microwave in 30 second intervals, for about 1 minute. Stir slowly until mixture comes together to form a silky ganache.
- Once fudge has set, pour ganache on top and spread into an even layer. Loosely cover the pan and chill in the refrigerator until ganache is set, about 1 hour.
3. Once everything is set, lift the brownies out of the pan and cut into even squares. Enjoy!
Notes
- Flour: It’s super important for you to measure your flour properly to ensure your brownies have the perfect texture. Use a spoon to fluff the flour, then scoop it into your measuring cup, then use the back of a butter knife to scrape the excess flour off the top.
- Baking: Do not overbake these brownies. Start to check them at around 20-23 minutes, they should be ready when a toothpick inserted into the centre comes out with a few moist crumbs.
- Storage: Store the brownies in an airtight container in the refrigerator for 3-5 days.
- Slice: The easiest way to slice these bars is to use a sharp knife ran under hot water. Make sure to wipe it with a paper towel after each slice.
- Nutrition: The nutrition details are an estimate based on one brownie, assuming they were sliced into 12 bars.
Nutrition Information:
Yield: 12 Serving Size: 1Amount Per Serving: Calories: 598Total Fat: 38gSaturated Fat: 22gTrans Fat: 0gUnsaturated Fat: 13gCholesterol: 114mgSodium: 168mgCarbohydrates: 59gFiber: 2gSugar: 43gProtein: 8g
Love, Dedra
©QUEENSLEE APPÉTIT. All images & content are copyright protected. Please do not use my images without prior permission. If you want to republish this recipe, please re-write the recipe in your own words, or link back to this post for the recipe.


Leave a Reply