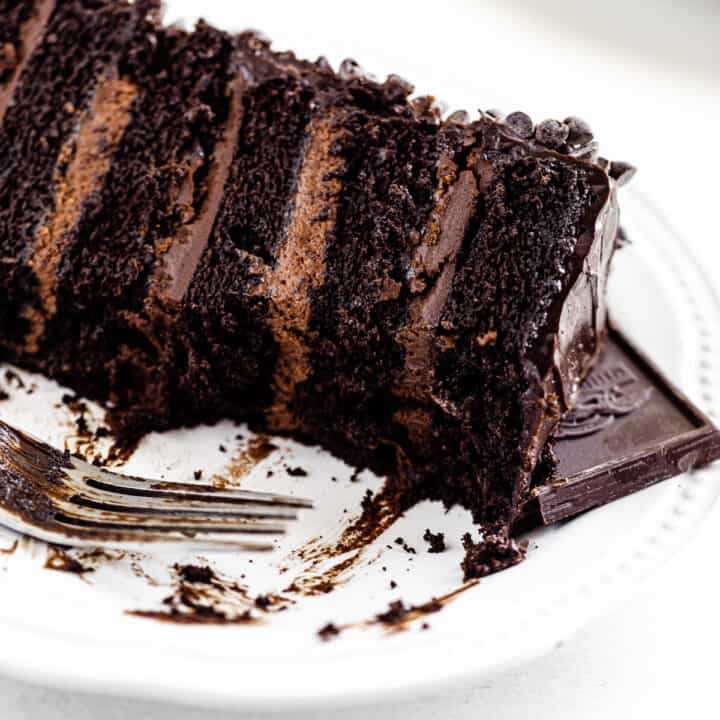
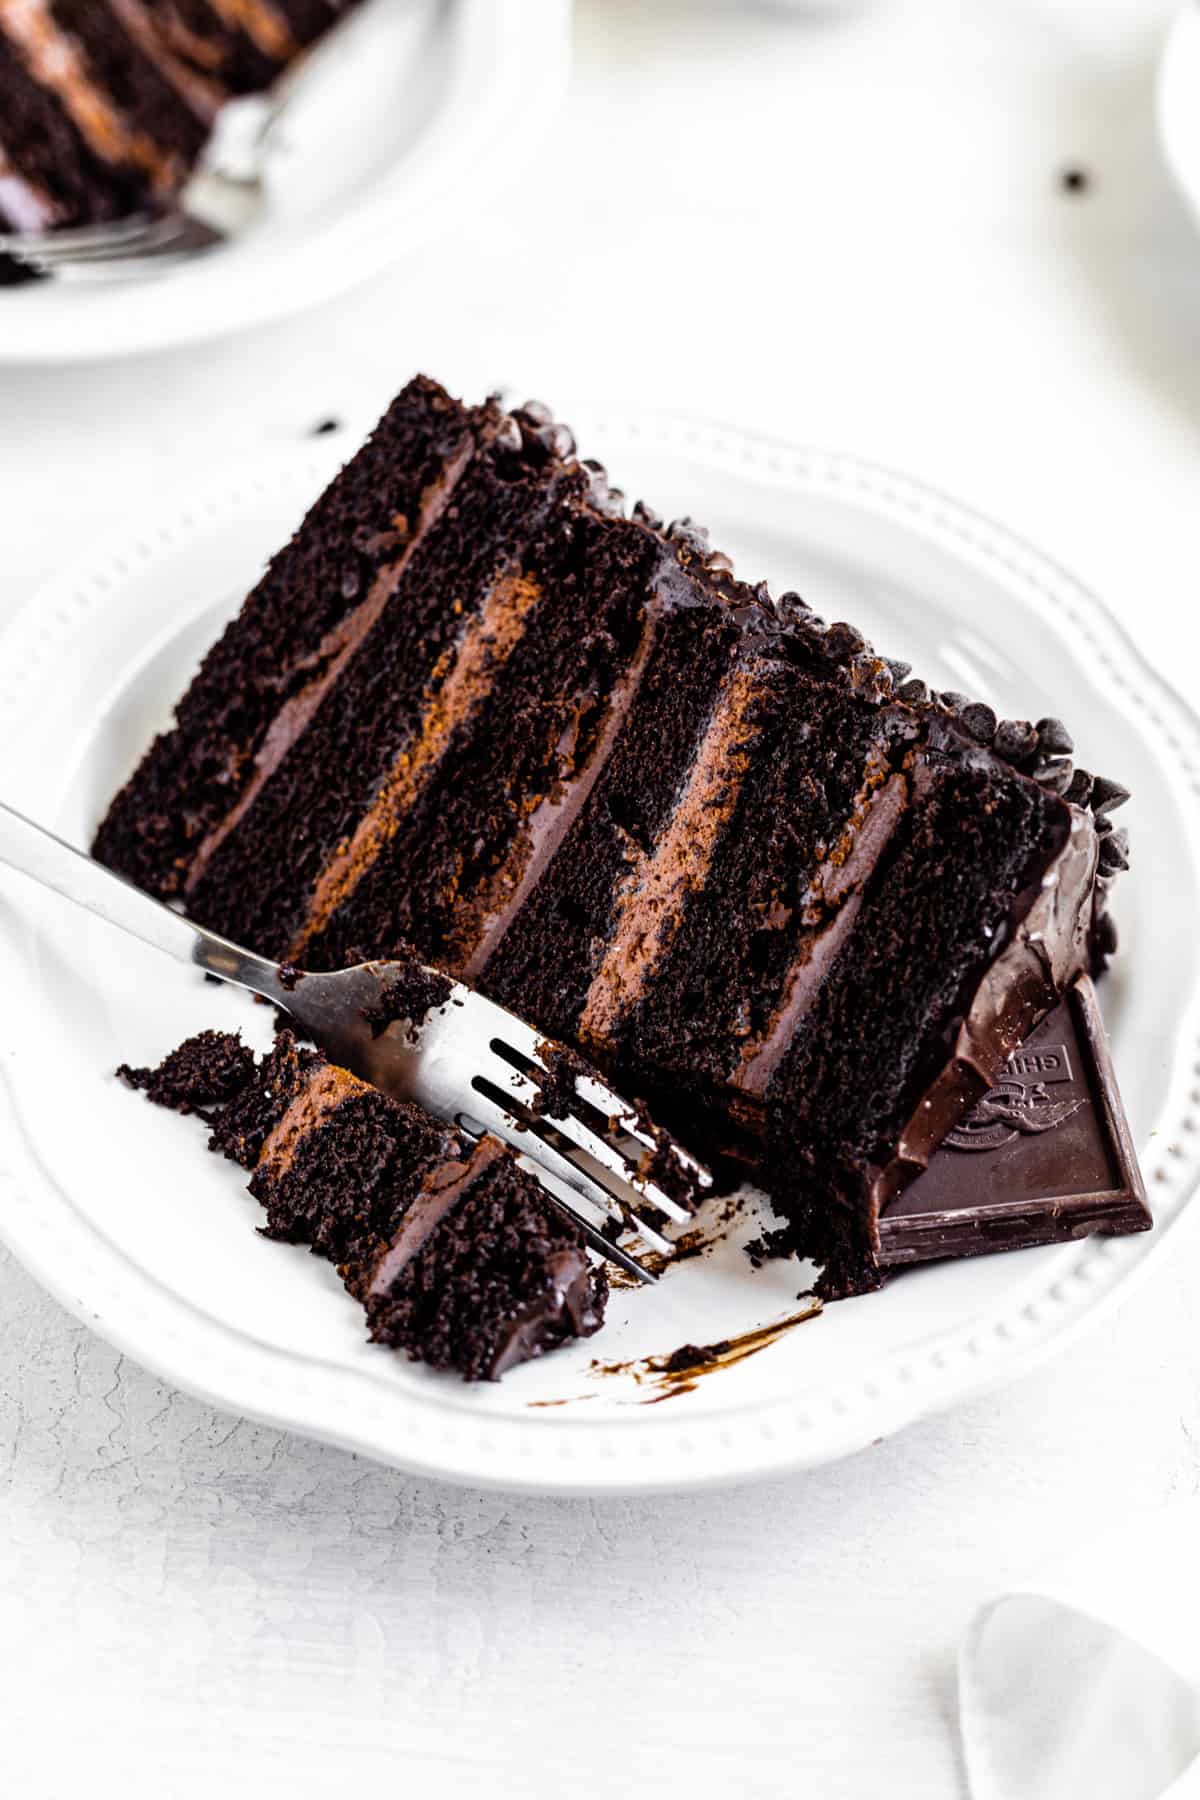
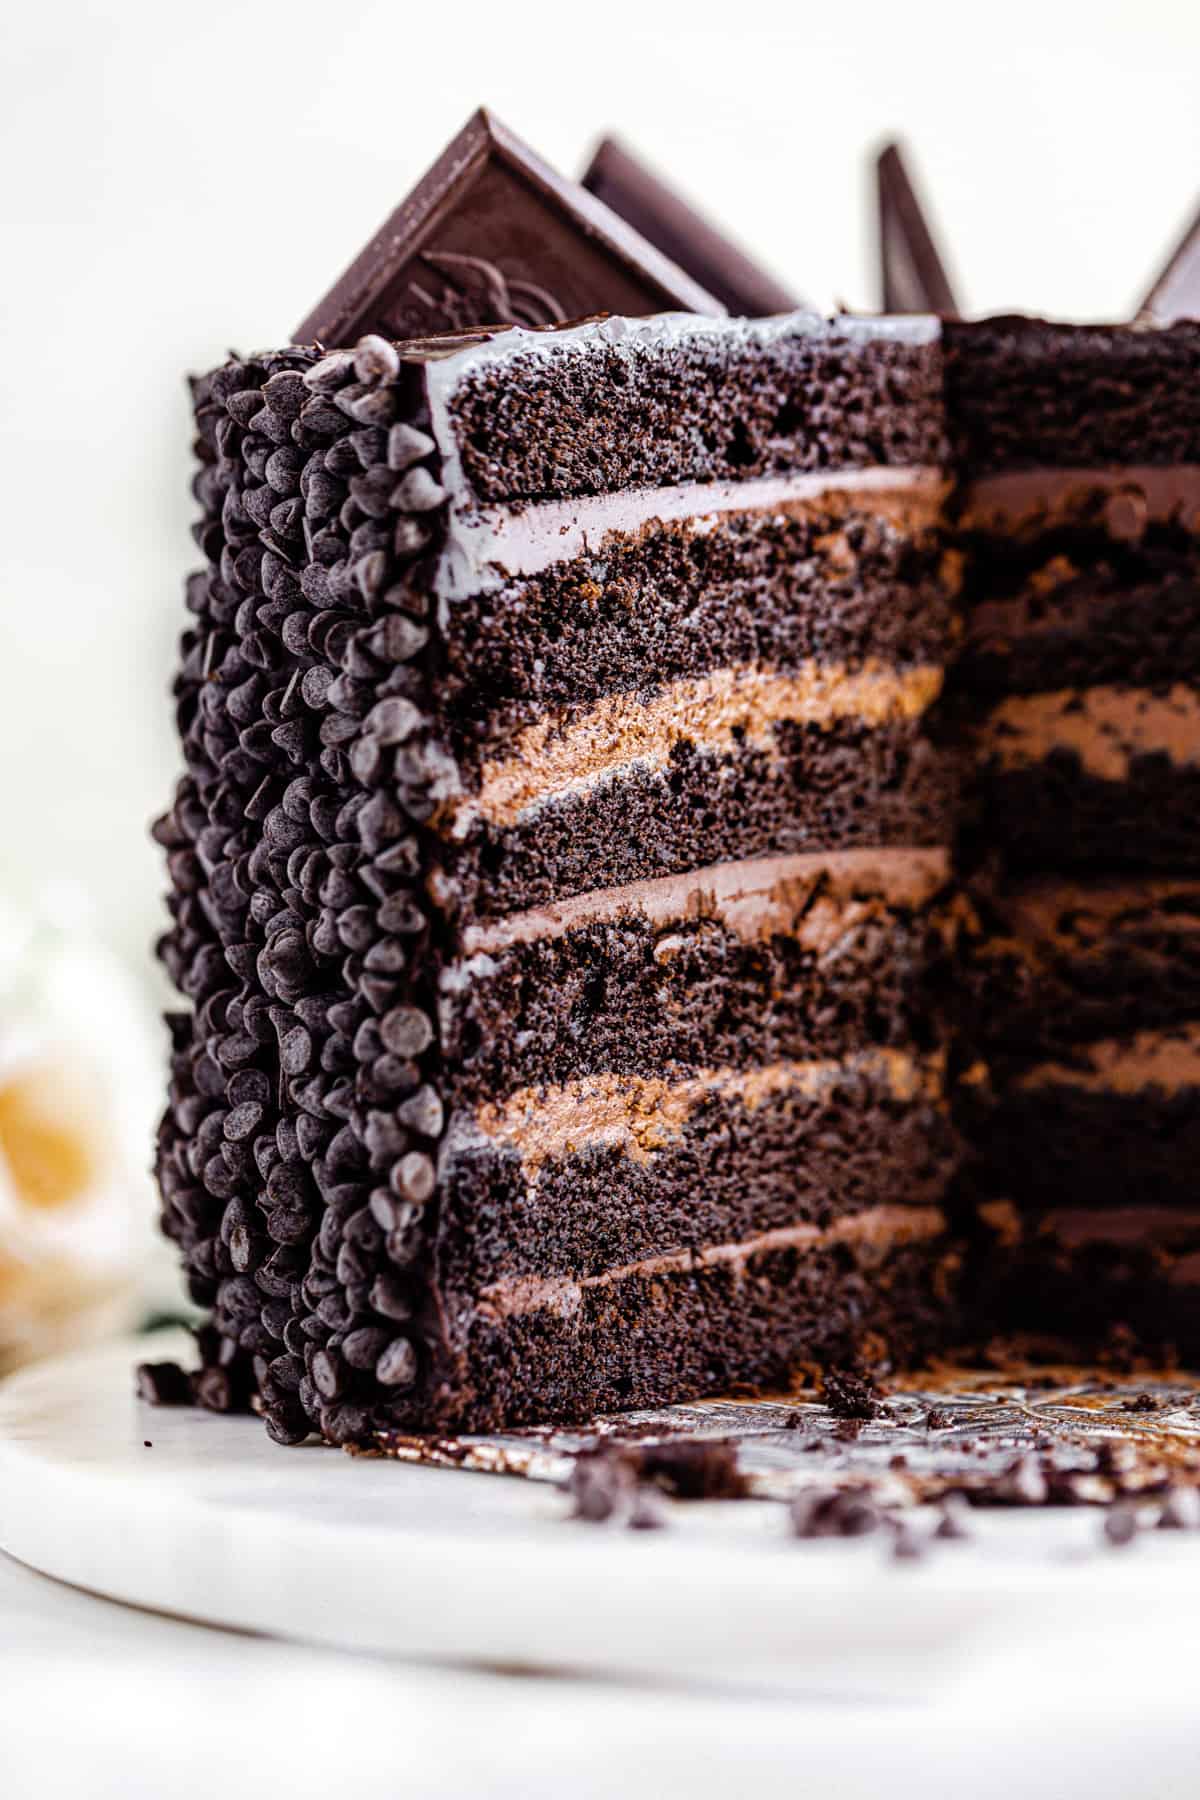
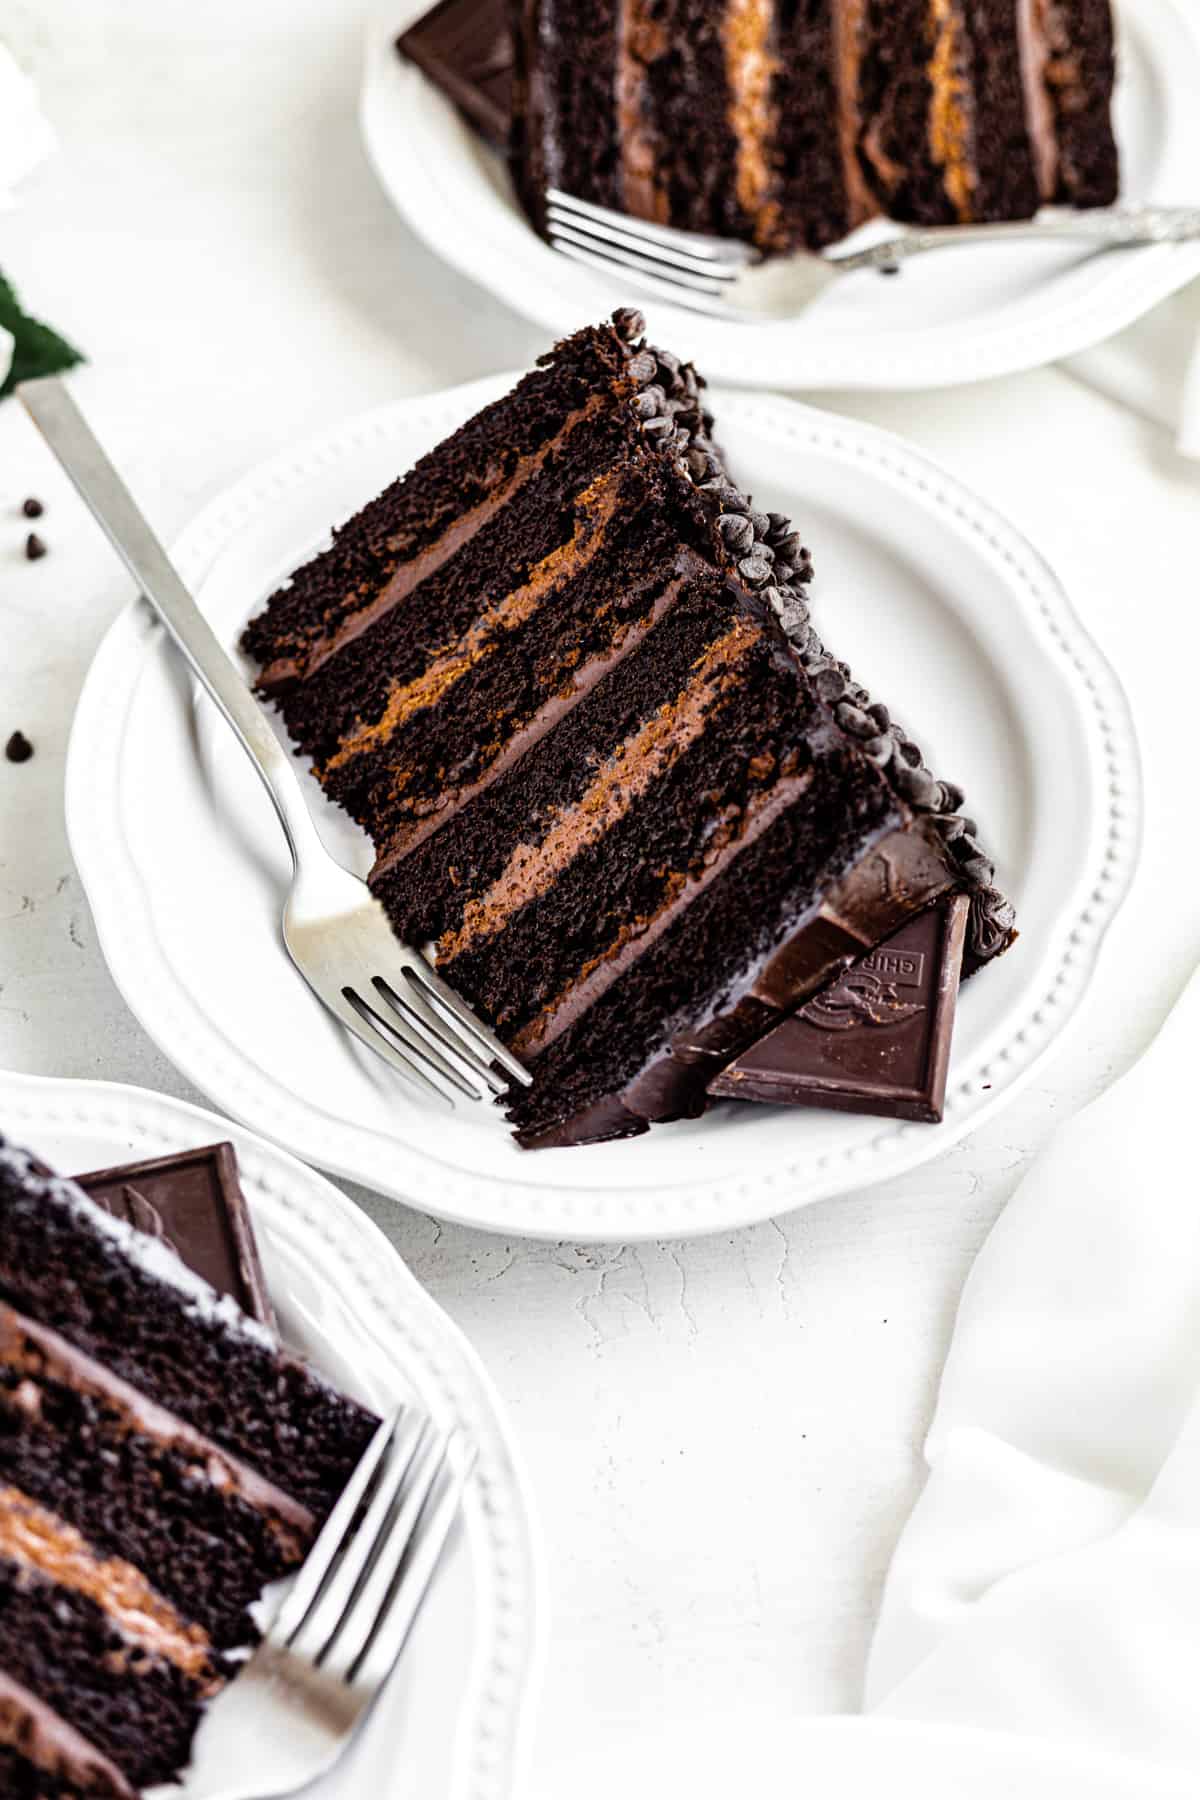
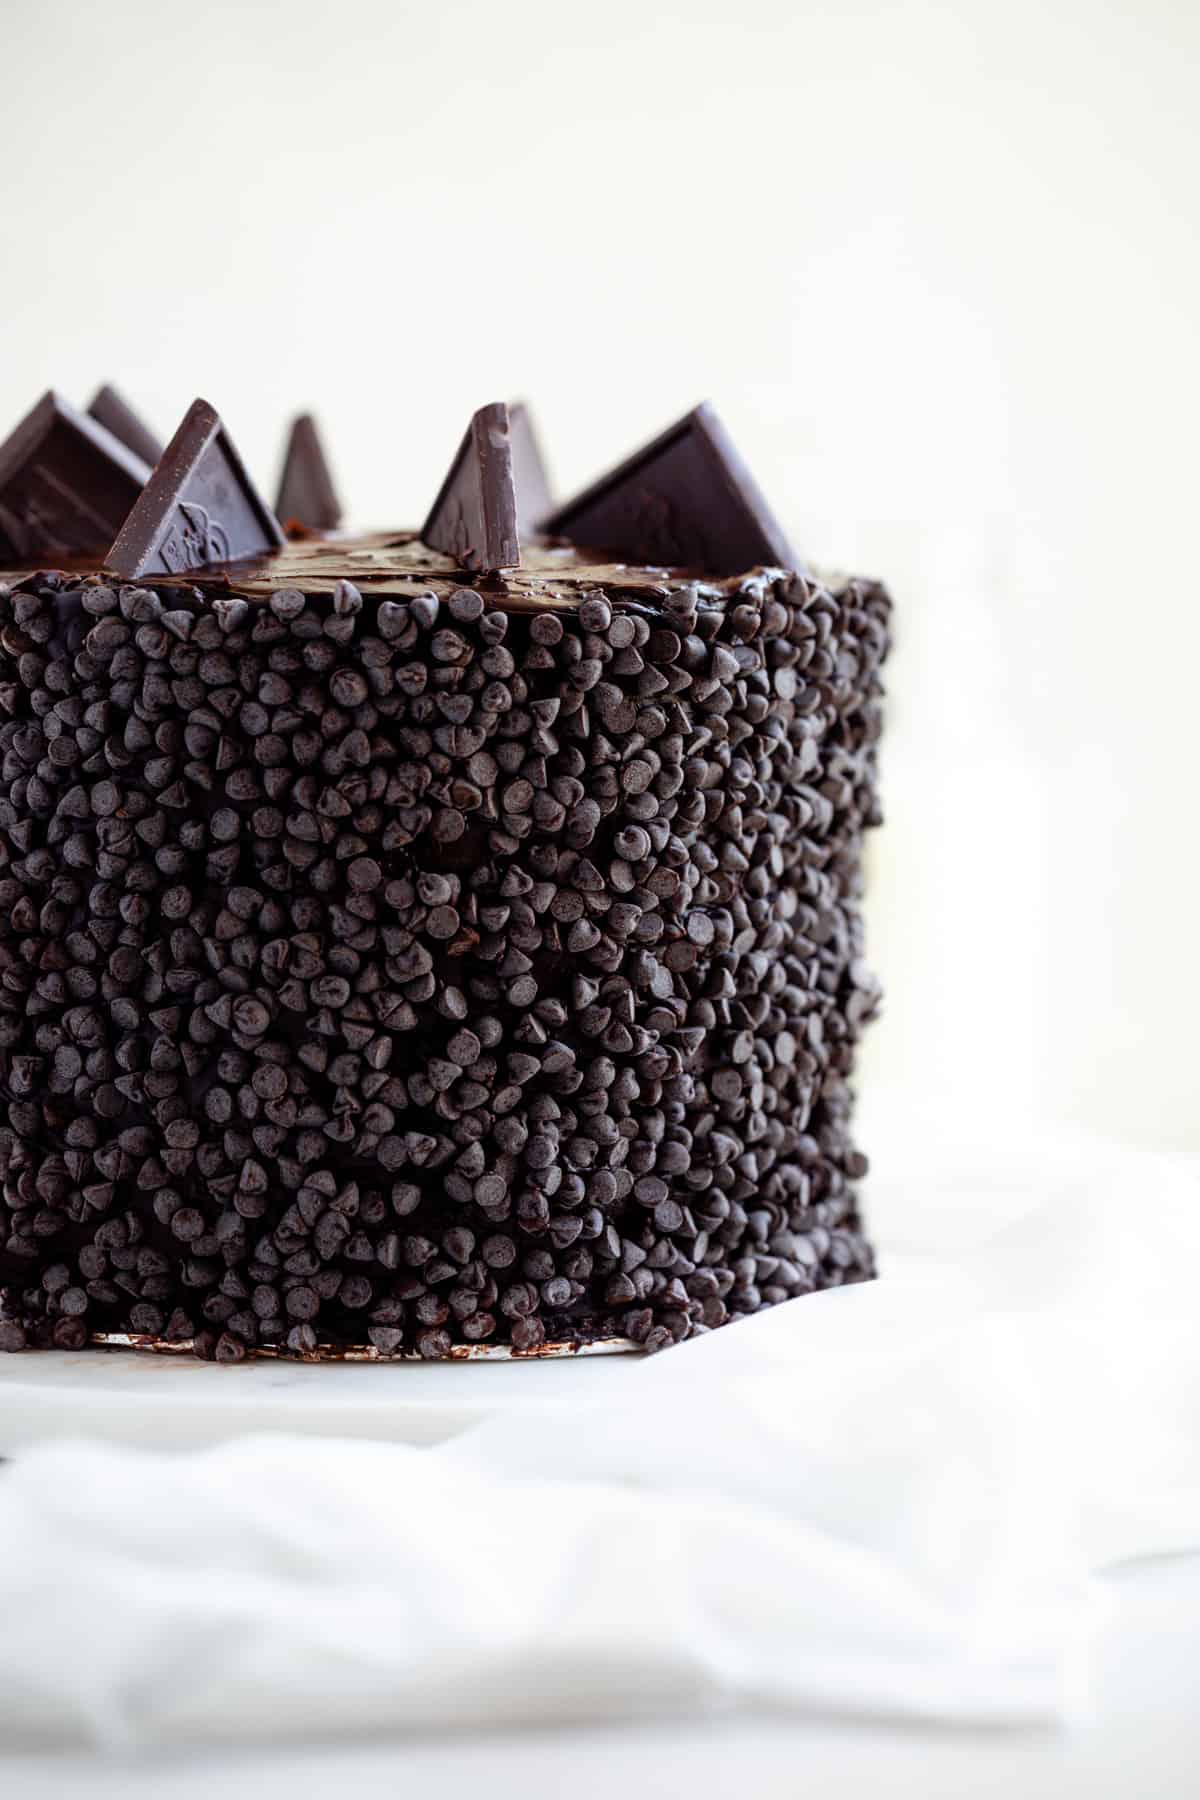
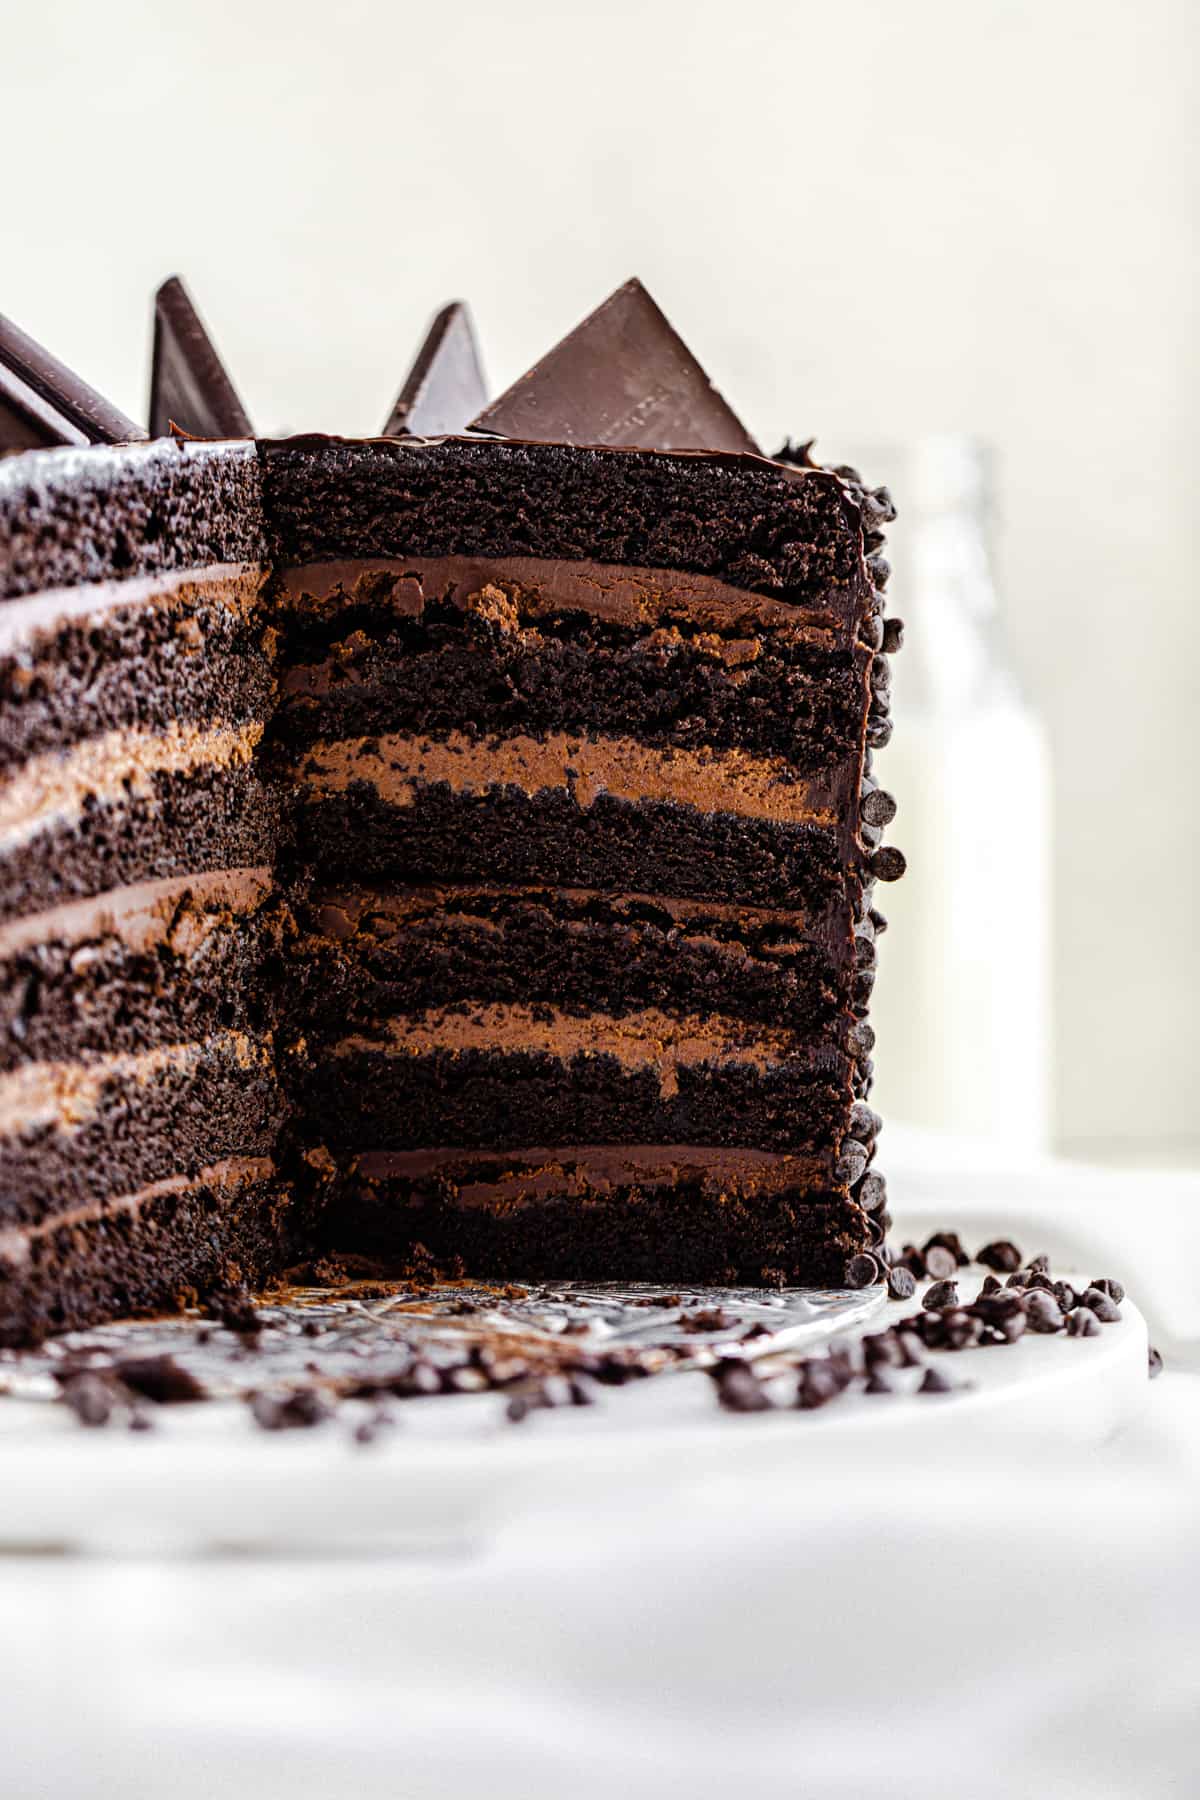
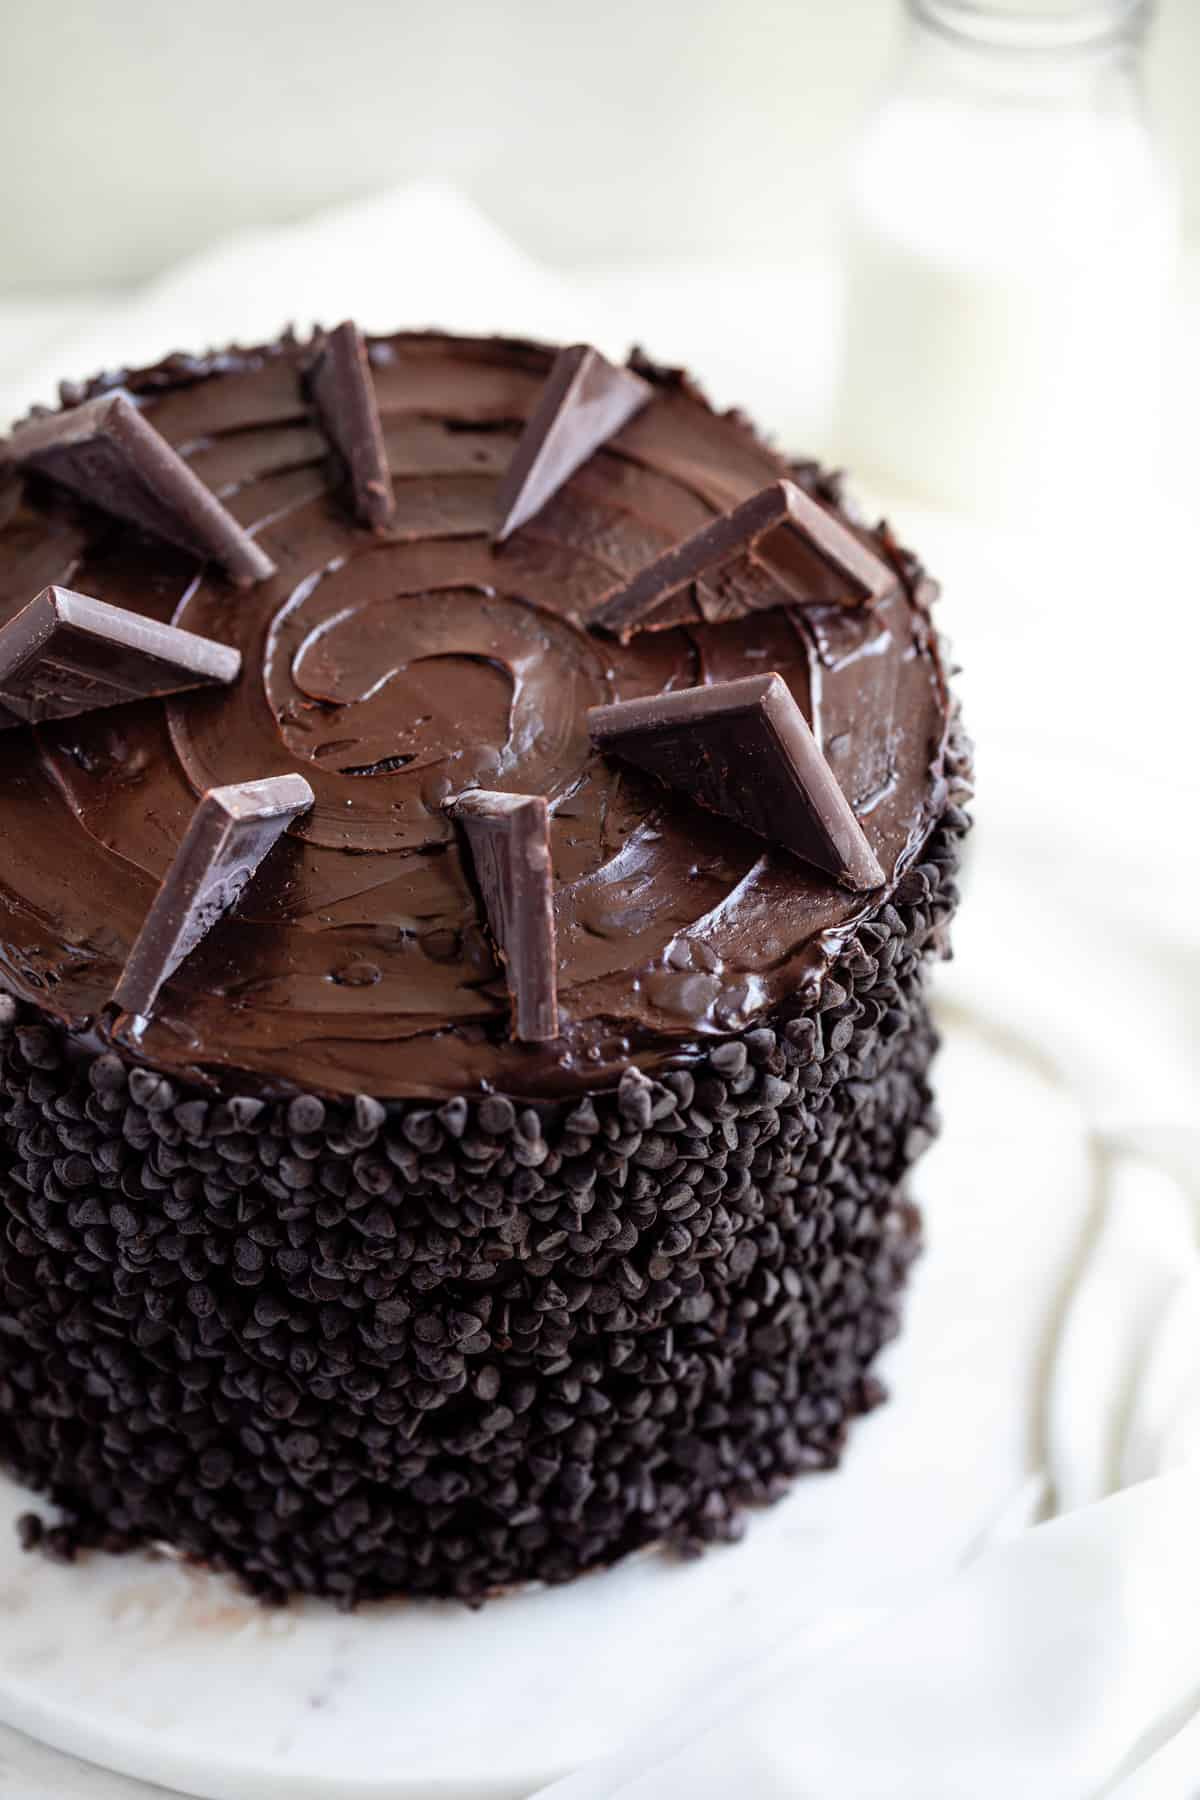
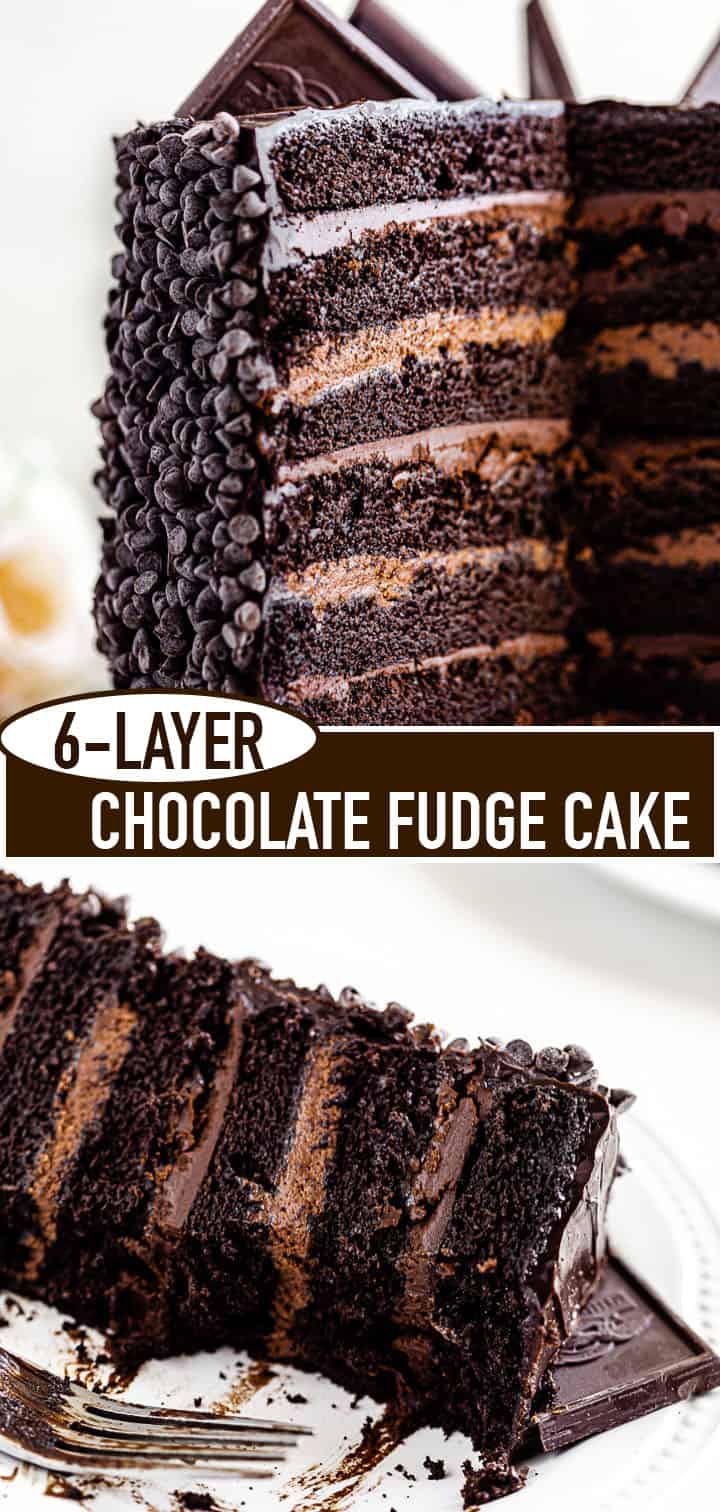
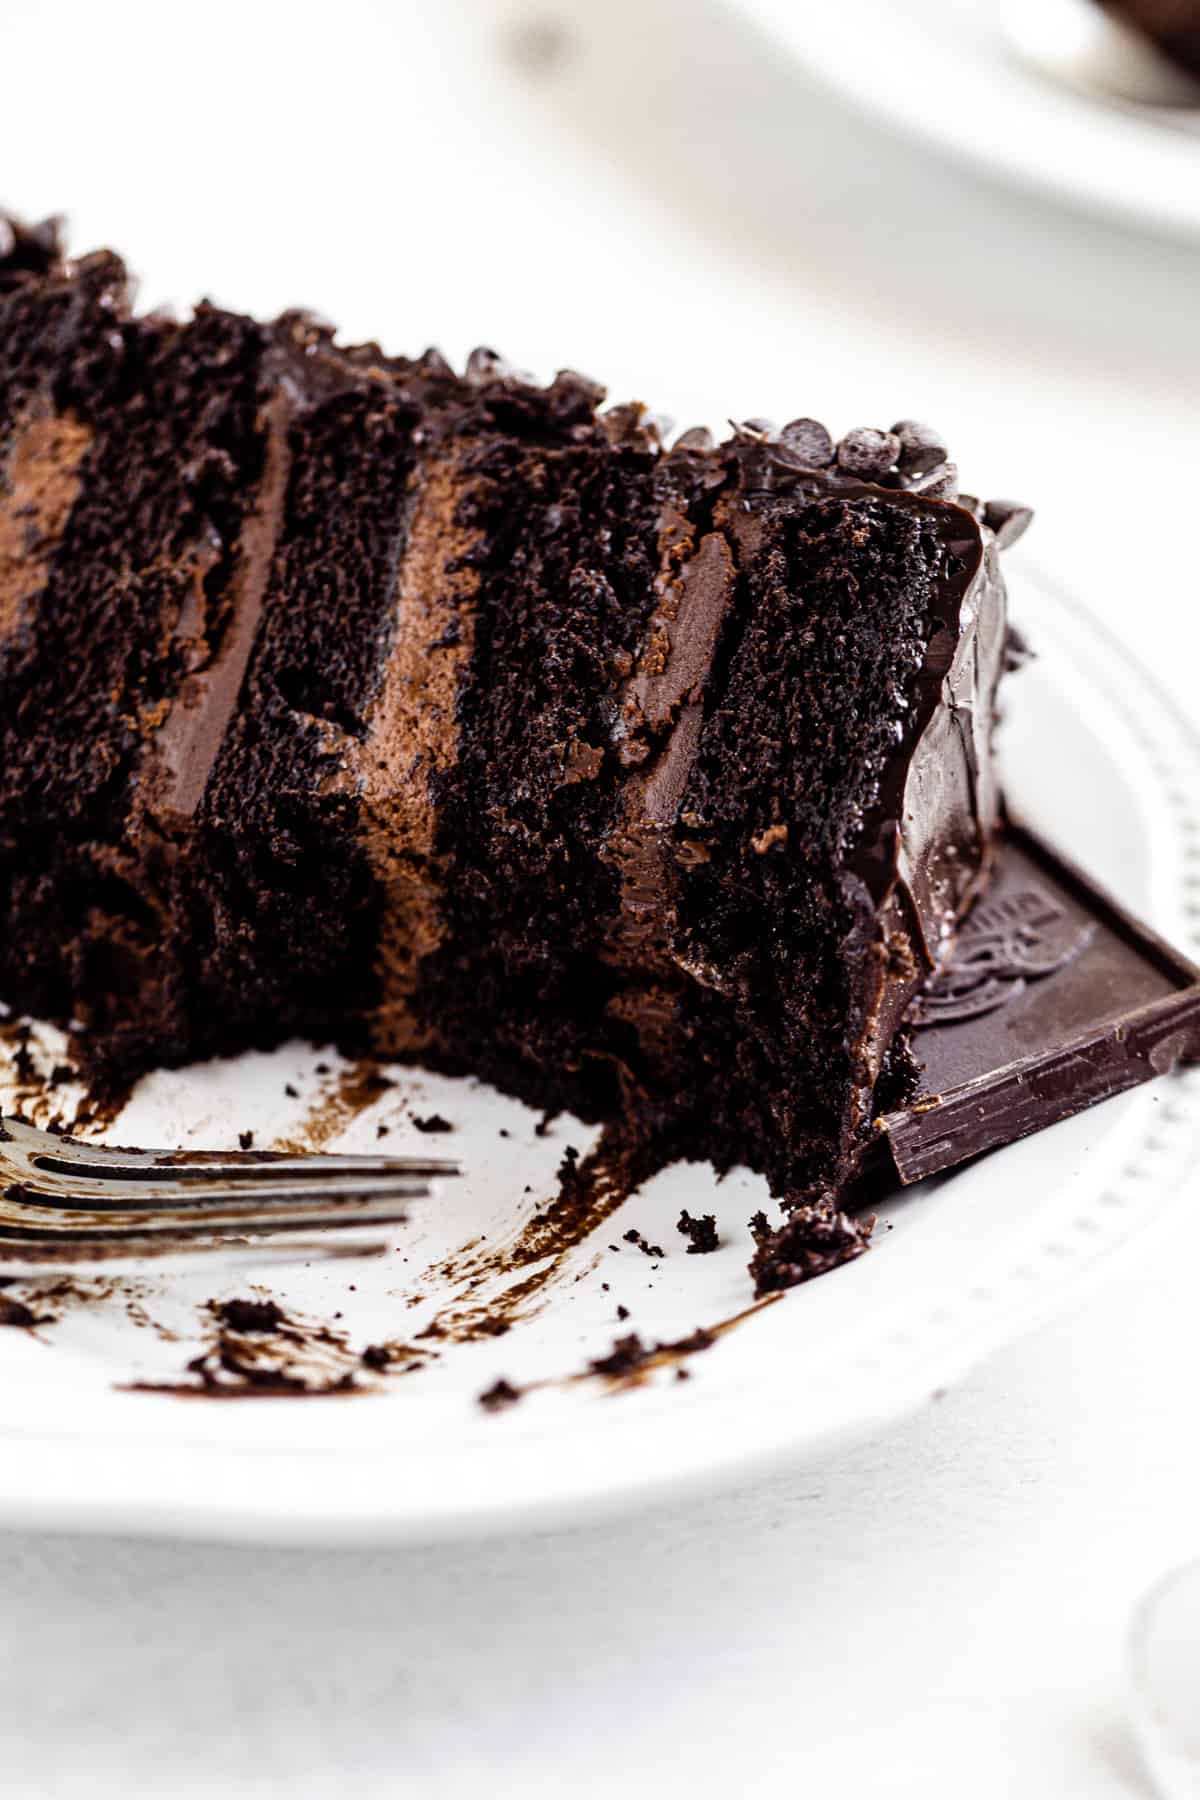
Layer after layer of pure chocolatey goodness, this Ultimate 6-Layer Chocolate Fudge Cake is positively perfect! Six layers of fudgy chocolate cake filled with truffle ganache and chocolate mousse and frosted in a ganache frosting that’s covered in mini chocolate chips. This cake is definitely not for those with a guilty conscience!
This post may contain affiliate links. As an Amazon Associate I earn from qualifying purchases. Please see my full disclosure policy for details.
I’ve loved chocolate cake since the day I started eating solid foods. Every single birthday was chocolate cake, but it was a simple 2-layered bakery chocolate cake. While delicious, those chocolate cakes weren’t really anything special.
Thankfully I was blessed with the talent of putting ingredients together to make outstanding desserts, so I decided to make the greatest chocolate cake ever!
Why This is The Best Cake Ever
This is, without a doubt, the greatest cake I’ve ever made. Yes, even better than my Turtle Chocolate Cake! Here’s a few things that makes this cake so incredible:
- 6 layers of my go-to perfect chocolate cake
- Two types of chocolate fillings
- Ultra-moist
- Ultra-rich
- Ganache frosting!
- Loads of mini chocolate chips coating the sides
- Even more chocolate goodies on top
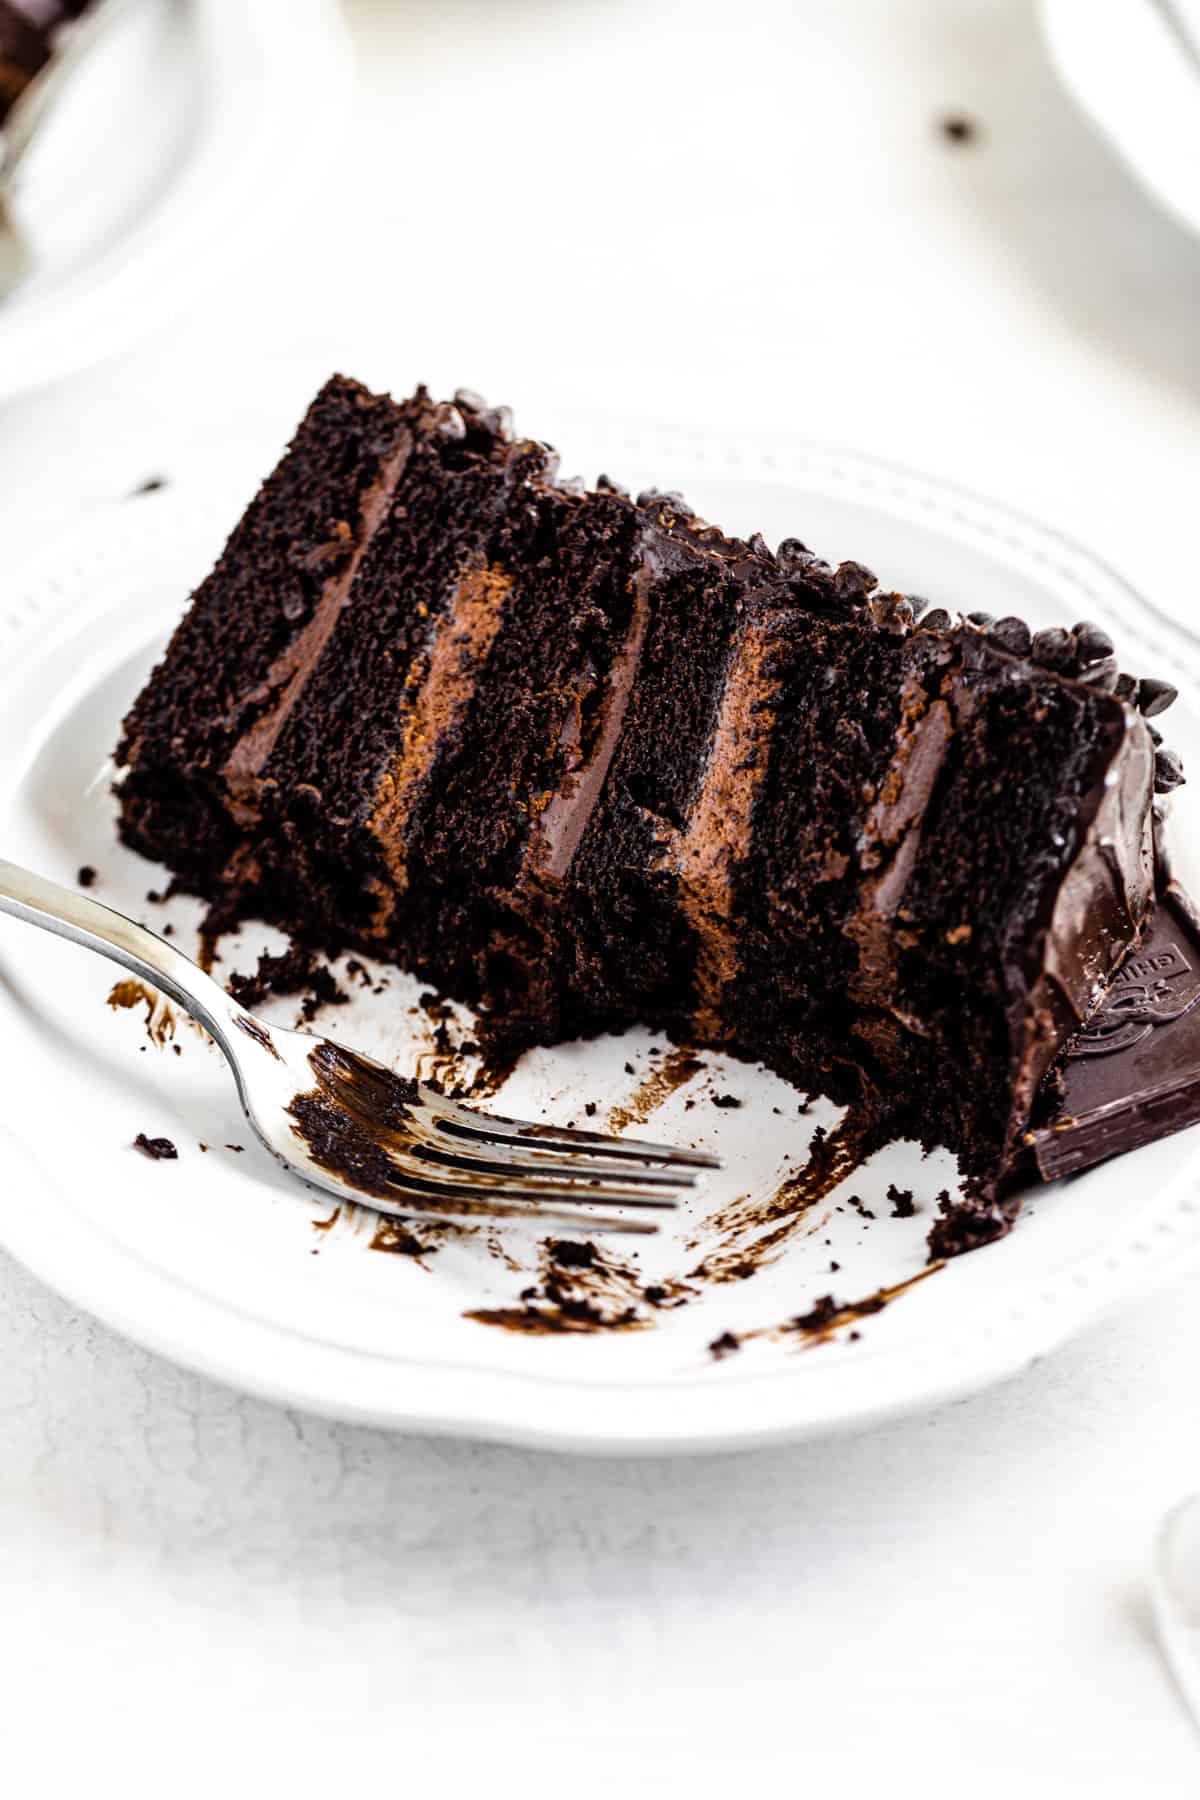
If you are a hardcore chocolate freak like me, you probably already passed out after looking at the first photo. Don’t you just love chocolate desserts that look so insanely chocolatey they send chills up your spine before you even taste them?
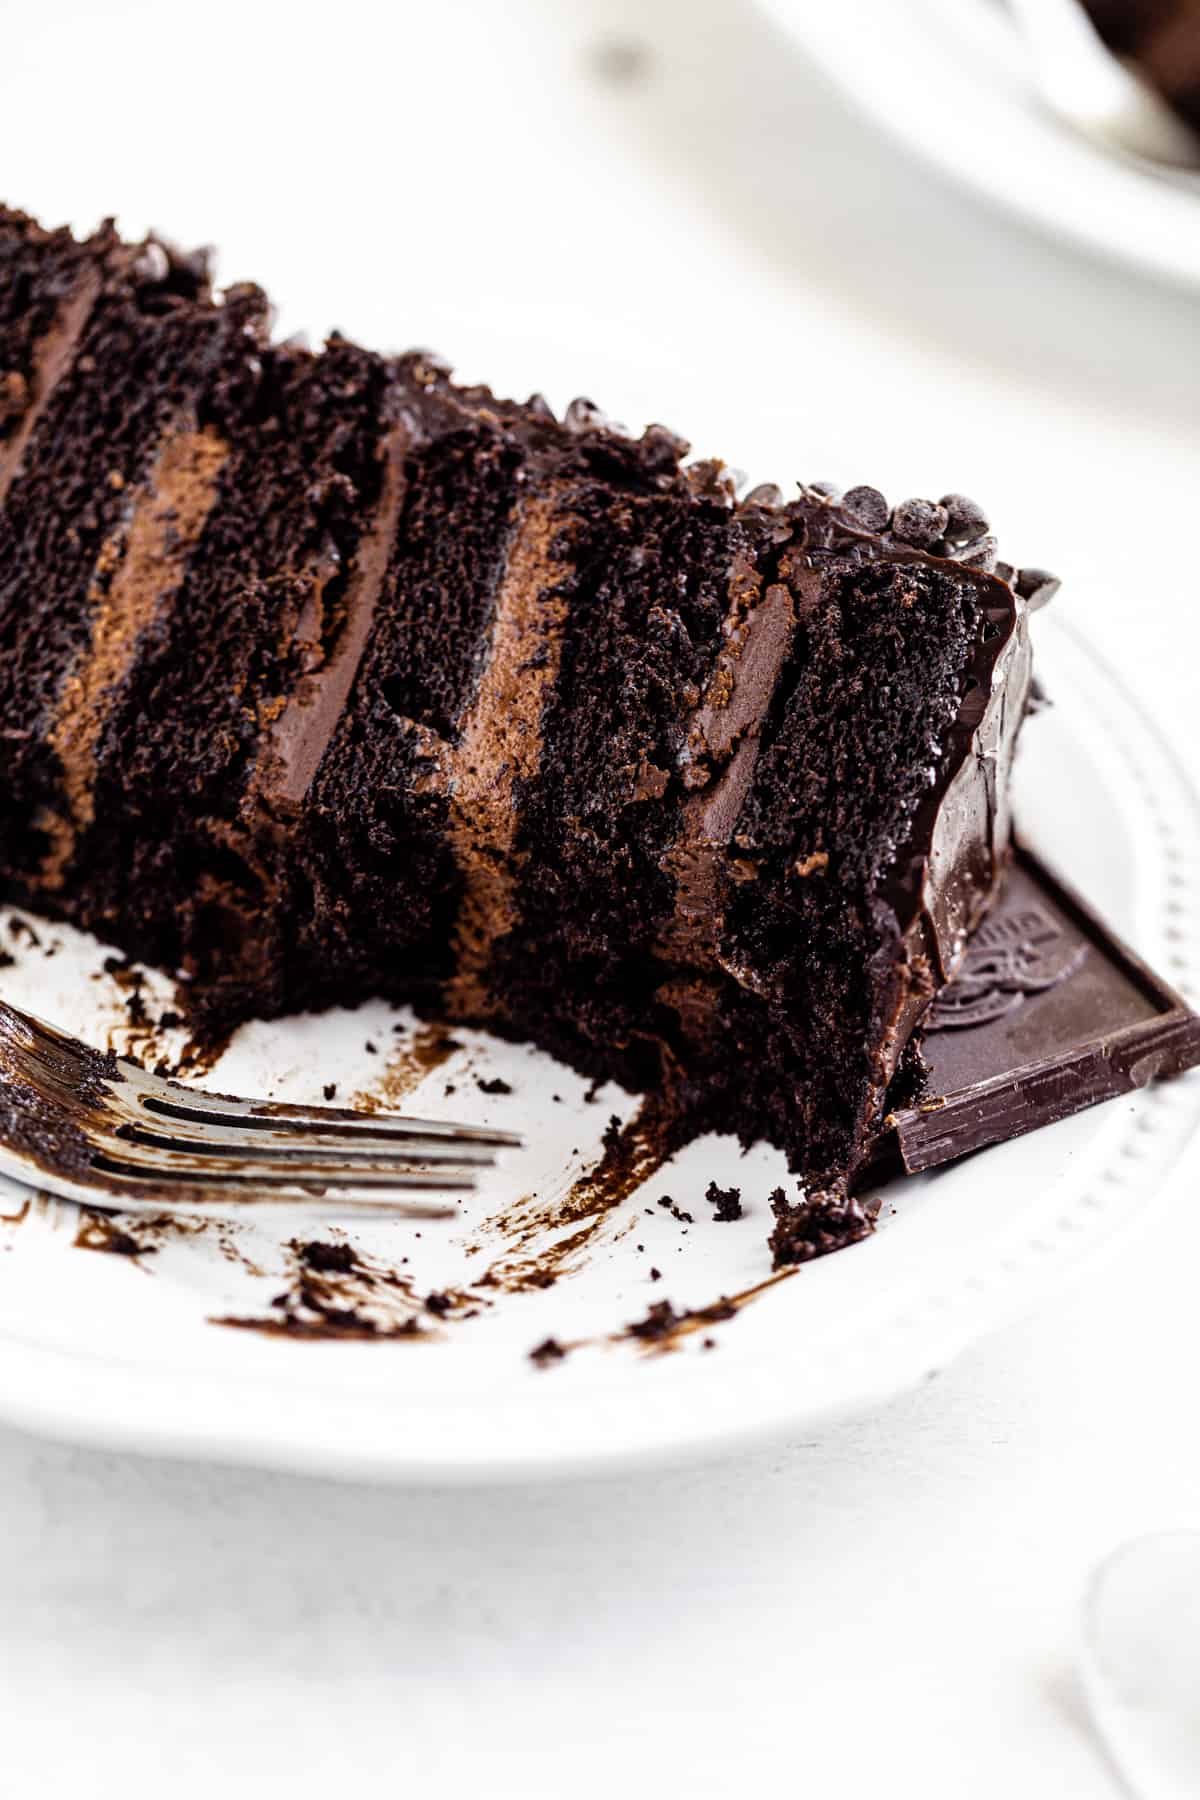
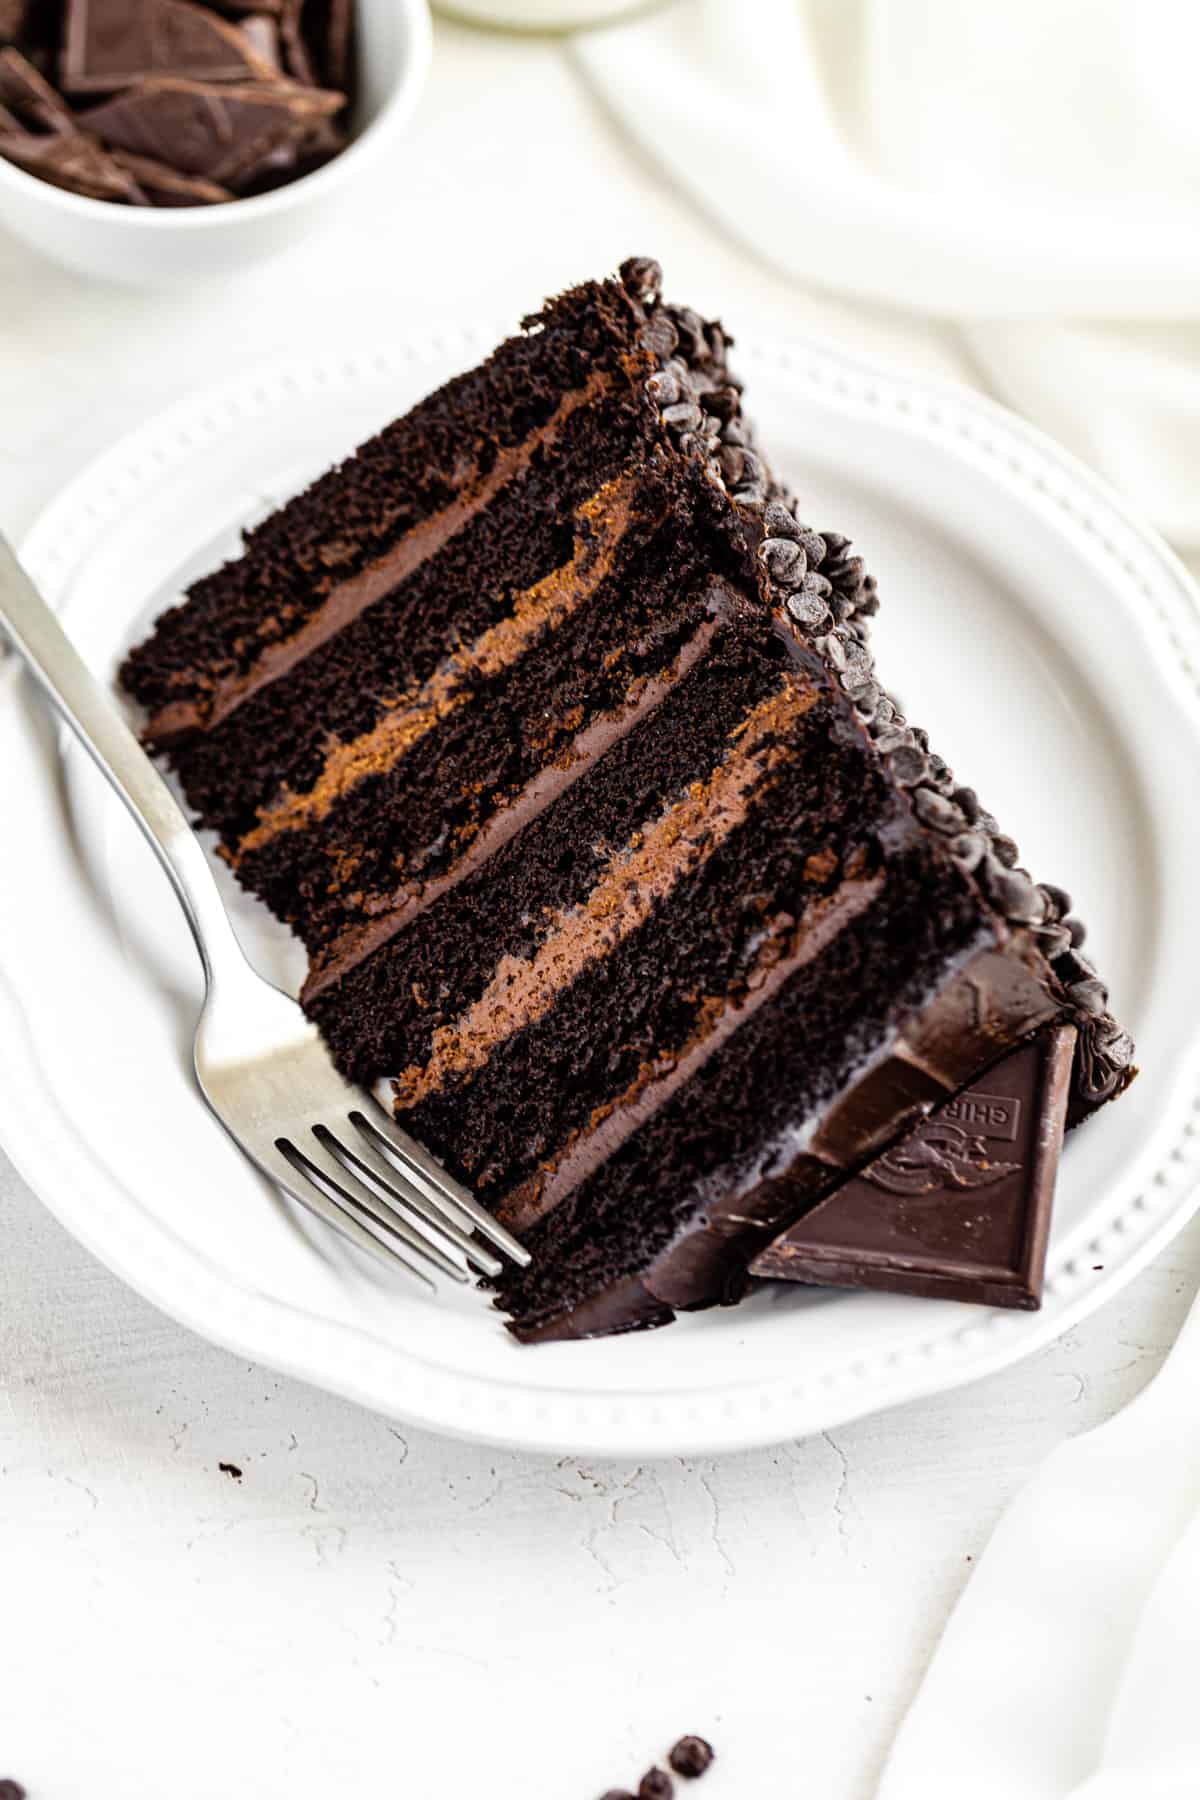
This is that dessert! Make this and take it to a party or event. People will already be drooling when they see the full cake, but once you cut that first slice? Every jaw will be on the floor!
5 Types of Chocolate in This Cake
Yup, there’s 5 different types of chocolate in this 6-layer cake! Here’s what you can find in each slice:
- Dark Chocolate Cake: The perfect chocolate cake that made its debut in my famous Turtle Chocolate Cake and later on in my simple Chocolate Cake recipe. This is everything you want a chocolate cake to be! Deep dark chocolate flavour, moist, fluffy and nice density!
- Chocolate Mousse: No eggs, no gelatin, no stovetop cooking! This is the simple chocolate mousse I’ve used plenty times in the past. A simple ganache combined with a simple whipped cream!
- Truffle Ganache Filling/Frosting: The filling and frosting of this cake is a 3-ingredient ganache made with loads of chocolate, cream and a bit of butter to help it set up. Use real chocolate bars for the best results!
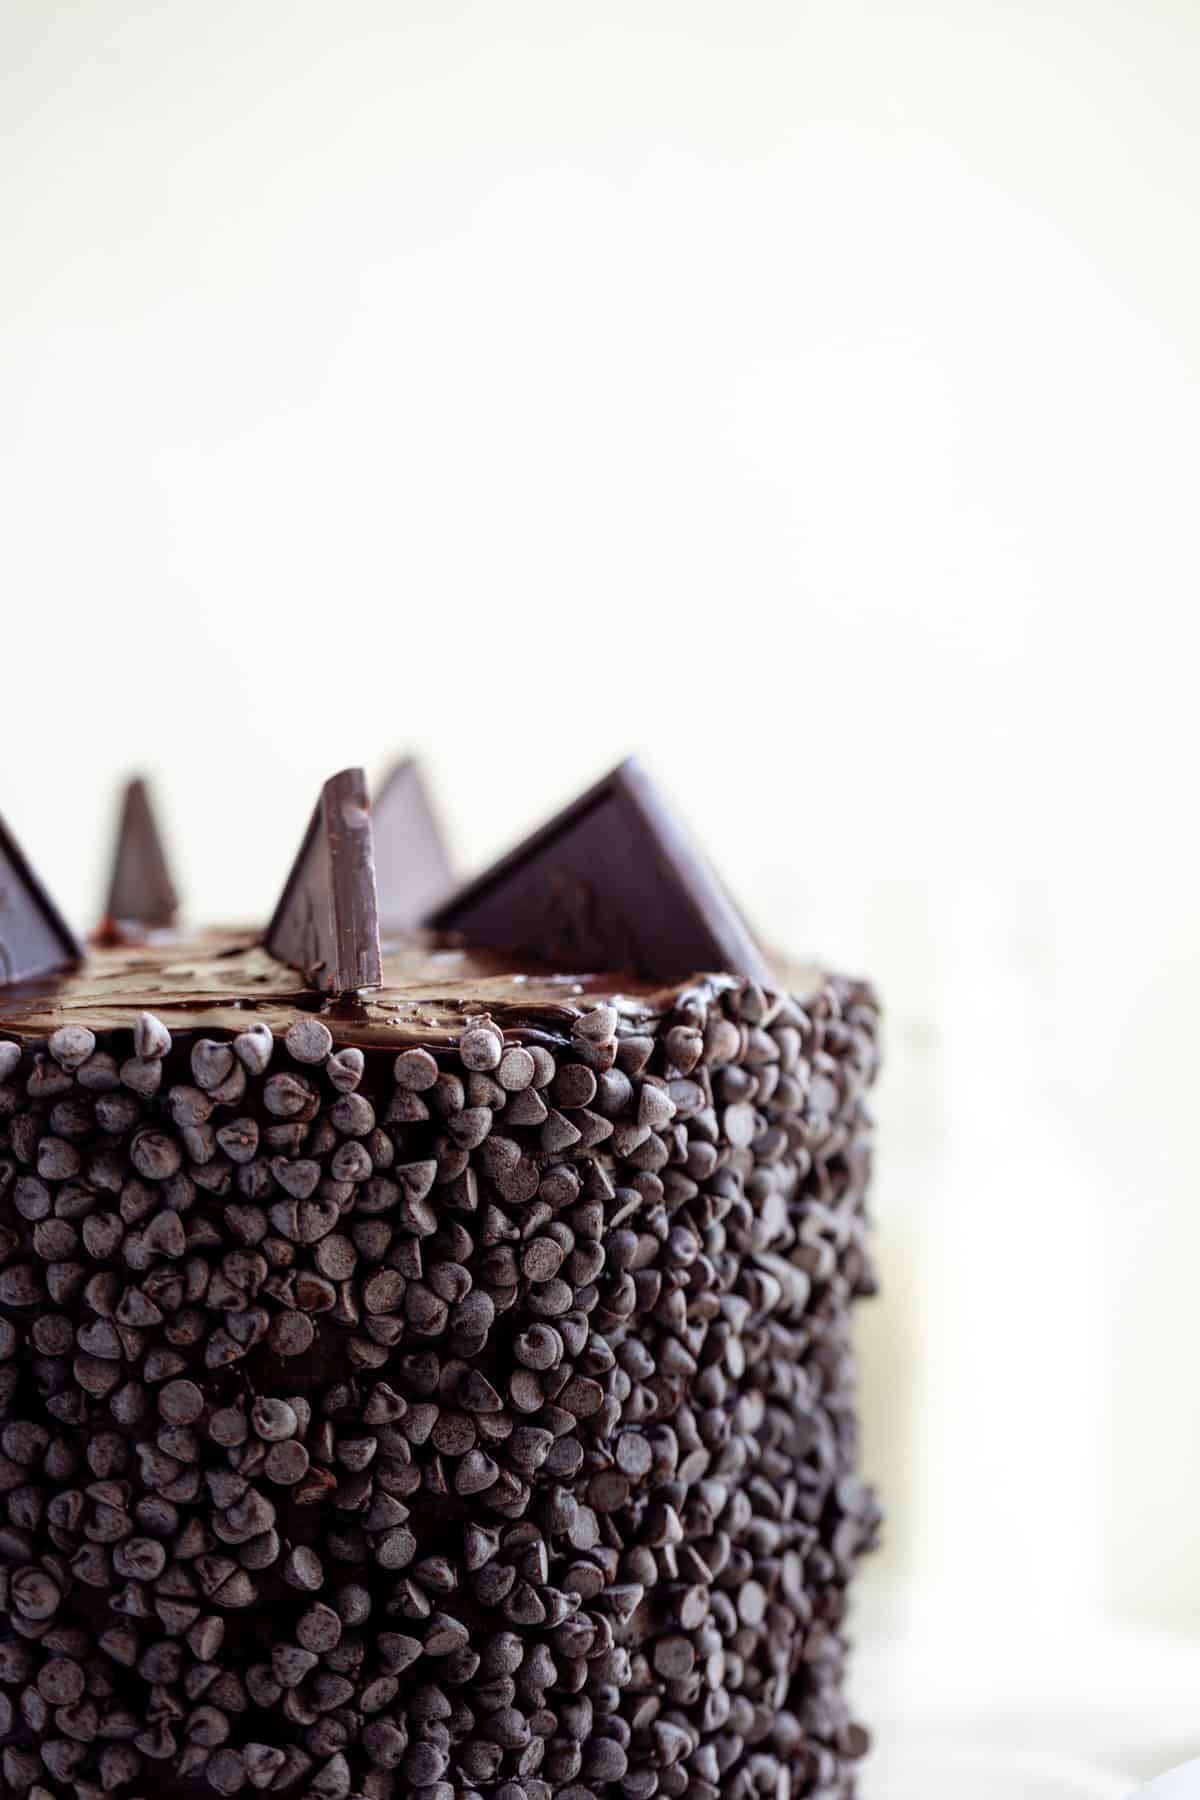
- Mini Chocolate Chips: For extra texture, cover the entire side of the cake with mini chocolate chips! Alternately, you can cover it with chopped chocolate or regular sized chocolate chips!
- Chocolate Squares: Ok this is optional, but I highly recommend topping the cake with halved chocolate squares! They’re pretty hard to cut in half without breaking, but they tie the design of the cake together perfectly!
Between the cake layers, mousse and ganache frosting, this cake is a bit time-consuming. The easiness totally makes up for it though! Once you get through baking the cakes, the rest is a total breeze!
Dark Chocolate Cake
There’s a few ingredients in this cake that gives it its divine flavour and texture. First, the cocoa! For this recipe I use a mixture of regular unsweetened cocoa powder and black cocoa powder. The black cocoa adds deeper flavour, and also gives us a nice dark colour which contrasts beautifully with the ganache and mousse filling!
When creaming the butter and sugar together, make sure to beat it for 5 full minutes. The mixture will be pale and super fluffy. This base gives our cake the best fluffy texture!
To add softness to the cakes texture (along with more flavour), we’ll be adding both sour cream and buttermilk. Just look at the texture of these dark chocolate cupcakes using the same recipe, these two ingredients play a big part in achieving those beautiful crumbs!
Finally, to enhance the chocolate flavour, combine equal amounts of vanilla and instant coffee granules. I promise you, you WON’T taste the coffee. It’s just there to make this chocolate cake even chocolatier!
How to Get 6 Layers of Cake
When making tall layer cakes like this, most people bake 3 layers and slice them in half. However, If you’re anything like me you probably can’t slice a cake into even layers to save your life. Honestly, this cake would be completely lopsided if I tried that.
So to get 6 even layers with 2 cake pans, I started by dividing the batter into 6 portions. I used an ice cream scoop and added a scoop of batter into both of my cake pans, then a scoop to 4 other bowls. I repeated this, adding a scoop of batter to each pan and 4 bowls, until the batter was done. Cover the other bowls (no need to refrigerate), and spread the batter in the cake pans into an even layer.
The cakes will only need to bake for 20 minutes since they’re so thin. Once they’re done baking, let them cool in the pan for 10 minutes, then carefully flip them onto a cooling rack.
Now you may be nervous about breaking the layers when picking them up, so what I like to do is line my cooling rack with 2 sheets of plastic wrap before placing my layers onto it. Then I let them cool like that until the other two layers finish baking and cooling for 10 minutes before wrapping them up in the plastic. That way you can easily pick up the cooled layers and place them in the refrigerator.
Chocolate Mousse Filling
If you’ve ever had chocolate mousse, you’re already aware of how fantastic it is as its own dessert. So close your eyes and imagine enjoying spoonful after spoonful of that light, creamy and airy chocolate treat. Now imagine all that decadence between 6 layers of chocolate cake! Have your knees weakened? Don’t worry, it’s a completely natural reaction!
This mousse only requires 3 ingredients! I know, right?! Start by making a 2-ingredient ganache with chocolate and heavy cream. I love making ganache the easy way by just combining the two in a heat-safe bowl and chucking it in the microwave in 30 second intervals. It only takes about 1 minute and it works perfectly every time!
Let the ganache cool COMPLETELY! You seriously don’t want the whipped cream to melt when combining the two, so leave the ganache at room temperature and let it cool all the way down. Don’t forget to stir occasionally to keep it loose.
Once the ‘nache is cool, beat the remaining heavy cream and a few tablespoons of powdered sugar together in a chilled bowl using chilled beaters (pop them both in the freezer for 20 minutes before starting). Pour the cooled ganache into the bowl of whipped cream, then slowly and carefully fold them together with a rubber spatula until combined. Do not stir in a circular motion, you’ll risk deflating the cream. A nice under/over motion is what you need.
Place a sheet of plastic wrap directly on top of the mousse, then let it chill in the refrigerator.
Ganache Filling and Frosting
This is the one part of the cake I was freaking out about the most, and I have no idea why! I mean, I made the chocolate cake plenty of times before, along with the mousse. Yet this is the first time I used ganache as a frosting, so I thought it would be far more complicated than it actually was.
You guys, let me tell you just how easy this ganache filling is:
- Add chopped chocolate and butter pieces to a large bowl.
- Heat up heavy cream on the stovetop until it begins to simmer.
- Pour hot cream into bowl with chocolate and butter.
- Cover for 3-5 minutes.
- Stir slowly until ganache forms.
- Cover and refrigerate, stirring every 20 minutes until ganache is a thick, spreadable consistency.
That’s literally it! I have no idea why I was so nervous! As you can see in the recipe below, this makes quite a bit of ganache frosting. The best part is that if you still have some leftover, you can let it set in the fridge a little more to make it sturdier. Then scoop it out into little ganache balls that you can dip in chocolate, roll in cocoa, sprinkles or chopped nuts. Easy truffles!
Tips on How to Assemble This Tower Cake
Here’s a few tips I have to make tackling this mega cake recipe easier for you:
- Chill cake layers: I recommend this for all of my cakes, but it’s especially important for this cake. The layers are very thin, so it’s already kind of nerve wracking to move it. That’s why I gave the tip above for placing plastic wrap on your cooling rack for the layers to sit on. Carefully wrap the layers in the plastic and let it chill in the refrigerator. You can let it chill for up to 3 days. Once the layers are cold and firm, you can literally handle them with one hand without having to worry about them breaking. This makes assembly miles easier!
- Chill the Chocolate Mousse Filling: buuuttt not for too long. I chilled the mousse for 2 days in the refrigerator and it set up so much I could barely spread it on the cake. I had to scoop spoonfuls of mousse over the cake layer, run a spoon under hot water, then gently pat it down into an even layer. It’s awesome that this mousse holds so well, but when assembling, you want it to be spreadable. So I recommend chilling your mousse for at least 4 hours or less than 24 hours before assembling the cake.
- Ganache consistency: I actually tried the whole letting the ganache sit at room temperature to thicken up thing, but after 6 hours it was still too liquidy for some reason. So I popped it in the refrigerator and stirred it every 20 minutes. If you leave the ganache unattended in the fridge, it’ll solidify and you’ll have to let it sit at room temperature for a few hours to loosen up again. The consistency you’re looking for is between pudding and nutella. Scoop it up with a spoon and if it plops down rather than pour, it’s thick enough to spread.
- Chill the entire assembled cake: after stacking and filling the cake, carefully wrap the top and sides in plastic wrap and let it chill in the refrigerator for at least an hour. This allows the filling and cake to basically “glue” together. That way, when you spread the rest of the ganache over it, you don’t have to worry about the cake layers slipping off.
- Covering the sides with chocolate: whether you use chocolate chips or chopped chocolate, to ensure it doesn’t end up all over your floors and counter, place a large rectangular cake pan or bin under your turntable. Pour all the chocolate into a bowl, grab handfuls and press them up the sides of the cake. So press and slide up while pressing. You can go back and fill in any gaps if you prefer. Remember to do this immediately after frosting the cake. If the ganache hardens, the chocolate won’t stick to the sides.
This skyscraper dessert is the perfect choice for when you need an extravagant cake to celebrate special occasions like birthdays, graduations and more!
More Recipes for Chocolate Lovers
- Chocolate Lover’s Cheesecake
- Triple Chocolate Chip Muffins
- Triple Chocolate Mousse Cake
- Mini Triple Chocolate Cheesecakes
SHARE YOUR PICS!
Follow me on Instagram and tag #queensleeappetit so I can see and share all of your Queenslee Appétit creations in my stories and the QA Newsletter!
>>PIN ME FOR LATER<<
FOLLOW QUEENSLEE APPÉTIT
Like what you see? Make sure you‘re following Queenslee Appétit for more tasty recipes!
Pinterest | Instagram | Facebook |
Have any questions about the recipe? Contact me here, and I’ll be happy to help!
SWEETEN UP YOUR INBOX!
SUBSCRIBE to the Queenslee Appétit Newsletter to recieve new recipe notifications, monthly baking tips, sneak peeks to upcoming recipes, exclusive recipes and more!
Let’s get baking!
Ultimate 6-Layer Chocolate Fudge Cake
Layer after layer of pure chocolatey goodness, this Ultimate 6-Layer Chocolate Fudge Cake is positively perfect! Six layers of fudgy chocolate cake filled with truffle ganache and chocolate mousse and frosted in a ganache frosting that’s covered in mini chocolate chips. This cake is definitely not for those with a guilty conscience!
Ingredients
Chocolate Cake Layers:
- 2 and ¼ cups all purpose flour
- 1 cup unsweetened cocoa powder
- ½ cup black cocoa powder (can substitute with unsweetened cocoa powder)
- 1 and ½ teaspoon salt
- 2 and ¼ teaspoon baking soda
- 1 teaspoon baking powder
- 1 and ½ cups unsalted butter, room temperature
- 2 and ¼ cups granulated sugar
- 4 large eggs, room temperature
- ¾ cup sour cream, room temperature
- 1 and ½ tablespoon pure vanilla extract
- 1 and ½ tablespoon instant coffee granules
- 2 and ¼ cups buttermilk, room temperature
Chocolate Mousse Filling:
- 4 oz. dark or semisweet chocolate, chopped
- ¾ cups heavy cream, divided
- 2 tablespoon powdered sugar
Chocolate Ganache Filling + Frosting:
- 16 oz. (1Ib) semisweet or dark chocolate, chopped
- ¼ cup unsalted butter, cut into small pieces
- 1 and ½ cups heavy cream
Additional:
- 4 cups mini chocolate chips
- 4-6 Chocolate squares, cut in half
Instructions
For the Chocolate Cake Layers:
- Preheat oven to 350° F (177°C). Grease the bottom and sides of 1 or 2 ( 8-inch) round cake pans with non-stick spray. Place parchment rounds on the bottom. Set aside. If you only have 1 or 2 8-inch pans, take out 4-5 bowls to divide your batter in later.
- In a large bowl, sift flour, cocoa, salt, baking soda and baking powder. Whisk to combine, set aside.
- In the bowl of a stand mixer fitted with a paddle attachment, or in a large mixing bowl using a hand mixer, beat the butter and sugar on medium-high speed until pale and fluffy, 4-5 minutes. Scrape down the sides and bottom of the bowl.
- Lower the speed to medium-low and add eggs one at a time, mixing after each addition until just combined. Scrape down the sides and bottom of the bowl.
- In a small bowl, combine the vanilla and instant coffee granules. Add the sour cream to the batter along with the vanilla/coffee mixture and beat on medium speed until combined. Batter will be curdled.
- Alternately add dry ingredients in thirds and buttermilk in 2 additions to the batter, beginning and ending with the dry ingredients. Beat each addition just until combined.
- Divide batter equally in 6 portions. I added a scoop of batter to 2 cake pans, then a scoop to 4 bowls and repeated until all the batter was done. Cover the other bowls of batter and set aside.
- Bake two layers at a time for 18-20 minutes or until a toothpick inserted into the center comes out clean and cake springs back when lightly touched.
- Remove cakes from oven and allow to cool in pans for about 10 minutes, then turn onto cooling racks to cool completely before frosting.
- Bake another 2 layers and repeat. Once those are cooled, bake the final 2 layers. Wrap all the cooled layers and store them in the refrigerator to chill and set up to make it easier to handle. See post above for tips on how to handle the layers without breaking.
For the Chocolate Mousse Filling:
- Place chopped chocolate in a medium bowl. Set aside.
- Heat ¼ cup of heavy cream in a small saucepan, stirring constantly until it just begins to simmer.
- Remove hot cream from the heat then pour it over the chocolate, and slowly stir until smooth. Cover the bowl and transfer to the refrigerator to cool down, stirring every 5-10 minutes for about 20-30 minutes or until ganache is completely cooled. Alternatively, you can let it cool at room temperature.
- Once ganache has cooled, whip ½ cup of heavy cream with the powdered sugar in a stand mixer fitted with a whisk attachment, or in a medium stainless steel mixing bowl using a hand mixer, on high speed until it reaches stiff peaks, about 2-3 minutes.
- Remove the ganache from the refrigerator and stir to loosen. Use a rubber spatula to gently fold the whipped cream into the ganache, about ⅓ at a time until fully incorporated and no white streaks remain.
- Cover the bowl with plastic wrap, placing the wrap directly onto the mousse surface. Refrigerate for 1-2 hours or overnight.
For the Chocolate Ganache Filling + Frosting:
- Place the chopped chocolate and butter pieces into a large bowl. Set aside.
- Heat the heavy cream in a medium saucepan until it just begins to simmer.
- Remove hot cream from heat then pour it over the chocolate and butter. Cover the bowl and allow it to sit for 5 minutes.
- Remove cover and gently stir mixture until it forms a smooth ganache.
- Place bowl in the refrigerator and stir every 20 minutes until the ganache is a thick, spreadable consistency. This took me around an hour, but it really depends on the coldness of your refrigerator.
Assembly:
- Use an offset spatula to place a dollop of ganache onto a cake board or serving platter that’s on a turntable. Place one cake layer on top and spread about ½ cup of the ganache on top.
- Add a second layer on top and spread on half of the mousse.
- Repeat with all layers, alternating between ganache and mousse. You should have 3 layers of ganache and 2 layers of mousse. Place the final layer upside down.
- Chill the cake for 30 minutes so the layers can set back up. Stir remaining ganache occasionally to keep it loose.
- Once chilled, remove the cake from the refrigerator and frost the top and sides with the remaining ganache.
- Pour mini chocolate chips into a bowl and grab large handfuls to press up the sides of the cake. You may want to have a large pan or container under the cake to catch any spills.
7. Go around the cake once with the chocolate chips, then go back to fill any gaps. - Carefully cut your chocolate squares in half and place on top of the cake. Slice and serve!
Notes
- Tools You’ll Need: 8-inch Round Cake Pans | Parchment Rounds | Rubber Spatula | Hand Mixer | Mixing Bowls | Cake Turntable | Cake Spatulas | Cake Board
- Make Ahead: (1) Cake layers can be made ahead of time and double-wrapped in plastic wrap and stored in the refrigerator for 3 days or in the freezer for 2-3 months. If freezing, place in the refrigerator overnight to thaw. (2) The mousse may get too hard to spread if it sets too long, so I recommend making it a few hours or a day before you assemble the cake. (3) You can halve the ganache recipe if you just want to fill it one day and frost it another day. Wrap the assembled cake layers in plastic wrap and keep in the refrigerator for up to 1-2 days. Make the other half of the ganache a few hours before, then continue on with frosting the cake and pressing on the chocolate chips.
- Storage: Store covered in the refrigerator for up to 1 week, or carefully cover the entire cake in plastic wrap and freeze for up to 2 months. Let it thaw in the refrigerator overnight before serving.
- Whipped Ganache Filling/Frosting: For a whipped ganache, let the ganache cool at room temperature for 2 to 2 and ½ hours. Once thickened, whip the ganache with a hand mixer or stand mixer fitted with the whisk attachment on medium-high speed for 3-4 minutes until light and fluffy.
- Sheet Cake/Poke Cake: I have a chocolate sheet cake recipe here. You can make large holes in the cake and fill it with the mousse, then spread the ganache frosting on top and cover it in chocolate chips! Yum!
Nutrition Information:
Yield: 12 Serving Size: 1Amount Per Serving: Calories: 894Total Fat: 59gSaturated Fat: 35gTrans Fat: 0gUnsaturated Fat: 20gCholesterol: 133mgSodium: 266mgCarbohydrates: 91gFiber: 9gSugar: 68gProtein: 11g
BON APPÉTIT!
Love, Dedra
©QUEENSLEE APPÉTIT. All images & content are copyright protected. Please do not use my images without prior permission. If you want to republish this recipe, please re-write the recipe in your own words, or link back to this post for the recipe.




Kristen
I let the ganache sit at room temp overnight and it was the perfect consistency!
Stephanie Walton
Thank you for this amazing recipe! I usually suck at making 'pretty' cakes but the ganache makes it easy! Super yummy
Michele
How long In Advance can the ganache be made and stored?
Dedra | QueensleeAppetit
You can probably cover the ganache and let it sit at room temperature for a few hours to thicken up, but it'll completely solidify in the refrigerator.
Gm
Can I bake 2 of the layers in one pan and then slice it from the middle?
Dedra | QueensleeAppetit
Sure.
Becca's Baking Adventures
I just tested this cake to use with a peanut butter frosting. It's rich and fudgy and one of the best chocolate cakes I have come across. For my test, I made half the recipe, and baked it in 3 6" pans, so the layers were thicker than what the original recipe uses. My cakes all sank in the middle, even after passing the toothpick test. Do these layers need to be baked that thin to prevent this, or could something else have happened?