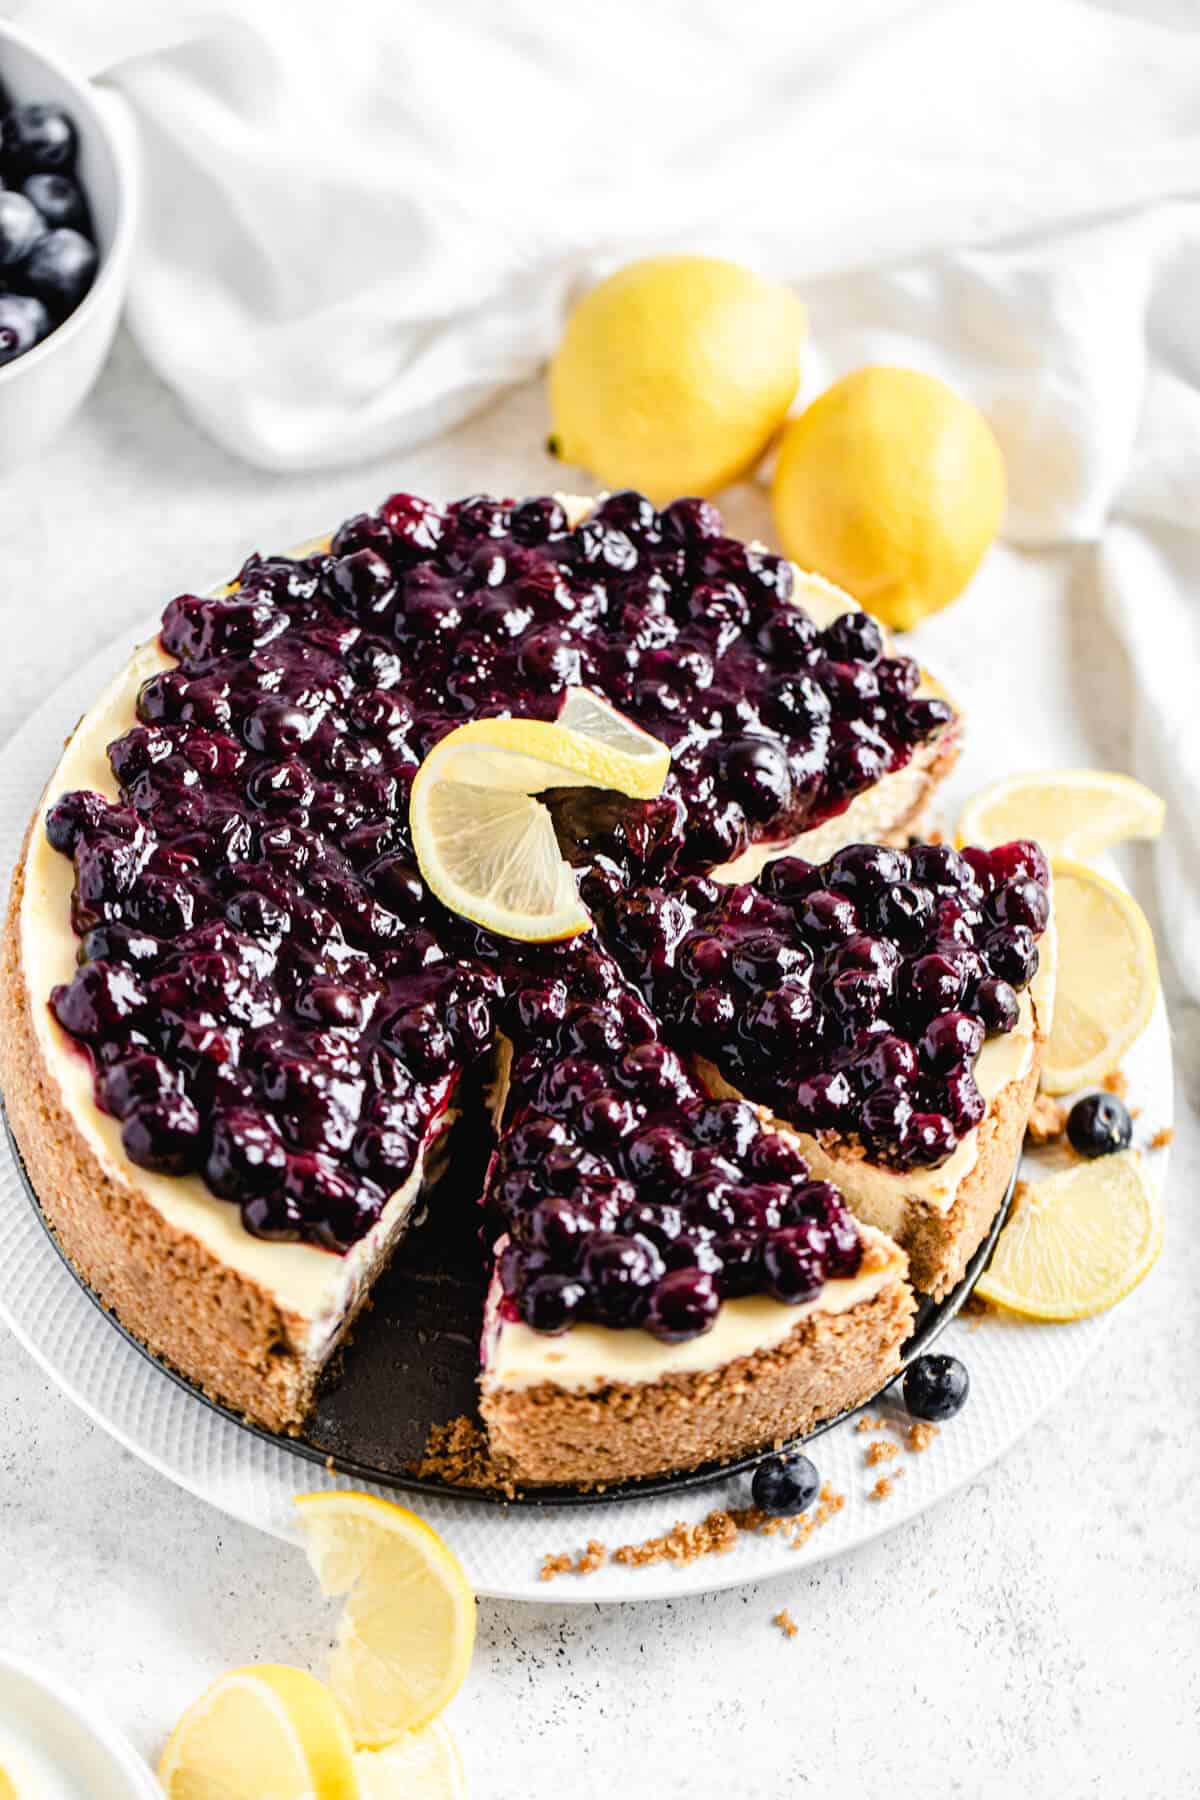
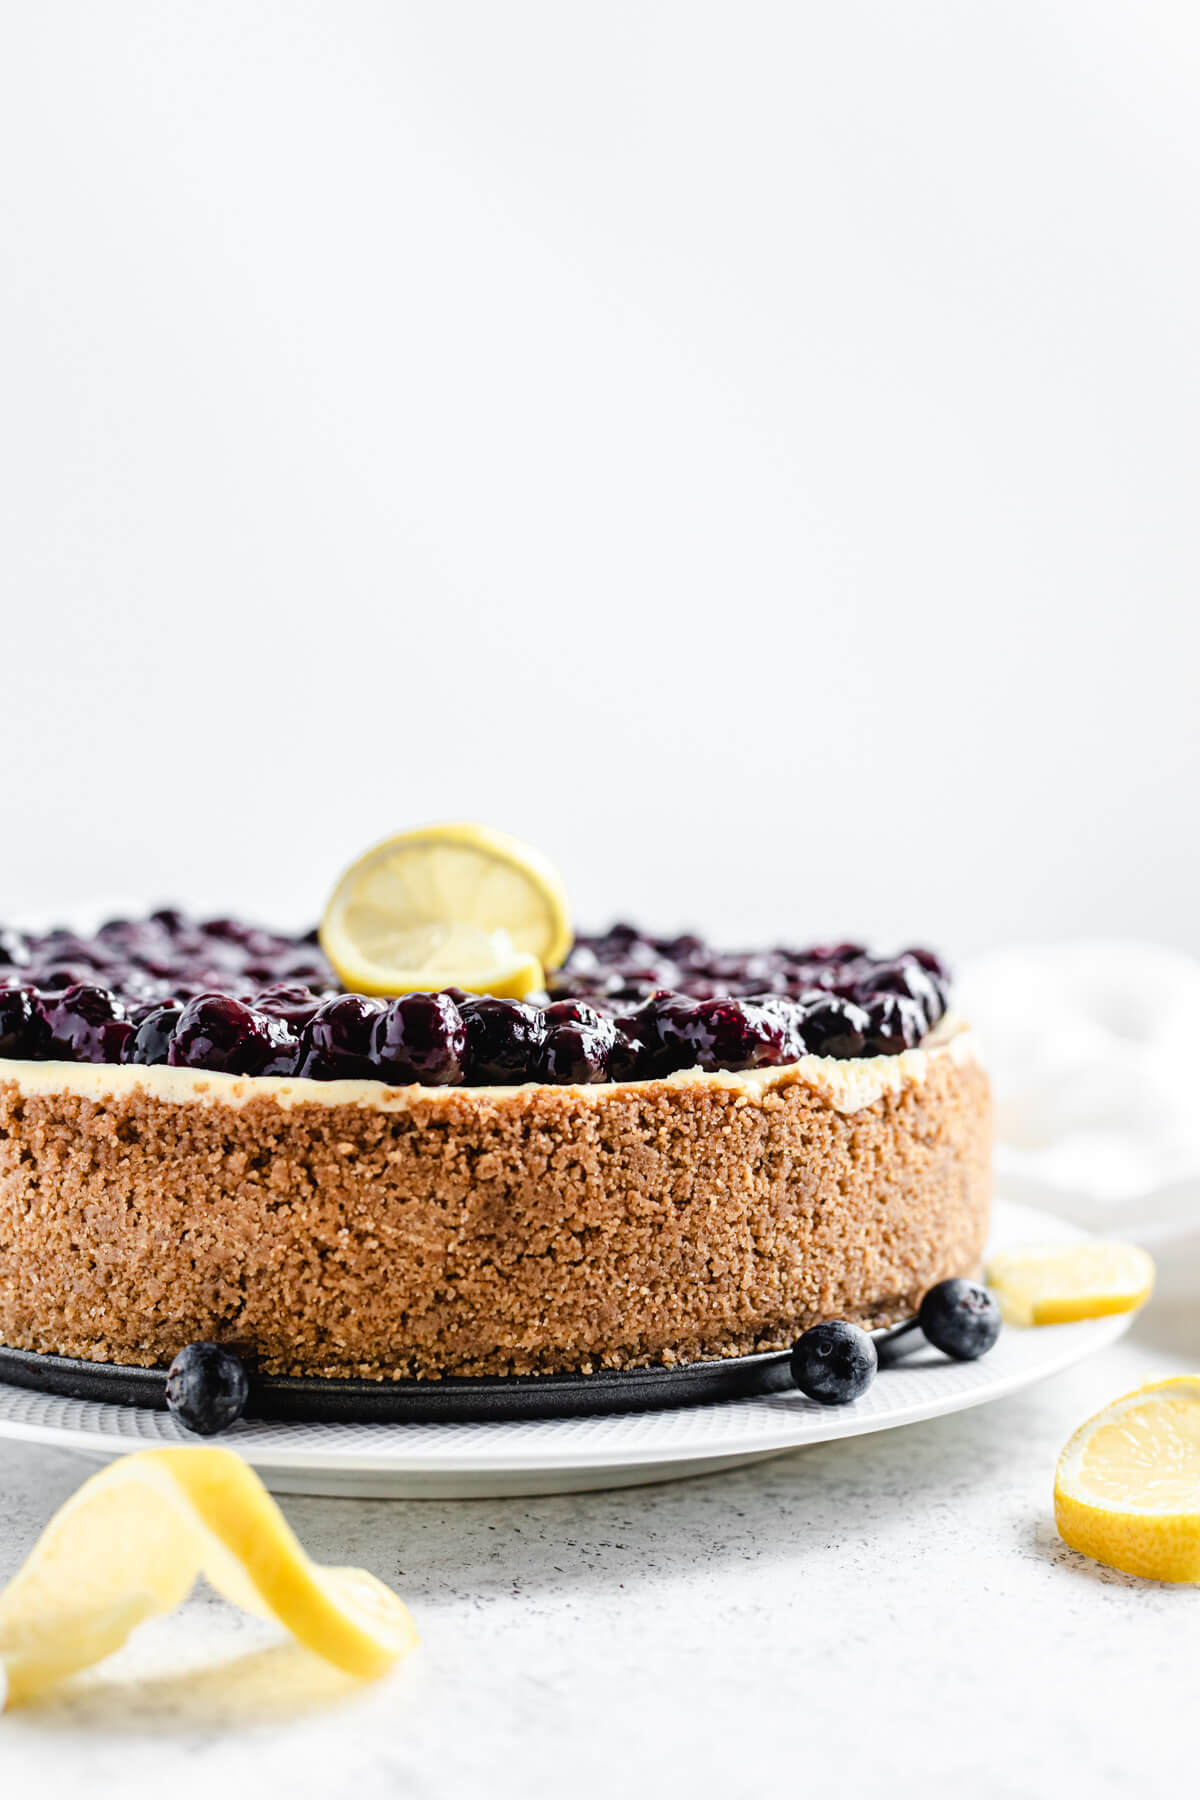
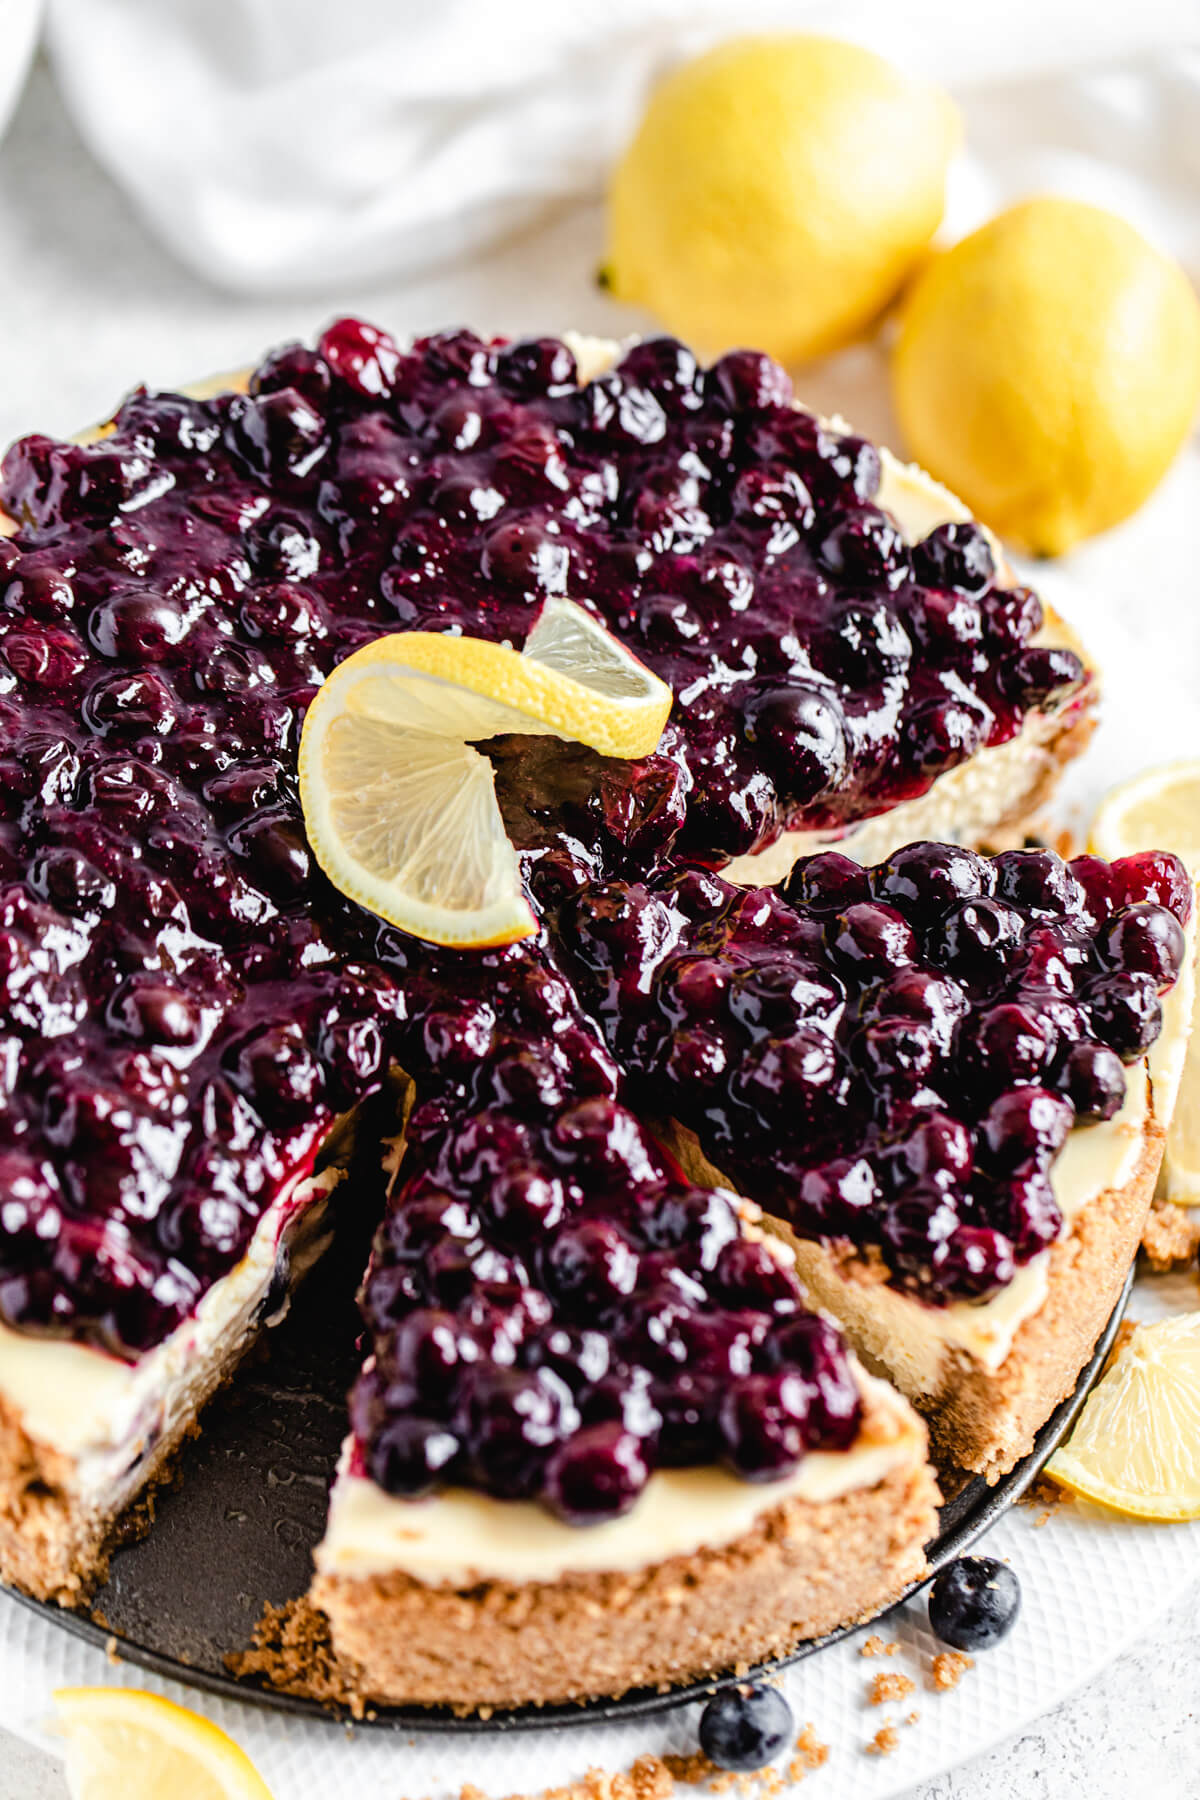
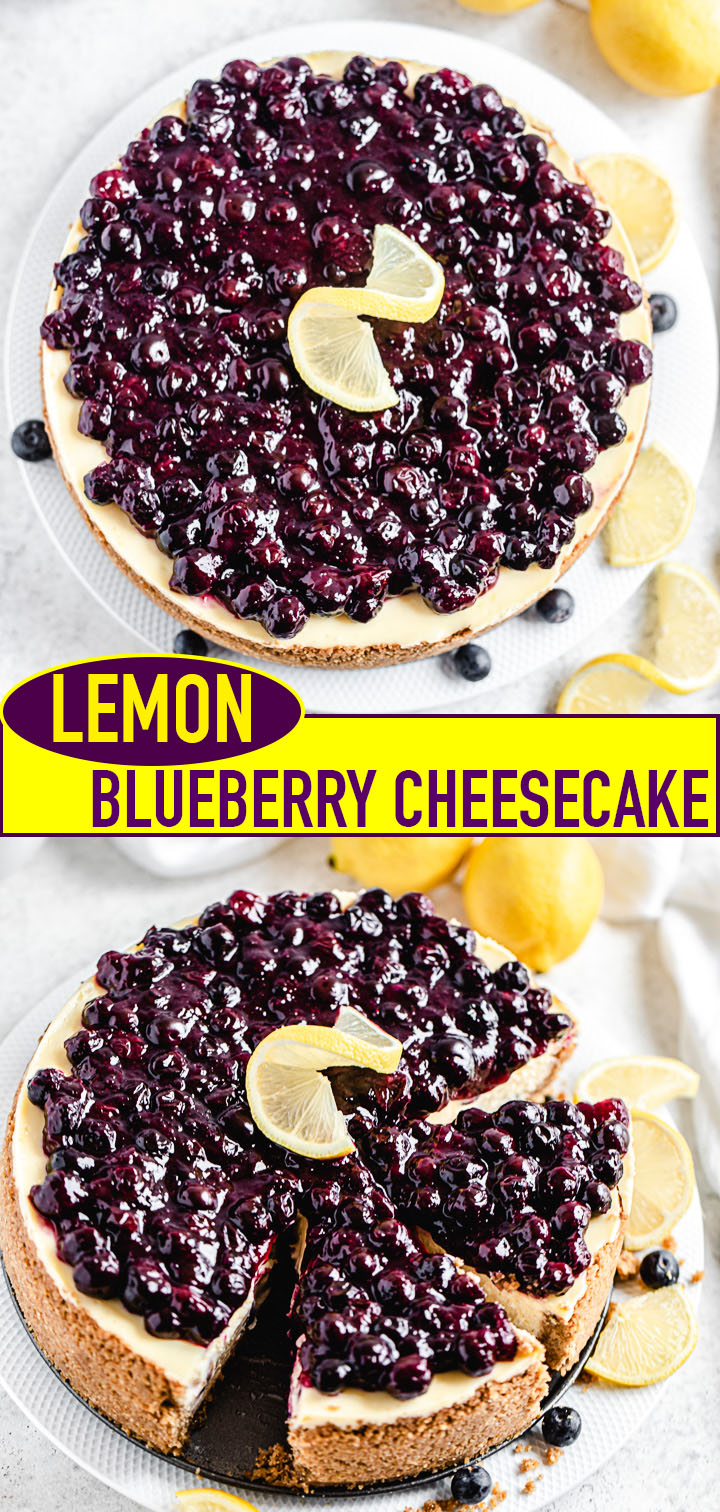
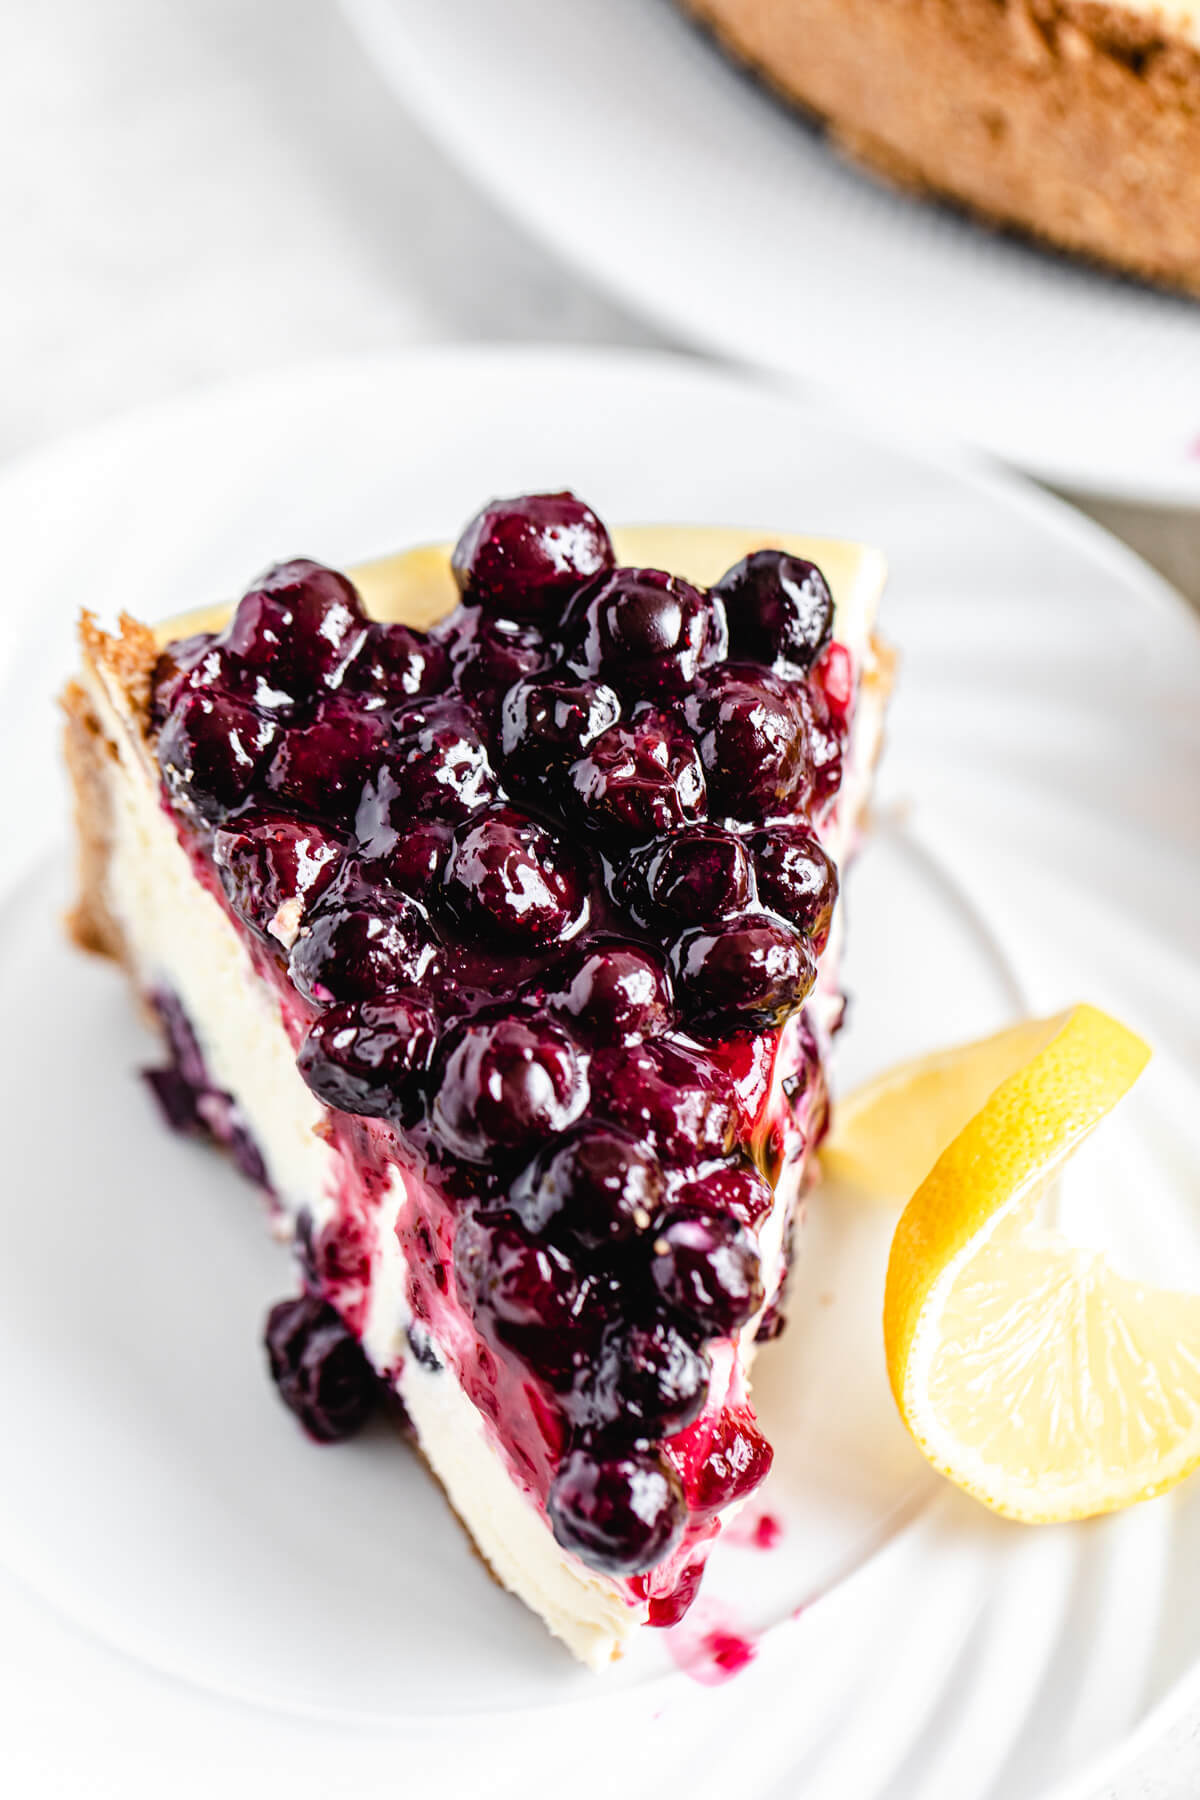
This Lemon Blueberry Cheesecake features an ultra creamy, smooth and tangy lemon cheesecake studded with fresh blueberries. Topped with a sweet blueberry sauce, this dessert deserves to be apart of your summer baking plans!
This post may contain affiliate links. As an Amazon Associate I earn from qualifying purchases. Please see my full disclosure policy for details.
So I was going through my recipes and I noticed I only had TWO blueberry recipes! Can you believe that? I’ve put blueberries in pancakes and banana bread and that’s about it. So today, not only will we be loading this cheesecake with blueberries, we’ll be topping it with even more blueberries!
And to make things extra special, we’ll be pairing those sweet blueberries with citrus fresh lemon flavour!
This Cheesecake Features:
- Graham Cracker Crust
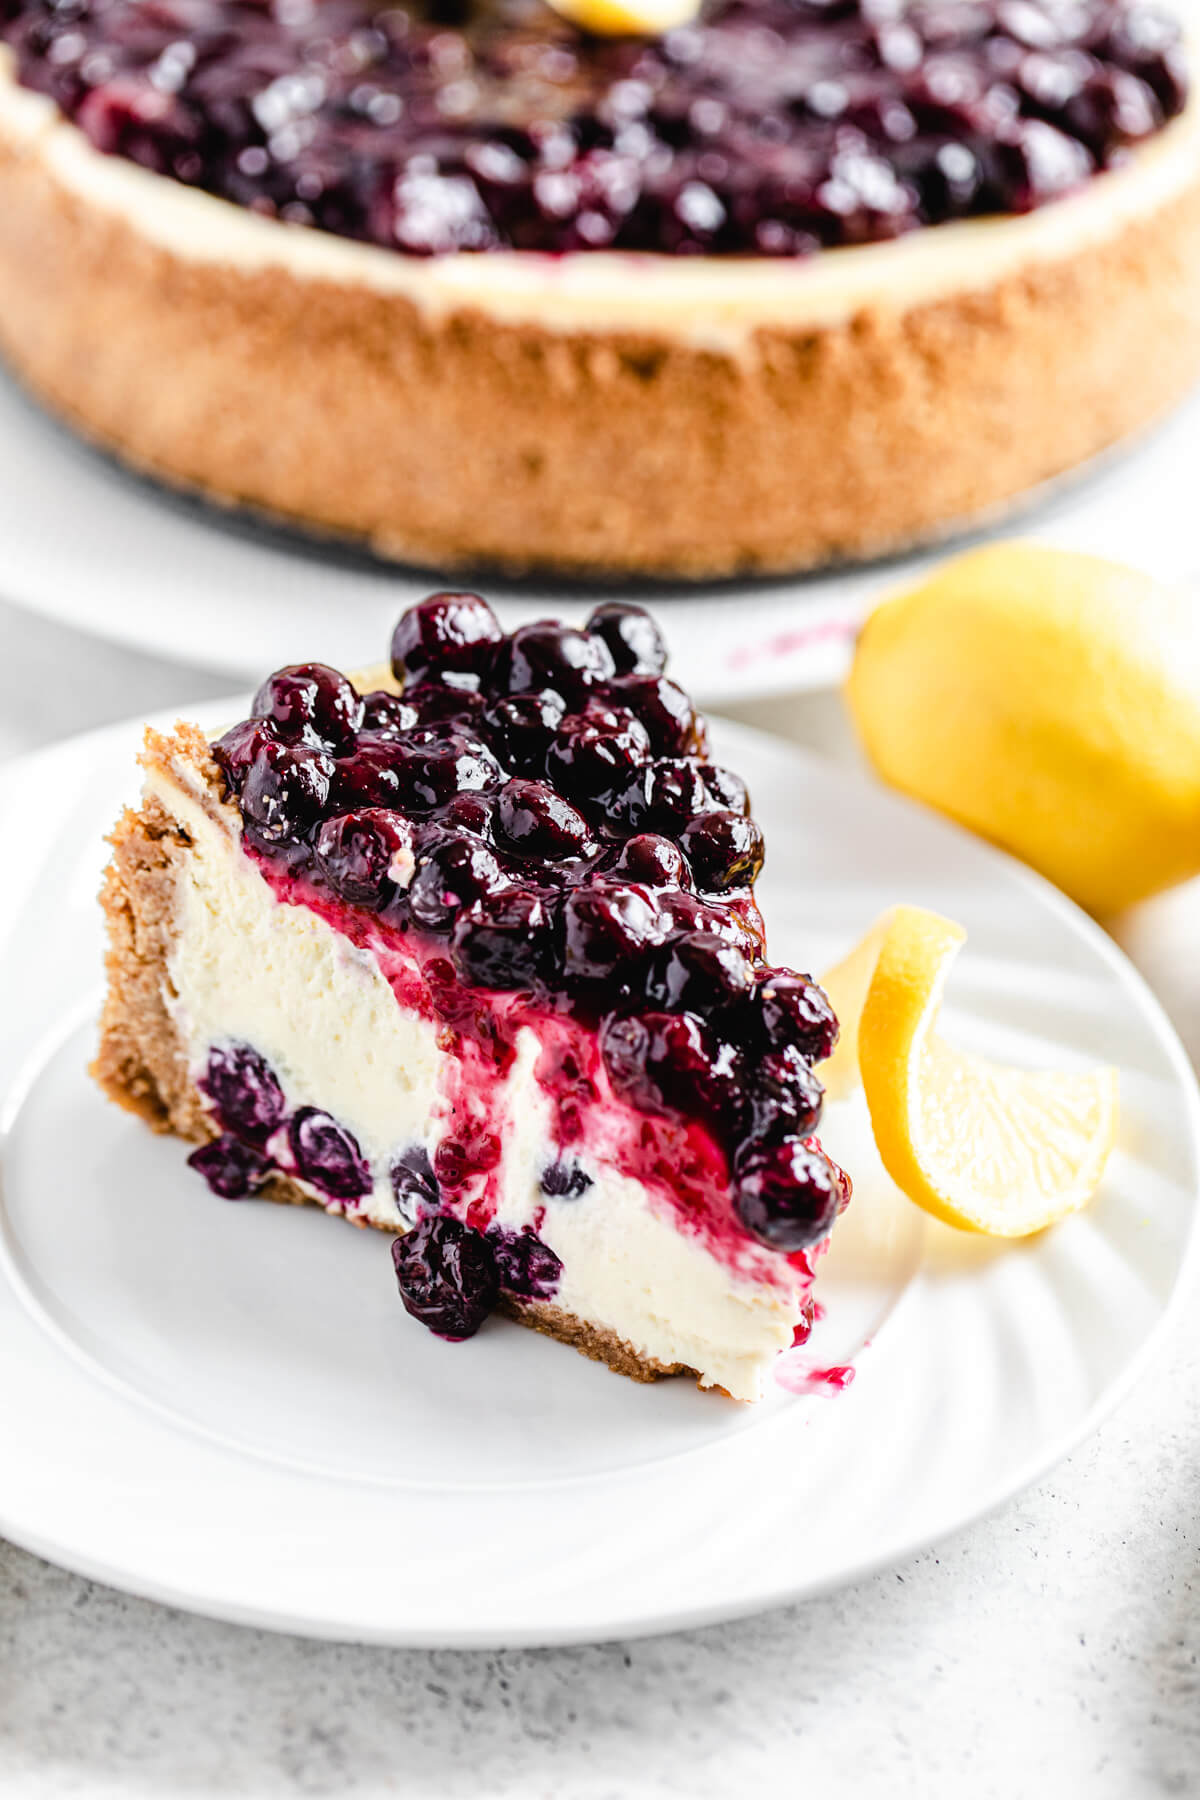
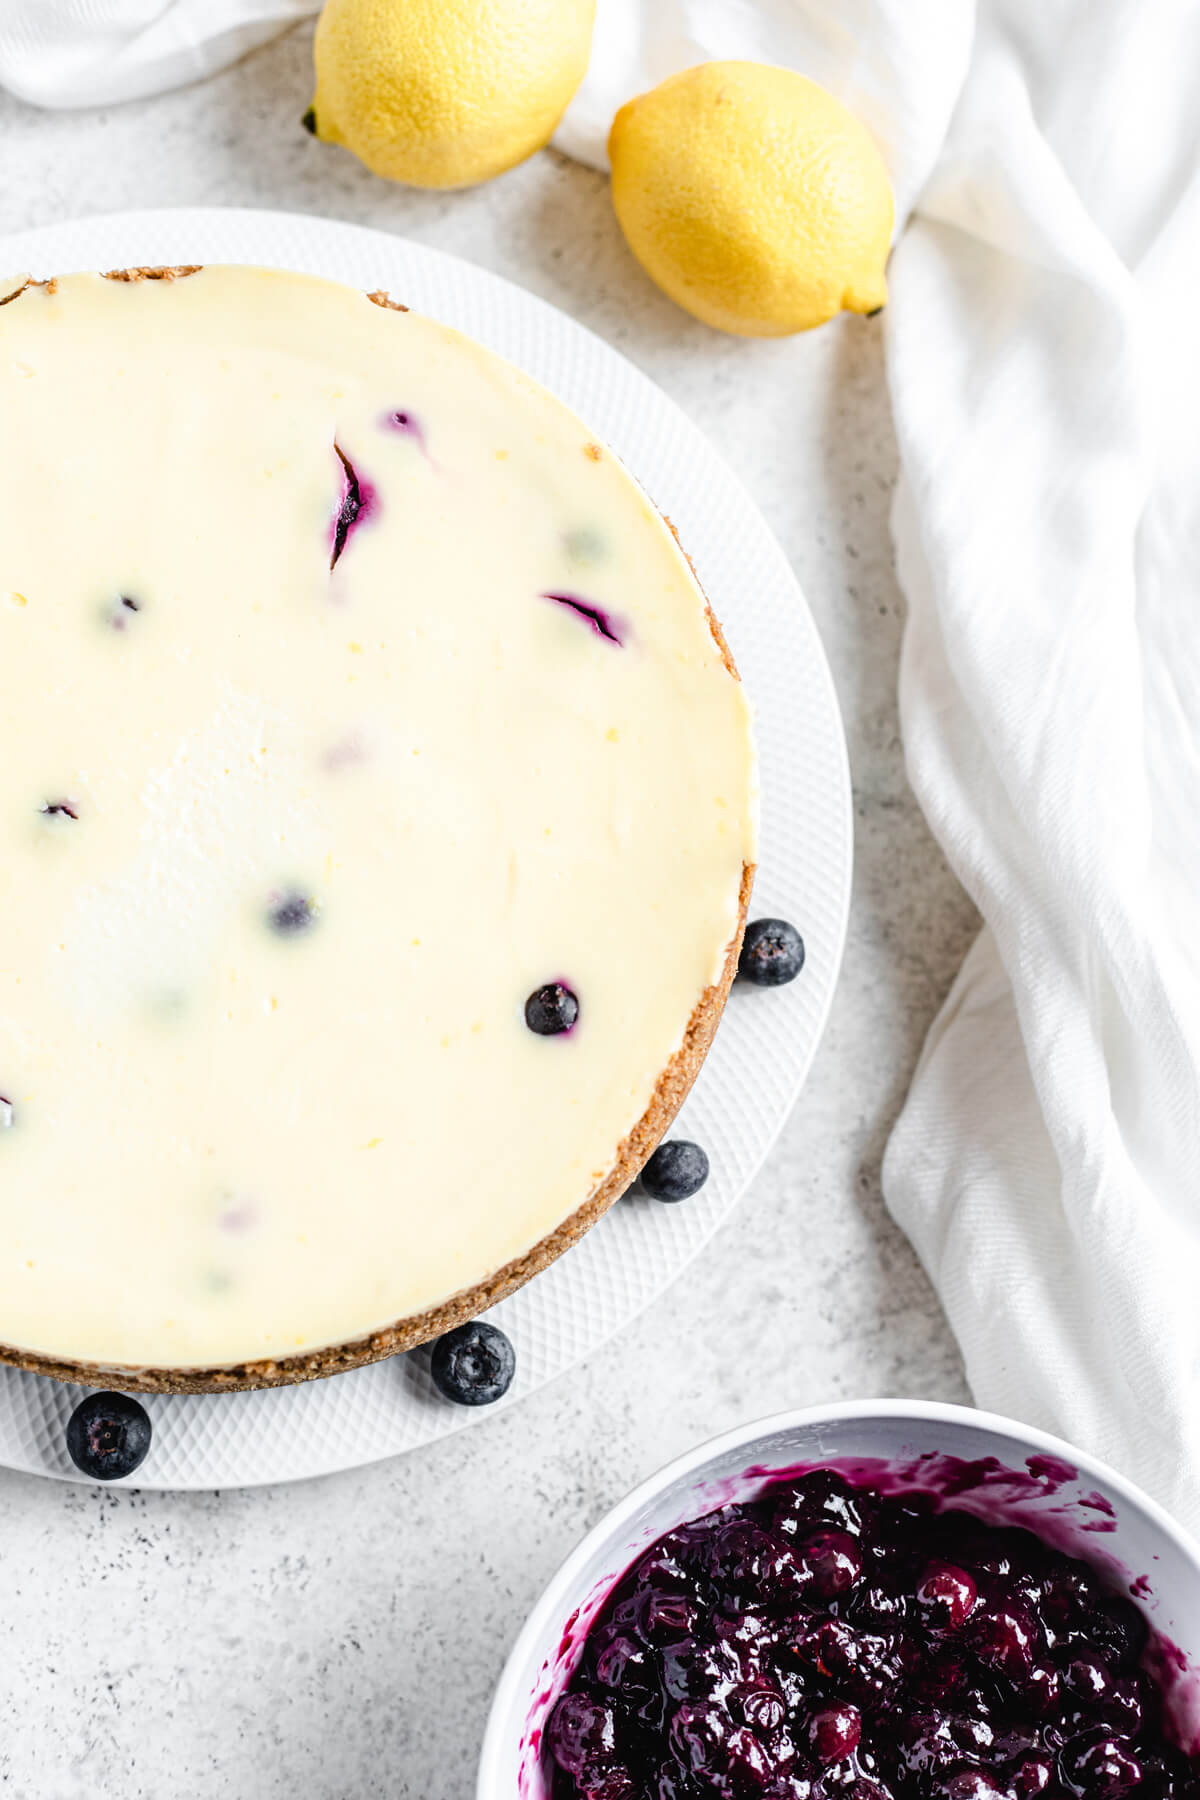
- Sweet and Tangy Lemon Cheesecake studded with Fresh Blueberries
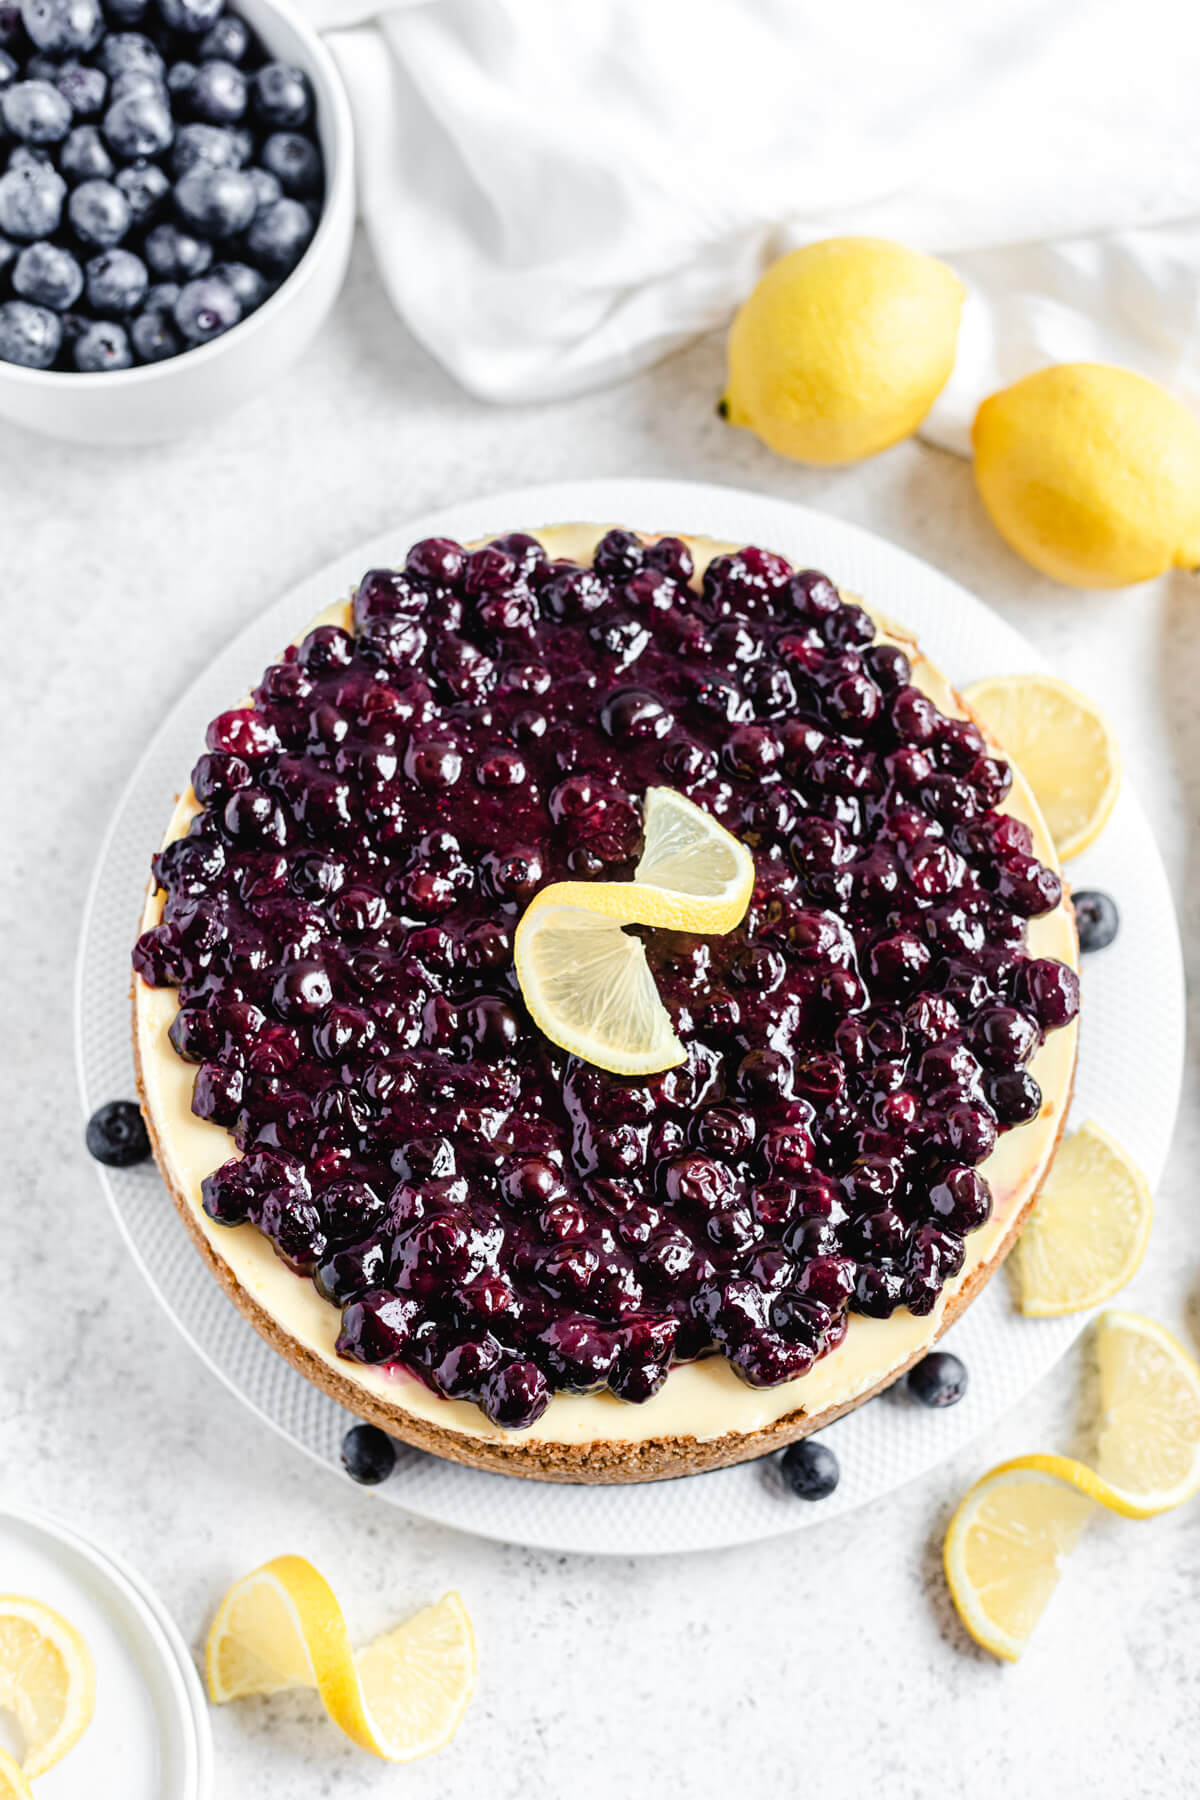
- Homemade Fresh Blueberry Sauce Topping
This cheesecake has a 3-ingredient crust that’s made in 2 stirs, a 7-ingredient cheesecake filling that pretty much only requires you to turn on your mixer and scrape down the sides, and a 5-ingredient blueberry sauce that basically makes itself! And if you follow my tips, you’ll be sure to achieve cheesecake success!
Graham Cracker Crust
This recipe begins with a simple graham cracker crust. We’re gonna need 3 cups of crumbs to cover the bottom and go up the sides of the pan. Sweeten the crumbs with a bit of sugar, then coat them with melted butter.
Pour the crumbs into your crust, then use the bottom of a measuring cup to tightly pack the crumbs into the bottom and around the sides of your springform pan. Pre-bake the crust for 10 minutes so it can hold together. Then set it aside to cool while you prepare the fruity cheesecake filling!
Lemon Blueberry Cheesecake Filling
The cheesecake batter is very simple to put together. You’re going to need a mixer for this, either a stand mixer or a handheld. Start by beating the cream cheese until smooth, you’ll want to mix the entire batter on low speed. If you whipped the batter on a higher speed, you’ll risk over-beating which will incorporate too much air into the cheesecake, causing it to crack.
Add some sugar and cornstarch (also helps prevent cracking), then sour cream, lemon zest and lemon juice. The full cup of sour cream adds loads of creaminess to the cheesecake texture! For the lemons, make sure you zest them all before juicing. I used about 4 lemons to get ½ cup of juice, but it could take more or less for you depending on the sizes.
Slowly add the eggs, one at a time, then fold in the fresh blueberries. I used 1 and ½ cups, but you can throw in an extra ½ cup if you want to! Now pour your cheesecake batter into the crust and set it aside while you prepare the water bath.
Preparing the Water Bath
I think I’ve proven time and time again that water baths are nothing to be intimidated by. A lot of people hate water baths because the water can leak into the pan and ruin your cheesecake, but I’ve got a solution! I think I’ve proven time and time again that water baths are nothing to be intimidated by. A lot of people hate water baths because the water can leak into the pan and ruin your cheesecake, but I’ve got a solution!
There are 2 things you can do to prevent your water bath from leaking into your pan.
- Place the pan into a larger round pot: This is the method I like to use. Put your 9-inch springform pan into a 10-11 inch pot or cake pan. Place that pot into a larger pan and fill the larger pan with boiling water.
- Place the water bath on the bottom rack: The point of a water bath is to let the steam from the water prevent the cheesecake from cracking and to give it a creamy texture. This can be achieved if you place a large pan of boiling water UNDERNEATH the cheesecake on the bottom rack. The steam will still reach the pan and do it’s job!
Bake the cheesecake until the centre jiggles slightly, then cool with the oven door closed for 30 minutes, before cracking the oven door open and letting it cool for another 30 minutes. From there remove the cheesecake from the water bath and place it onto a cooling rack to cool to room temperature before chilling overnight.
This slow cooling process is crucial for the best final results in your cheesecakes texture, so don’t just remove it from the oven and place it in the fridge. A good cheesecake takes time, so be patient!
Homemade Blueberry Sauce
The sweet blueberry sauce topping is made with 5 ingredients: sugar, water, lemon juice, cornstarch and blueberries. The process for making it is just as easy as my strawberry sauce or raspberry sauce. Simply add all of the ingredients to a saucepan, bring to a boil, and allow to boil for 4-5 minutes until it’s thickened up.
You’ll need to let the sauce cool to room temperature, or chill in the refrigerator because adding it to the cheesecake while it’s hot could cause the cheesecake to melt.
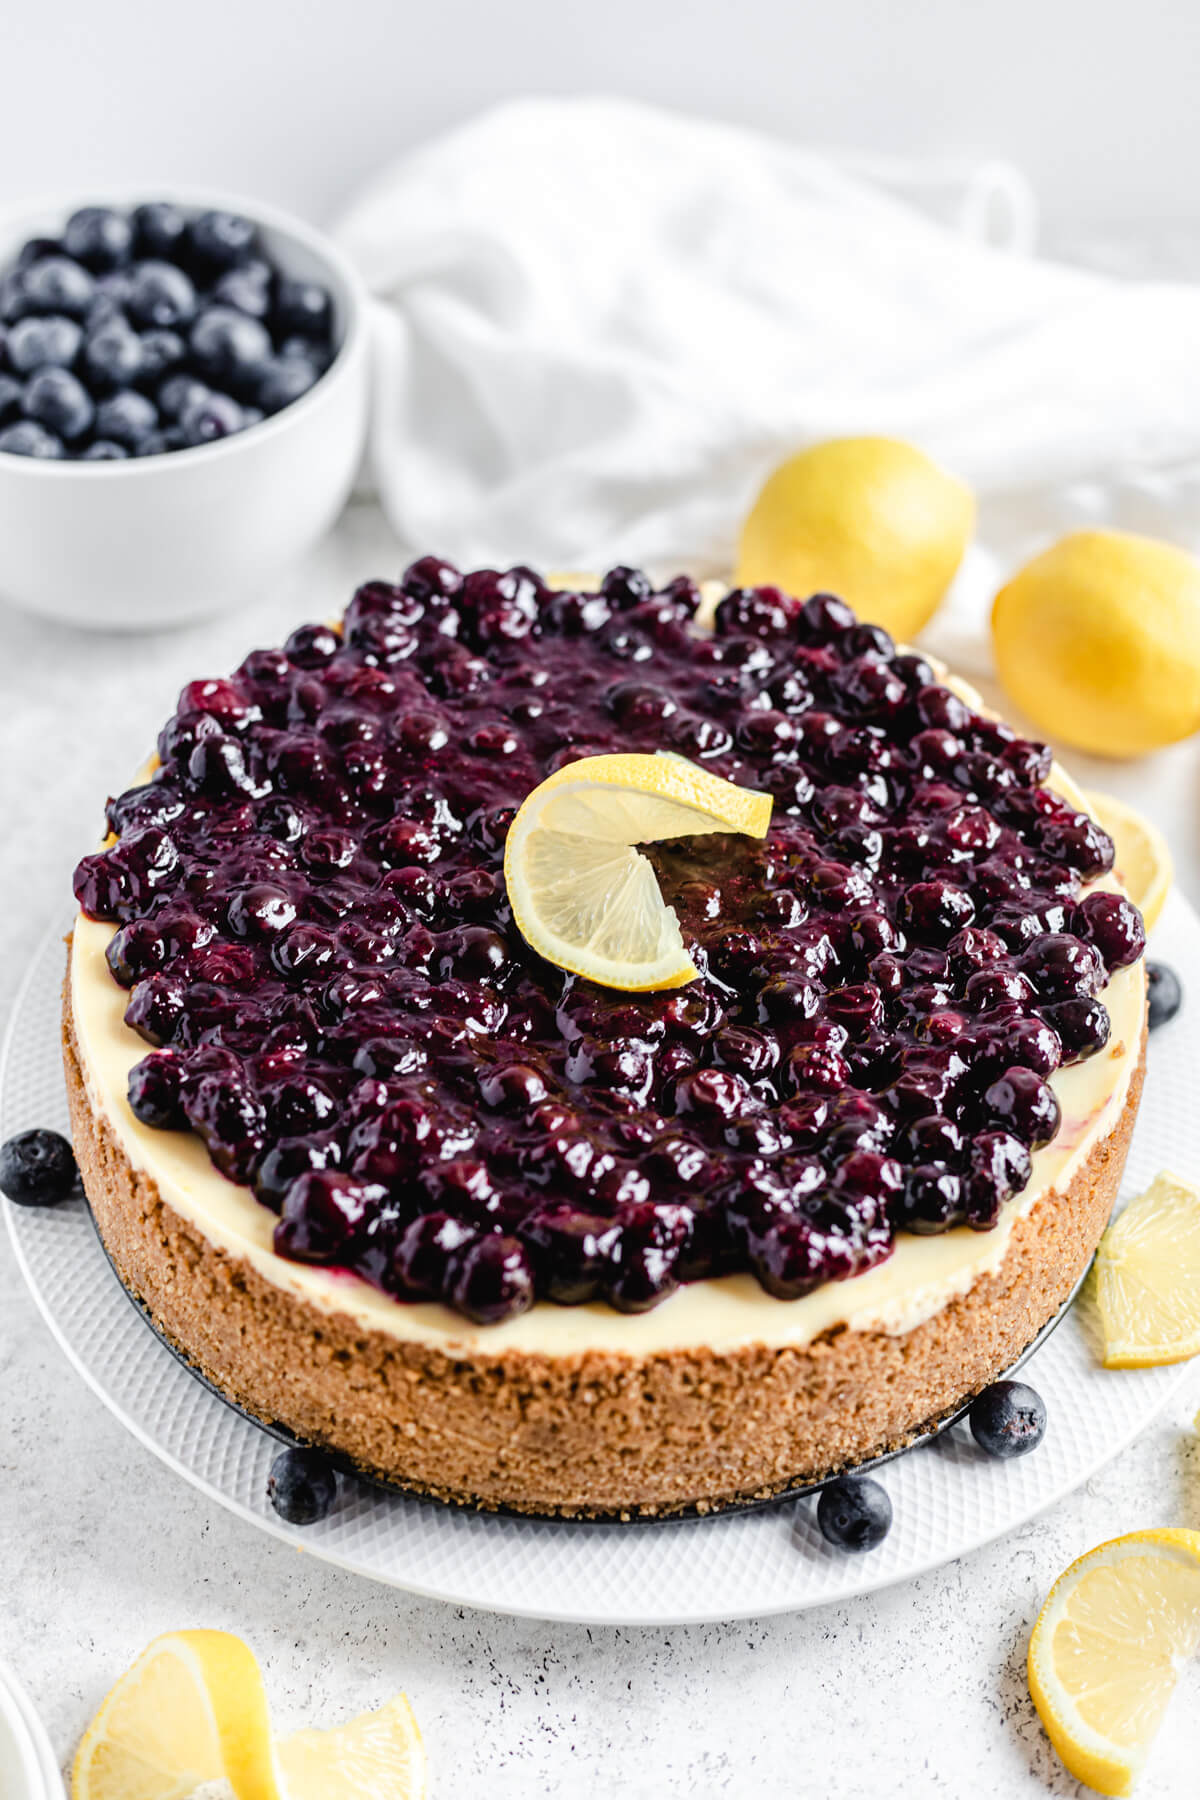
Decorate the top of the cheesecake with a lemon twist, if desired. I was gonna add whipped cream, but my house was so hot, it refused to whip up! Even though I froze my bowl and beaters, the environment was just too hot.
It’s alright, though, because this cheesecake doesn’t need whipped cream. The blueberry sauce is more than enough! Fresh, summery, citrusy and ridiculously creamy! This cheesecake is perfect for the warm seasons, but it’s enjoyable anytime of year! Stay tuned for more lemon/blueberry goodness coming soon!
SHARE YOUR PICS!
Follow me on Instagram and tag #queensleeappetit so I can see and share all of your Queenslee Appétit creations in my stories and the QA Newsletter!
>>PIN ME FOR LATER<<
FOLLOW QUEENSLEE APPÉTIT
Like what you see? Make sure you‘re following Queenslee Appétit for more tasty recipes!
Pinterest | Instagram | Facebook | Twitter |
Have any questions about the recipe? Contact me here, and I’ll be happy to help!
SWEETEN UP YOUR INBOX!
SUBSCRIBE to the Queenslee Appétit Newsletter to recieve new recipe notifications, monthly baking tips, sneak peeks to upcoming recipes, exclusive recipes and more!
Let’s get baking!
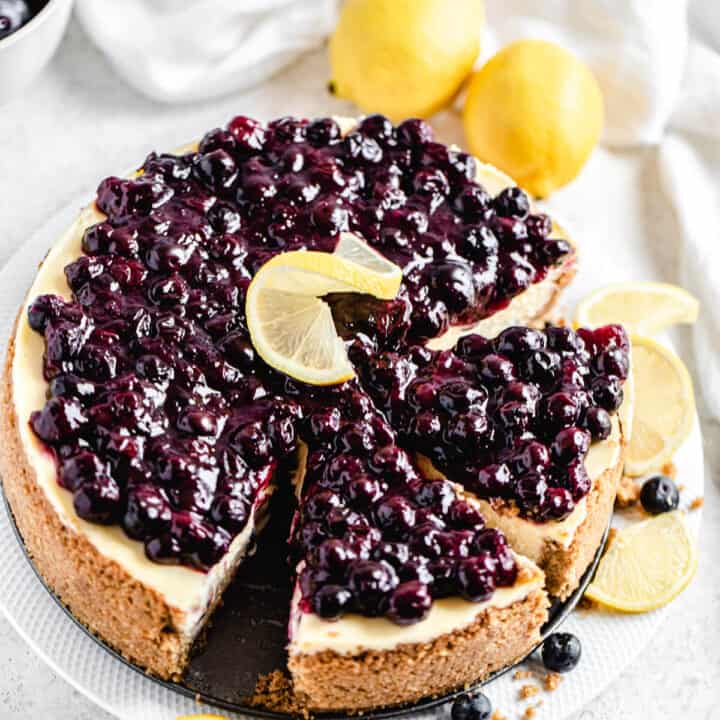
Lemon Blueberry Cheesecake
This Lemon Blueberry Cheesecake features an ultra creamy, smooth and tangy lemon cheesecake studded with fresh blueberries. Topped with a sweet blueberry sauce, this dessert deserves to be apart of your summer baking plans!
Ingredients
Graham Cracker Crust:
- 3 cups graham cracker crumbs
- ¼ cup Granulated Sugar
- ¾ cup unsalted butter, melted
Lemon Blueberry Cheesecake:
- 3 (8-ounce) packages (1 and ½ pounds) full-fat cream cheese, room temperature
- 1 cup granulated sugar
- 1 Tbsp. cornstarch (or 3 tablespoon all purpose flour)
- 1 cup sour cream, room temperature
- 1 and ½ tablespoon finely grated Lemon zest
- ½ cup freshly squeezed lemon juice
- 3 large eggs, room temperature
- 1 large egg yolk
- 1 and ½ cups fresh blueberries
Blueberry Sauce:
- 2 cups fresh blueberries
- ¼ cup granulated sugar
- ¼ cup water
- ½ teaspoon lemon juice
- 1 tablespoon cornstarch
- 3 tablespoon cold water
Instructions
For the Graham Cracker Crust:
- Preheat oven to 325°F. Grease sides and bottom of one 9-inch springform pan with cooking spray and line with parchment rounds.
- Pour graham cracker crumbs into a medium bowl and mix in sugar and melted butter using a fork until all the crumbs are coated.
- Transfer mixture to the greased 9-inch springform pan and, using the flat bottom of a glass or measuring cup, press into the bottom and up the sides of the pan.
- Bake in preheated oven for 10 minutes. Remove from the oven and reduce the temperature to 300F. Set aside to cool.
- Take 1 extra large piece of aluminum foil that’s bigger than your springform pan. Place springform pan in the centre and fold aluminum up to the sides to cover the outside of the pan. This ensures that no water seeps into the pan during the water bath. Alternatively, I placed my pan in a slightly larger pot to completely protect my crust from the water.
For the Lemon Blueberry Cheesecake:
- In a stand mixer bowl, fitted with the paddle attachment. Or in a large mixing bowl using a handheld mixer, beat the cream cheese on low speed until smooth and creamy.
- Add sugar and cornstarch and continue to beat on low speed until completely combined and smooth.
- Scrape down the sides of the bowl and add sour cream, lemon zest and lemon juice and continue beating until smooth.
- Add eggs and yolk one at a time, beating slowly until just combined, do not overbeat. Scrape sides and bottom of the bowl with a rubber spatula to make sure everything is fully combined. Fold in blueberries.
- Pour into prepared pan and place into a larger pan. Bring a few cups of water to a boil and carefully pour into the larger pan. The water should only be a few inches up the sides of the pan. Do not go over the top.
- Bake at 300°F for about 1 hour and 20 minutes to about 1 hour and 30 minutes. The cheesecake is done when the edges are set and the center jiggles just slightly.
- Turn off oven and leave the cheesecake to cool for 30 minutes. After 30 minutes, crack the door open and continue cooling the cheesecake for another 30 minutes. This helps prevent cracking.
- After an hour, remove cheesecake from waterbath and aluminum foil. Run a knife around the edge of the pan so it's not sticking to the sides and allow to cool completely on a rack.
- Loosely cover with plastic wrap and refrigerate until firm and chilled, about 8 hours or preferably overnight.
For the Blueberry Sauce:
- Combine fresh blueberries, sugar, water and lemon juice in a saucepan on high heat and bring to a boil.
- Once the mixture begins to boil, lower the heat and allow blueberries to cook and burst, stirring occasionally for about 4-5 minutes.
- Add 1 tablespoon of cornstarch to 3 tablespoons of cold water and whisk to combine. Stir slurry into the blueberry sauce and cook on high heat, whisking constantly until sauce thickens, about 1 minute.
- Transfer to a separate bowl to cool completely. Once cooled, cover and refrigerate until ready to use.
Assembly:
- Remove cheesecake from the refrigerator and remove springform pan ring. Pour cooled blueberry sauce on top. Top with a twist of lemon. Enjoy!
Notes
- Storage: store cheesecake in the refrigerator for up to 5 days.
Nutrition Information:
Yield: 12 Serving Size: 1Amount Per Serving: Calories: 388Total Fat: 20gSaturated Fat: 11gTrans Fat: 0gUnsaturated Fat: 8gCholesterol: 122mgSodium: 139mgCarbohydrates: 49gFiber: 2gSugar: 34gProtein: 5g
BON APPÉTIT!
Love, Dedra
©QUEENSLEE APPÉTIT. All images & content are copyright protected. Please do not use my images without prior permission. If you want to republish this recipe, please re-write the recipe in your own words, or link back to this post for the recipe.


Leave a Reply