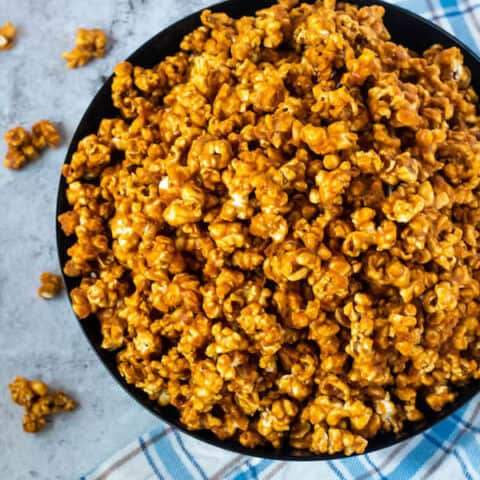
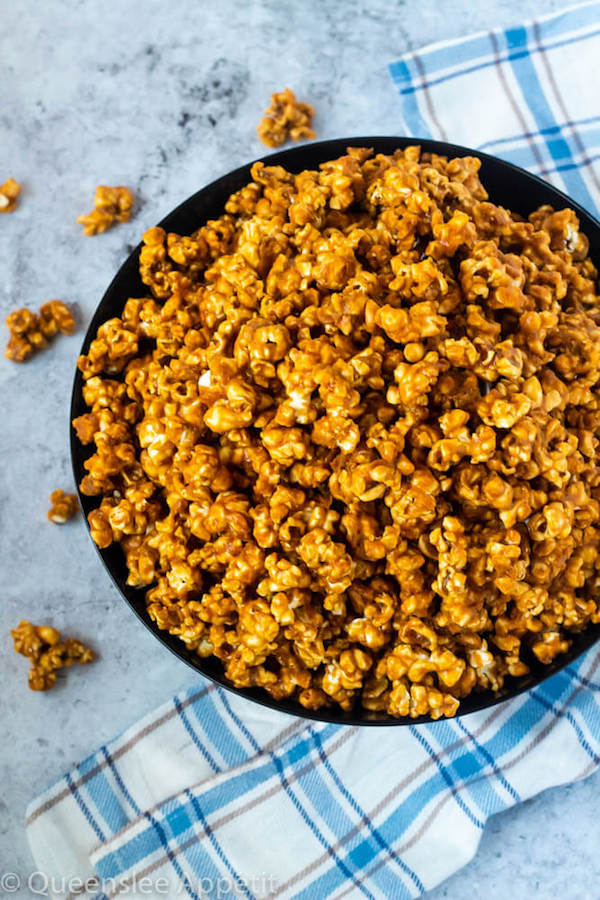
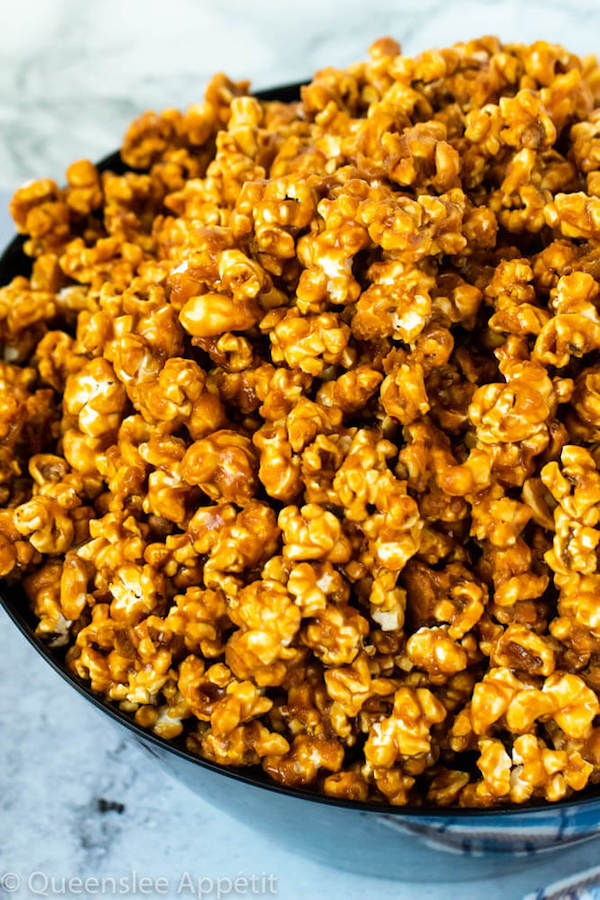
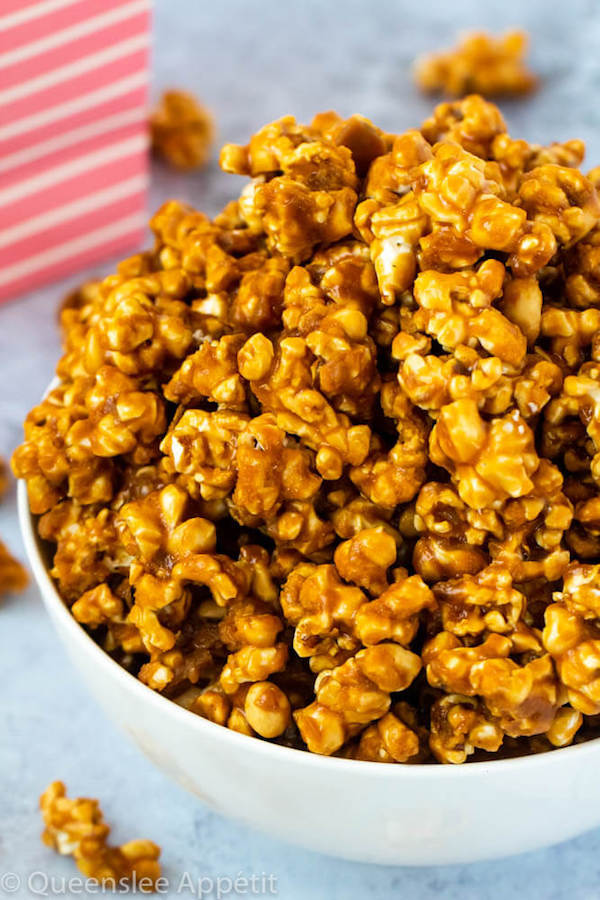
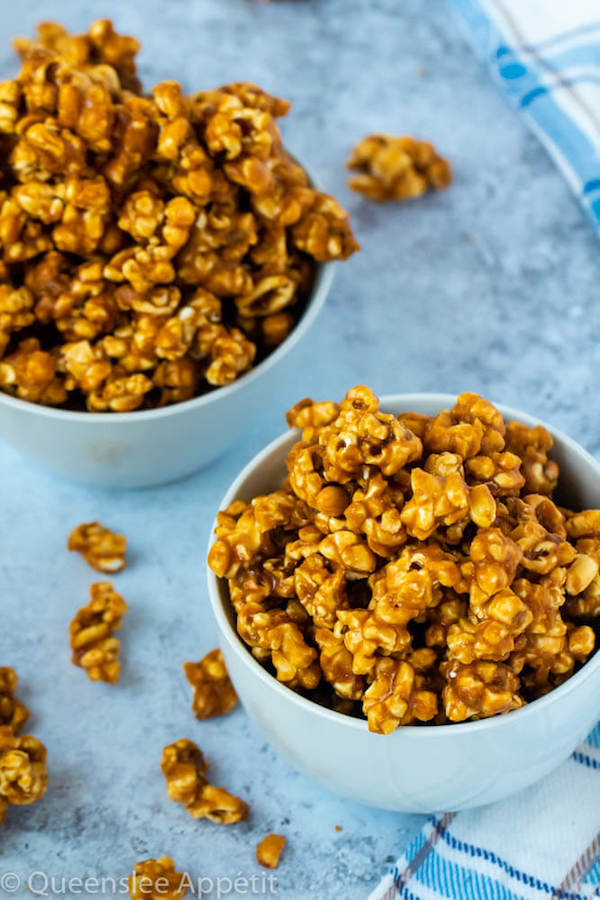
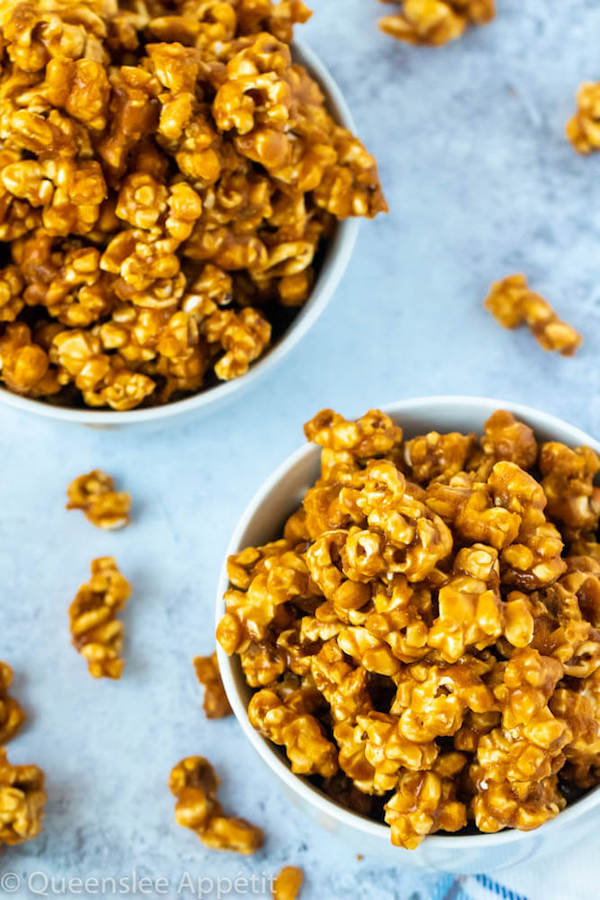
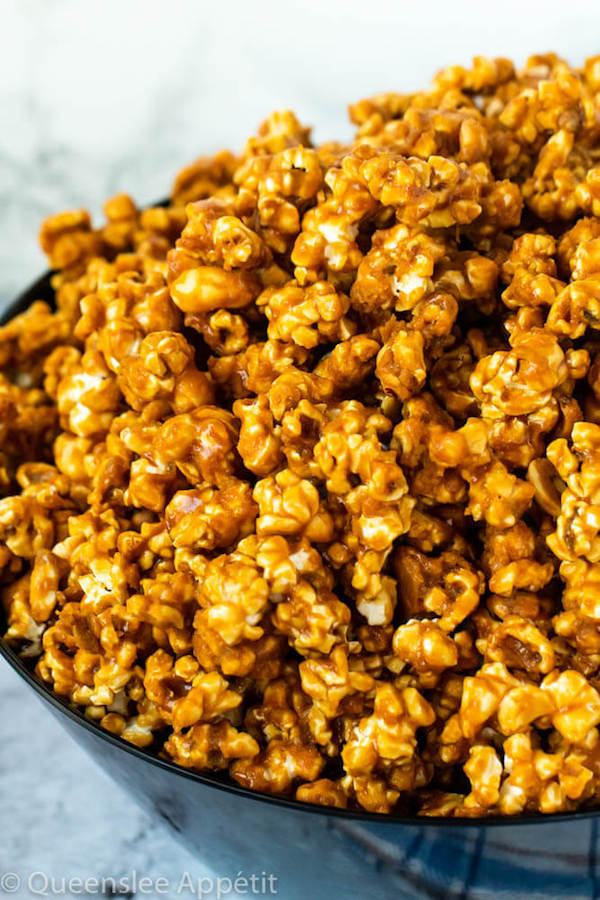
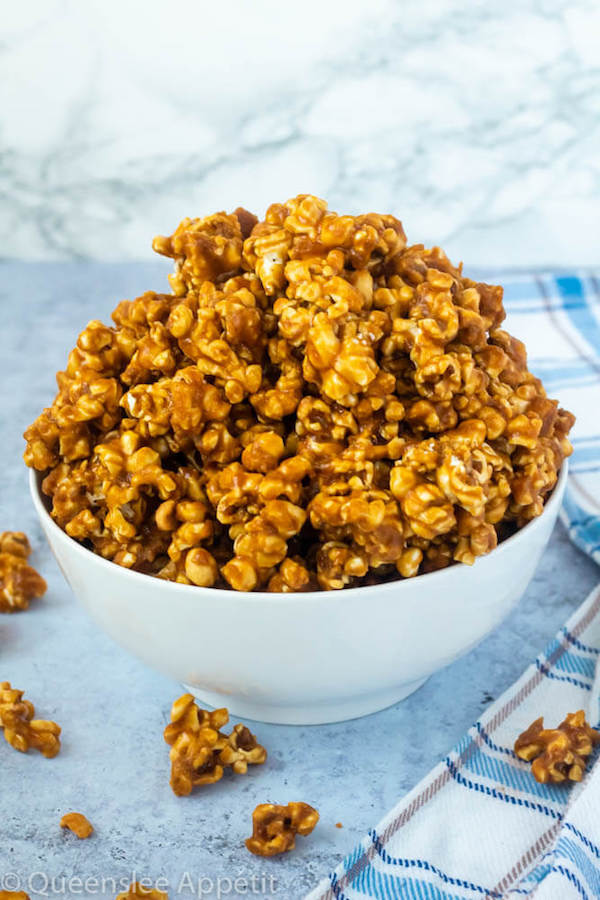
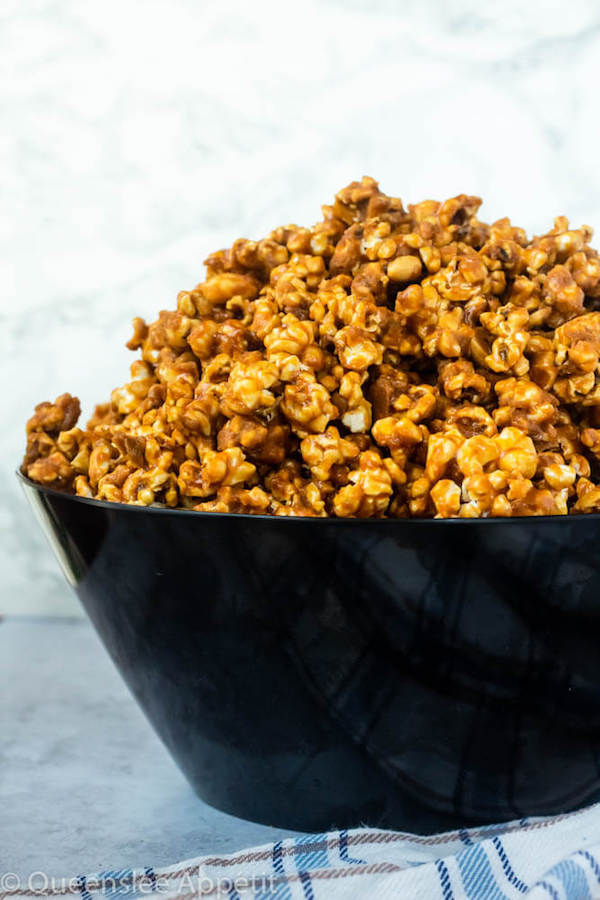
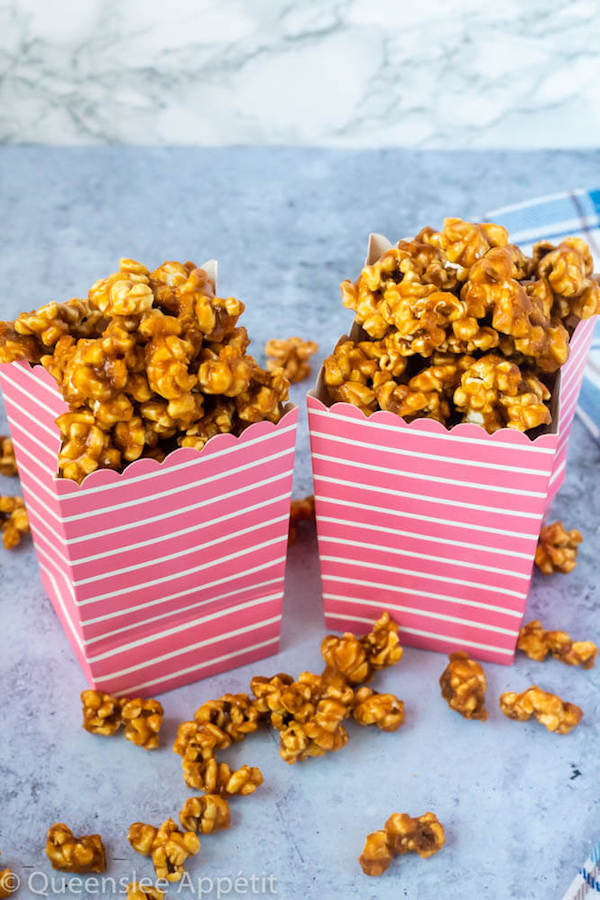
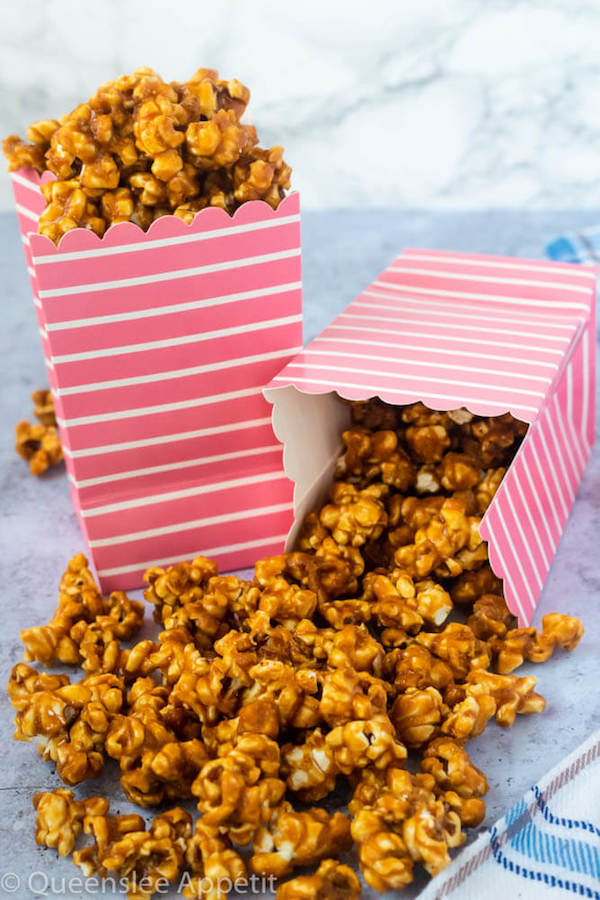
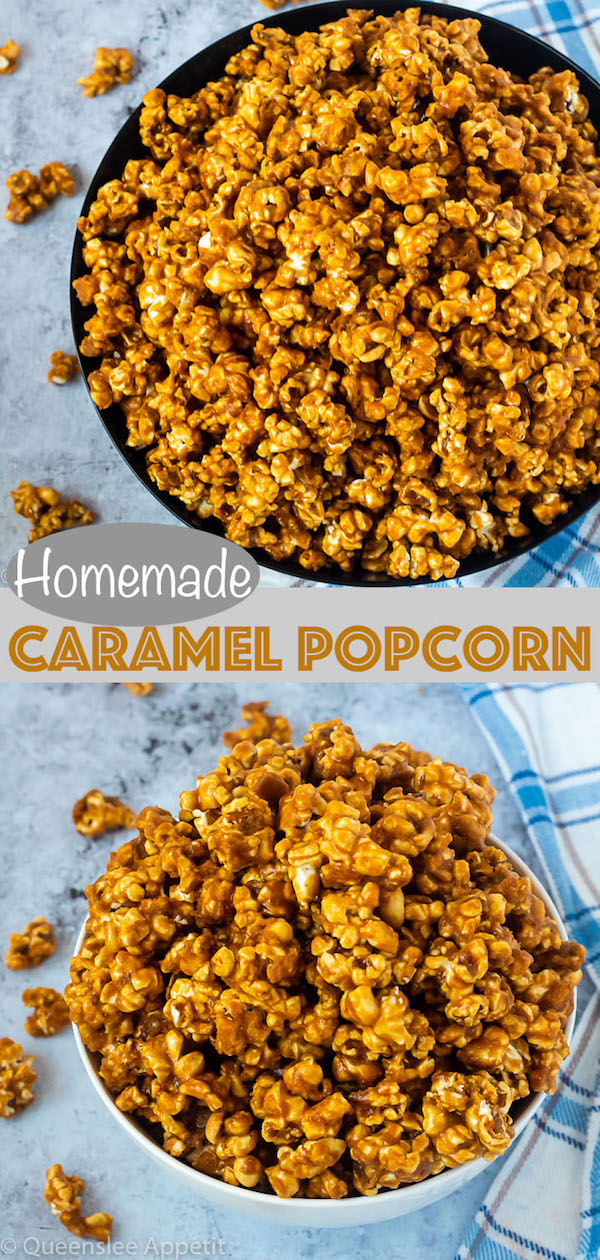
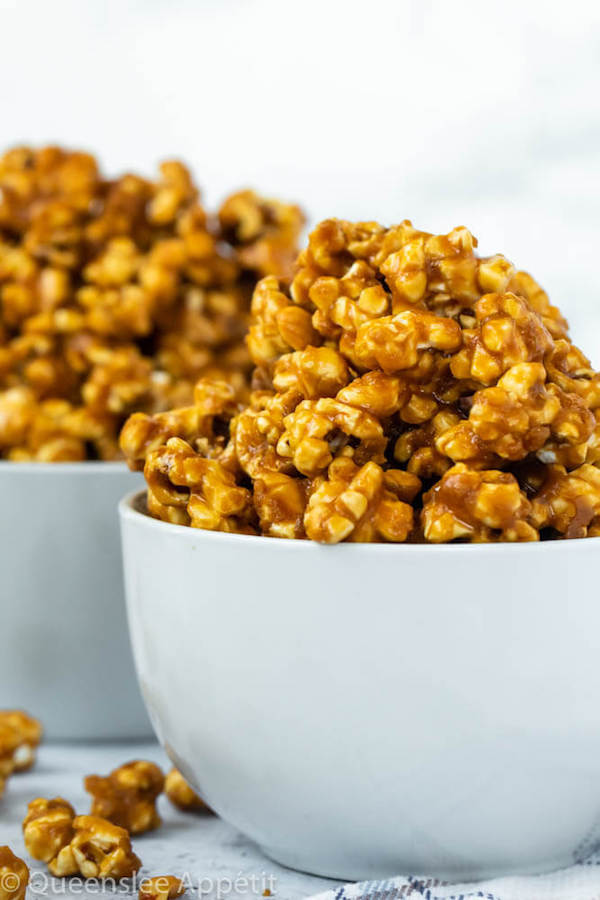
This Homemade Caramel Popcorn is made with a delicious homemade caramel sauce for a sweet, buttery, crunchy and fun snack that’s far better than the store-bought version!
This post may contain affiliate links. Please see my full disclosure policy for details.
I’ve been waiting to post this recipe for months! I don’t even remember how long it’s been since I made it, but I do know that I originally planned on making it so I can put it inside of these Caramel Popcorn Cupcakes.
If you do plan on making those cupcakes, you can totally use this recipe for caramel popcorn to put inside, instead of using store bought. And yes, I know it sounds weird and you’re probably scrunching up your face in disgust.
Trust me, they taste far better than you think. We grind up the caramel popcorn into very fine crumbs so all it does is add a very slight crunch to the cupcakes, kind of like the hazelnut flour in my Ferrero Rocher Cupcakes!
Homemade Caramel Popcorn
How do you feel about caramel popcorn? Well I guess you love it enough to try out this recipe. However, every single human being I have ever met (maybe a little exaggeration) seems to DESPISE caramel popcorn for one reason or another, and I don’t understand why.
I, for one, would choose caramel popcorn over regular popcorn or any other version of popcorn any day! I mean I already love caramel, and I love popcorn, so obviously I would be obsessed with them when they’ve merged into one delectable treat.
And although I adore popcorn, I find it hard to enjoy plain or with just butter. I always have to dump loads of ketchup seasoning (I’m Canadian, don’t judge me) onto my popcorn just to enjoy it. So popcorn coated in sweet crunchy caramel is definitely right up my alley.
How to Make Homemade Caramel Popcorn
Well obviously we start with the popcorn! I used plain popcorn, but you could use any kind you like. You could use those “healthy” low-fat popcorns (if it makes you feel better about smothering it in caramel), or you could use the extra-buttery kind to enhance the yummy caramel flavour of the popcorn.
I had to test this recipe quite a few times just to see how much popcorn I should use. My first attempt was to use about 14-16 cups of popcorn, but there wasn’t nearly enough caramel to cover it all!
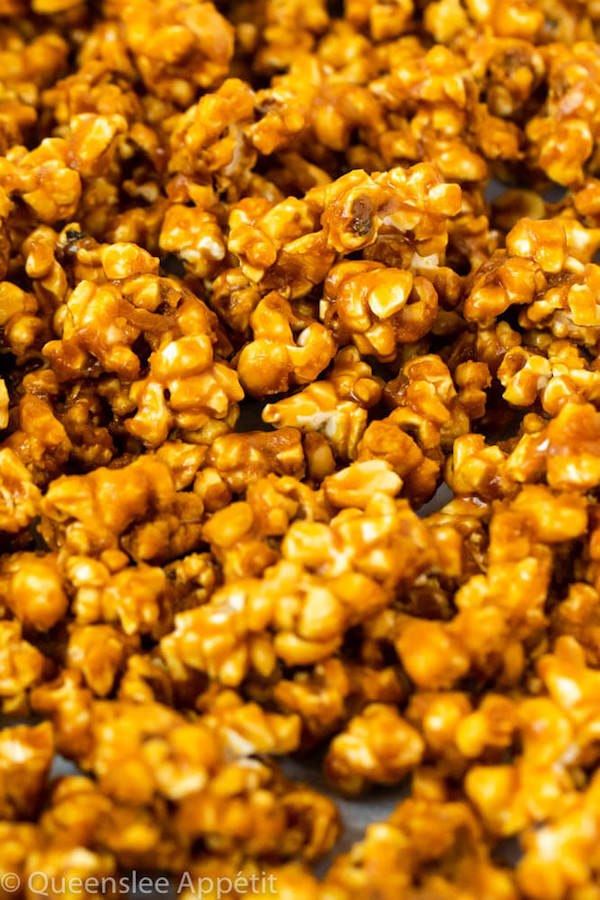
I was about to change up the recipe for caramel, but realized that it would be far easier to adjust the amount of popcorn than to try and increase the amount of caramel. So since one bag of popcorn is about 10 cups, I decided to try that amount for my next attempt. It worked a lot better and I got a lot more coverage, so every kernel was completely coated in caramel goodness!
Caramel Coating
To make the caramel popcorn coating, start by melting some butter in a medium saucepan. We’re gonna use 1 cup of REAL butter, NOT margarine. Once the butter is melted, stir in the brown sugar. You can use either light or dark brown sugar for this recipe.
Apparently dark brown sugar makes the caramel grainy, but I didn’t really have that problem. Also I wanted the caramel coating to be a deeper golden brown colour, because my first attempt with light brown sugar was more of a light yellow, though that may have been because of mistakes I’ve made.
When the brown sugar has completely melted, add the corn syrup and salt. You’ll need to use light corn syrup, not dark corn syrup. The purpose of the corn syrup is to prevent the caramel from crystallizing and to keep it smooth and silky all throughout.
Allow the caramel to boil for a few minutes, then remove it from the heat and stir in the vanilla extract and baking soda. I highly recommend using either a 2 or 3 QT. Non-Stick Saucepan when making this caramel, because once you stir in the baking soda it’ll bubble, foam and rise up in the pan and you don’t want it boiling over.
Adding the Caramel to the Corn
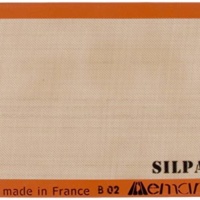
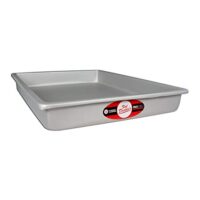
A few things I should’ve mentioned earlier — one, make sure to spread your popcorn in a large silpat or parchment lined pan. I suggest using either a jelly roll pan or a large 11x15 inch rectangular cake pan, like I used.
I don’t like using a flat baking sheet because it makes it difficult to keep the popcorn on the pan while stirring. A pan with sides will make stirring the popcorn and caramel so much easier.
Another thing is to place the popcorn in the oven to keep warm while you prepare the caramel. I had a few problems stirring the caramel with the popcorn in my last few attempts until I learned that the caramel coats the popcorn a lot easier when the popcorn is warm.
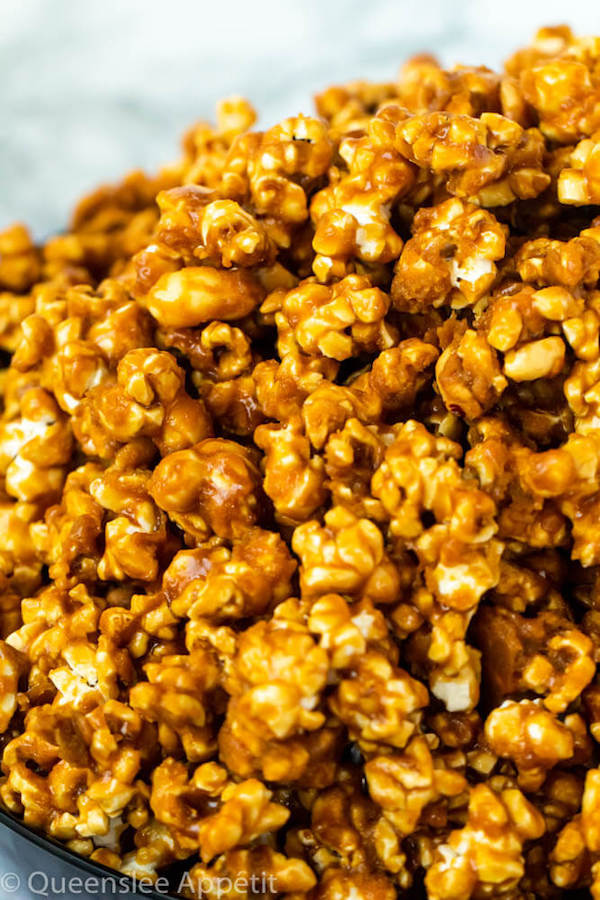
Now pour the caramel over the entire popcorn, try to cover it all to make the mixing easier. I decided to sprinkle on some roasted peanuts for a delicious sweet and salty combination. I didn’t realize until it was too late, but honey roasted peanuts would’ve been an AMAZING addition to this popcorn! You could even add other nuts like almonds, walnuts etc. Or you could just leave them out completely.
If adding nuts, sprinkle them over the popcorn immediately after pouring on the caramel. Then, using a rubber spatula (non-stick = perfect caramel stirrer), gently but quickly mix the caramel, popcorn and peanuts together to coat everything. I do this by scooping under the popcorn and folding it over to coat all sides. It’s kind of like coating pasta in a sauce, we don’t stir in a circular motion, fold up and down.
Baking the Caramel Popcorn
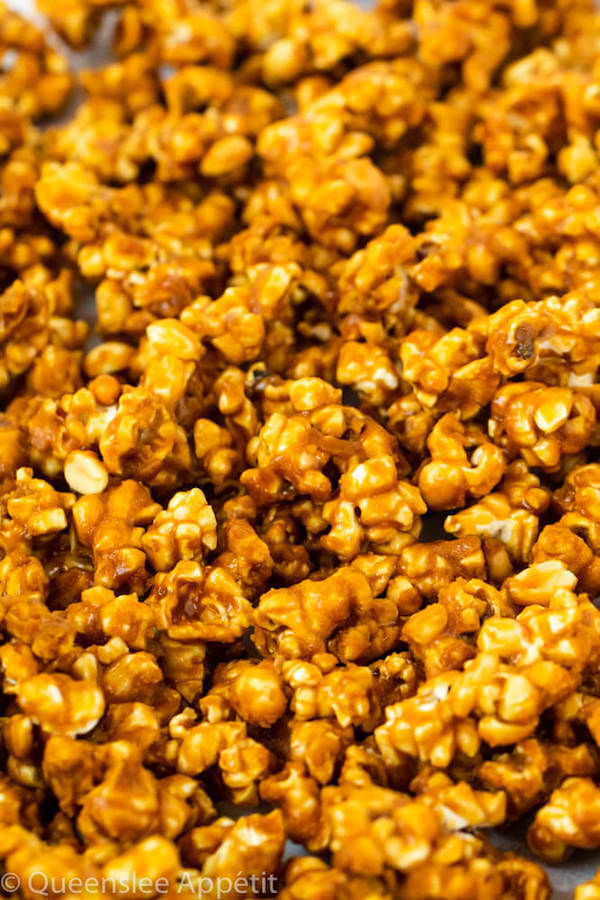
The baking time for the caramel popcorn depends on how chewy or crunchy you want it to be. I baked my popcorn for 1 hour to get my desired crunchiness, but if you want your popcorn to be a bit chewier, you can bake it for up to 30-45 minutes instead.
If you bake yours for an hour, stir the popcorn, like you did the first time, every 20 minutes to further coat the popcorn. If you’re baking it for 30-45 minutes, stir the popcorn every 15 minutes instead.
I don’t recommend going over an hour because the longer you cook the popcorn, the harder the caramel gets and you don’t want the popcorn to be as tough to eat as a jawbreaker.
Cooling the Caramel Corn
When I first made this caramel popcorn recipe, I just left it to cool in the pan which I later realized was a bad idea. The popcorn obviously stuck together and ended up being more like a brittle than little pieces of caramel corn.
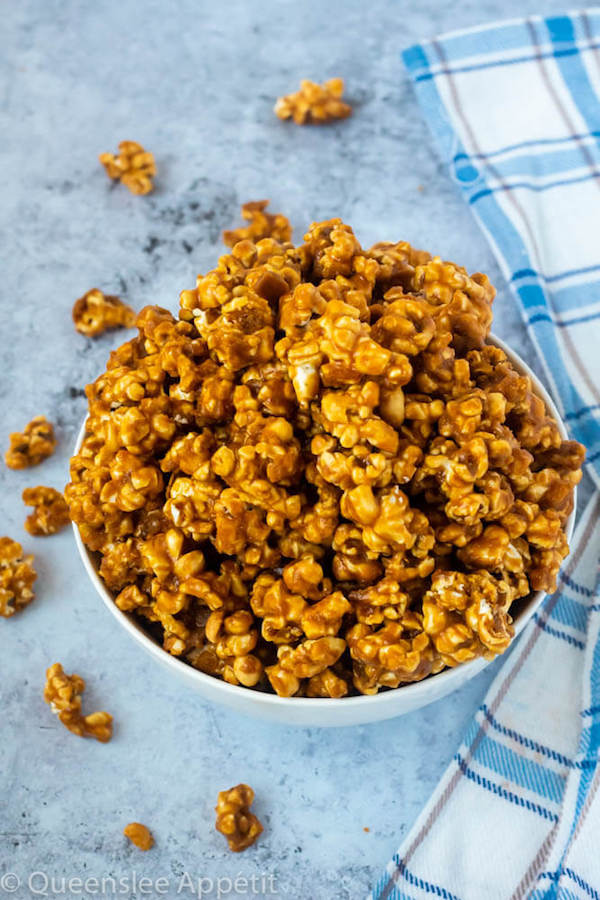
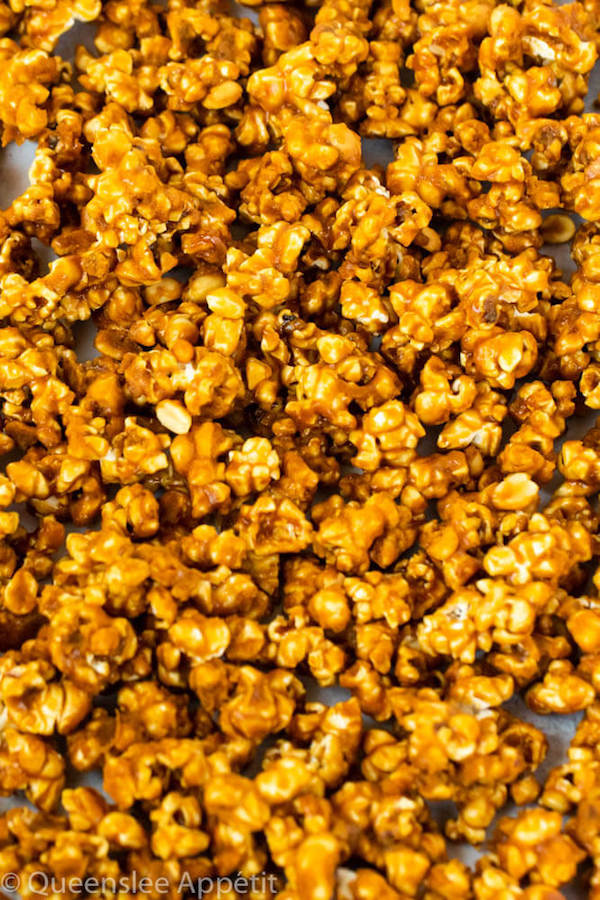
So this time around, I immediately scraped my baked popcorn onto a large sheet of parchment paper and since it was only baking at 200°F, the corn wasn’t too hot so I was able to quickly break it up with my hands. Not every piece will be separated, but this’ll still ensure you don’t end up with ridiculously large clusters of caramel popcorn, but with smaller bite-sized pieces.
>>PIN THIS FOR LATER<<
FOLLOW QUEENSLEE APPÉTIT
Like what you see? Make sure you‘re following Queenslee Appétit for more tasty recipes!
Pinterest | Instagram | Facebook | Twitter |
And don’t forget to take photos and tag me on Instagram @queensleeappetit or use the hashtag #queensleeappetit so I could see your gorgeous creations!
Have any questions about the recipe? Contact me here, and I’ll be happy to help!
Let’s get baking!
Homemade Caramel Popcorn
This Homemade Caramel Popcorn is made with a delicious homemade caramel sauce for a sweet, buttery, crunchy and fun snack that’s far better than the store-bought version!
Ingredients
- 10 cups popped popcorn (see notes)
- 1 cup unsalted butter, cut into small pieces
- 1 and ¾ cups light brown sugar, packed
- ½ cup light corn syrup
- 1 teaspoon salt
- 1 teaspoon pure vanilla extract
- 1 teaspoon baking soda
- 1 cup roasted peanuts (or nuts of your choice) (optional)*
Instructions
- Preheat the oven to 200°F (93°C). Line a large rectangular cake pan, jelly-roll pan or a foil rectangular roasting pan with a silpat mat or parchment paper.*
- Pour the popped popcorn into the pan and spread into an even layer. Place popcorn into the preheated the oven to keep warm while you prepare the caramel coating.
For the Caramel Coating:
- Add the butter to a medium saucepan and heat over medium heat until completely melted.
- Add brown sugar and stir with a rubber spatula until completely melted and smooth. Once sugar is melted, stir in light corn syrup and salt.
- Bring mixture to a boil, then allow it to boil for at least 3 minutes. While it’s boiling, measure out the vanilla extract and baking soda and set aside.
- Remove caramel from heat and immediately stir in the vanilla and baking soda. Continue stirring until the caramel foams up and lightens in colour all throughout.
- Remove popcorn from oven and pour caramel over all of the popcorn. Sprinkle on the nuts, if using.
- Use the rubber spatula to gently mix the caramel with the popcorn and nuts. Coat the popcorn the way you would coat pasta in sauce, scoop under and fold it over so you could cover as much of the popcorn as you can. Don’t worry if it isn’t completely completely coated.
- Bake in the preheated oven for 30 minutes to 1 hour. This depends on how chewy or crunchy you want the caramel. I baked mine for 1 hour, stirring every 20 minutes to coat more of the popcorn. If you bake yours for 30-45 minutes for a chewier texture, stir the corn every 15 minutes.
- Place a large sheet of parchment paper, wax paper or another large silpat mat onto the counter. Once popcorn has finished baking, immediately scrape it onto the lined counter top and break up the pieces before it hardens completely. Allow to cool for at least 1 hour before enjoying.
Notes
- Store popcorn in an airtight container at room temperature for up to 5-7 days.
- I used salted popcorn, but I suggest using a popcorn you enjoy eating normally. Buttery popcorn would work great because it’ll enhance the flavours of the caramel popcorn.
- If you choose to add peanuts, you could add salted, honey roasted (my favourite!) or you could use other nuts like macadamia, almonds, cashews etc.
- It’s best to use a pan with high sides as it makes mixing the popcorn and caramel a lot easier.
- Make sure to use real butter and NOT margarine.
Recommended Products
As an Amazon Associate and member of other affiliate programs, I earn from qualifying purchases.
-
Award-Winning Pro-Grade Silicone Spatulas By DI ORO - 600°F Heat-Resistant Seamless Rubber Spatula - Perfect for Baking, Cooking, Scraping - Premium Stainless Steel Core Technology (BLACK Single)
-
OXO Good Grips Non-Stick Pro Jelly Roll 10 x 15 Inch
-
Utopia Kitchen 2 Quart Nonstick Saucepan with Glass Lid - Induction Bottom - Multipurpose Use for Home Kitchen or Restaurant
-
Silpat Premium Non-Stick Silicone Baking Mat, Half Sheet Size, 11-⅝" x 16-½"
-
Fat Daddio's POB-11152 Anodized Aluminum Sheet Cake Pan, 11 x 15 x 2 Inch
BON APPÉTIT!
Love, Dedra
©QUEENSLEE APPÉTIT. All images & content are copyright protected. Please do not use my images without prior permission. If you want to republish this recipe, please re-write the recipe in your own words, or link back to this post for the recipe.


Leave a Reply