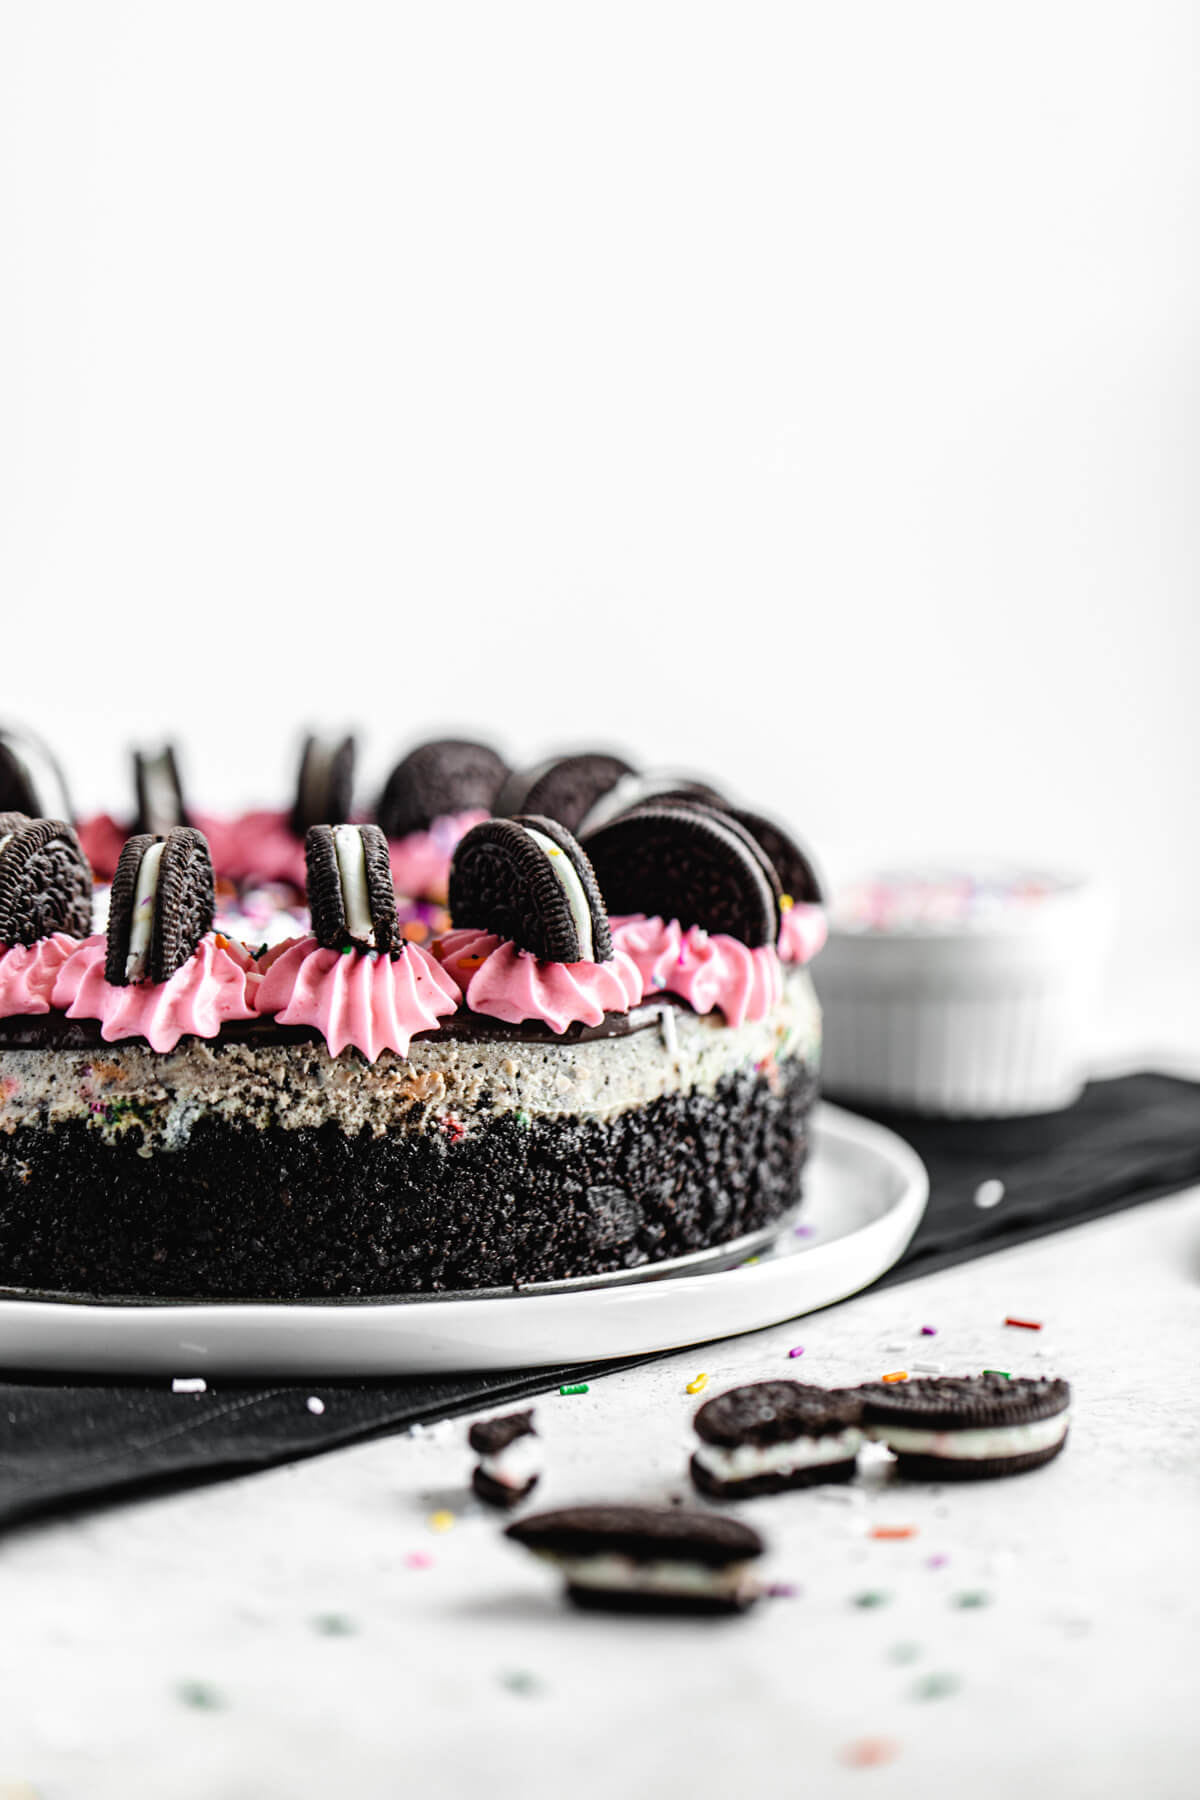
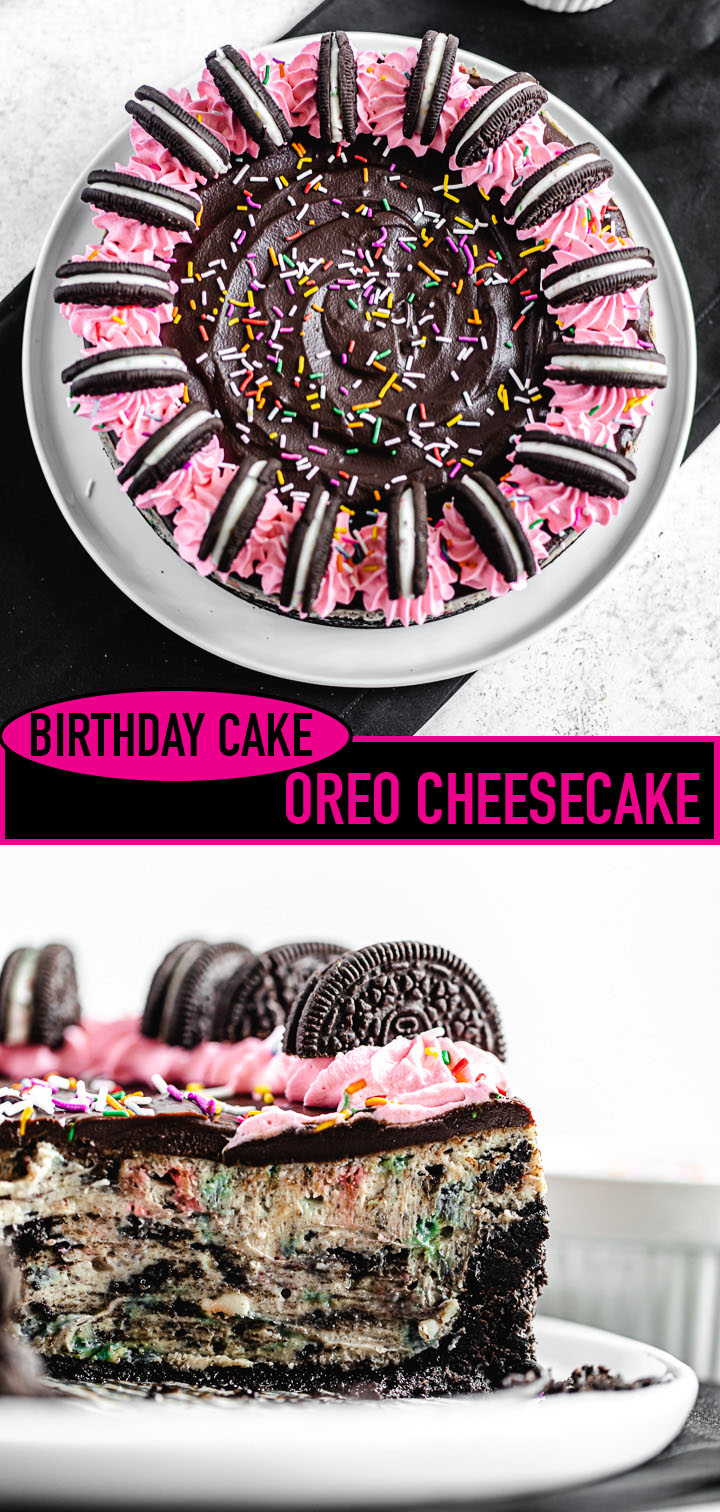
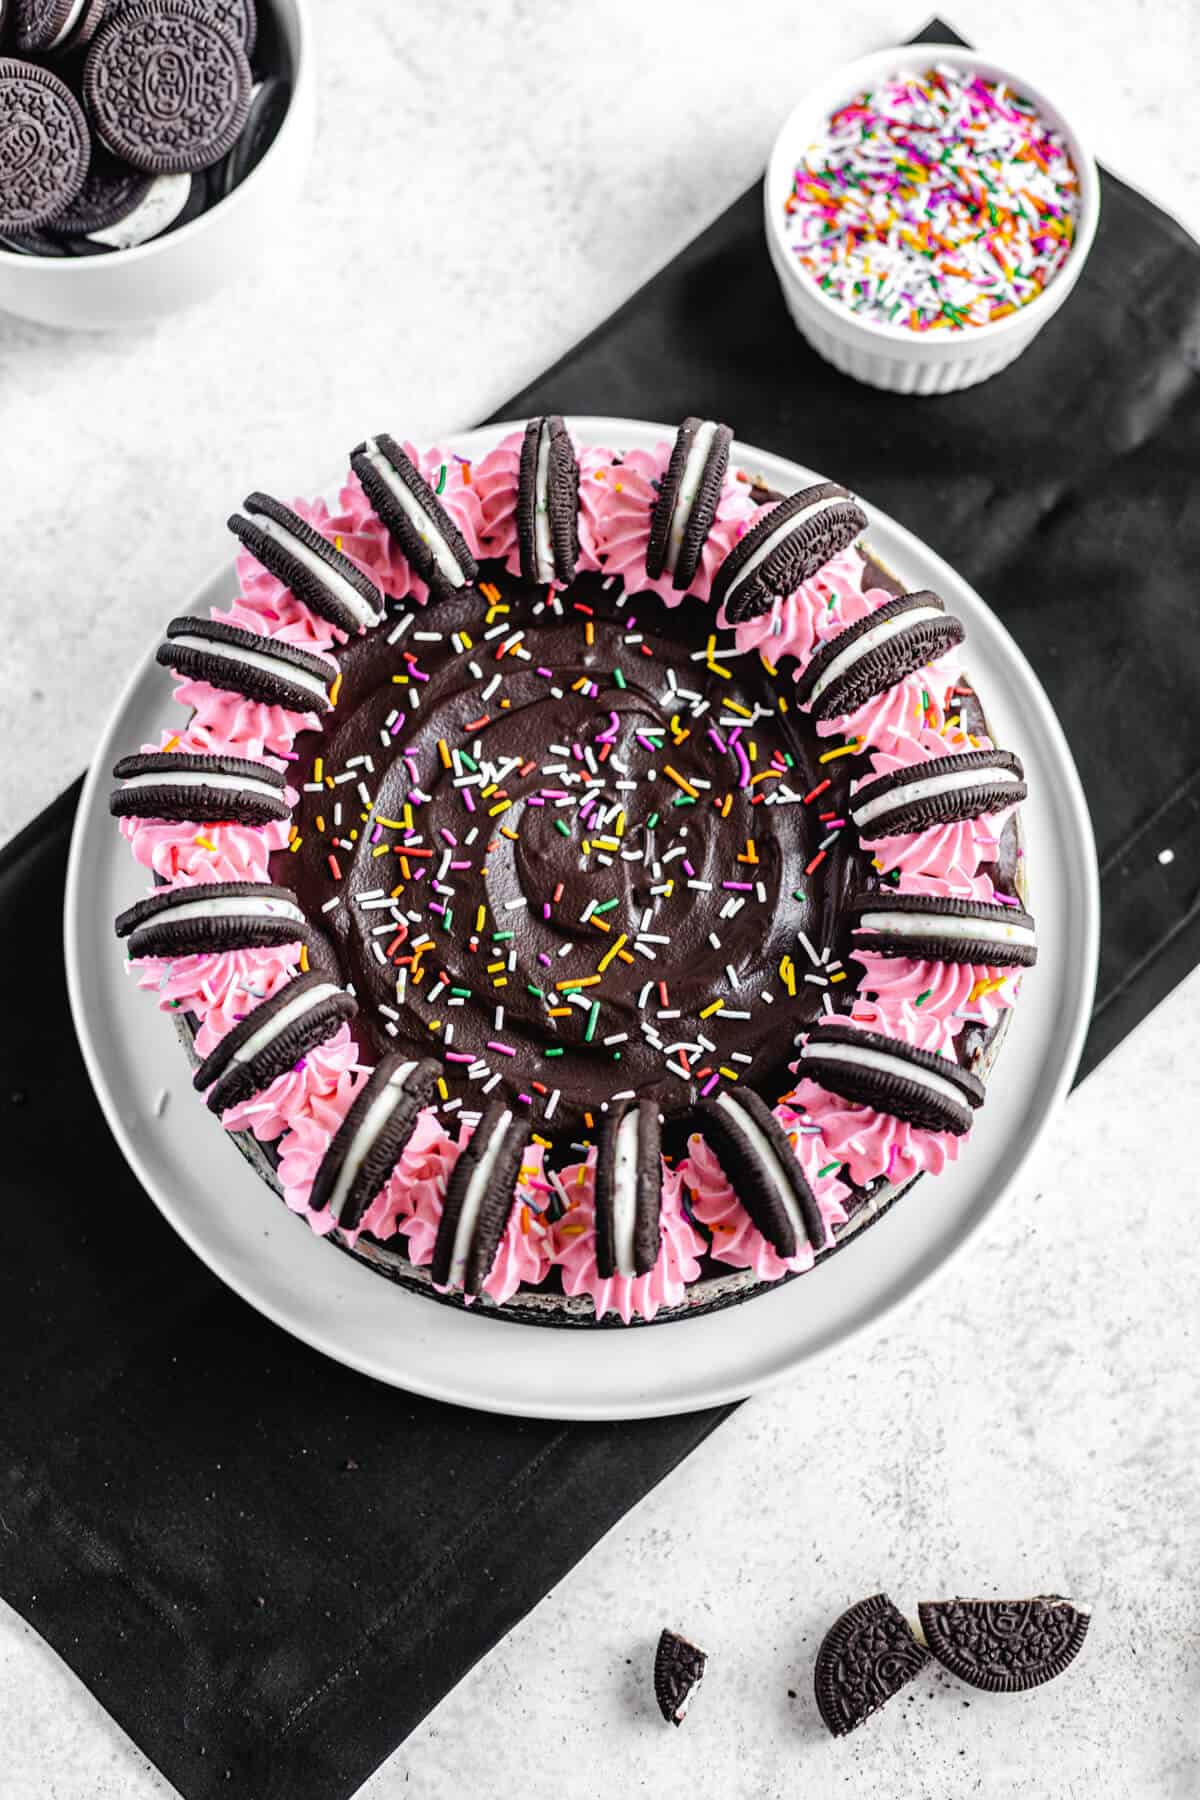
Loaded with Birthday Cake flavoured Oreos and sprinkles, this Birthday Cake Oreo Cheesecake is a show-stopping dessert perfect for any celebration!
This post may contain affiliate links. As an Amazon Associate I earn from qualifying purchases. Please see my full disclosure policy for details.
Queenslee Appétit is Three Years Old!
That’s right! My little blog baby is growing up *tears*. Three years ago today, I spent every last dollar in my bank account to start my very own food blog! It started with this cute little cupcake recipe and a ton of low quality, badly edited photos I couldn’t be more proud of.
Now here we are, 280 recipes later, HQ photos, semi-known in the food blogging community, I’m proud of how far we’ve come! Now let’s celebrate with some cheesecake!
Birthday Cake Oreo Desserts
If you’ve been following this blog for the past 2-3 years, you’ve probably noticed a pattern. For every big celebration, whether it’s my birthday or the blog’s anniversary, I’ve always posted a Birthday Cake Oreo dessert!
For my one year blog anniversary, I shared these Birthday Cake Oreo Fudge Brownies and for my 21st birthday, I shared this Birthday Cake Oreo Cake which became a huge hit with readers! So we’ve done Brownies ✔️ Cake ✔️ now it’s time to enjoy those delicious Oreos in an ultra creamy cheesecake!
4 Parts to This Cheesecake
Even though it looks like a lot of work, this cheesecake is quite simple to put together. Let me explain each part for you so you have a better understanding of how to make this dessert.
- Oreo Cookie Crust: A simple 2-ingredient cookie + butter crust. I used Birthday Cake Oreos, but you can definitely use regular Oreos instead.
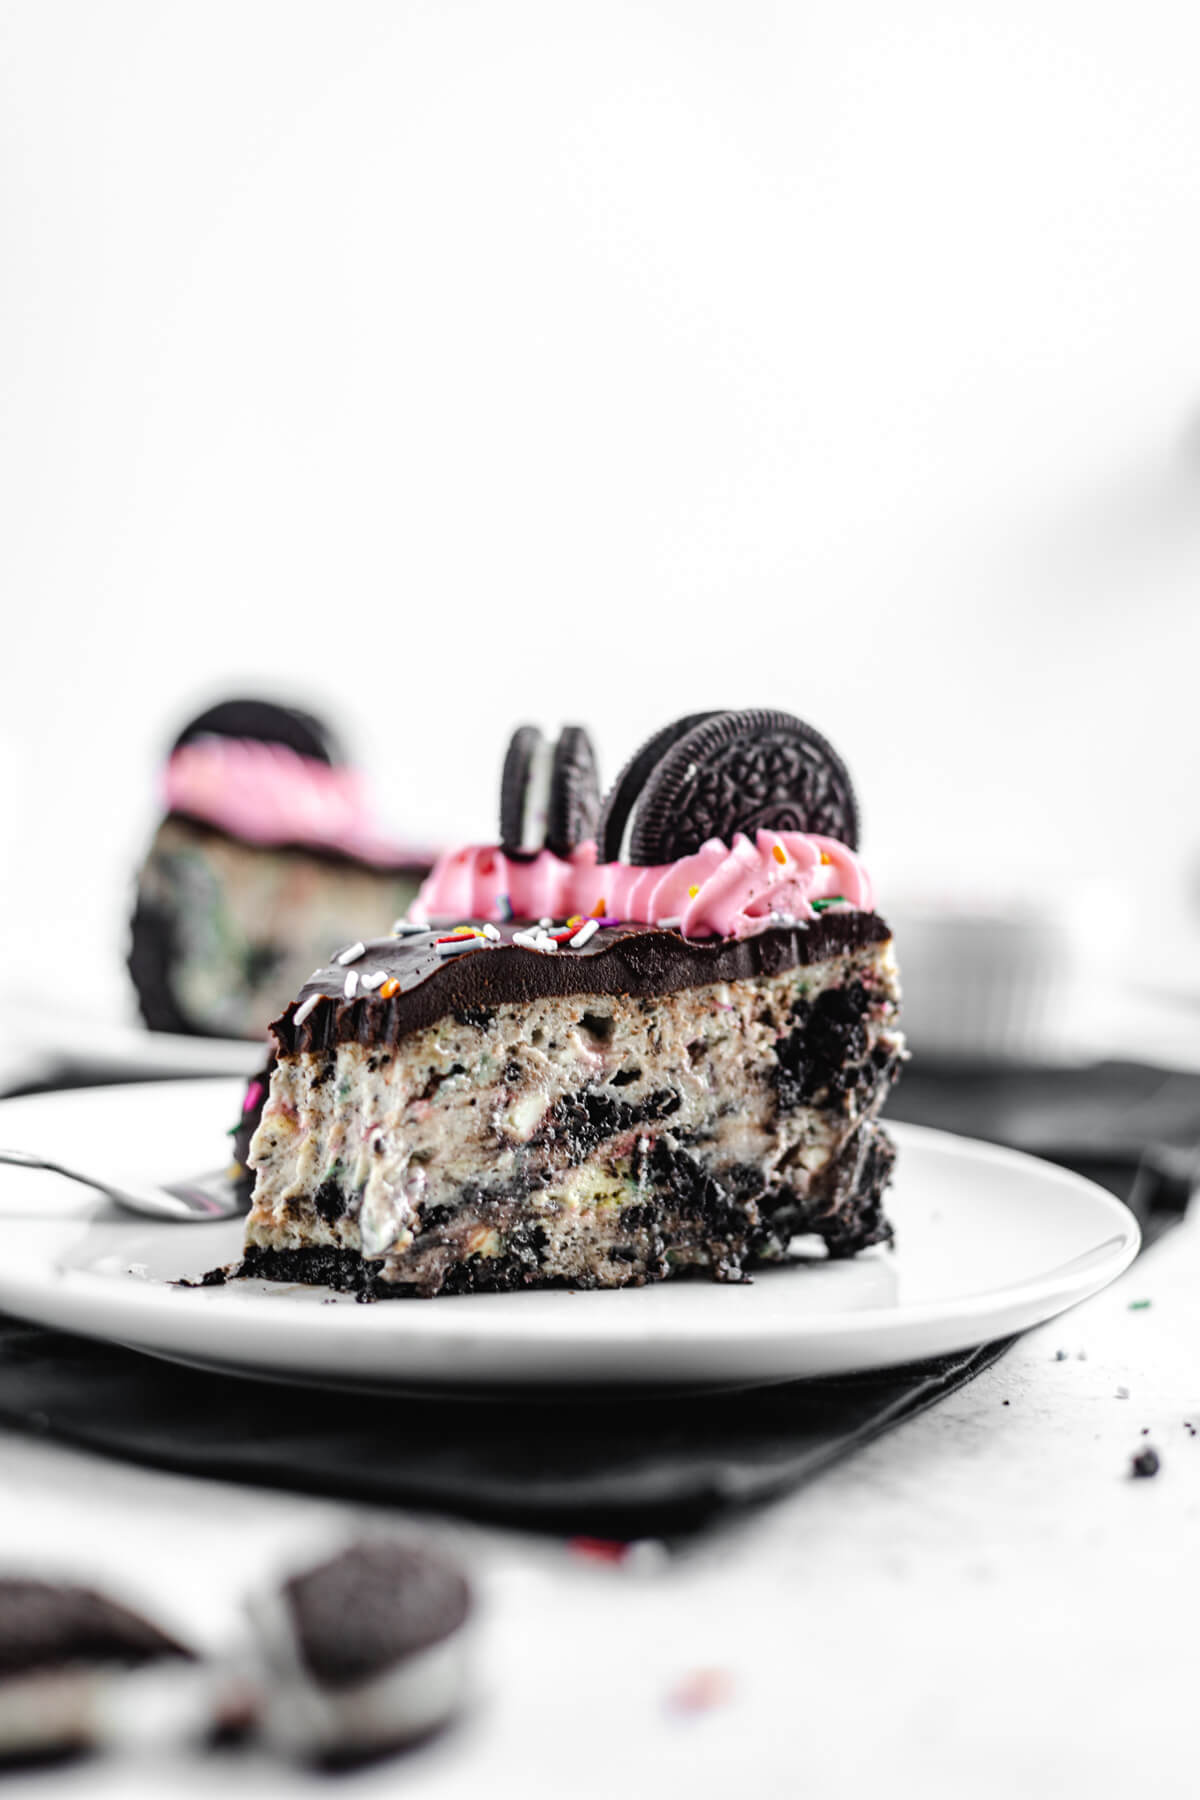
- Birthday Cake Oreo Cheesecake: We use simple basic cheesecake ingredients for this part, along with Birthday Cake Oreos and rainbow sprinkles. Just like with most of my Oreo cheesecake recipes, we’ll be adding the Oreo filling directly into the filling!
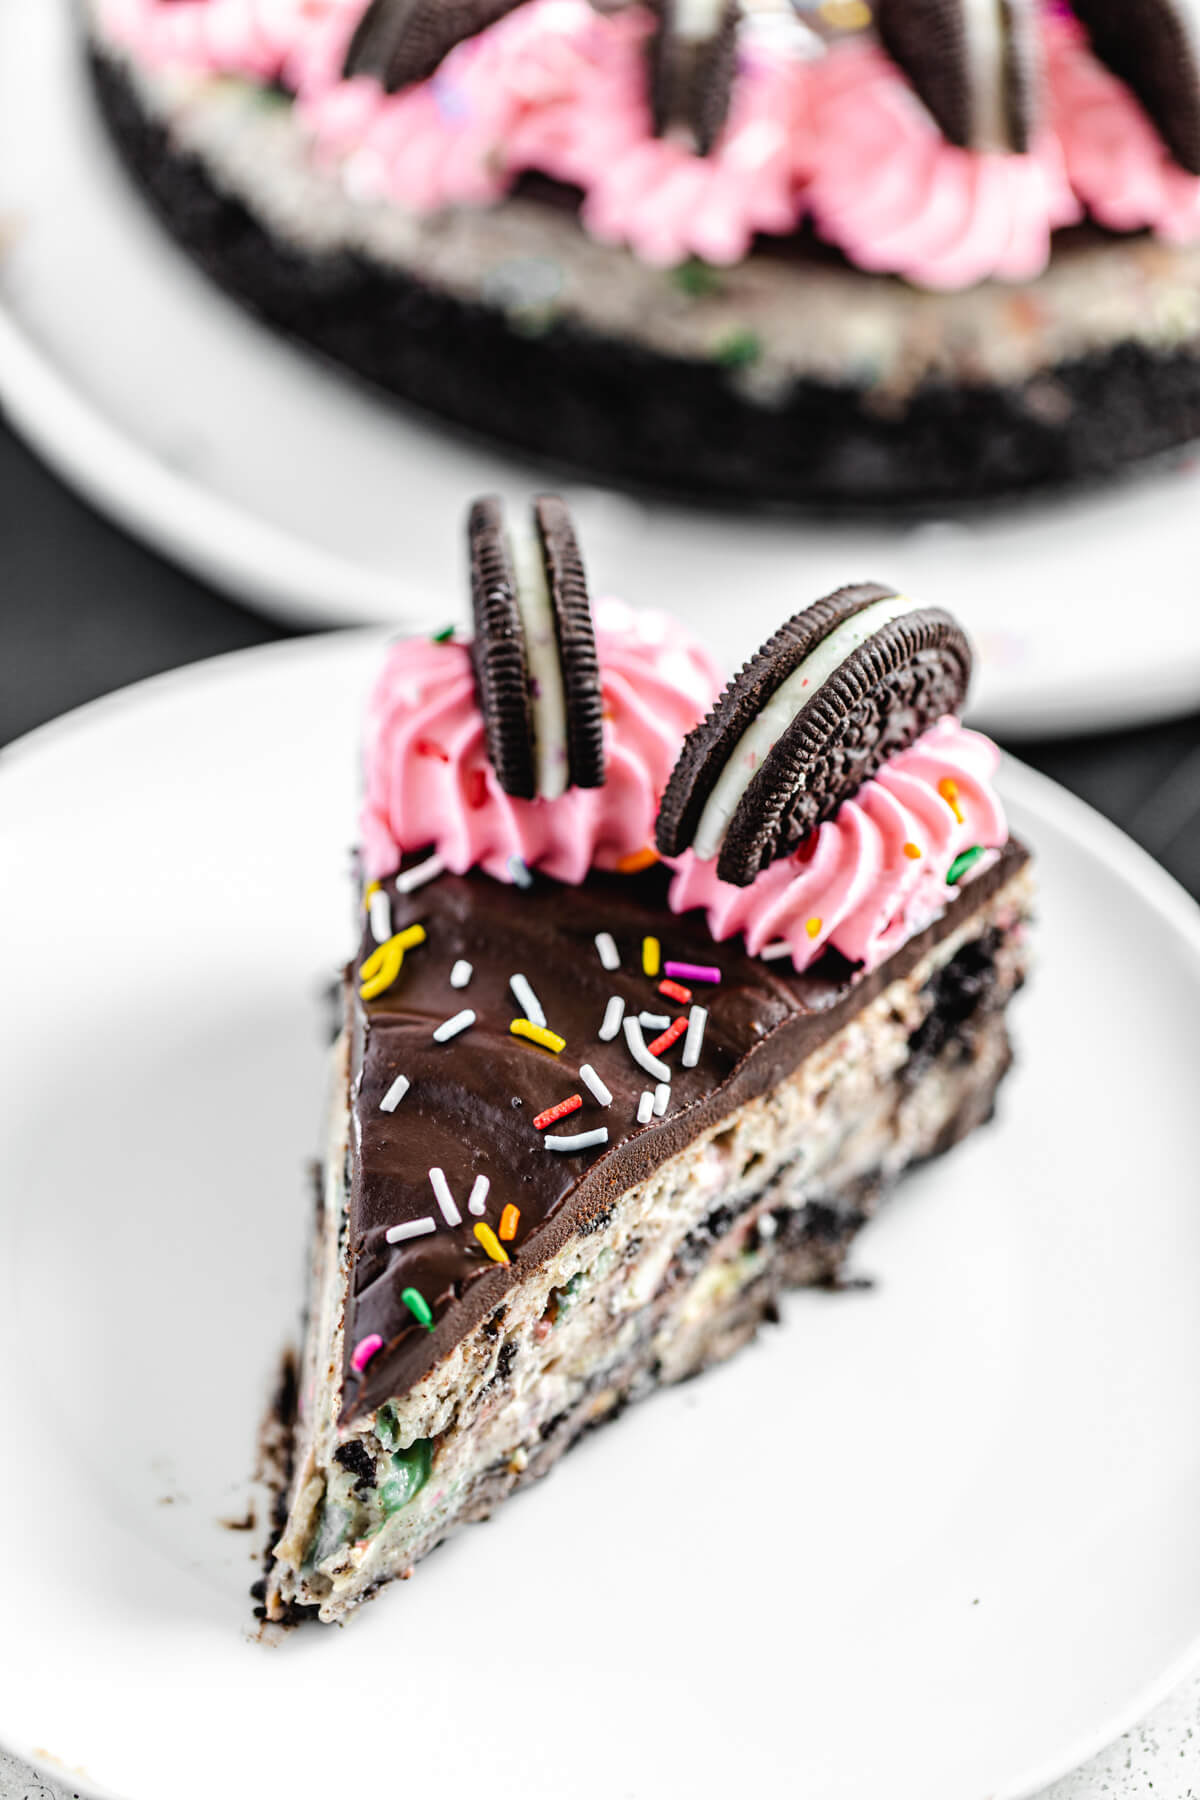
- Dark Chocolate Ganache: The ganache is the easiest part of this recipe. Heat chocolate and cream together in the microwave, then stir together!
- Whipped Cream: My usual 3-ingredient whipped cream recipe. You can tint it any vibrant colour you want, all of my BCO desserts need a little hot pink!
Oreo Cookie Crust
You’ll need about 40 Oreos for the crust, which equals around 3 and ⅓ cups. I know that’s a lot of Oreo, but we need enough crust to cover the bottom and the sides!
Now since we’ll be using a lot of Birthday Cake Oreos in the filling and some more for the top, you can use regular Oreos for the crust. I used Birthday Cake Oreos because I wanted the birthday cake flavour to be all throughout the cheesecake.
- Add the whole Oreos to a food processor and pulse until you get fine crumbs.
- Stir in the melted butter.
- Press into the bottom and up the sides of the springform pan. I use the bottom and side of my measuring cup to do this.
- Pre-bake for 12 minutes, then set aside to cool.
Birthday Cake Oreo Cheesecake
While the crust is cooling, work on the cheesecake filling.
- Start by scraping out the birthday cake cream filling out of some Oreos. Set the filling aside and crush the wafers into crumbs. Chop a few more Oreos into quarters and set those aside.
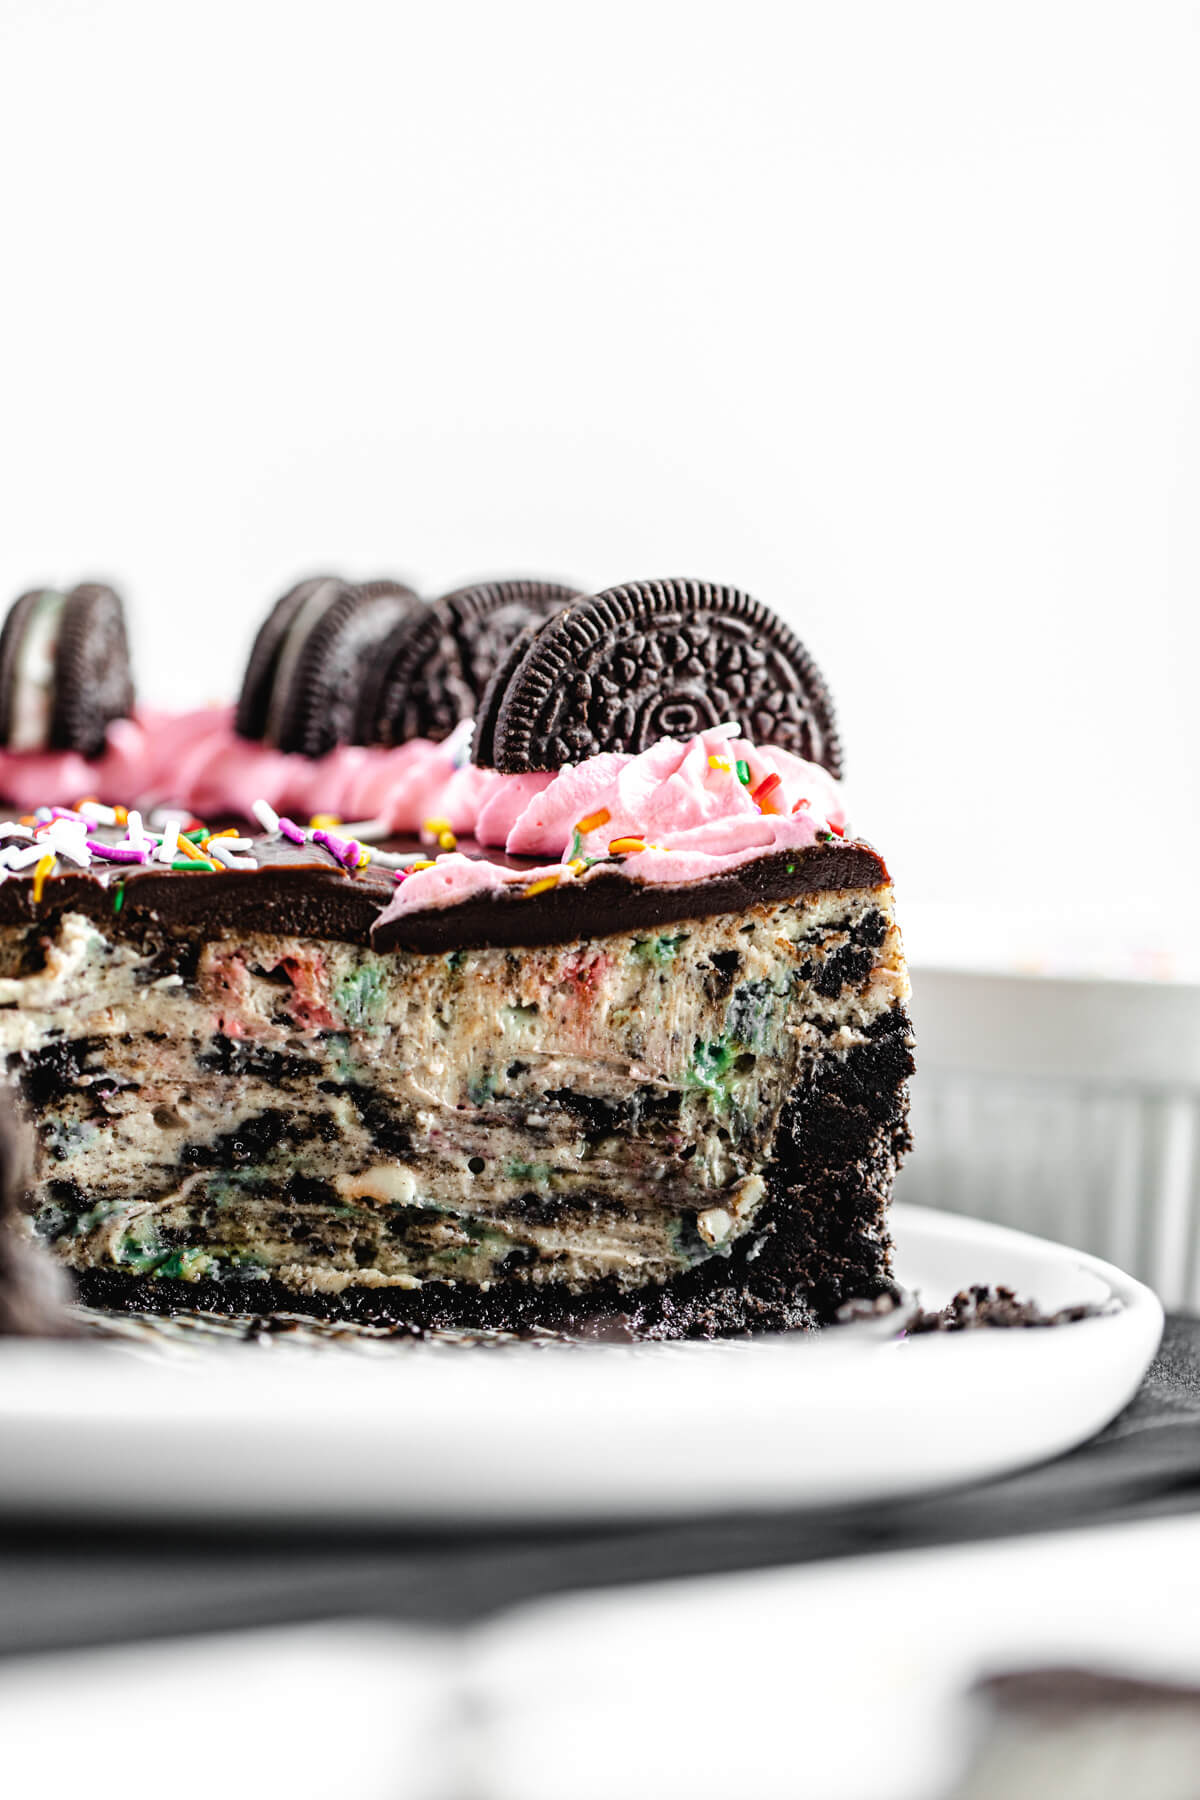
- Beat the cream cheese and Birthday Cake Oreo cream filling together until creamy. There’ll be little specks of sprinkles in the batter!
- Beat in the sugar, cornstarch, sour cream and vanilla. The cornstarch helps prevent cracking, while the full cup of sour cream adds loads of flavour and gives the cheesecake it’s super creamy texture!
- Mix in the eggs and yolk, one at a time.
- Fold in the chopped Oreos, Oreo crumbs and sprinkles. Pour the cheesecake party into your crust and prepare it for a water bath.
Preparing the Waterbath
I know everyone hates water baths, but the main reason is because there’s a good chance that the water will leak into the pan and ruin the crust. Well, lucky for you, I’ve found a solution!
To prepare my water bath, I place my 9-inch springform pan into a 10-inch pot. This takes over aluminum foils task of protecting the cheesecake from the water. You want the pot to be an inch bigger than your pan so that the pan can fit inside, but still close enough to be near the boiling water as it bakes.
Now place that pot into a larger pot, I use a 10x15-inch rectangle cake pan, but you can use a large roasting pan. Into that larger pan, pour in your boiling water, then transfer it all to the oven. That’s it! Works like a charm every time. My cheesecakes never crack, always bake up creamy and I never have to worry about water getting into my crust again!
Dark Chocolate Ganache
You know, this was originally supposed to be a black ganache, but I completely forgot to add the food colouring! I wanted the bold colour contrast between the black ganache, colourful sprinkles and hot pink whipped cream.
But a deep dark brown chocolate ganache looks good too! When I make ganache, I usually make it the easier way. Add both chocolate and cream to a bowl and microwave in 30 second intervals for 1 minute before stirring it together. Pour and spread it over the ganache, then let it set for an hour or two.
Hot Pink Whipped Cream
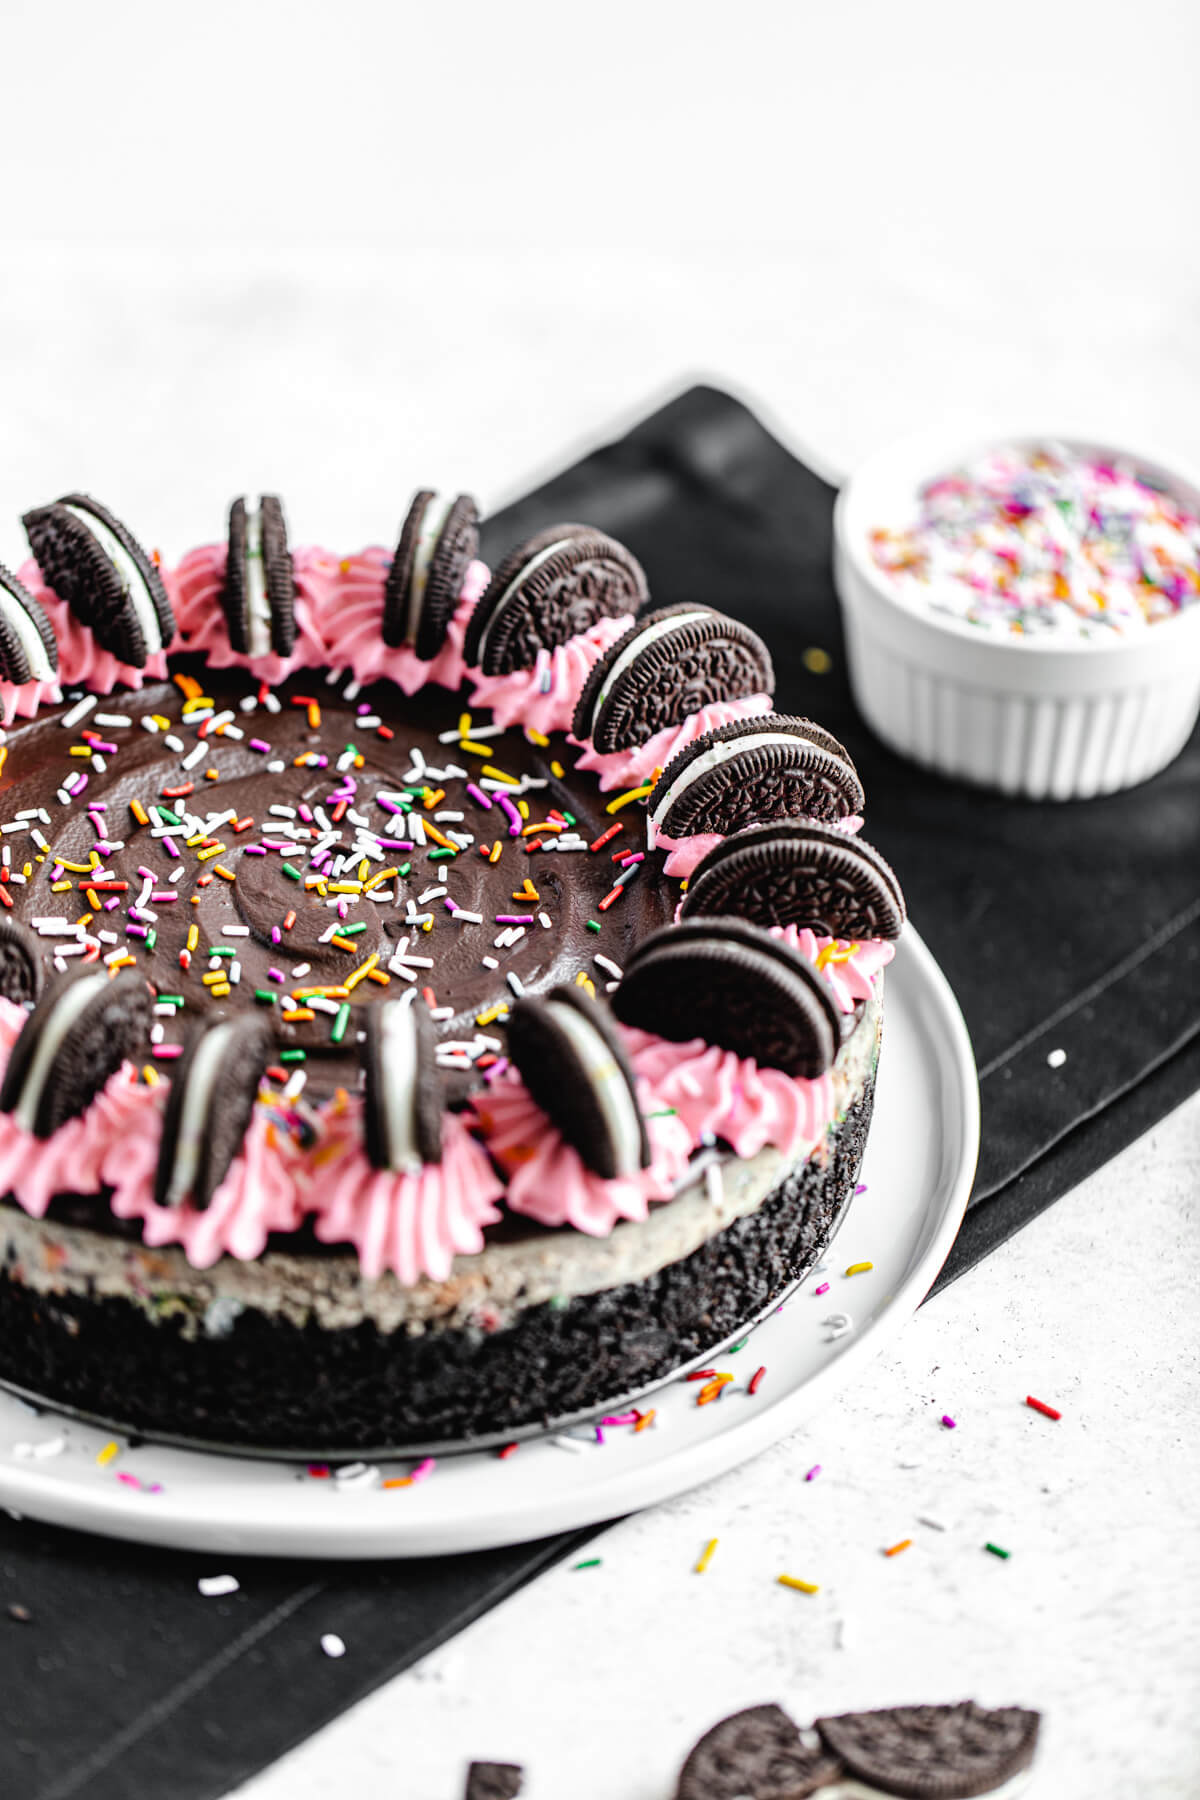
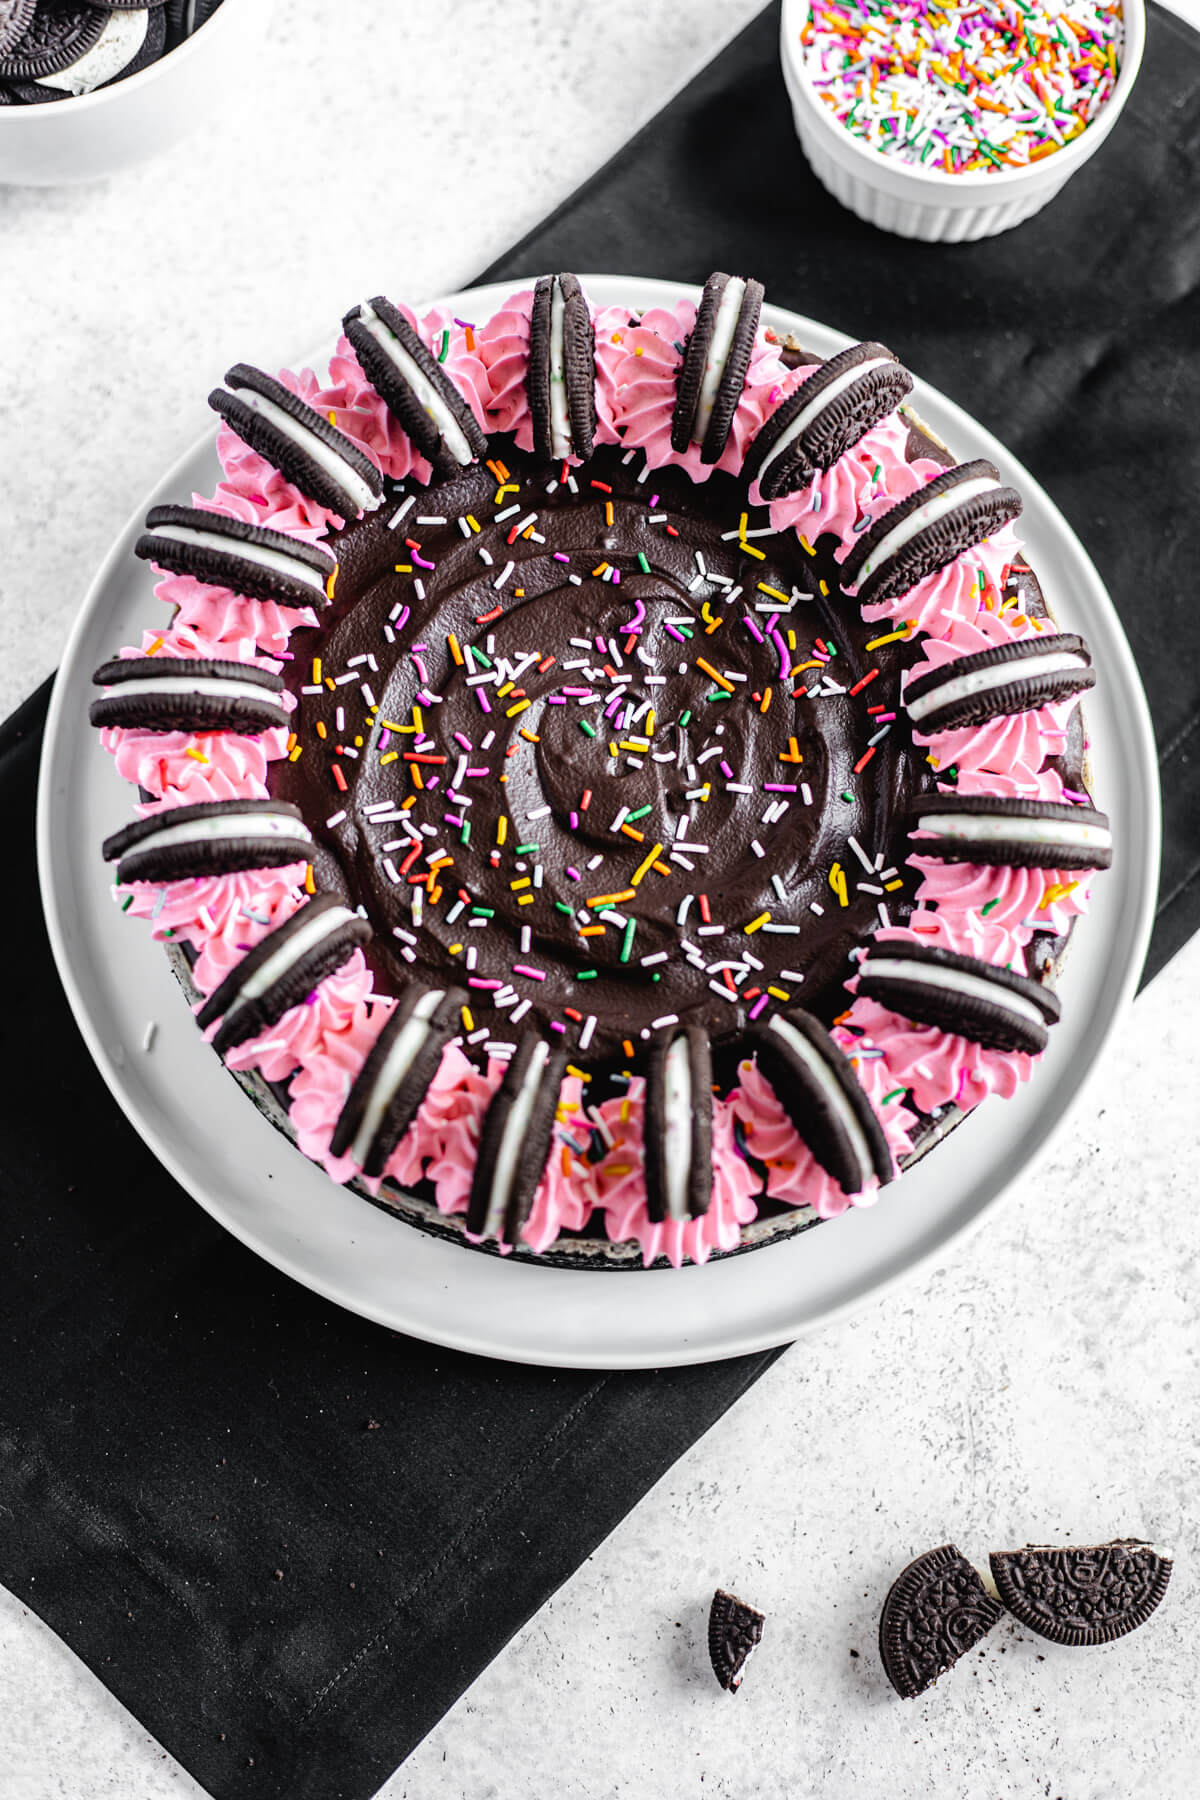
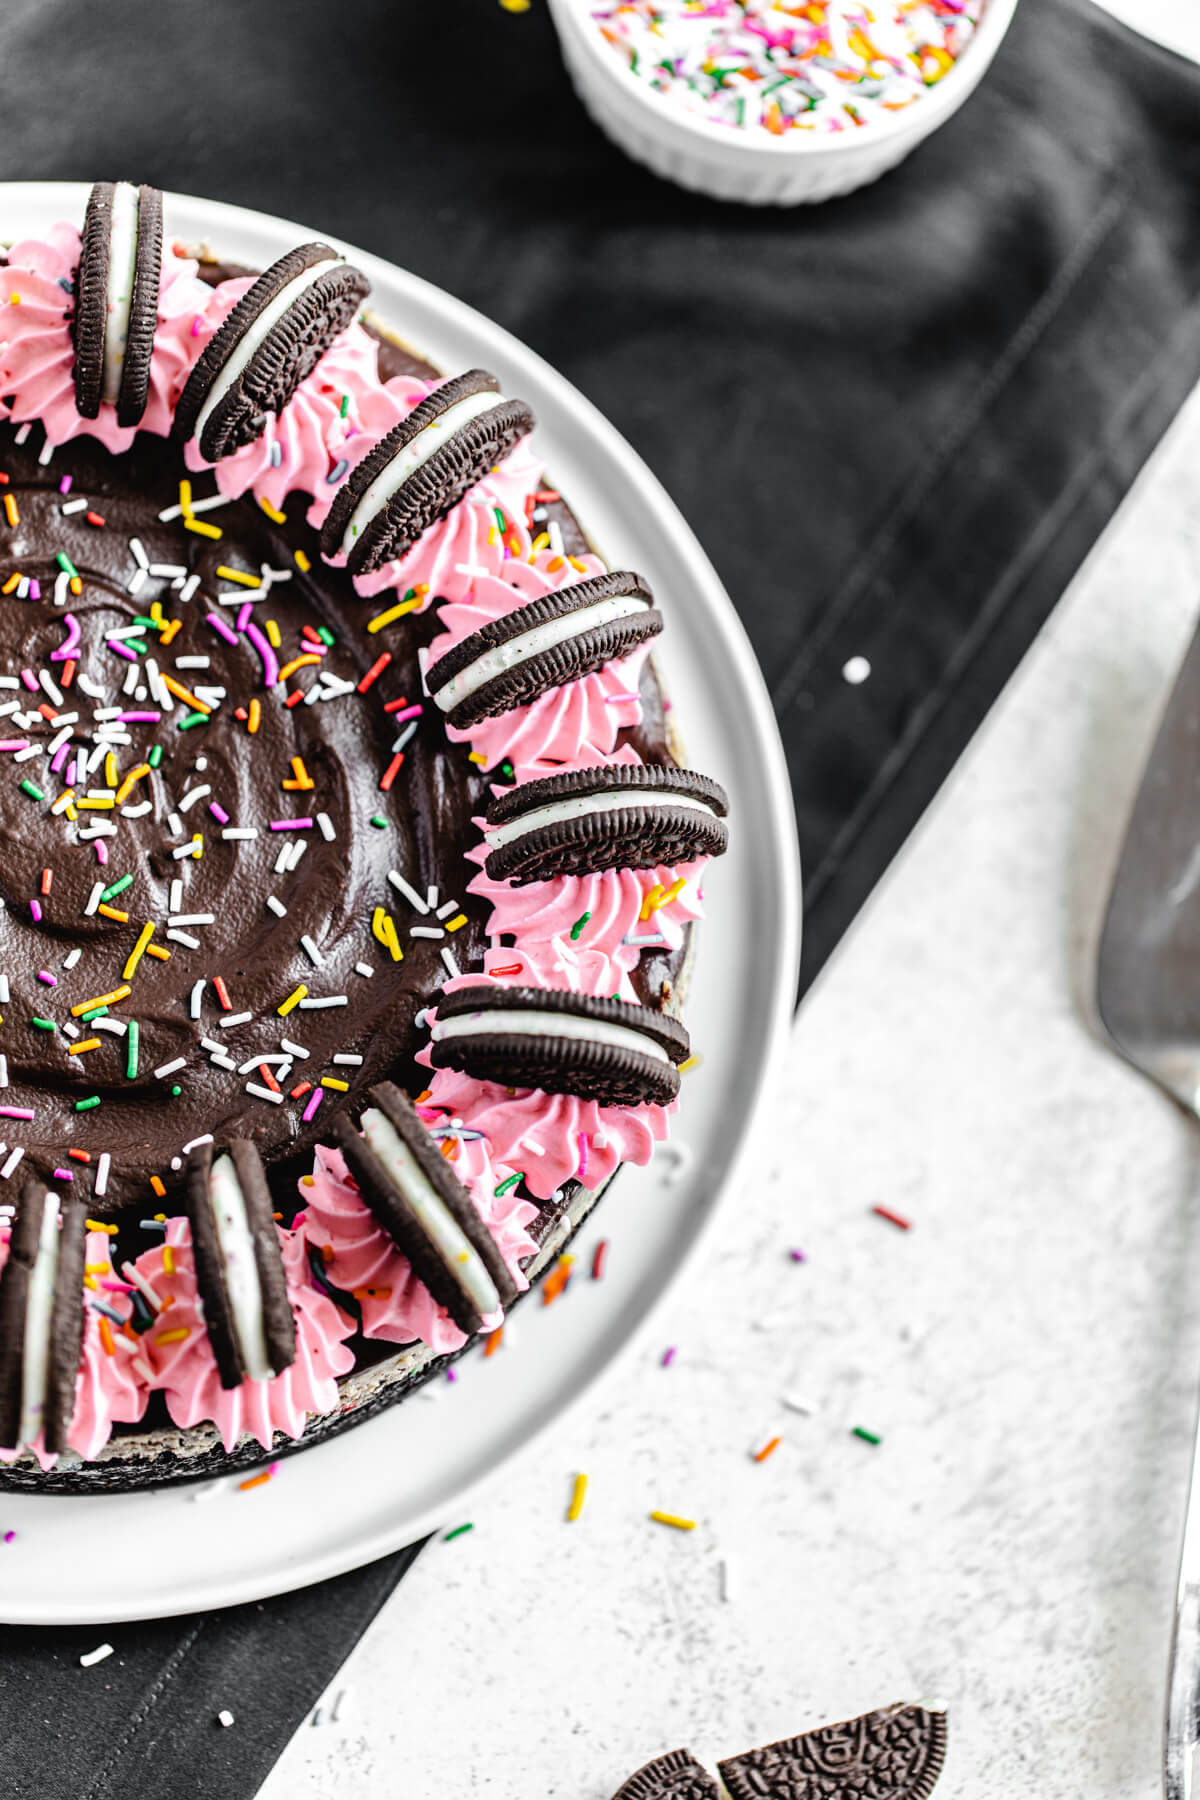
One thing all of my Birthday Cake Oreo desserts have in common is the addition of hot pink! The brownies had the hot pink fudge/drizzle, the cake had the hot pink drip and this cheesecake has a border of hot pink whipped cream!
This is just a basic 3-ingredient whipped cream tinted pink. You can tint it any colour you want or leave it plain white. If adding colour, add it at the beginning with the rest of ingredients. It may look too dark while whipping, but once it fluffs up, the colour will be a lot lighter.
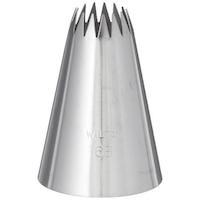
To pipe the border, I used a Wilton 6B star tip. Garnish with sprinkles and more of those delicious Oreos and you’ve got a dessert worth celebrating!
SHARE YOUR PICS!
Follow me on Instagram and tag #queensleeappetit so I can see and share all of your Queenslee Appétit creations in my stories and the QA Newsletter!
>>PIN FOR LATER<<
Let’s get baking!
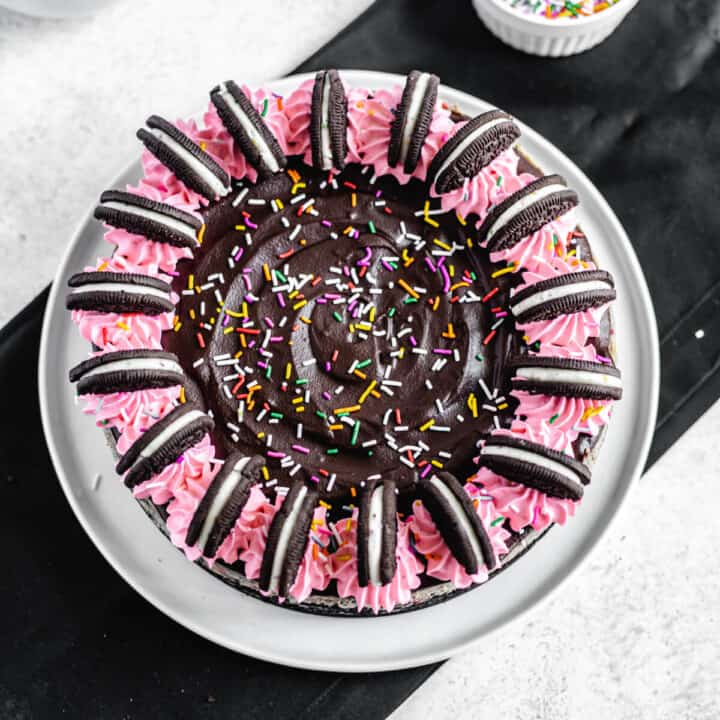
Birthday Cake Oreo Cheesecake
Loaded with Birthday Cake flavoured Oreos and sprinkles, this Birthday Cake Oreo Cheesecake is a show-stopping dessert perfect for any celebration!
Ingredients
Crust:
- 3 and ⅓ cup (335g) Birthday Cake Oreo crumbs (35-40 Oreos) can substitute with regular Oreos
- 6 tablespoon (90g) unsalted butter, melted + more for greasing the pan
Cheesecake:
- 10 Birthday Cake Oreos, filling removed (crushed)
- 3 (8-ounce) packages (24 oz) full-fat cream cheese, room temperature
- Birthday Cake Oreo filling (above)
- 1 cup (200g) granulated sugar
- 1 Tbsp. cornstarch
- 1 cup (230g) sour cream, room temperature
- 2 teaspoon pure vanilla extract
- 3 large eggs, room temperature
- 1 large egg yolk
- 15 Birthday Cake Oreos, chopped
- 6 tablespoon rainbow sprinkles
Ganache:
- 1 cup (175g) dark chocolate chips
- ½ cup (120ml) heavy cream
Whipped Cream:
- ½ cup (120ml) heavy cream, chilled
- ⅓ cup (45g) powdered sugar
- ½ teaspoon pure vanilla extract
- Few drops of pink gel food colouring (optional)
Topping:
- Rainbow Sprinkles
- Halved Birthday Cake Oreos
Instructions
For the Crust:
- Preheat oven to 325°F. Grease sides and bottom of one 9-inch springform pan with cooking spray and line with parchment rounds.
- In a food processor, crush Oreos into fine crumbs-you should have a little more than 3 cups.
- Pour Oreo crumbs into a medium bowl and mix in melted butter using a fork until all the crumbs are coated.
- Transfer mixture to the greased 9-inch springform pan and, using the flat bottom of a glass or measuring cup, press into the bottom and up the sides of the pan.
- Bake crust in preheated oven for 10-12 minutes. Remove from the oven and reduce the temperature to 300°F.
For the Cheesecake:
- Take 1 extra large piece of aluminum foil that’s bigger than your springform pan. Place springform pan in the centre and fold aluminum up to the sides to cover the outside of the pan. This ensures that no water seeps into the pan during the water bath. Alternatively, I like to place my pan in a slightly larger pot to completely protect my crust from the water.
- Scrape the filling out of 10 Birthday Cake Oreos into a separate bowl. Set filling aside.
- Place Oreo wafers into a food processor and pulse until very fine crumbs form. Alternatively, you can place Oreos in a large ziploc bag and beat with a rolling pin until fine crumbs. Set aside.
- In the bowl of an electric mixer fitted with the paddle attachment, or in a large bowl using a handheld mixer, beat the cream cheese and reserved birthday cake Oreo filling together on low speed until creamy, about 2-3 minutes.
- Scrape down the sides of the bowl and add sugar and cornstarch. Beat until smooth and combined.
- Add the the sour cream and vanilla extract. Continue beating until smooth.
- Scrape down the sides and bottom of the bowl and continue to beat until everything is combined.
- Add eggs and yolk one at a time, beating slowly until just combined, do not overbeat.
- Scrape sides and bottom of the bowl with a rubber spatula to make sure everything is combined. Add Oreo crumbs, chopped birthday cake Oreos and sprinkles and fold to combine.
- Pour the cheesecake onto the cooled crust and place into a larger pan.
- Bring a few cups of water to a boil and carefully pour into the larger pan. The water should only be a few inches up the sides of the pan. Do not go over the top.
- Bake at 300°F for about 1 hour and 25 minutes. The cheesecake is done when the edges are set and the center jiggles just slightly.
- Turn off oven and leave the cheesecake to cool for 30 minutes. After 30 minutes, crack the door open and continue cooling the cheesecake for another 30 minutes. This helps prevent cracking.
- After an hour, remove cheesecake from waterbath and aluminum foil. Run a knife around the edge of the pan so it's not sticking to the sides and allow to cool to room temperature on a rack.
- Loosely cover with foil and refrigerate until firm and chilled, about 8 hours or preferably overnight.
For the Ganache:
- In a heat safe bowl, add the chocolate chips and heavy whipping cream and microwave in 30 second intervals, for about 1 minute. Stir slowly until mixture comes together to form a thick ganache.
- Pour ganache over chilled cheesecake and spread into an even layer. Return to the refrigerator to set for 20-30 minutes. Meanwhile, prepare the whipped cream.
For the Whipped Cream:
- In a medium stainless steal bowl, using a handheld mixer, whip the chilled cream, powdered sugar, vanilla extract and pink food colouring together until cream holds peaks, about 3-4 minutes.
- Remove springform pan ring, decorate with whipped cream, rainbow sprinkles and halved Birthday Cake Oreos. Enjoy!
Notes
- Oreos: feel free to substitute with regular Oreos in this recipe if you can’t get your hands on the Birthday Cake flavour.
- Storage: store cheesecake in the refrigerator for up to 5 days.
Recommended Products
As an Amazon Associate and member of other affiliate programs, I earn from qualifying purchases.
-
KitchenAid KSM150PSER Artisan Tilt-Head Stand Mixer with Pouring Shield, 5-Quart, Empire Red
-
Food Processor 12-Cup, Aicok Food Processor Blender, Multi-Function Food Processor, 1.8L, 3 Speed Options, 2 Chopping Blades & 1 Disc, Safety Interlocking Design, 500W
-
Wilton 331494 Icing Colors 1 Ounce-Pink
-
Wilton Decorating Tip, No.6B Star
-
Ateco Plastic Coated Decorating Bag, 18-Inch
-
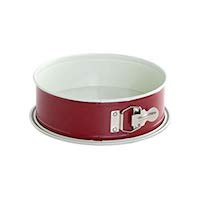
Nordic Ware Leak Proof Springform Pan, 10 Cup, Assorted Colors, 9 Inch
Nutrition Information:
Yield: 12 Serving Size: 1Amount Per Serving: Calories: 363Total Fat: 22gSaturated Fat: 10gTrans Fat: 0gUnsaturated Fat: 6gCholesterol: 102mgSodium: 216mgCarbohydrates: 39gFiber: 1gSugar: 25gProtein: 4g
BON APPÉTIT!
Love, Dedra
©QUEENSLEE APPÉTIT. All images & content are copyright protected. Please do not use my images without prior permission. If you want to republish this recipe, please re-write the recipe in your own words, or link back to this post for the recipe.


Leave a Reply