
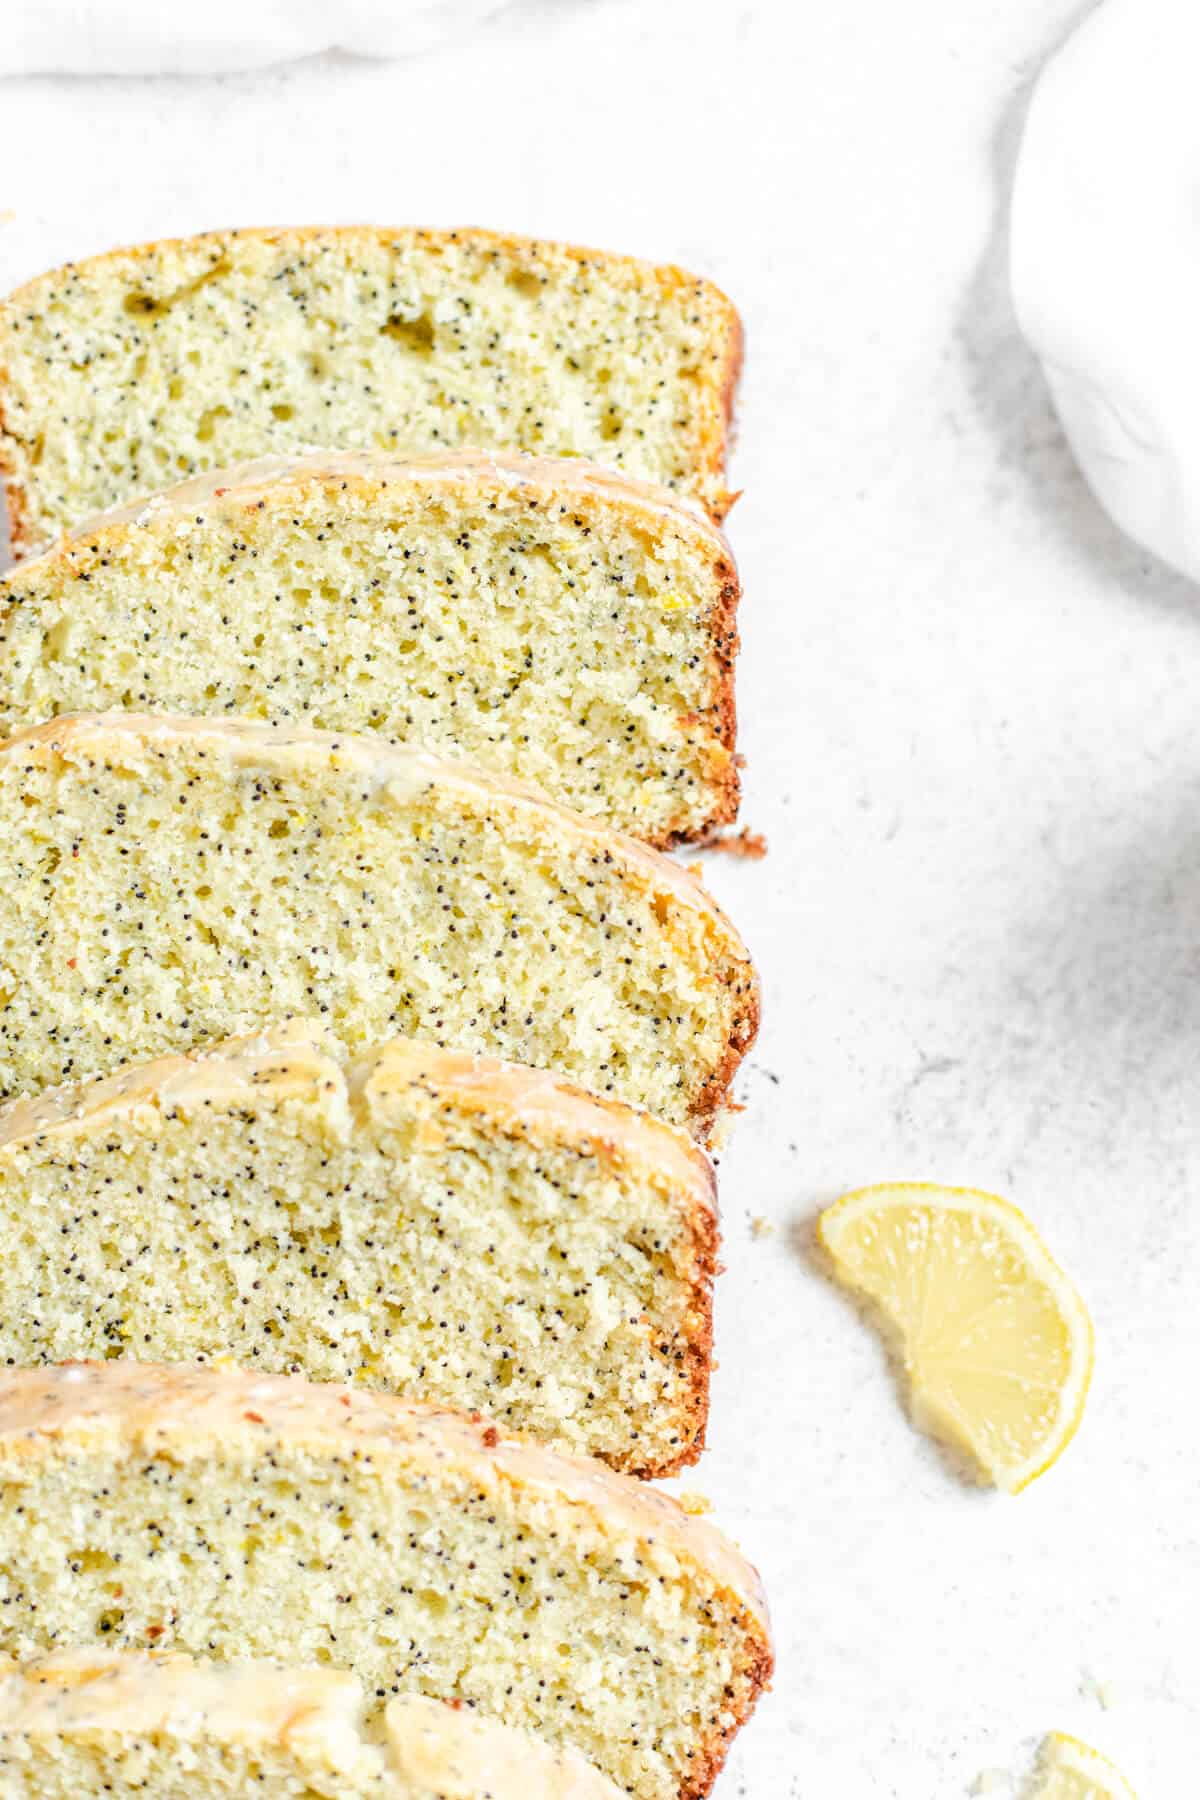
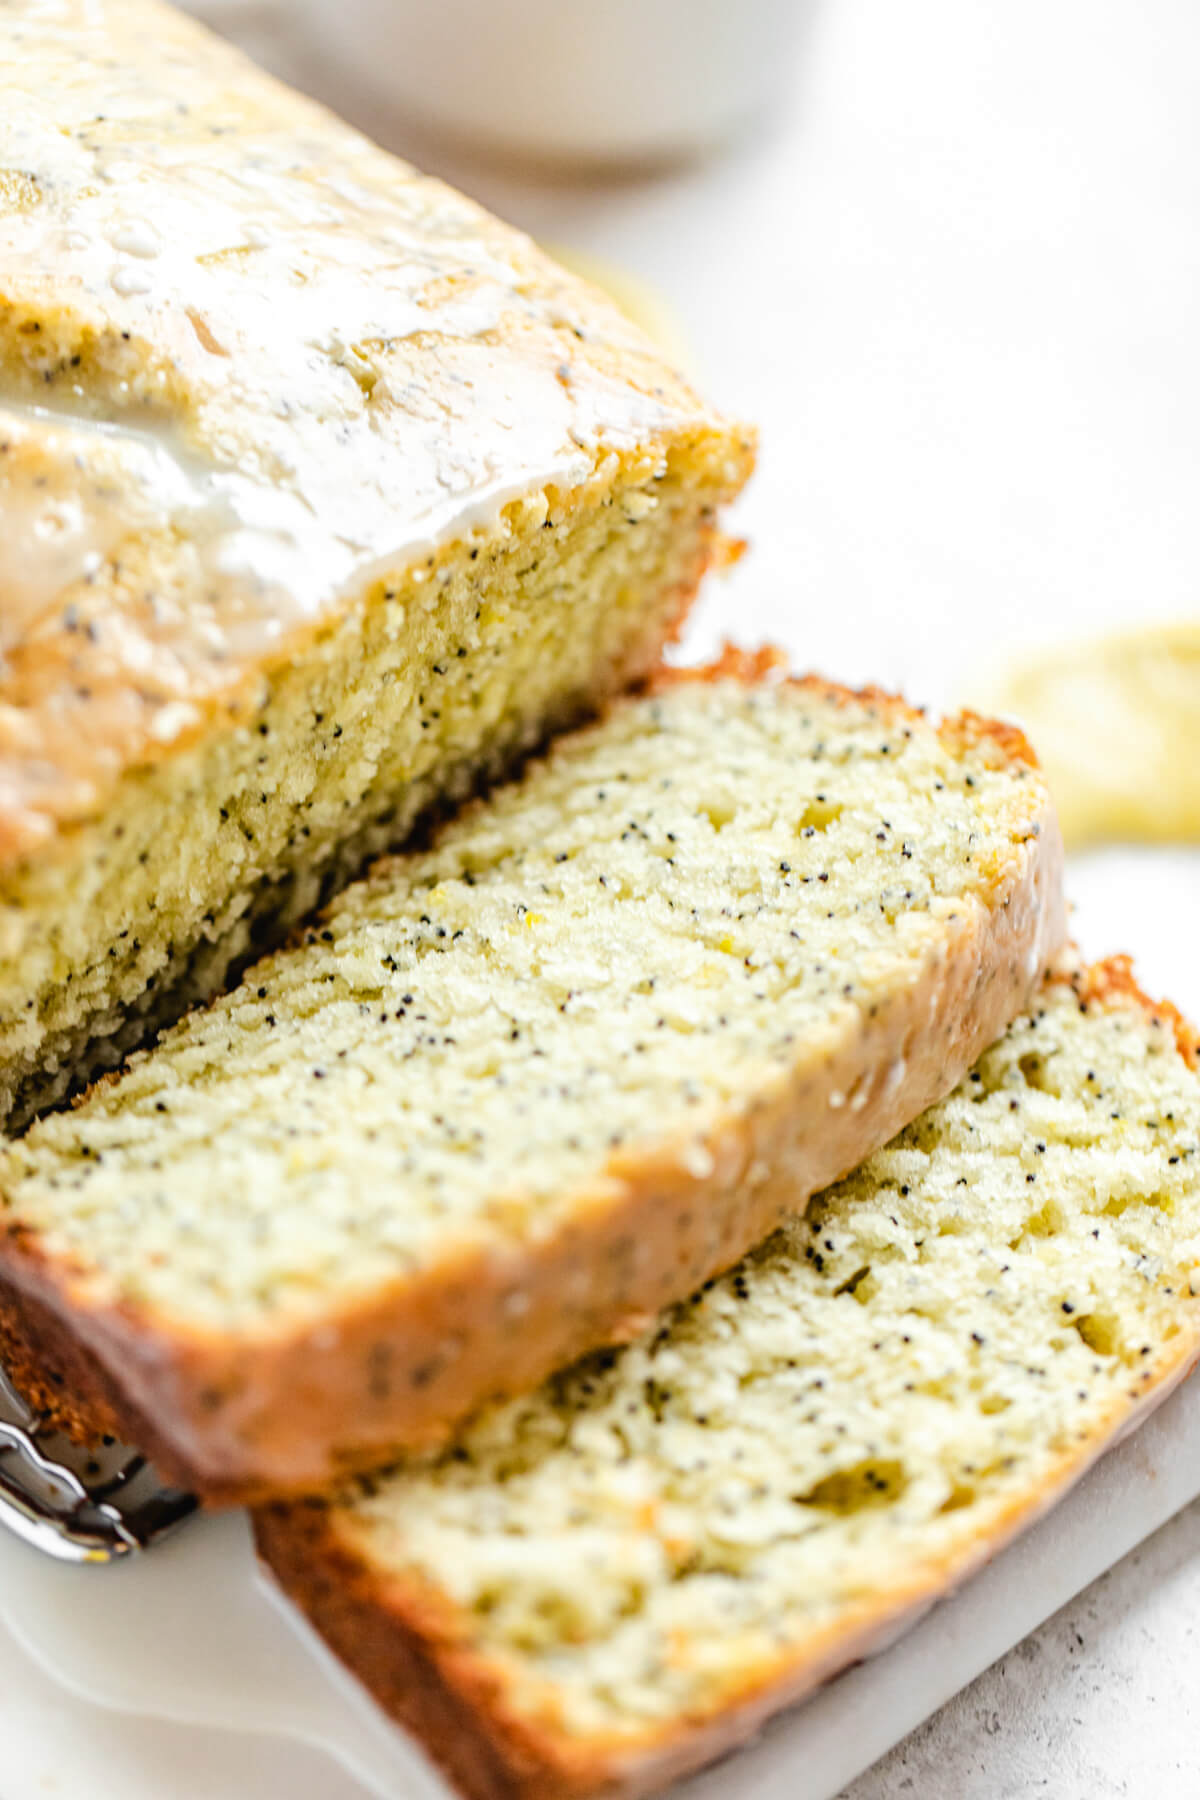
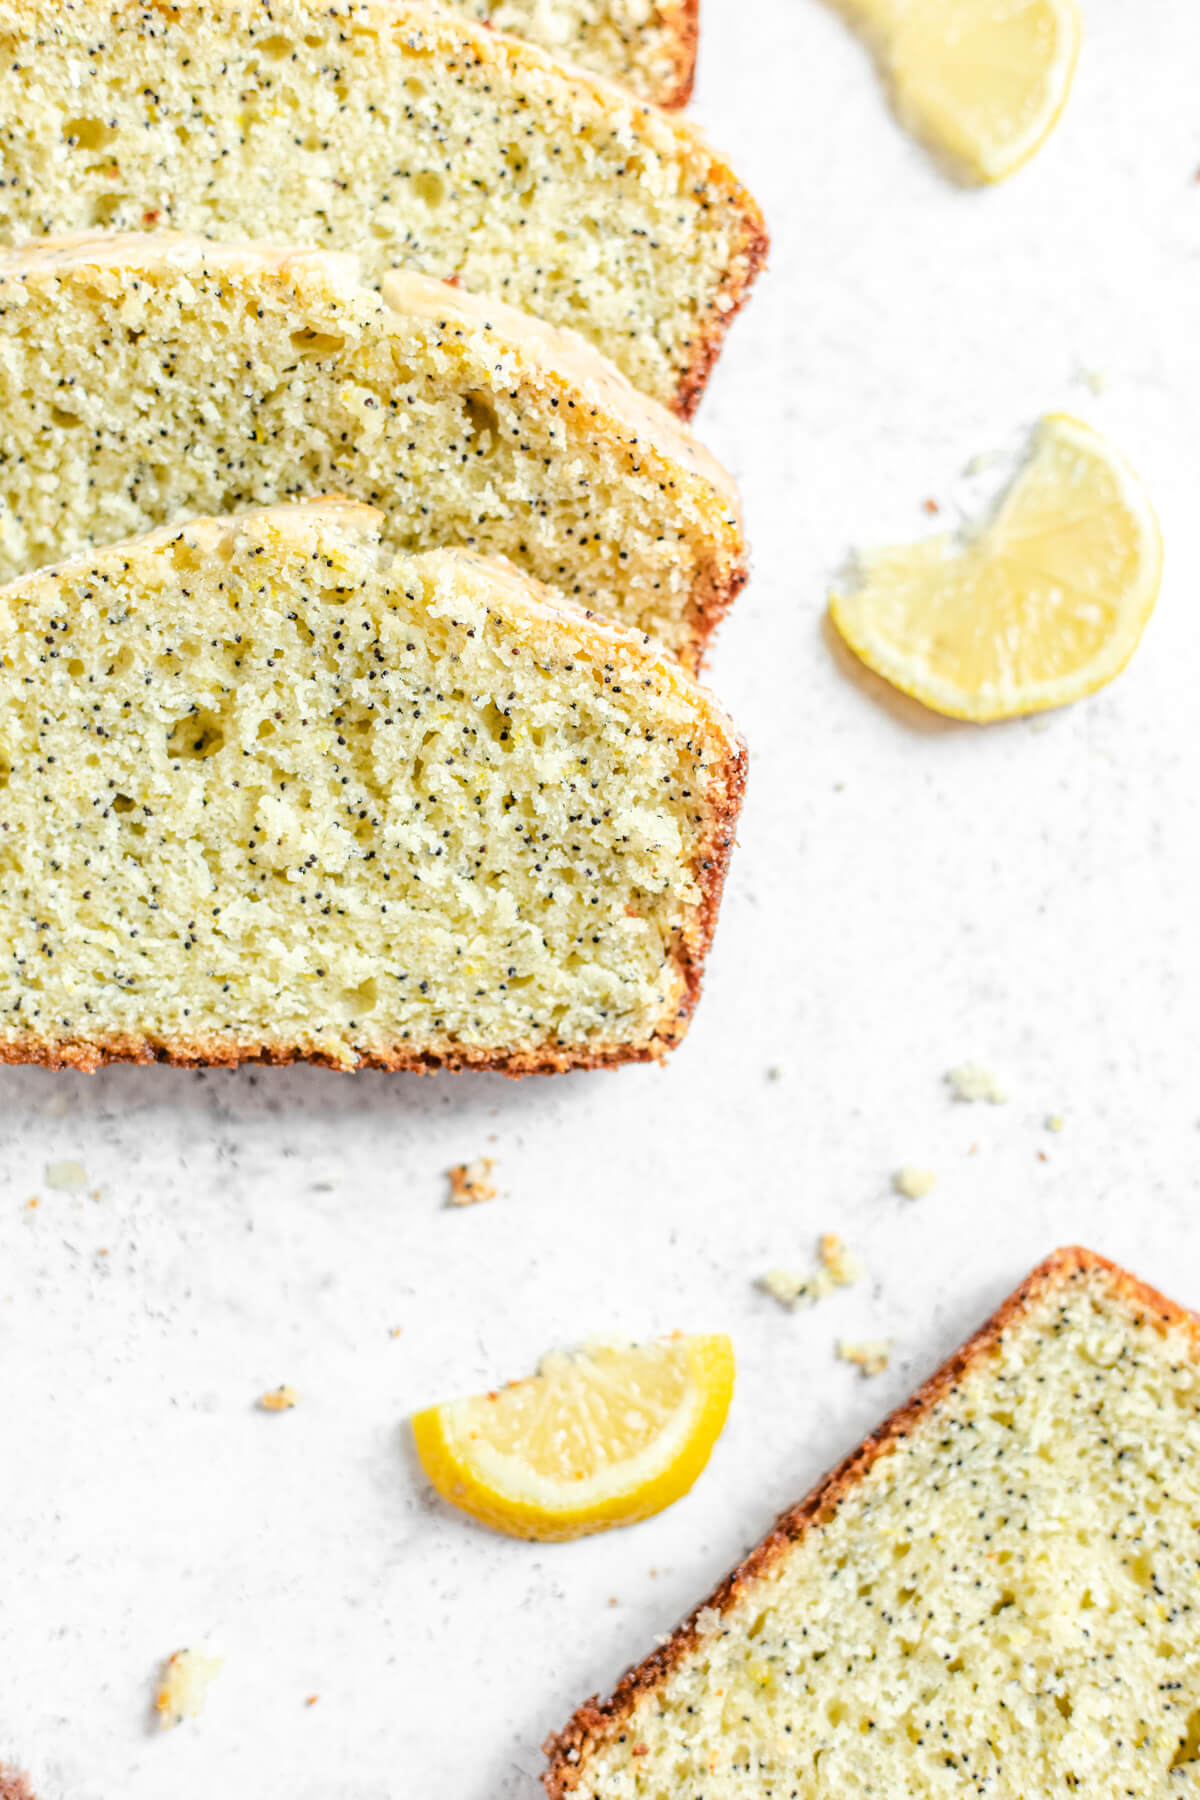
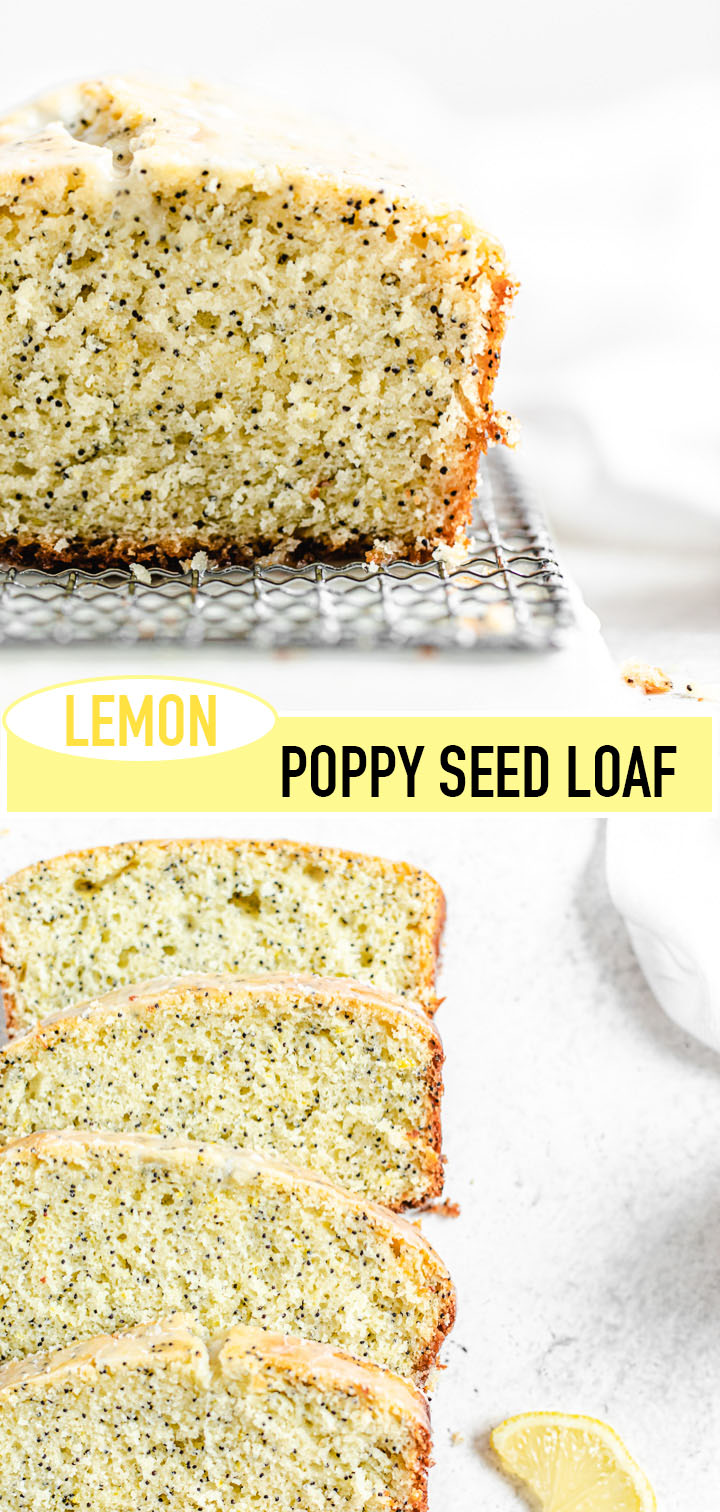
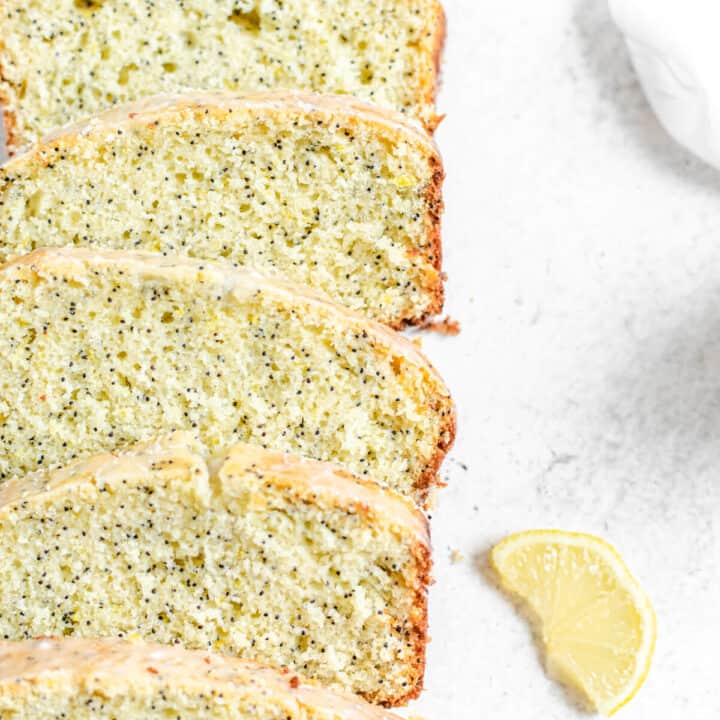
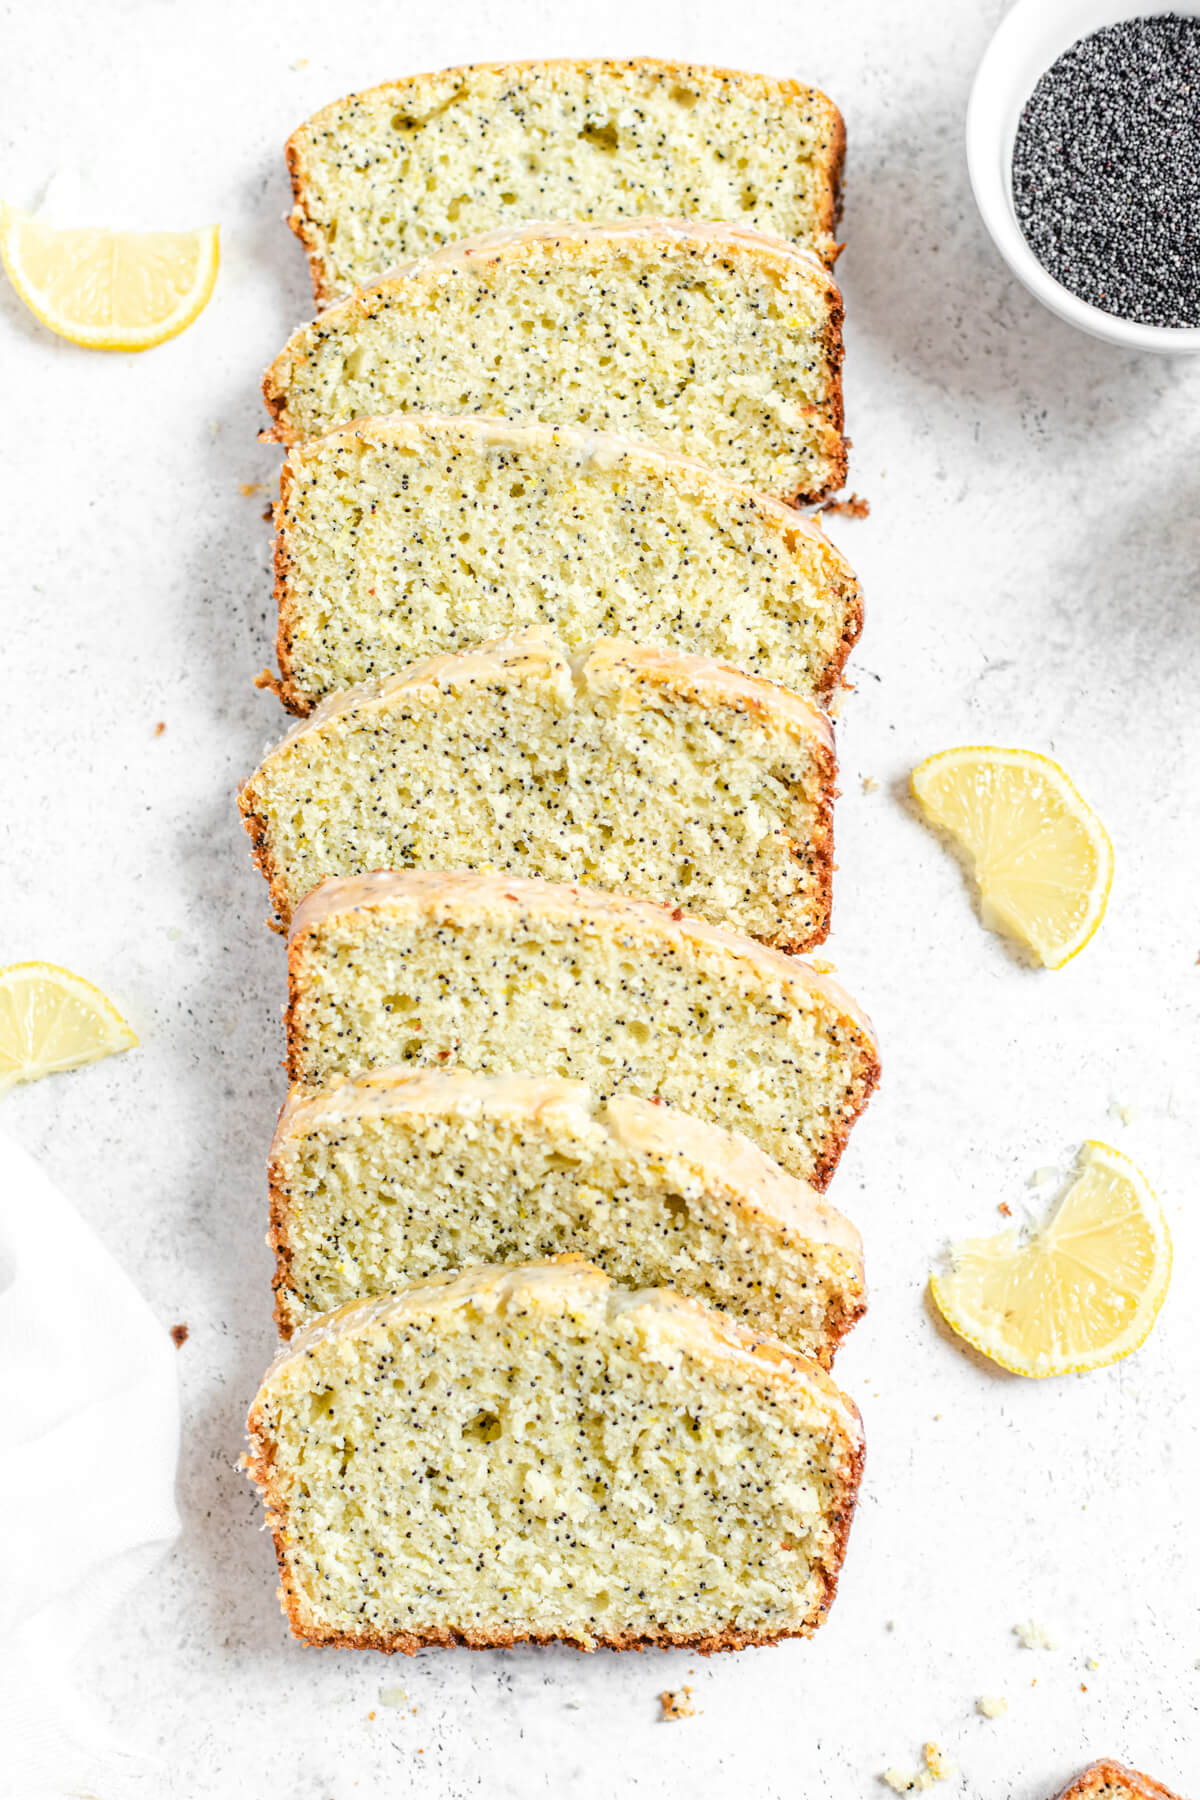
This easy Lemon Poppy Seed Loaf is loaded with fresh lemon flavour and has an incredibly moist and soft crumb! You’ll fall in love with the light crunch from the poppy seeds throughout and the sweet lemon glaze drizzled on top!
This post may contain affiliate links. As an Amazon Associate I earn from qualifying purchases. Please see my full disclosure policy for details.
I’ve only been making banana and pumpkin bread recipes for the blog, so for the first time ever, I’ve decided to give lemon loaves a try! This lemon loaf is loaded with summery, citrusy lemon flavour and the beautiful black specks of poppy seeds add a wonderful texture!

We’re getting a double dose of lemon here both in the loaf itself and in the simple icing glaze on top! However, we have just enough lemon to where it’s the perfect balance between sweet and tart rather than being too sour and overpowering.
So What Goes Inside A Lemon Loaf?
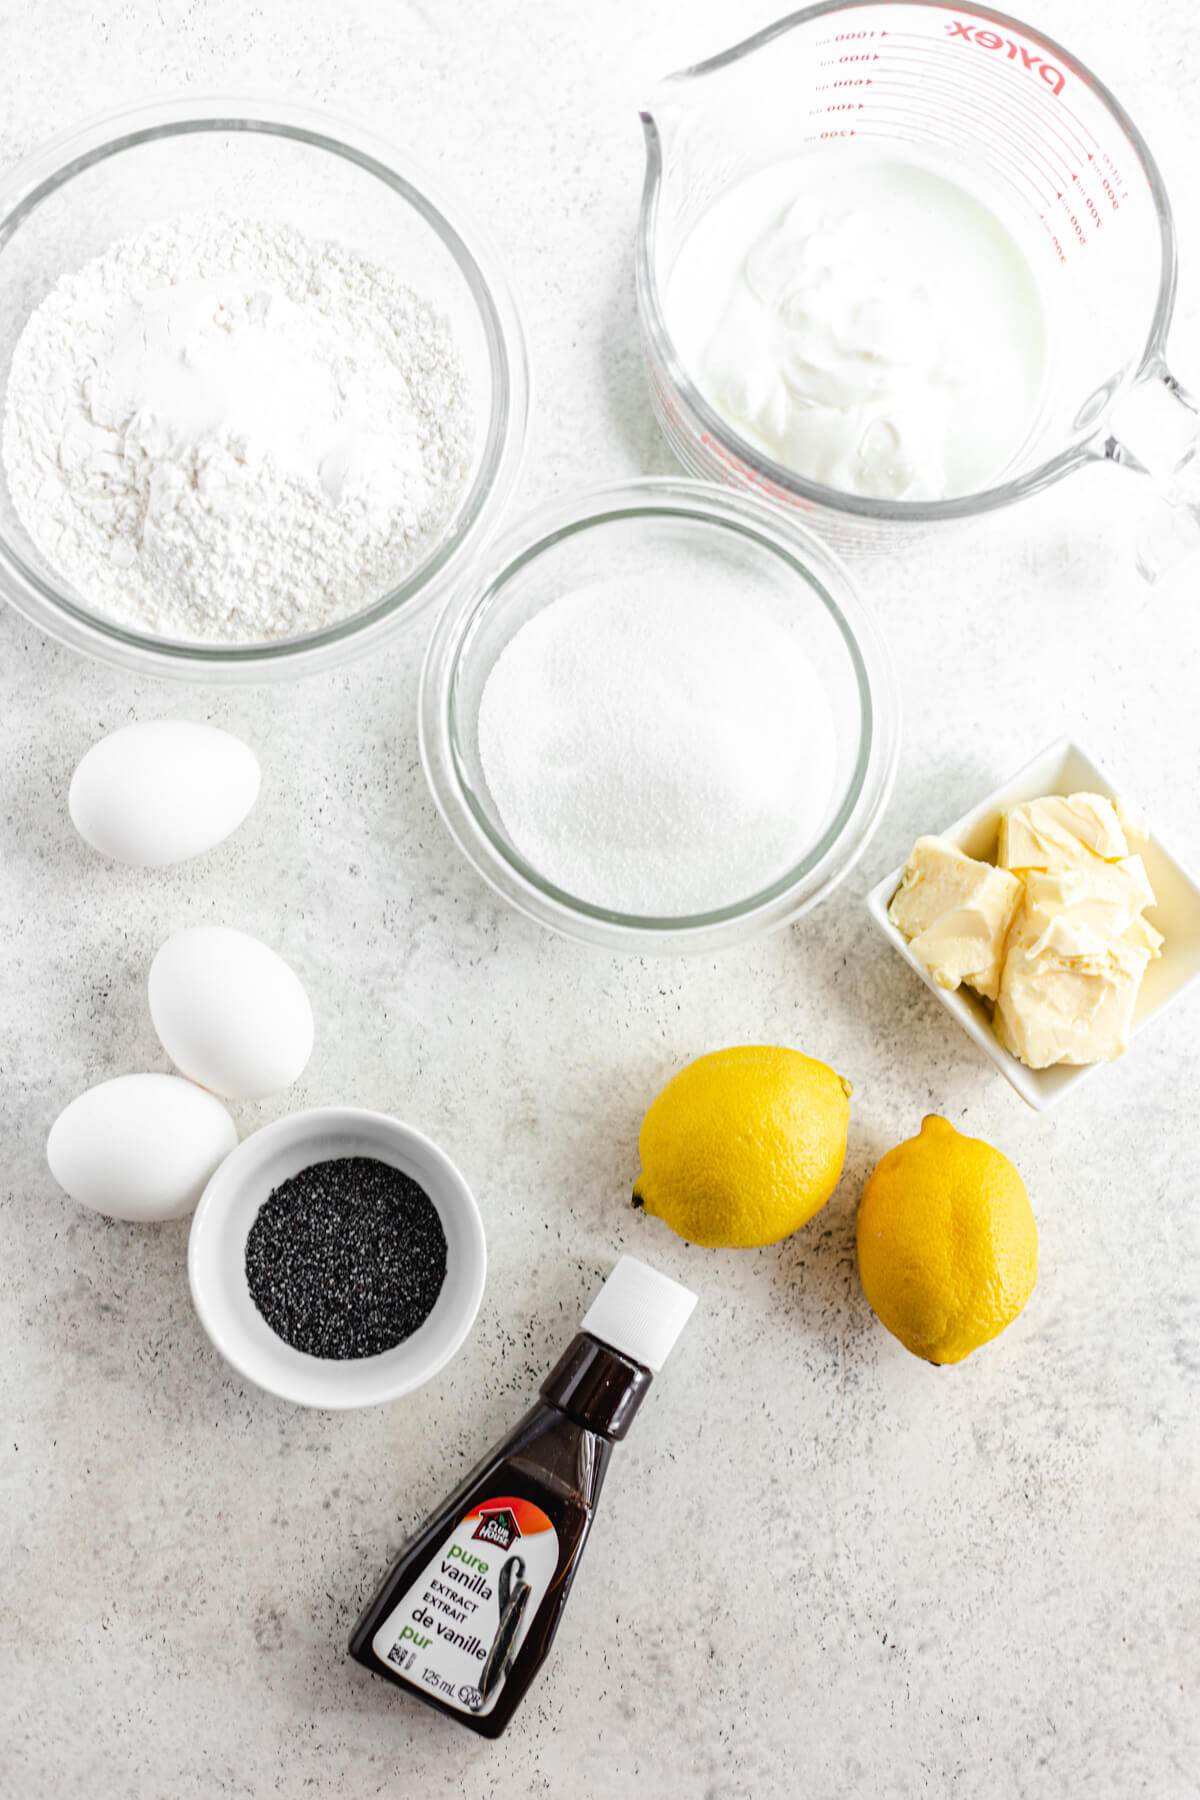
Not a lot, actually! Just a few basic everyday ingredients, most of which you probably have already.
Dry Ingredients: For the dry ingredients, we’ll be using your simple flour, baking powder, baking soda and salt.
Structure: The base of this bread that gives it structure is butter, sugar, and 3 eggs (which also provides loads of moisture!).
Flavour: To get that sweet lemony flavour, we’ll be adding freshly grated lemon zest, and lemon juice along with some vanilla to balance out the flavour.
Texture: To give the bread it’s ultra soft and tender crumb, I used both sour cream and buttermilk! And for the crunch you get in each bite, poppy seeds! I know it looks like a lot, but we only use 2 tablespoons!
Let’s Make This Bread!
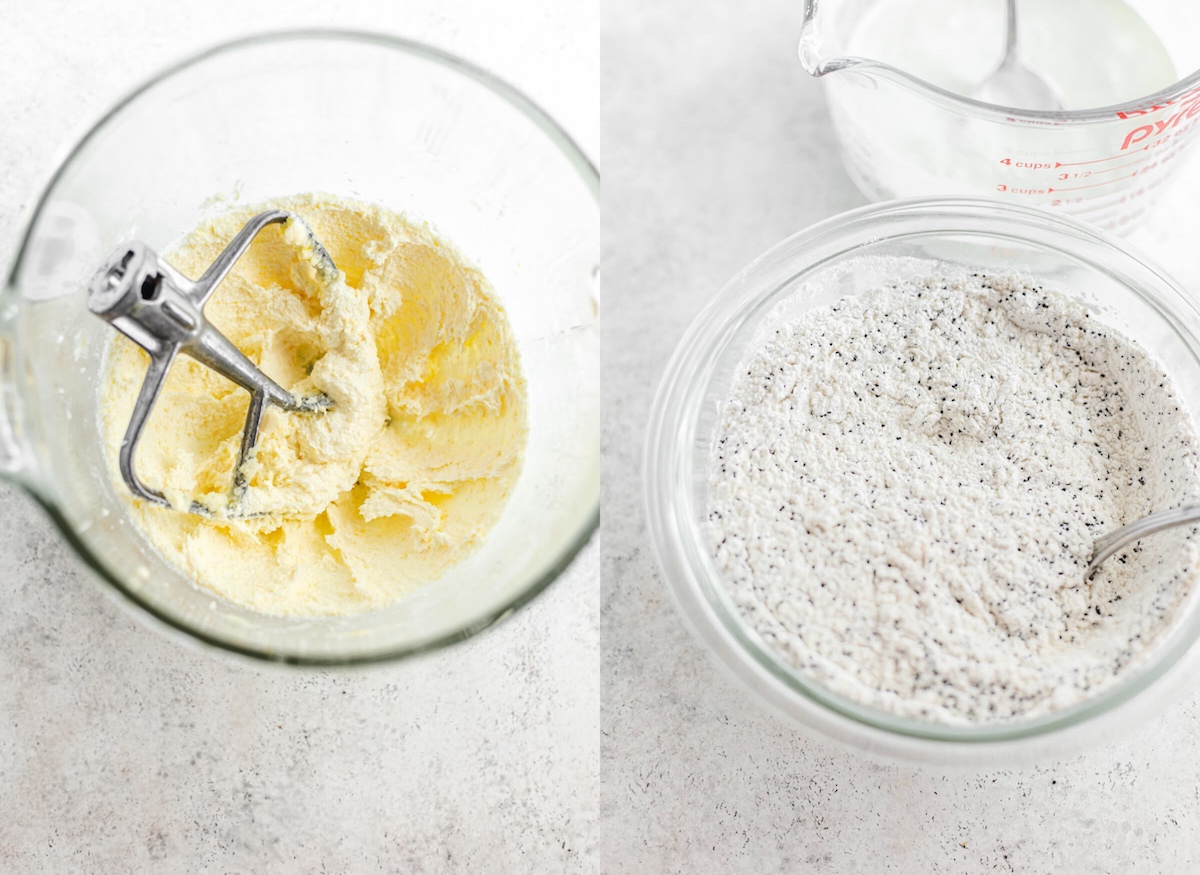
To make the bread, cream the butter, sugar and lemon zest together until it’s a pale yellow colour and a light and fluffy texture. Incorporating the lemon flavour directly into the base gives the bread an even bolder flavour!
Mix in the eggs, one at a time, along with the vanilla. We add a little bit of vanilla to help balance out the tart flavour from the lemon so it’s not too overpowering.
Next we mix the dry ingredients in one bowl and the wet ingredients in another. We’ll be using the alternating mixing method I use for most of my cakes and cupcakes. Start by mixing in ⅓ of dry ingredients, then ½ of the wet ingredients. Repeat with another addition of dry, then wet, then dry. This keeps the batter nice and smooth throughout the entire mixing process!


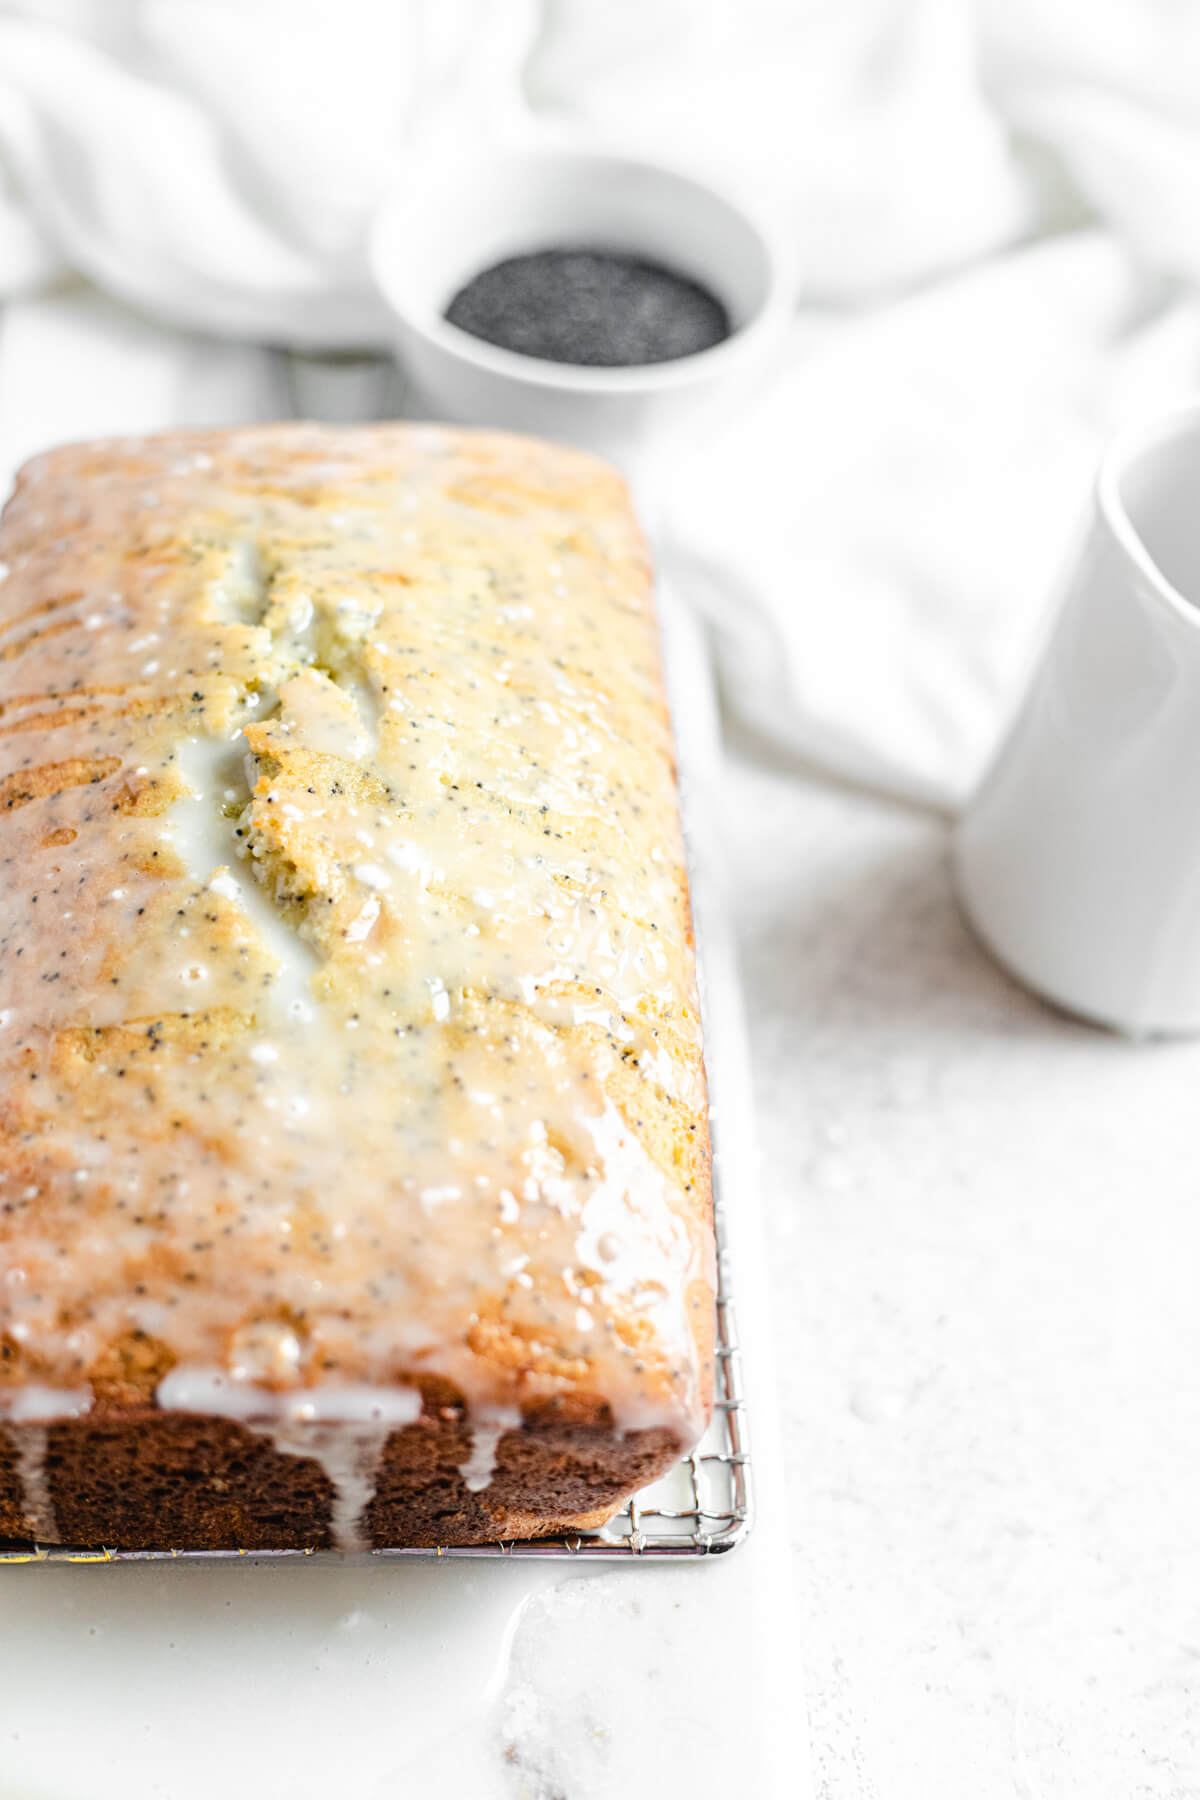
Sweet Lemon Glaze
The lemon glaze on top is very similar to donut glaze. It’s sticky sweet and silky when you first pour it on, then it sets up after awhile.
This glaze is the easiest part of the recipe because it only requires 2-ingredients: powdered sugar and lemon juice. Simply stir the two until combined! You can easily customize this glaze to your liking. Add some lemon zest for extra flavour and texture, replace some of the lemon juice with milk. You can even use less lemon juice if you want a thicker glaze!
A yummy alternative: instead of topping this loaf with an icing glaze, you can soak it with a lemon simple syrup! I’ll include the recipe in the notes below.
Can I Freeze This Loaf?
Now this loaf was gone within 2 days, and that’ll probably be the case for you once you make it. But if you really wanna save some for a later time, then you can definitely store it in the freezer!
To freeze the whole loaf:
- Allow the loaf to cool completely.
- Tightly wrap the entire thing in 3 layers of plastic wrap or foil (to avoid freezer burn).
- Put the loaf into a large freezer safe ziplock bag.
- Freeze for up to 3 months. Allow bread to thaw in the refrigerator overnight or at room temperature. Slice and enjoy!
To freeze individual slices:
- Once loaf has cooled, slice into individual portions.
- Wrap each slice individually, or a few at once.
- Place into 1 or multiple freezer-safe ziplock bags.
- Thaw and immediately enjoy!
It’s amazing how easy this lemon bread is! There’s very few ingredients so it won’t be too difficult for you to make it over and over again! Enjoy it for breakfast with a cup of tea, or as a midnight snack. It’s the perfect sweet loaf for spring, summer or anytime of the year!
So what are you waiting for? Grab your lemons and let’s get baking!
SHARE YOUR PICS!
Follow me on Instagram and tag #queensleeappetit so I can see and share all of your Queenslee Appétit creations in my stories and the QA Newsletter!
>>PIN ME FOR LATER<<
FOLLOW QUEENSLEE APPÉTIT
Like what you see? Make sure you‘re following Queenslee Appétit for more tasty recipes!
Pinterest | Instagram | Facebook | Twitter |
Have any questions about the recipe? Contact me here, and I’ll be happy to help!
SWEETEN UP YOUR INBOX!
SUBSCRIBE to the Queenslee Appétit Newsletter to recieve new recipe notifications, monthly baking tips, sneak peeks to upcoming recipes, exclusive recipes and more!
Lemon Poppy Seed Loaf
This easy Lemon Poppy Seed Loaf is loaded with fresh lemon flavour and has an incredibly moist and soft crumb! You’ll fall in love with the light crunch from the poppy seeds throughout and the sweet lemon glaze drizzled on top!
Ingredients
Loaf:
- 1 and ¾ cups all purpose flour
- 2 tablespoon poppy seeds
- 2 teaspoon baking powder
- ⅛ teaspoon baking soda
- ½ teaspoon salt
- ½ cup unsalted butter, softened to room temperature
- 1 cup granulated sugar
- 2 tablespoon freshly grated lemon zest
- 3 large eggs, room temperature
- ½ cup sour cream, room temperature
- ¼ cup buttermilk, room temperature
- 3 tablespoon freshly squeezed lemon juice
- 1 teaspoon pure vanilla extract
Lemon Glaze:
- 1 cup powdered sugar
- 2 tablespoon lemon juice
Instructions
For the Loaf:
- Preheat oven to 350°F. Lightly grease a 9x5 inch loaf pan. Line with parchment paper, making sure there’s strips hanging off the sides to easily lift out your loaf. Set aside.
- In a medium bowl, add the flour, poppy seeds, baking powder, baking soda and salt. Whisk to combine.
- In the bowl of a stand mixer fitted with a paddle attachment, or in a large mixing bowl using a handheld mixer, cream the butter, sugar and lemon zest on medium speed until pale and fluffy, about 4-5 minutes. Scrape down the sides and bottom of the bowl.
- With the mixer on low, add the eggs one at a time, mixing after each addition until just combined.
- In a liquid measuring cup, add the sour cream, buttermilk, vanilla and lemon juice and whisk to combine.
- Add ⅓ of the dry ingredients and beat on low until just combined. While mixer is running, pour in ½ of the buttermilk mixture.
- Repeat mixing in ½ of the remaining dry ingredients, remaining buttermilk mixture, then remaining dry ingredients. Remember to beat each addition just until combined. Scrape down the sides and bottom of the bowl to make sure everything is mixed properly.
- Pour into a 9x5 inch loaf pan and bake in preheated oven for 40 minutes.
- After 40 minutes, carefully cover the top with foil to prevent over browning, then bake for another 5-15 minutes or until a toothpick inserted into the loaf comes out clean. Allow to cool completely on a wire rack.
For the Lemon Glaze:
- Combine both ingredients in a small bowl until a smooth glaze forms.
- Remove loaf from the pan and transfer to a serving platter. Drizzle on lemon glaze. Slice and serve. Enjoy!
Notes
- Storage: Store loaf in an airtight container at room temperature for up to 3 days or in the refrigerator for up to 1 week.
- Lemon Simple Syrup: Instead of topping this loaf with a lemon glaze, you can top it with this lemon simple syrup. Simply combine ½ cup of granulated sugar with ½ cup of lemon juice in a small saucepan. Heat over medium heat until sugar has dissolved completely. Set aside to cool, then brush over the loaf so it can soak into it!
Nutrition Information:
Yield: 10 Serving Size: 1Amount Per Serving: Calories: 295Total Fat: 14gSaturated Fat: 7gTrans Fat: 0gUnsaturated Fat: 5gCholesterol: 87mgSodium: 270mgCarbohydrates: 40gFiber: 1gSugar: 32gProtein: 4g
BON APPÉTIT!
Love, Dedra
©QUEENSLEE APPÉTIT. All images & content are copyright protected. Please do not use my images without prior permission. If you want to republish this recipe, please re-write the recipe in your own words, or link back to this post for the recipe.


Leave a Reply