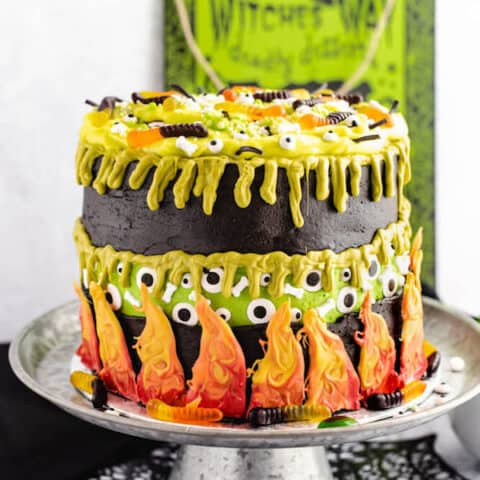
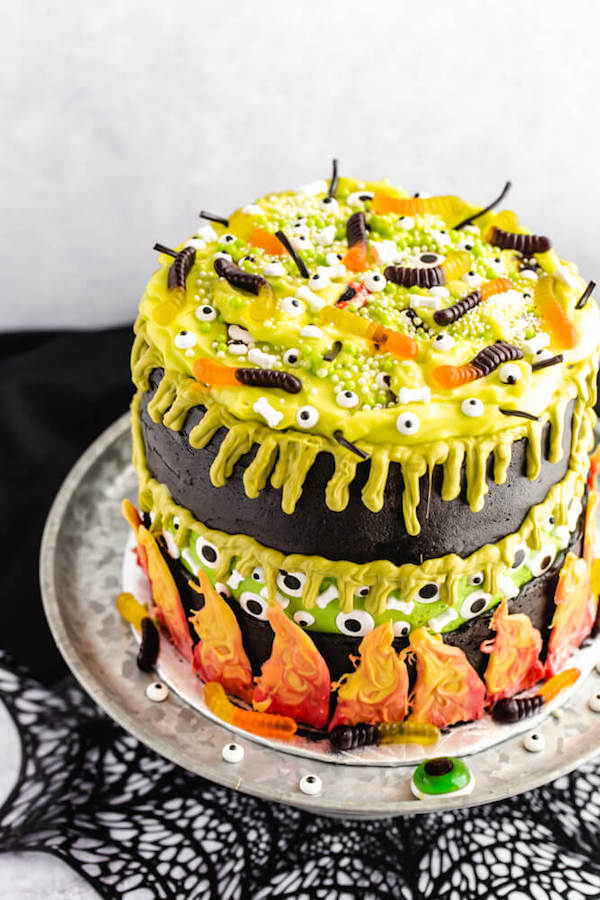
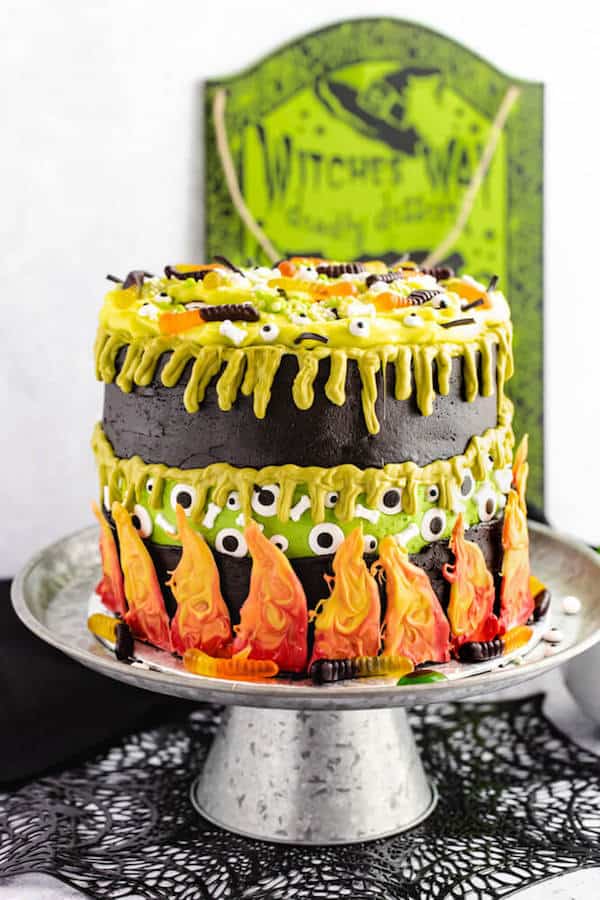
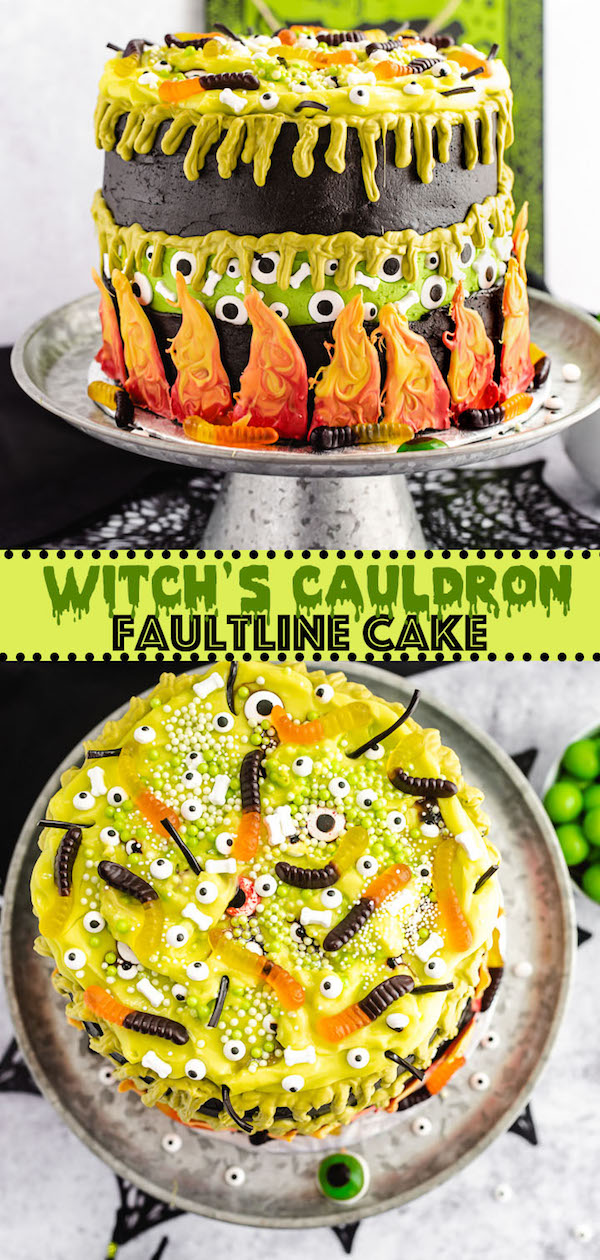
This unbelievable Witch’s Cauldron Faultline Cake is made with black and green chocolate and vanilla cake layers, and a thick green tinted vanilla pudding filling. Covered in the spooky ingredients found in a Witch’s poisonous brew, this is a super fun and unique dessert to celebrate Halloween!
This post may contain affiliate links. Please see my full disclosure policy for details.
Hello, my pretties! Today I’m bringing you a spook-tacular cake dedicated to all my fellow witches out there.
Note: this cake must be made during a severe thunderstorm while laughing like a maniac throughout the entire process, or else it won’t come out right.
Witch’s Cauldron Faultline Cake
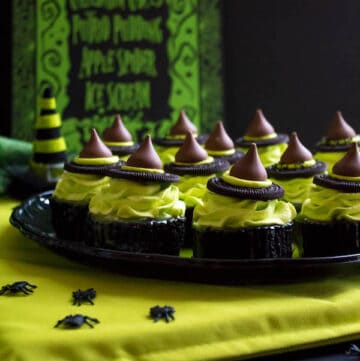
I’ll be going Chocolate Crazy next week, so I’m pumping out all of my Halloween recipes this week! Witch Hat Cupcakes, Dirt and Worms Poke Cake, and now this Witch’s Cauldron Faultline Cake!!
I’ve always wanted to give faultline cakes a try, and I’ve always wanted to create a witch’s cauldron dessert, so why not combine the two?
I had a certain vision about how I wanted this cake to turn out, but as I continued decorating, it took a way different turn.
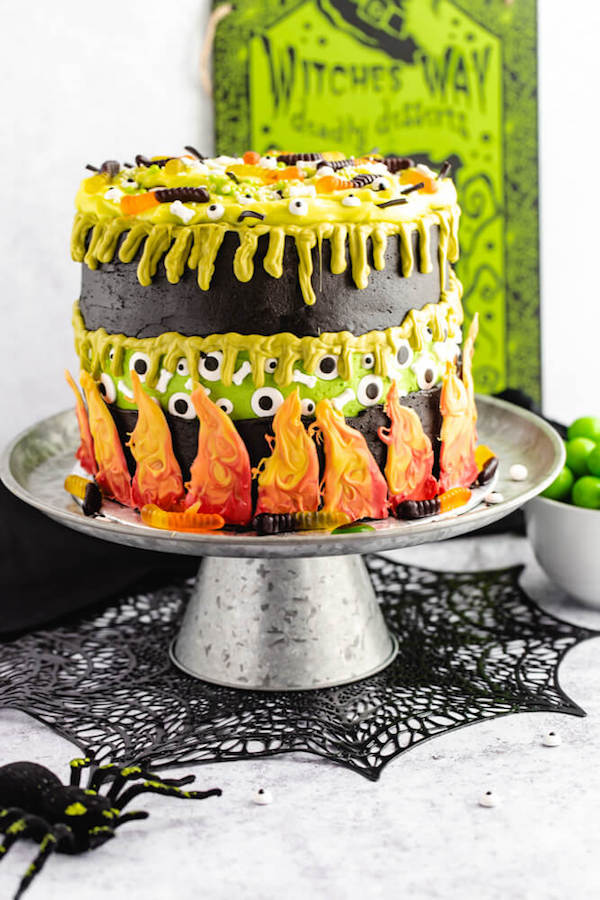
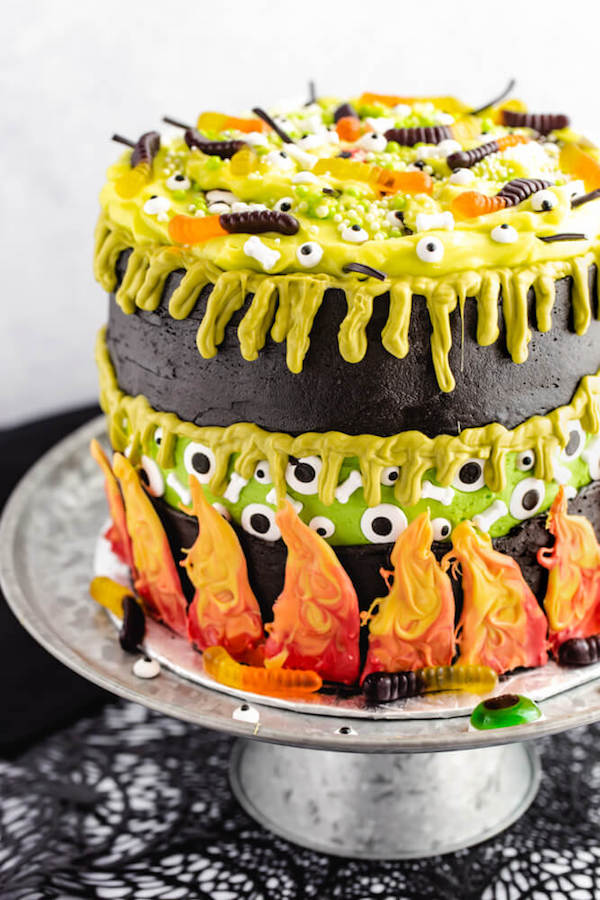
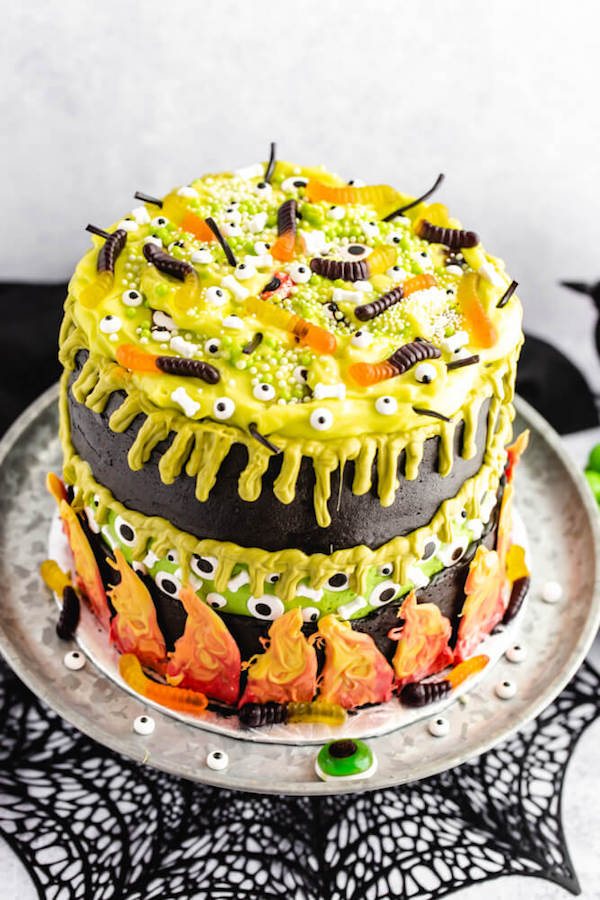
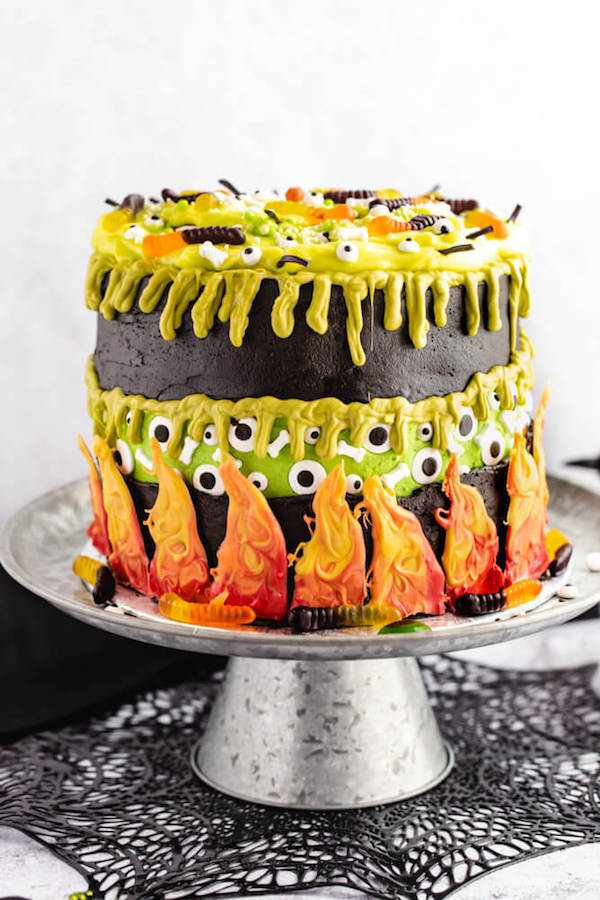
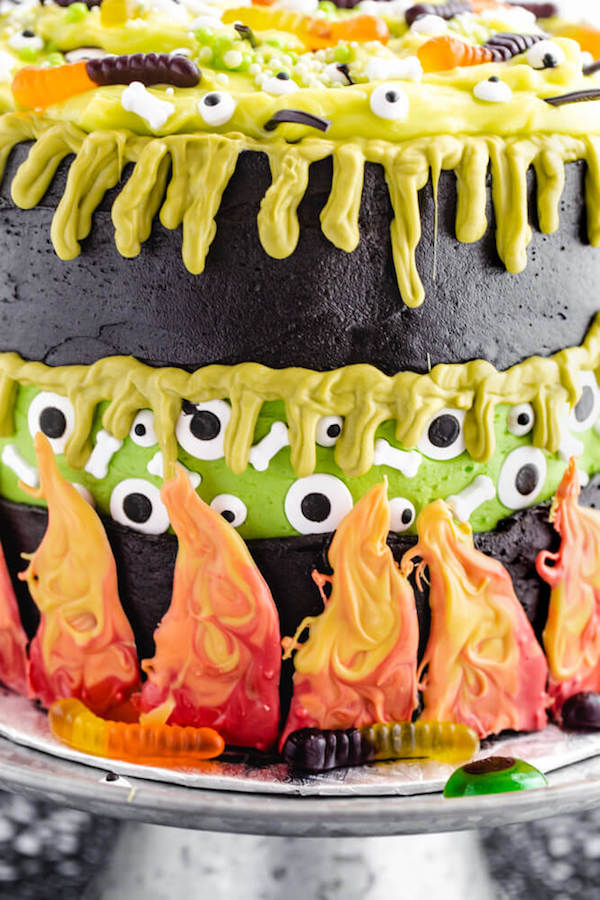
So let’s describe what’s going on in this cake. The black top and bottom of the cake represent the cauldron and the centre is like a little peek inside of the cauldron. On top is the witch’s brew bubbling over revealing all of the sick ingredients inside!
And of course the witch needs a heat source to cook on, so let’s throw in some fire on the bottom! Did I mention how fun this cake was?
Green and Black Cake Layers
When I think of witches, my mind immediately goes to the colours black and green, because of the wicked witch in Wizard of Oz.
So for the cake layers, I created a black chocolate cake and a green vanilla cake. I used leaf green gel food colouring and a few drops of neon green food colouring to tint the vanilla cake batter.
For the black cake, you won’t need to use any food colouring. Just replace some of the unsweetened cocoa powder with black cocoa powder and you’ll end up with deep and dark cake layers!
Slime Filling
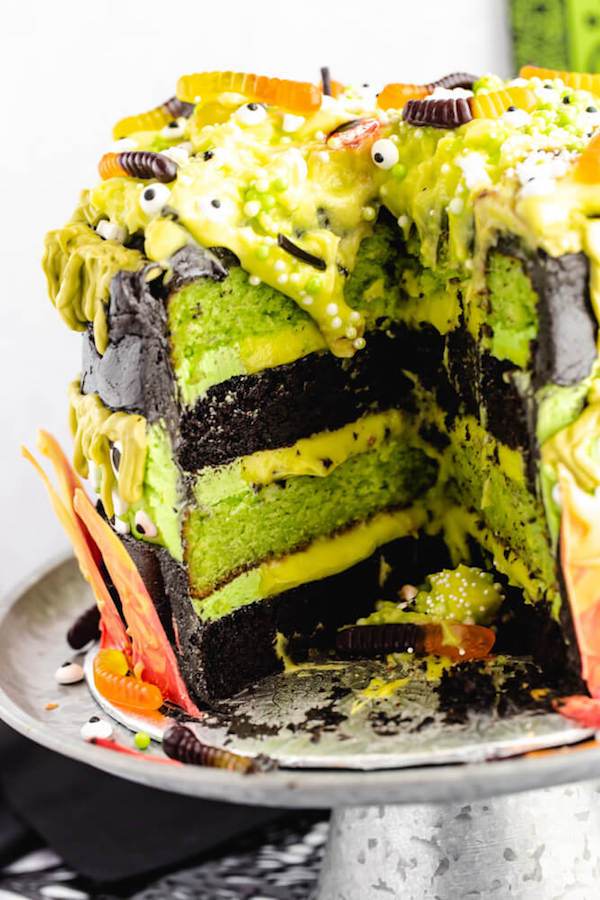
Don’t worry, it’s not real slime — it’s vanilla pudding! I wanted the filling to ooze out as if we broke open the witch’s cauldron. And it did just that, but it was so hard for me to photograph a slice of the cake because the pudding was sliding down the layers creating an unattractive mess.
This may be a bit of a shock, but I didn’t make the pudding from scratch. This cake already had so many steps, I didn’t want to add extra when it wasn’t necessary. So for the filling, I used vanilla pudding mix. It’s so easy to make, just combine the milk and pudding mix and beat with a hand mixer or a whisk for 2 minutes and you’ve got pudding! I added a few drops of neon green fool colouring while mixing so it could have that ooey gooey slimy appearance.
How to Decorate this Spooky Faultline Cake
To decorate the cake, start with either a black or green cake layer. Then, using the green buttercream, pipe a double rim around the edges and fill with some of the pudding. Repeat, alternating between black and green layers.
Note: It’s important to pipe a double rim or else the pudding will squeeze out when you stack the layers.
Then carefully frost the entire cake in a thin layer of black buttercream. To make the black buttercream, I started by making a dark chocolate buttercream using half regular cocoa and half black cocoa to make it easier to achieve that super black colour.
Because of the dark chocolate buttercream, I didn’t have to add too much food colouring, so I only needed a few drops to get the colour I wanted. Another tip is to let the frosting sit for about 30 minutes to an hour since the colour darkens over time.
For the outside of the cake, start by smearing the rest of the green frosting in the middle of the cake. Then press some candy eyes and candy bones onto the frosting.
Pipe the black frosting over the top and bottom of the cake and smooth out the frosting. Then drip some vibrant green candy melts along the edges. For this part, I kind of wish I dripped the green pudding instead as it matches the craziness on top.
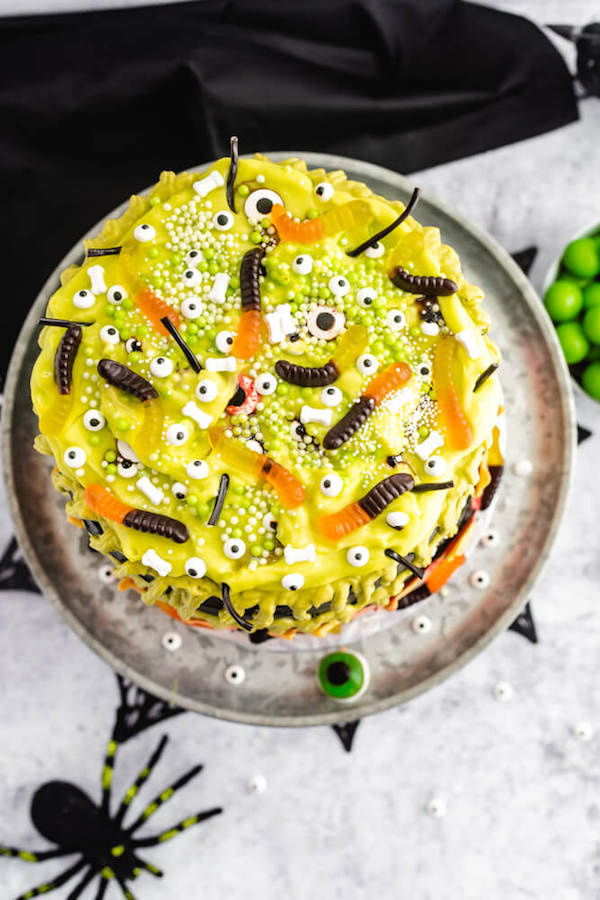
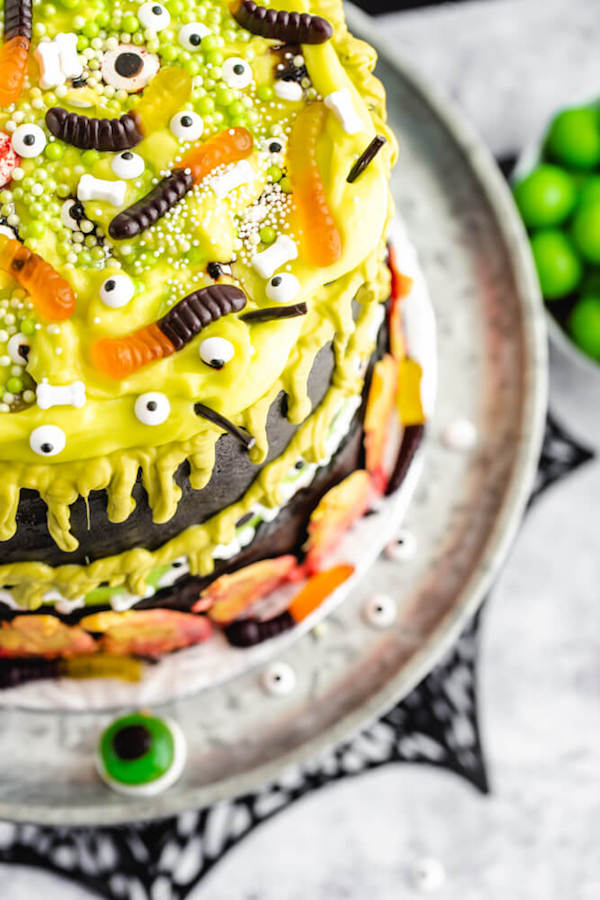
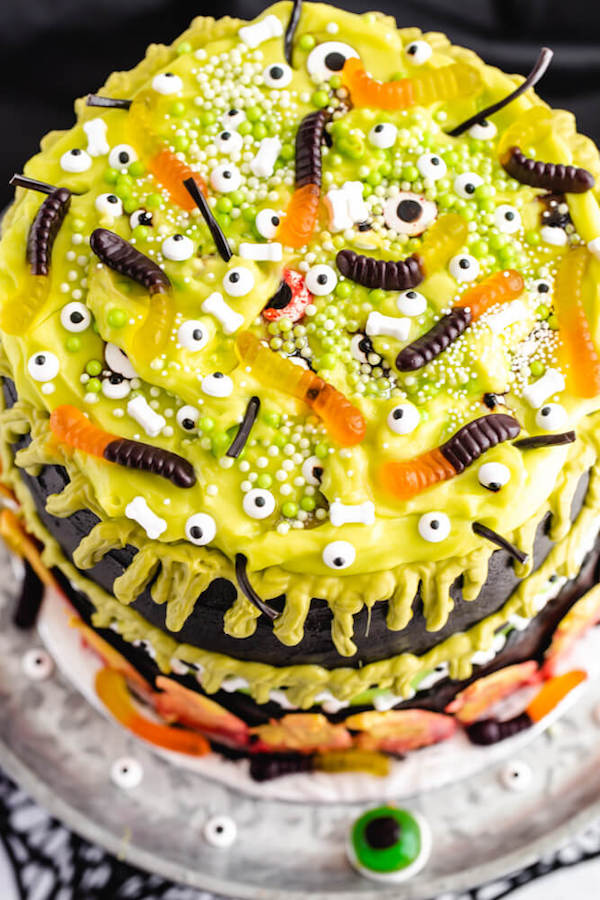
Speaking of which, for the topping I piled on the rest of the pudding (you’ll need to make two batches). Now this is where you can go wild! I topped the cake with candy eyes, green sugar pearls, candy bones, gummy worms and stuck in a few pieces of black liccorice to look like spider legs. Gross, right?
Finally, on the bottom of the cake is the fire all of this deliciousness is being cooked on. This is the same fire I used in this Game of Thrones Ice and Fire Cake. It’s very easy to make, just melt red, orange and yellow candy melts and use a small spoon or offset spatula to dollop the candy melts onto a wax paper lined baking sheet. Refrigerate it for a few minutes, then trim off the bottoms so they can sit flat on the cake.
This cake will surely get you and your family in the Halloween spirit! It’s so fun to make and even more fun to eat. This is definitely gonna impress all your guests!
>>PIN THIS FOR LATER<<
More Spooky Halloween Treats:
FOLLOW QUEENSLEE APPÉTIT
Like what you see? Make sure you‘re following Queenslee Appétit for more tasty recipes!
Pinterest | Instagram | Facebook | Twitter |
Have any questions about the recipe? Contact me here, and I’ll be happy to help!
SHARE YOUR PICS!
Tag me on Instagram @queensleeappetit or use the hashtag #queensleeappetit so I could see your gorgeous creations!
Let’s get baking!
Witch’s Cauldron Faultline Cake
This unbelievable Witch’s Cauldron Faultline Cake is made with black and green chocolate and vanilla cake layers, and a thick green tinted vanilla pudding filling. Covered in the spooky ingredients found in a Witch’s poisonous brew, this is a super fun and unique dessert to celebrate Halloween!
Ingredients
Black Chocolate Cake:
- 1 cup + 2 tablespoon all purpose flour
- ½ cup unsweetened cocoa powder
- ¼ cups black cocoa powder
- ¾ teaspoon salt
- 1 and ⅛ teaspoon baking soda
- ½ teaspoon baking powder
- ¾ cups unsalted butter, room temperature
- 1 cup + 2 tablespoon granulated sugar
- 2 large eggs, room temperature
- 6 tablespoon sour cream, room temperature
- 2 and ½ teaspoon pure vanilla extract
- 2 and ½ teaspoon instant coffee granules
- 1 cup + 2 tablespoon buttermilk, room temperature
Green Vanilla Cake:
- 3 cups all purpose flour
- 4 teaspoon baking powder
- ½ teaspoon baking soda
- ½ teaspoon salt
- 1 cup unsalted butter, softened to room temperature
- 2 cups granulated sugar
- 6 tablespoon sour cream, room temperature
- ¼ cup vegetable oil
- 4 teaspoon Pure Vanilla Extract
- 4 large eggs, room temperature
- 1 and ½ cups buttermilk, room temperature
- Few drops of green gel food colouring
Black Chocolate Buttercream:
- 2 cups unsalted butter, room temperature
- 8 cups powdered sugar
- ½ cup unsweetened cocoa powder, sifted
- ½ cup black cocoa powder
- ½ cup heavy cream, room temperature
- 4 teaspoon pure vanilla extract
- ½ teaspoon salt
- 1-2 tablespoon black gel food colouring (I used Americolor Super Black)
Green Vanilla Buttercream:
- 1 cup unsalted butter, room temperature
- 4 cups powdered sugar, sifted
- 1 teaspoon vanilla extract
- 2 tablespoon whole milk or heavy whipping cream, room temperature
- ¼ teaspoon salt, or to taste
- Leaf green gel food colouring
- Large and small Candy eyeballs
- Candy bones
Green Slime Filling + Topping:
- 2 (153g) boxes vanilla pudding mix + ingredients needed for preparation
- Neon green food colouring
Candy Melt Fire:
- 1 cup red candy melts
- 1 cup orange candy melts
- 1 cup yellow candy melts
Slime Drip:
- 1 bag Vibrant Green candy melts (see notes)
Topping:
- Candy eyeballs
- Candy bones
- Green candy pearls
- Green nonpareils
- Gummy worms
Instructions
For the Black Chocolate Cake:
- Preheat oven to 350° F (177°C). Prepare two 8-inch round cake pans with parchment rounds, and grease the sides. Set aside.
- In a large bowl, sift flour, cocoa, salt, baking powder and baking soda. Whisk to combine, set aside.
- In the bowl of a stand mixer fitted with a paddle attachment, beat the butter and sugar on medium speed until pale and fluffy, 4-6 minutes. Scrape down the sides and bottom of the bowl.
- Lower the speed to medium-low and add eggs one at a time, mixing after each addition until just combined. Scrape down he sides and bottom of the bowl.
- In a small bowl, combine the vanilla and instant coffee granules. Add the sour cream to the batter along with the vanilla coffee mixture and beat on medium speed until combined.
- Alternately add dry ingredients in thirds and buttermilk in 2 additions to the batter, beginning and ending with the dry ingredients. Beat each addition just until combined. Divide batter equally between the cake pans, a little over 2 cups per pan.
- Bake two layers at a time for 20-25 minutes or until a toothpick inserted into the center comes out clean and cake springs back when lightly touched.
- Remove cakes from oven and allow to cool in pans for about 10 minutes, then turn onto cooling racks to cool completely before frosting. Or at this point, you can wrap all the cake layers tightly in plastic wrap and freeze or refrigerate until ready to assemble.
For the Green Vanilla Cake:
- Position oven rack to the middle. Preheat oven to 350° F (177°C). Prepare two 8-inch round cake pans with parchment rounds, and grease the sides. Set aside.
- In a large bowl, sift the flour, baking powder, baking soda and salt and whisk to combine. Set aside.
- In the bowl of a stand mixer fitted with the paddle attachment, or in a large bowl using a hand mixer, beat the butter, sugar, sour cream, vegetable oil and vanilla on medium-high speed until light and fluffy, about 4 minutes.
- Scrape down the sides and bottom of the bowl. Lower the speed to medium-low and mix in the eggs, one at a time until just combined.
- Add ⅓ of the dry ingredients and beat just until combined, then add ½ of the buttermilk and mix until just combined. Continue mixing in ½ of the remaining dry ingredients, remaining buttermilk, then remaining dry ingredients. Remember to mix after each addition before adding the next.
- Tint the batter using leaf green gel food colouring. Divide the batter between the two pans. Use a small offset spatula to spread the batter into an even layer.
- Bake for 30-35 minutes or until a toothpick inserted into the center comes out with a few moist crumbs.
- Remove cakes from oven and allow to cool in pans for about 10 minutes, then turn onto cooling racks to cool completely.
For the Black Chocolate Buttercream:
- In the bowl of a stand mixer fitted with the paddle attachment, or in a large bowl with a hand-held mixer, beat the butter on medium speed until light and fluffy (about 5-6 minutes).
- Turn the mixer to low, and gradually add half of the sugar one cup at a time. Add both cocoa powders.
- Once incorporated, add heavy cream, vanilla and salt and beat until combined.
- Add the remaining powdered sugar one cup at a time and mix on low until combined.
- Once the sugar is combined, add a few drops of black gel food colouring.
- Increase mixer speed to high and whip until light and fluffy, about 5-7 minutes.
For the Green Vanilla Buttercream:
- In the bowl of a stand mixer fitted with the paddle attachment, or in a large bowl with a hand-held mixer, beat the butter on medium speed until light and fluffy (about 5-6 minutes).
- Turn the mixer to low, and gradually add half of the sugar one cup at a time. Once incorporated, add heavy cream, vanilla and salt and beat until combined.
- Add the remaining powdered sugar one cup at a time and mix on low until combined.
- Once the sugar is combined, add a few drops of green gel food colouring.
- Increase mixer speed to high and whip until light and fluffy, about 5-7 minutes.
For the Green Slime Filling + Topping:
- Prepare the vanilla pudding according to package instructions, add a few drops of neon green food colouring while mixing. Set aside.
For the Candy Melt Fire:
- Line a large baking sheet with wax paper. Set aside.
- Add the red, yellow and orange candy melts to three separate heat safe bowls. Microwave each bowl one at a time in 30 second intervals until candy melts are completely melted and smooth.
- Dip the tip of a small offset spatula into the red candy melts and swipe a small amount onto the wax paper lined baking sheet in an upwards motion. This is the bottom of the flame. Make a few rows of this, I used about 20 flames around my cake but it’s best to make as much as you can so you have extra just incase any break.
- Without cleaning the spatula, repeat the same swiping motion using the orange candy melts. Make sure the orange is touching the top of the red stroke so they could blend in the middle.
- Repeat with the yellow candy melts, except this time don’t swipe. Just add a touch of yellow to the top.
- Then use a toothpick to swirl the colours together and pull the top part up to create a flame shape. It’s important to work quickly because once the candy melts set, you won’t be able to do this. Allow to set at room temperature for about 30 minutes to an hour or transfer to the refrigerator for 15-20 minutes.
Assembly:
- Trim the cake layers, if needed.
- Use an offset spatula to place a dollop of frosting onto a cake board or serving platter that’s on a turntable. Place one cake layer (black or green) onto the cake board.
- Scoop some green frosting into a disposable piping bag and snip off the end. Pipe a double rim around the edges of the cake and pour on a cup of the green vanilla pudding and spread into an even layer. Repeat with all layers, placing the final layer upside down.
- Frost entire cake in a thin layer of black frosting to seal the crumbs and refrigerate for 30 minutes of freeze for 10 minutes.
- Spread a layer of the remaining green frosting around the middle of the cake. Press candy eyeballs and bones onto the green frosting.
- Add black frosting to a large piping bag and pipe the frosting around the top and bottom of the cake. Smooth out the sides and top.
- Melt the candy melts and pour into a small disposable piping bag and snip off the tip. Drip it off the top and middle edges of the cake.
- Once candy melt fire is set, cut off the bottom so the fire can stand flat. Add a dollop of frosting to the back of the fire candy melts and place around the bottom of the cake.
- Spoon remaining pudding on top of the cake and decorate with halloween treats. Slice and serve, if you dare!
Notes
1. Instead of using green candy melts, you can drip the pudding down the edges of the cake.
2. Make ahead: (1) Cake layers can be made ahead of time and wrapped tightly in plastic wrap. Store in the refrigerator overnight or in the freezer for 2-3 weeks. (2) both buttercreams can be made ahead of time and stored tightly covered in the refrigerator. Bring to room temperature before re-whipping. (3) vanilla pudding can be made ahead of time and stored in the refrigerator.
Recommended Products
As an Amazon Associate and member of other affiliate programs, I earn from qualifying purchases.
-
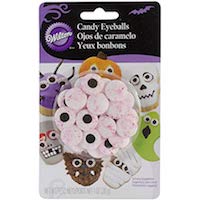
Wilton 710-0167 Red Vein Candy Eyeballs
-
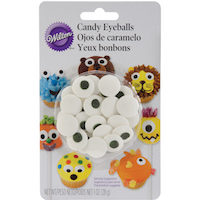
Decorating Candy 1oz-Large Eyeball
-
Wilton Candy Eyeballs.88 oz.
-
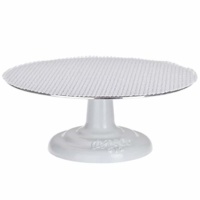
Ateco 612 Revolving Cake Decorating Stand, 12" Round, Cast Iron Base with ⅛" Aluminum Top
-
LEGERM Cake Decorating Angled Icing Spatula Set of 6 8 & 10 Inch Wooden Handle Stainless Steel Offset Frosting Spatulas
-
Ateco 1447 Decorating Comb & Icing Smoother, 4 Sided
-
Ateco 4712 Disposable Decorating Bags, 12-Inch, Pack of 100
-
Americolor Gel Paste Food Color, Super Black-0.75 OZ
-
KitchenAid KHM512IC 5-Speed Ultra Power Hand Mixer, Ice Blue
-
KitchenAid KSM150PSER Artisan Tilt-Head Stand Mixer with Pouring Shield, 5-Quart, Empire Red
-
Wilton Aluminum 8-Inch Round Cake Pan Set, Multipack of 2
Nutrition Information:
Yield: 16 Serving Size: 1Amount Per Serving: Calories: 1320Total Fat: 66gSaturated Fat: 38gTrans Fat: 0gUnsaturated Fat: 24gCholesterol: 231mgSodium: 634mgCarbohydrates: 177gFiber: 3gSugar: 138gProtein: 8g
BON APPÉTIT!
Love, Dedra
©QUEENSLEE APPÉTIT. All images & content are copyright protected. Please do not use my images without prior permission. If you want to republish this recipe, please re-write the recipe in your own words, or link back to this post for the recipe.







Leave a Reply