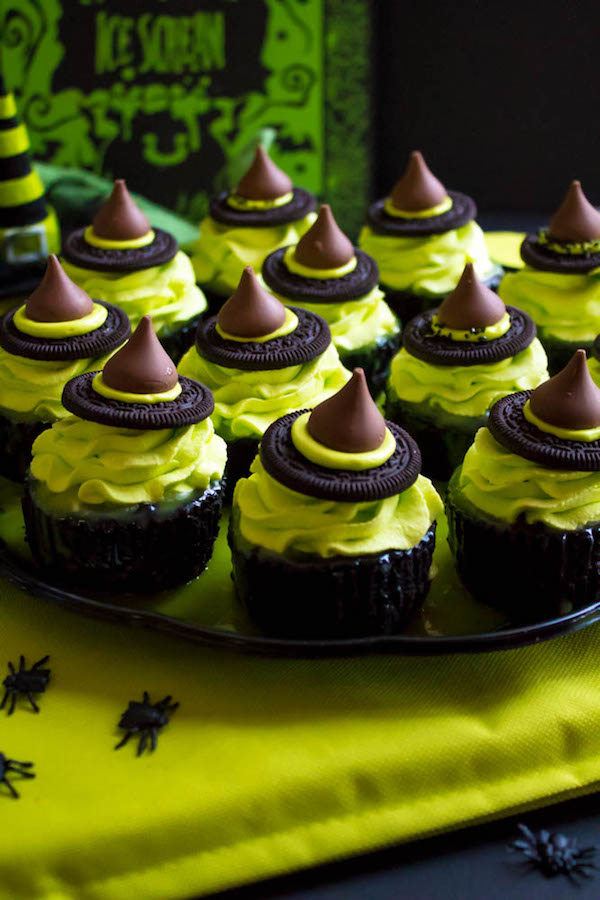
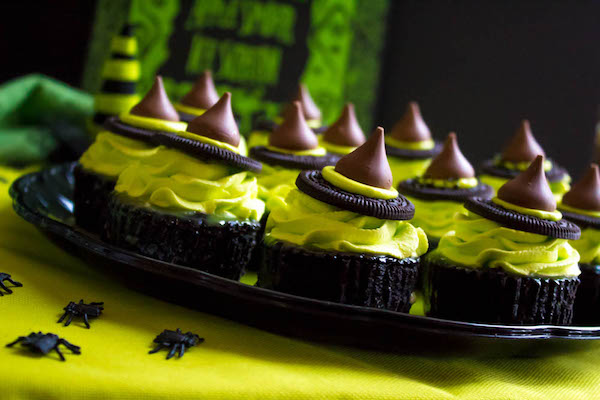
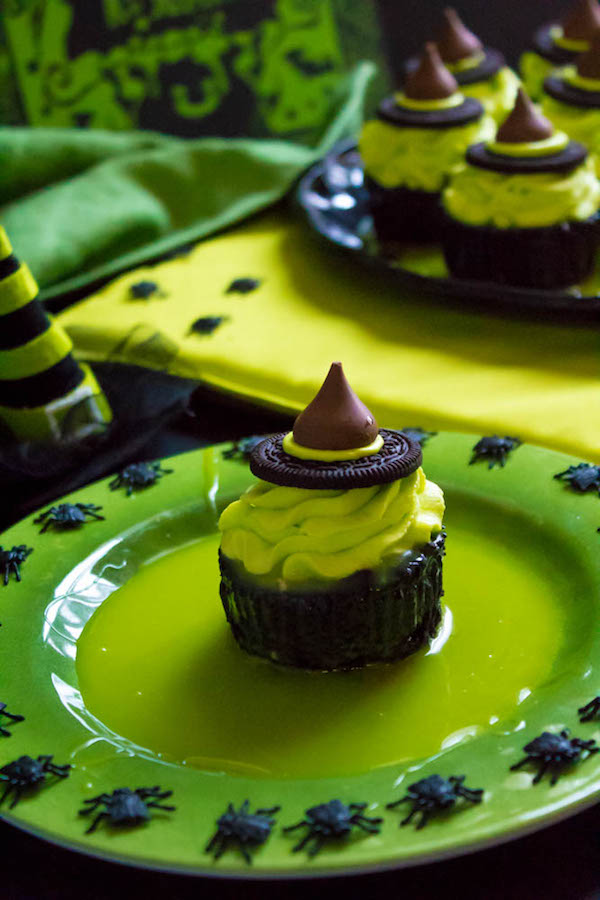
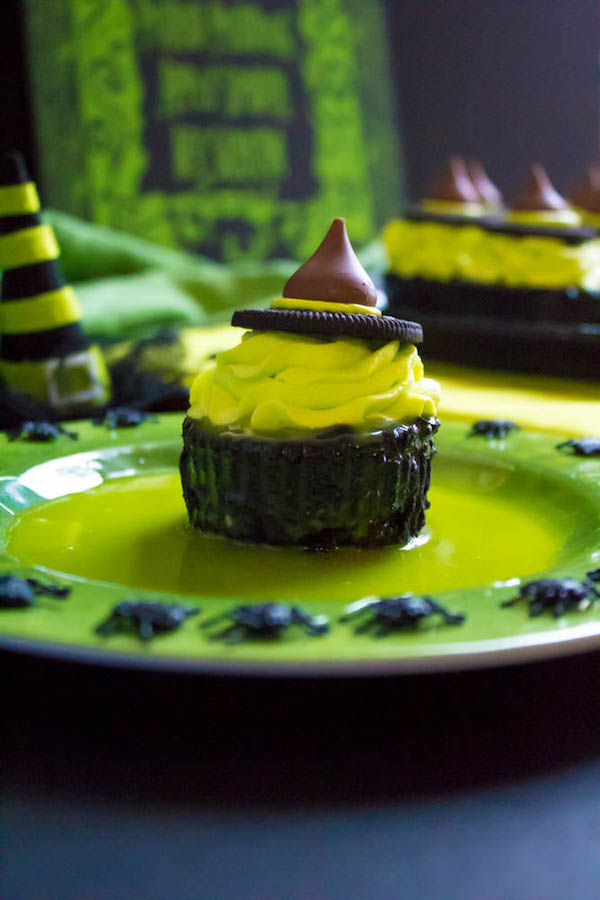
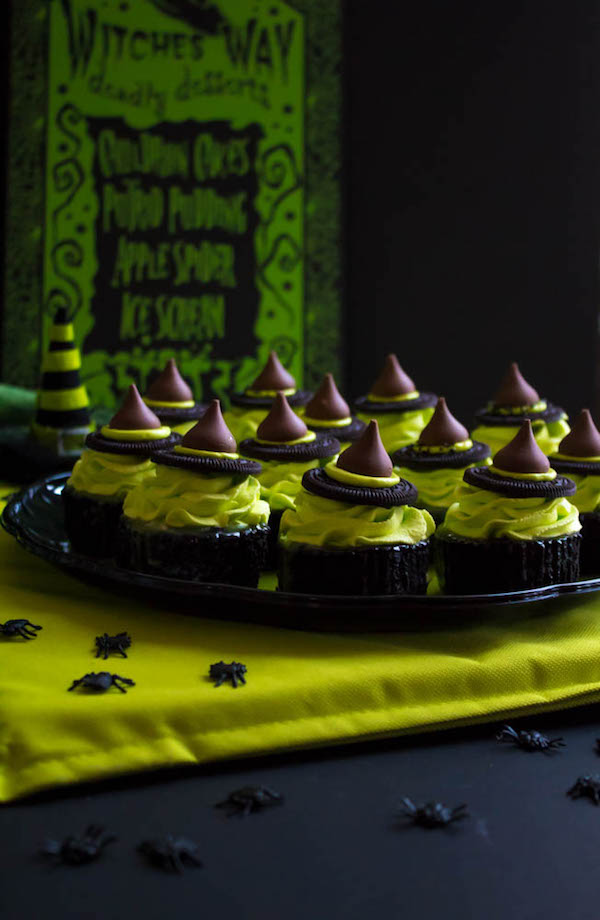
These Mini Melting Witch Cheesecakes are cute, fun and easy to make. They're the perfect dessert to serve at your Halloween party!
Finally, a Halloween recipe! I know, I know, I'm late. Halloween is less than 2 weeks away, but I was so focused on making the perfect birthday cake, that I completely forgot about Halloween!
Halloween is hands down my FAVOURITE holiday! I'm obsessed with all things horror, so it's only natural that I'd love a day dedicated to it. Other than the scary stuff - my favourite parts about Halloween are the candy and the adorable themed treats!
This year I decided to create my own spooky Halloween treats and share them with all of you! So today I present to you: Mini Melting Witch Cheesecakes!
These Melting Witch Cheesecakes are obviously inspired by the classic scene from Wizard of Oz. I know it's not a Halloween movie, but melting witch desserts have become one of the most popular Halloween treats, so I just had to make my own!
I came up with this dessert at the very last minute, so I'm impressed with how great they turned out!
I wanted the theme for these cheesecakes to be black and green, like the wicked witch herself. So to begin, I made a simple Oreo crust (because, black).
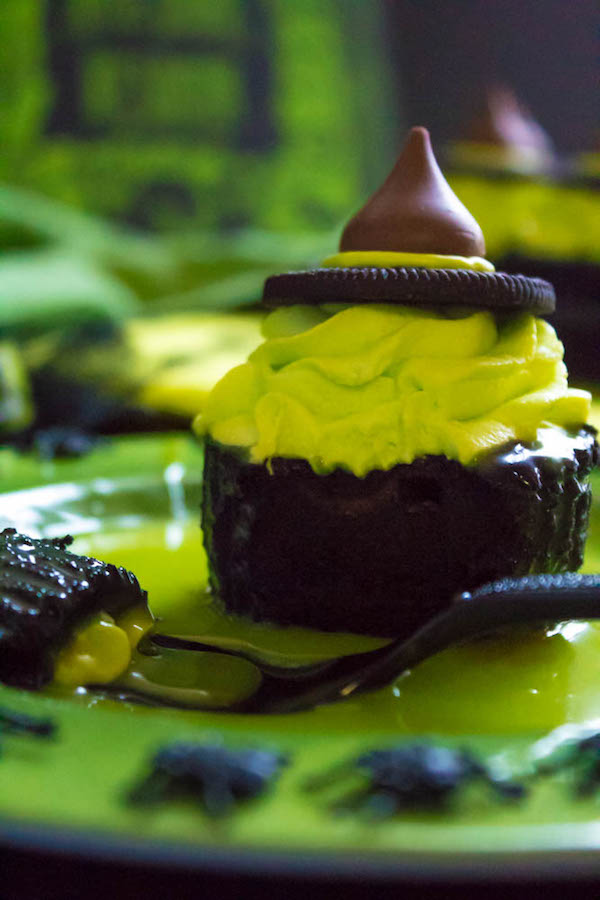
The filling itself is a creamy chocolate cheesecake that I dyed black to represent the witches outfit. I recommend using Americolor or Sugarflair Extra-Black to achieve that super black colour. If you used a low-quality black food colouring, you would need to add a lot to achieve the perfect shade of black. Doing this would effect the taste of your cheesecake, and although it'll still look good, we want them to TASTE good too!
So using a good quality black gel food colouring will allow you to get that nice black colour without needing to use too much.
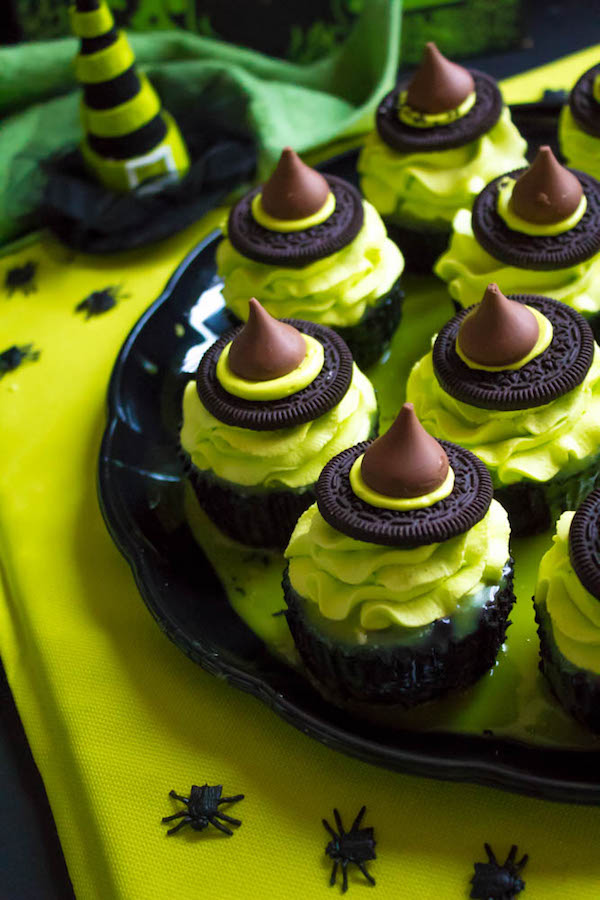
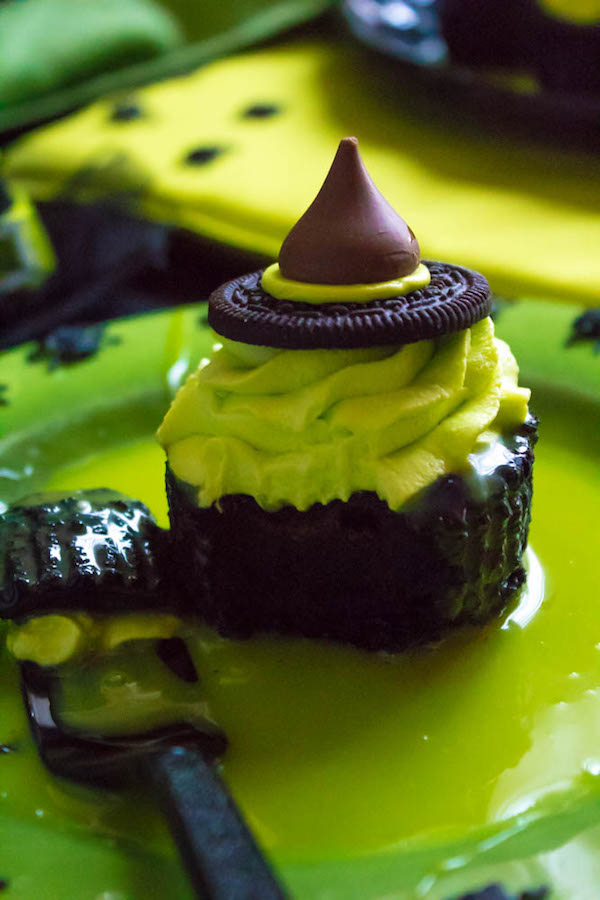
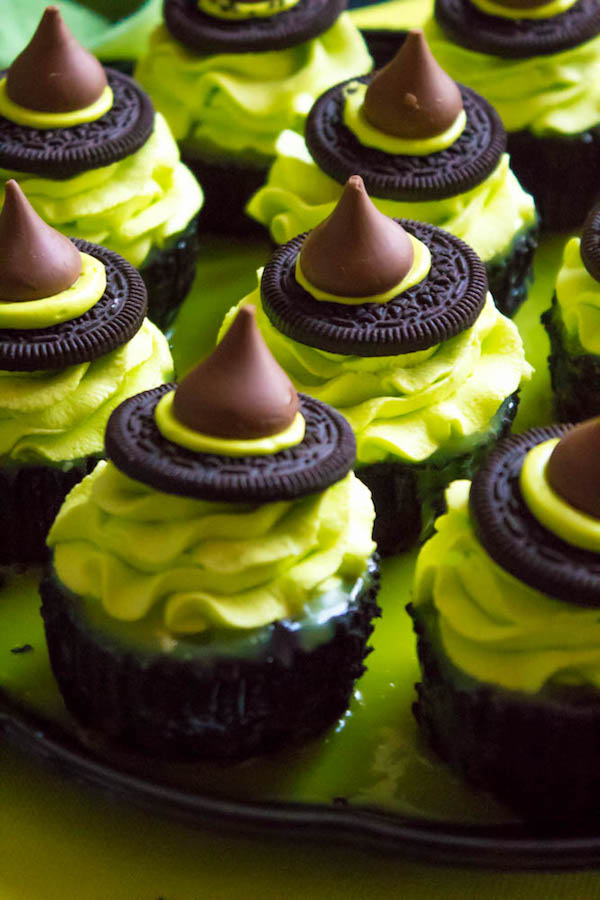
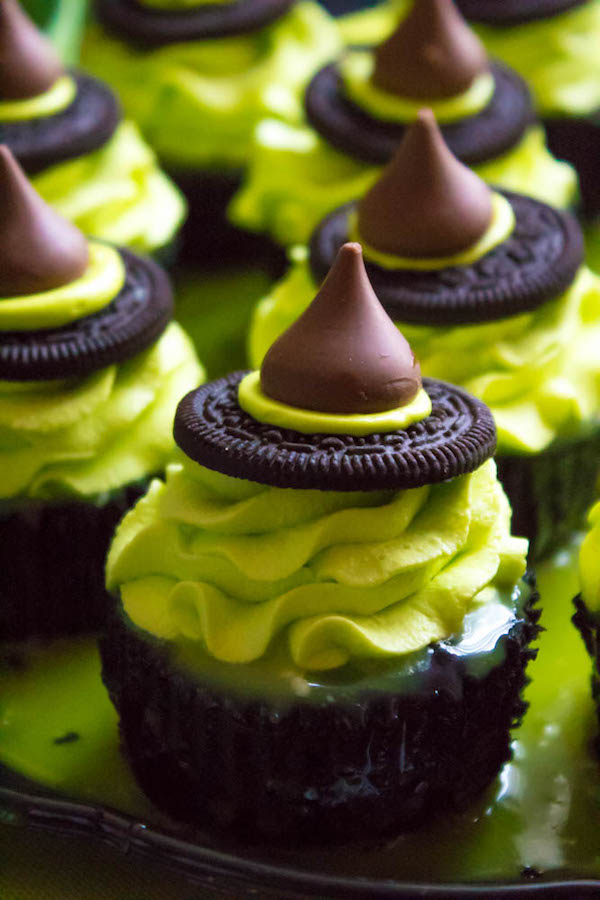
Now you can't have a melting witch dessert without, well, a melting witch! To create the melting effect, I made a simple white chocolate ganache, then dyed it green using neon green food colouring. I have mixed feelings about the ganache. It's pretty hard to see the melting drips due to the super black cheesecake. At the same time, the way it pools onto the platter and around the cheesecakes is absolutely perfect and adds a lot to the "melting" effect!
If you want the drip to be less messy, you can exclude the heavy cream and melt the white chocolate on its own, then dye it green. It really doesn't matter how neat or messy your melted witch is - as long as it looks like she's melting, it should be fine.
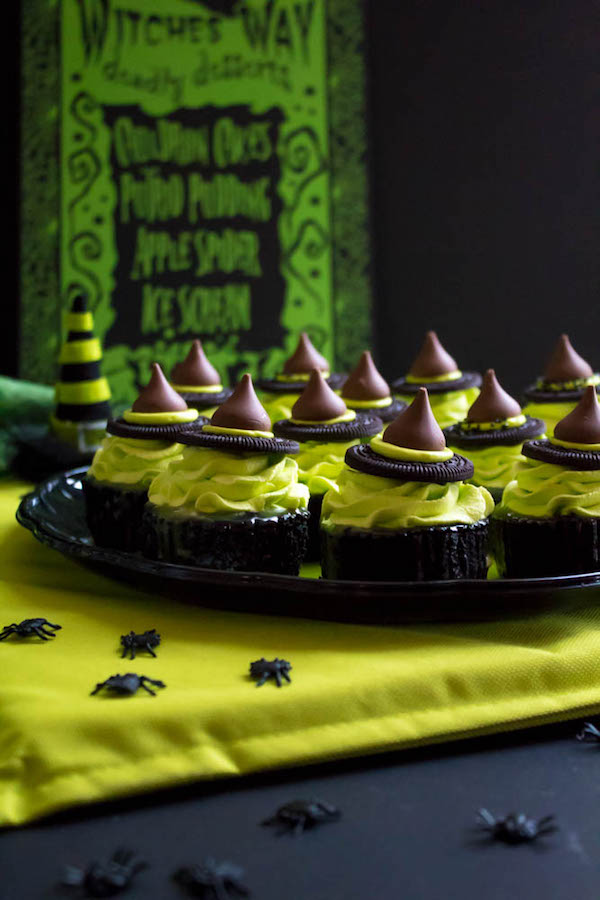
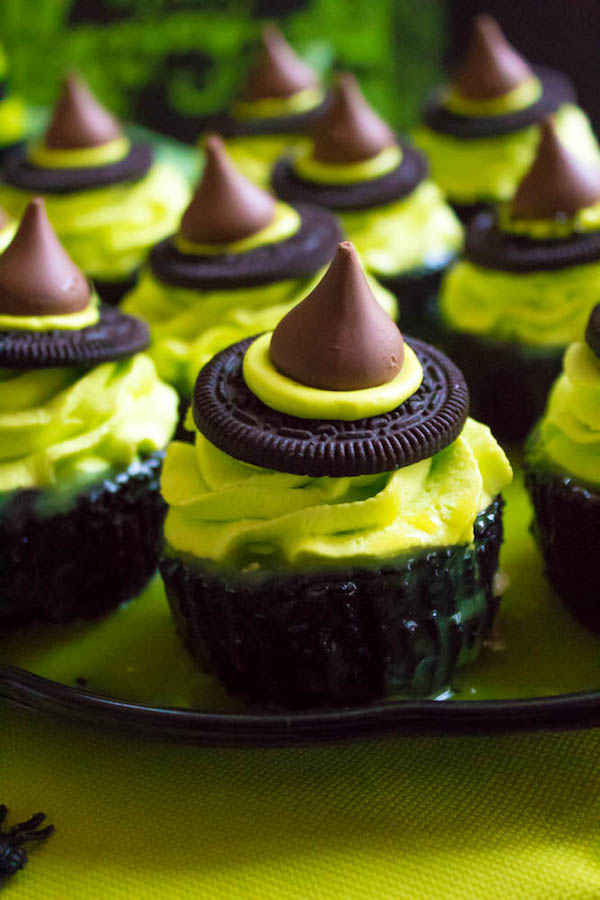
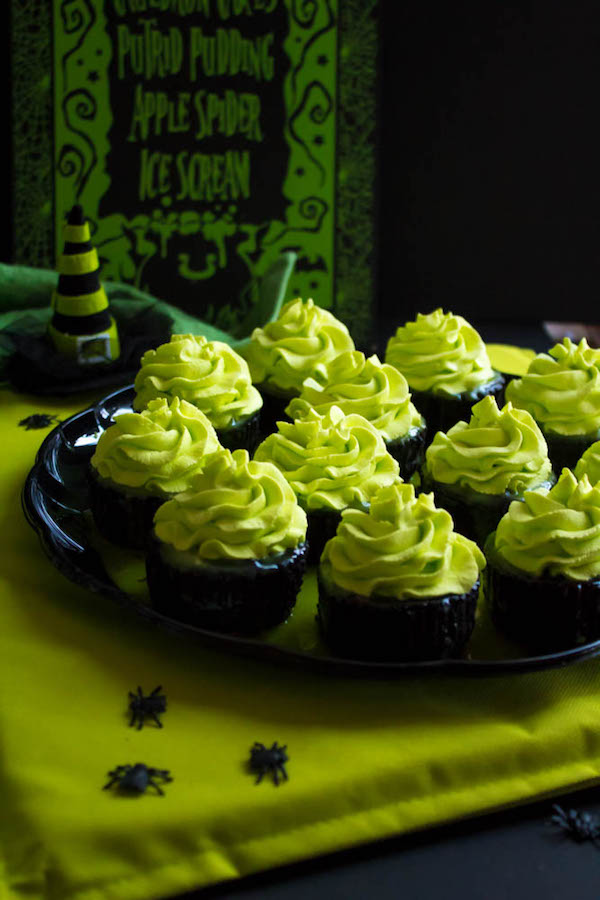
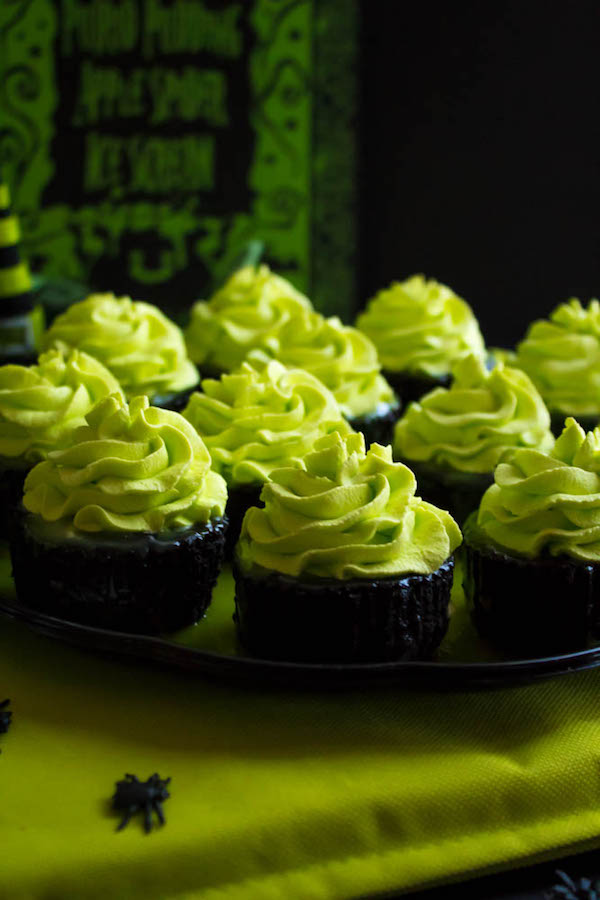
I then topped these babies with a swirl of whipped cream dyed green. This is meant to be the witches head, a.k.a. the part of her that hasn't melted yet. I like to imagine these cheesecakes are shouting "I'M MELTING, I'M MELTING!"
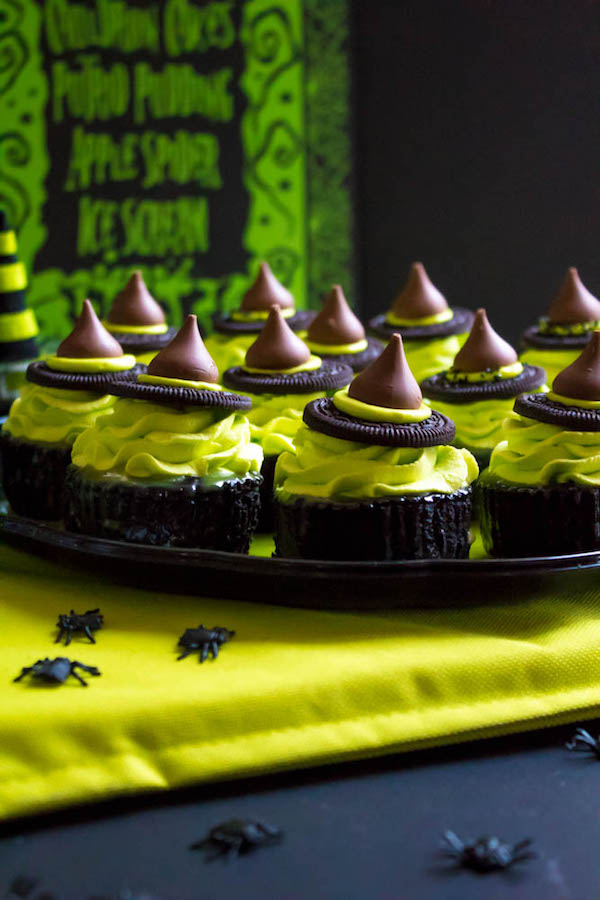
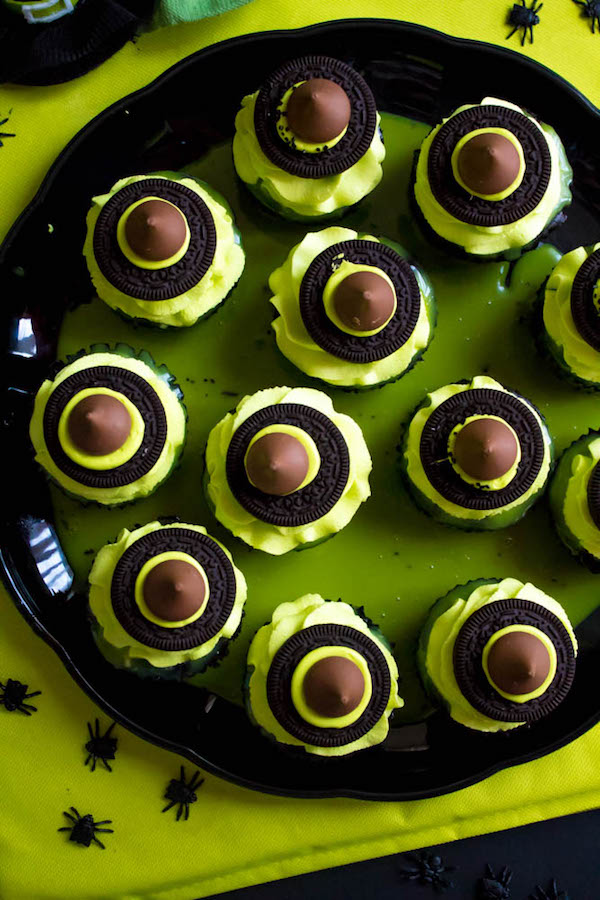
A witch isn't a witch without her hat, so I topped each cheesecake with a classic pointed witches hat. To make the witch hat, I dyed a little bit of store-bought frosting green. Then I piped a dollop of frosting in the centre of an Oreo wafer and topped it with a Hershey's Kiss chocolate.
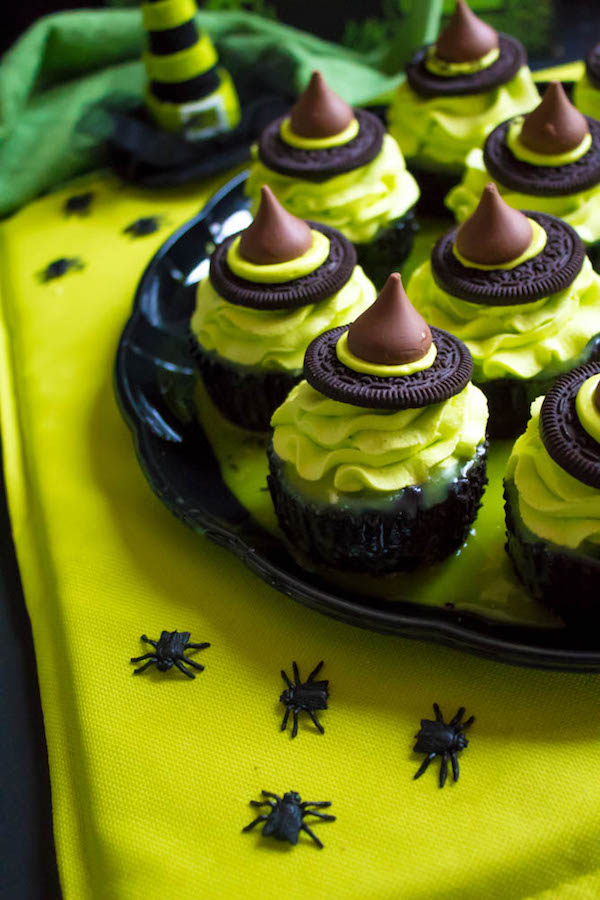
The witches hats really tie this dessert together. They're just the cutest little things!
These adorable bite-sized witch cheesecakes would be the perfect addition to your next Halloween party! Enjoy!
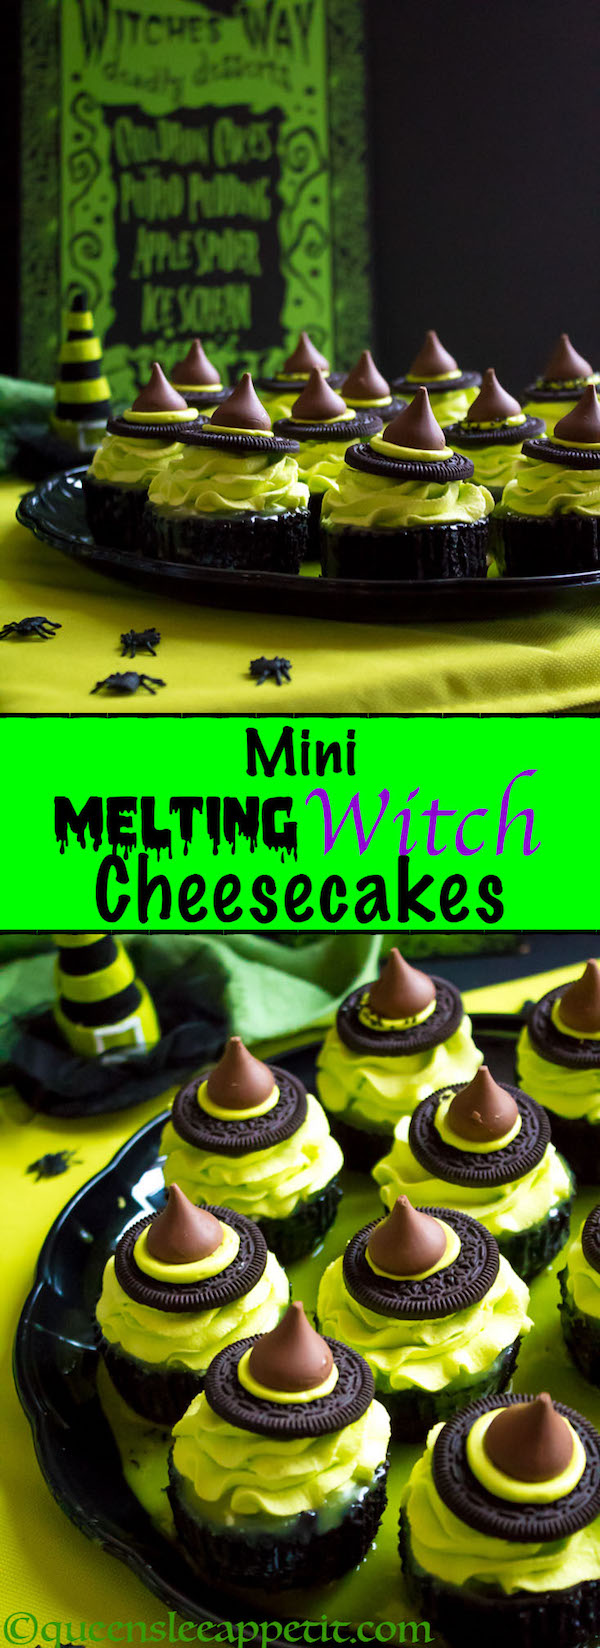
>>Pin Me For Later!<<
Shop The Recipe
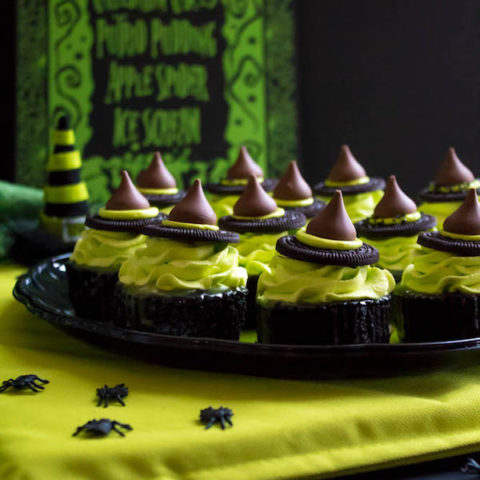
Mini Melting Witch Cheesecakes
These Mini Melting Witch Cheesecakes are cute, fun and easy to make. They're the perfect dessert to serve at your Halloween party!
Ingredients
Crust:
- 18 whole Oreos
- 3 tablespoon unsalted butter, melted
Filling:
- 5 oz Bittersweet or semisweet chocolate, melted and cooled
- 1 and ½ packages (12 oz) cream cheese, room temperature
- ½ cup granulated sugar
- ¼ cup unsweetened cocoa powder, sifted
- 2 tablespoon all purpose flour
- ½ cup sour cream, room temperature
- ¼ cup heavy cream
- 1 tsp. pure vanilla extract
- 2 large eggs, room temperature
- Few drops of black food colouring
Green Slime:
- ½ cup heavy cream
- 1 and ½ cups white chocolate chips
- Few drops of neon green food colouring
Witches Hats:
- ¼ cup store bought vanilla frosting
- Few drops of neon green food colouring
- 6-7 Oreos, split + filling scraped off
- 12-14 Hershey's Kisses
Green Whipped Cream:
- 1 cup heavy cream, chilled
- Few drops of neon green food colouring
- 3 tablespoon powdered sugar
Instructions
For the Crust:
- Preheat oven to 350F and Line a 12-cup muffin pan with cupcake liners. Set aside.
- In a food processor or in a large ziploc bag using a rolling pin, crush Oreos into fine crumbs.
- Add Oreo crumbs and melted butter to a mixing bowl and mix together using a fork. Place 1 tablespoon of crumbs into each liner and flatten using the back of the tablespoon or a small glass. Bake in preheated oven for 5 minutes. Allow to cool on a wire rack. Lower oven temperature to 325F.
For the Filling:
- Melt 5 ounces of bittersweet or semisweet chocolate in a small bowl in the microwave for 30 second intervals, stirring after each until completely melted and smooth. Set aside to cool.
- In a large bowl using a handheld mixer, beat the cream cheese, sugar, cocoa and flour on medium speed until creamy, about 3-4 minutes.
- Scrape down the sides of the bowl and add sour cream, heavy cream and vanilla and continue beating until smooth.
- Add eggs one at a time, beating slowly until just combined, do not overbeat. Add melted chocolate and mix on low speed to combine. Mix in black food colouring. Forcefully tap bowl on the counter a few times to release any air bubbles.
- Fill each liner with ¼ cup of batter. Tap and jiggle the pan so the cheesecake settles. Bake in preheated oven for 20-25 minutes until cheesecakes puff up.
- Remove from oven and allow to cool completely on a cooling rack. Cheesecakes will sink while cooling.
- Cover with plastic wrap and refrigerate until firm and chilled, about 4 hours or overnight.
For the Green Slime:
- Heat the heavy whipping cream in a small saucepan over medium heat, until it just begins to boil, then pour it over the white chocolate chips. Allow it to sit for 5 minutes, then stir until smooth. Add a few drops of neon green food colouring and stir until combined. Cover the ganache and refrigerate until ganache thickens. Meanwhile, make the witches hats.
For the Witches Hats:
- Split Oreos in half and lick off the cream filling. Place them on a plate top side up.
- Tint ¼ cup of store bought white frosting green using neon green food colouring. Transfer to a small ziploc bag and snip off a small corner.
- Pipe a dot of green frosting in the centre of the Oreo and place a Hershey's kiss on top, pressing down so some of the green frosting squeezes out. Transfer to the refrigerator until ready to assemble.
For the Green Whipped Cream:
- Combine the heavy cream and a few drops of green food colouring in a measuring cup.
- Pour the cream into a chilled mixer bowl, using a hand mixer, Whip cream until it reaches soft peaks, about 2 minutes.
- Add the powdered sugar and beat until cream holds peaks, about 1 minute.
Assembly of the Mini Melting Witch Cheesecakes:
- Take cheesecakes out of the refrigerator and remove the liners. Pour the green slime on top of each cheesecake, letting it drip down the sides to give a melting effect.
- In a piping bag fitted with a large star tip, pipe swirl of green whipped cream on top of the slime.
- Remove witches hats from the refrigerator and gently place on top of the whipped cream. Serve and enjoy!
Notes
1) Cheesecakes can be stored in an airtight container in the refrigerator for up to 3 days.
2) For the green slime, feel free to exclude the heavy cream and melt the white chocolate on its own, then dye it green.
3) I recommend assembling these cheesecakes on the platter you plan to serve them on. The slime melting and pooling around the cheesecakes adds a really great "melted witch" effect.
Did you make a recipe? I'd love to see how it turned out! Follow me on Instagram and use the hashtag #queensleeappetit so I can see all of the Queenslee Appétit recipes you've made!
Bon Appétit!
Love, Dedra ❤️
©All images & content are copyright protected. Please do not use my images without prior permission. If you want to republish this recipe, please re-write the recipe in your own words, or link back to this post for the recipe.
This post may contain affiliate links. Please see my full disclosure policy for details.



Leave a Reply