Classic Creme Brûlée and Creamy Cheesecake collaborate to make these incredible Mini Creme Brûlée Cheesecakes! With a custard based cheesecake topped with a yummy caramelized sugar topping, these mini treats are sure to be a huge hit!
This post may contain affiliate links. Please see my full disclosure policy for details.
So I recently had Creme Brûlée for the first time ever at my uncle’s wedding, and I immediately fell in love! A creamy vanilla custard topped with crunchy caramelized sugar — it’s dessert heaven! So with today being National Creme Brûlée Day, I just had to make my very own Creme Brûlée flavoured dessert.
Mini Creme Brûlée Cheesecakes
Instead of making homemade Creme Brûlée, I decided to make something much, much easier — cheesecake! Mini cheesecakes, to be exact. These mini cheesecakes are way simpler to make than a traditional Creme Brûlée and a full-sized cheesecake.
There’s no need for water baths, super long baking times, or anything too difficult for beginner bakers. All you have to do is make the simple crust, cheesecake filling, bake for less than 30 minutes, chill, add some sugar on top and burn, baby, burn!
Graham Cracker Crust
Let’s start with the crust. I made a simple graham cracker crust, but I actually think vanilla wafer cookies would be a better choice for these cheesecakes. I added a little sugar to sweeten the crumbs and some butter to hold it all together.
I tried something new for the filling. Instead of a basic vanilla cheesecake, I decided to try a custard-style cheesecake. This was a complete shot in the dark because I’ve never tested it, nor have I ever seen anyone make cheesecake like this, but it actually came out amazing!
Custard Cheesecake Filling
To make the filling, I started by heating some heavy cream over the stovetop. Once it began to simmer, I removed it from the heat, mixed in some vanilla, then allowed it to cool for a few minutes. Then I mixed the cream cheese, sugar, cornstarch and salt together like normal.
Instead of using 2 whole eggs like I usually do, I used 5 egg yolks (which is basically the equivalent to 2 whole eggs). I decided to use egg yolks because that’s the base of most custards.
I then beat the egg yolks together, then slowly poured in the hot cream while whisking constantly. This is a basic step in custard making that’s supposed to temper the eggs so they don’t curdle while cooking. Although we’re not cooking a custard, so this was pretty much me trying to be edgy and different. But I do think it did something special to the cheesecake.
After mixing the heavy cream and eggs together, we’re gonna strain it into a measuring cup to get rid of any solid egg pieces that may have formed because of the heat. Slowly pour it into the cheesecake while beating with a mixer until every thing is completely combined and you’re done!
The batter was thinner than my normal cheesecake batters, so I was a little worried it would fail, but they ended up being perfect little delicious pieces of cheesecake heaven! The cheesecake doesn’t rise that much so it may not reach the top of your cupcake liners.
You can fill them all the way to the top, but you may end up with less cheesecakes. The height isn’t that important with these cheesecakes though because you’ll have to remove the liners anyway so they don’t catch on fire when you’re torching the top. Super important, do NOT skip that step.
Burnt Sugar Topping
On to the topping. Like I mentioned above, it is very important that you remove the paper liners before you top the cheesecakes. Paper + fire = bad idea. Anyways, it only takes about 3 tablespoons or less to top each cheesecake. I recommend using a small spoon to sprinkle the sugar evenly on the surface of each cheesecake.
Next up is torching the sugar with a handy dandy kitchen torch. I really don’t think there’s an alternative way to torch the sugar on these cheesecakes without a kitchen torch. Don’t worry, you don’t need a super expensive high quality Creme Brûlée torch for these mini cheesecakes, a simple cheap and small kitchen torch should work just fine.
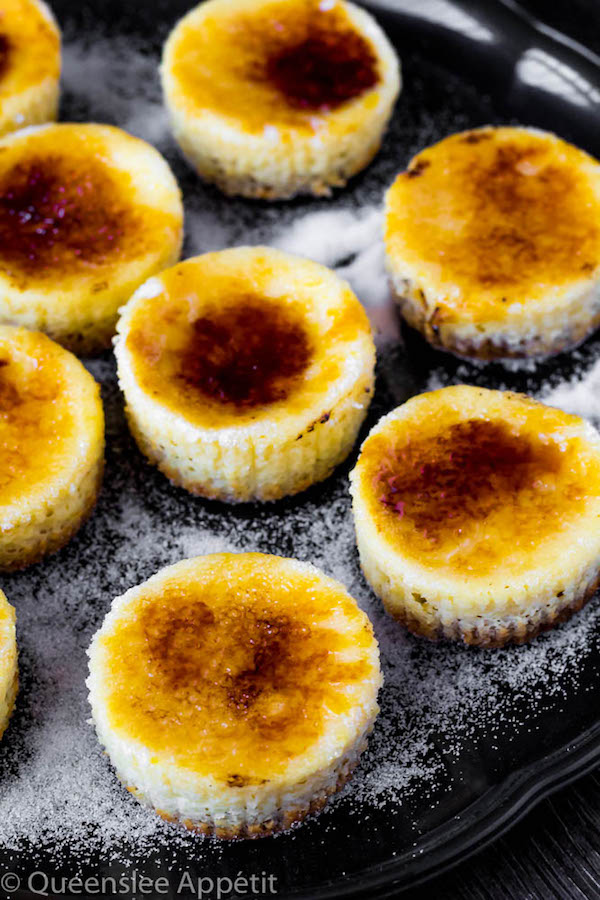
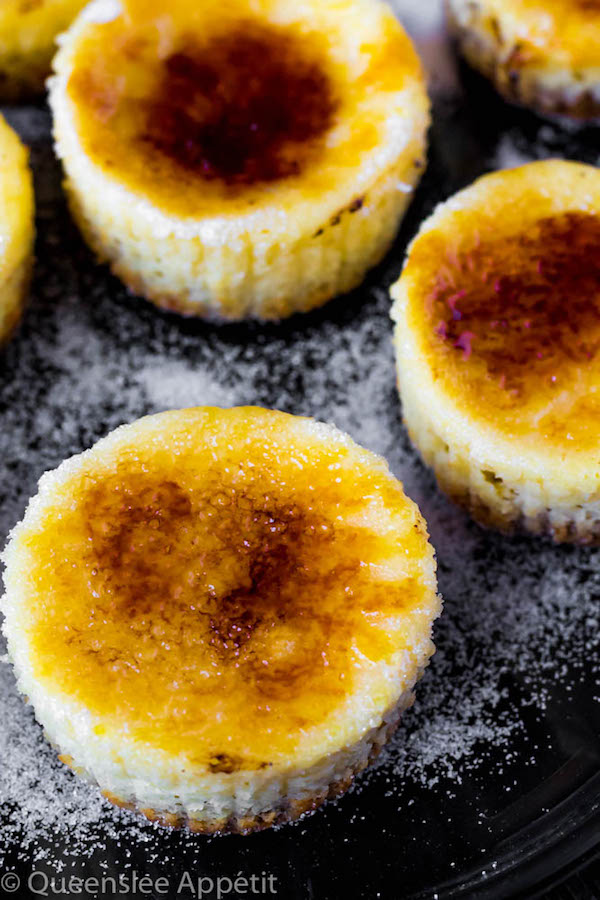
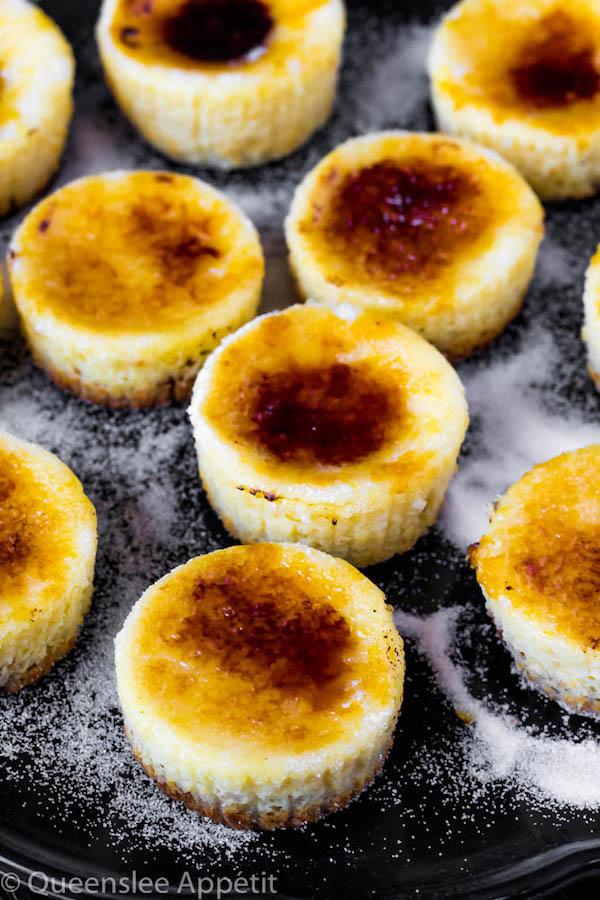
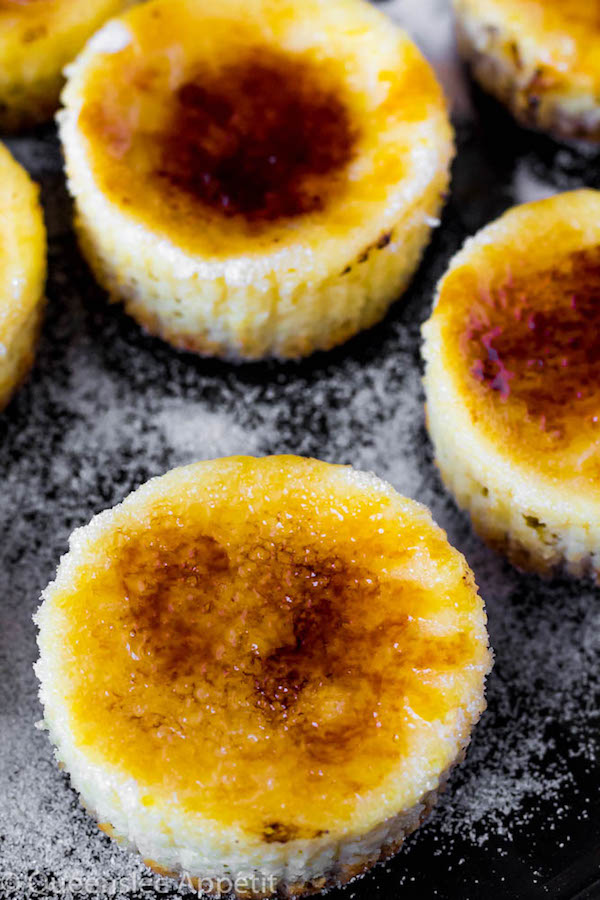
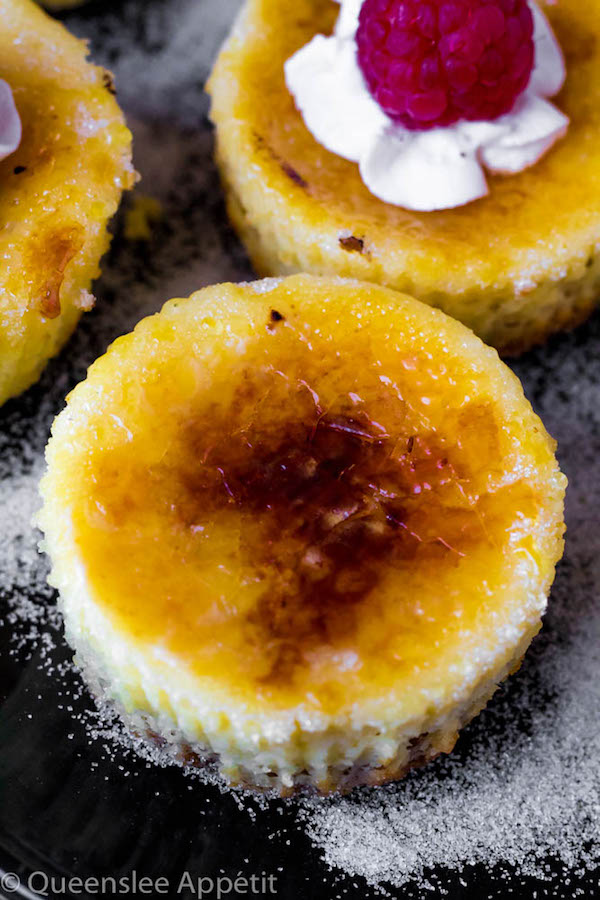
Now here’s the small problem I had with torching the sugar. Every mini cheesecake I make slightly sinks in the middle when chilling. This is normally fine, but for these cheesecakes, this means that the sugar won’t be in an even layer and some of it will pile up in the middle.
When torching, the sugar slides into the middle and burns, and burnt sugar is not a very pleasant taste. Luckily this only happened with 2 of my cheesecakes and the rest had nice, flat tops which gave me a perfectly golden brown caramelized sugar topping.
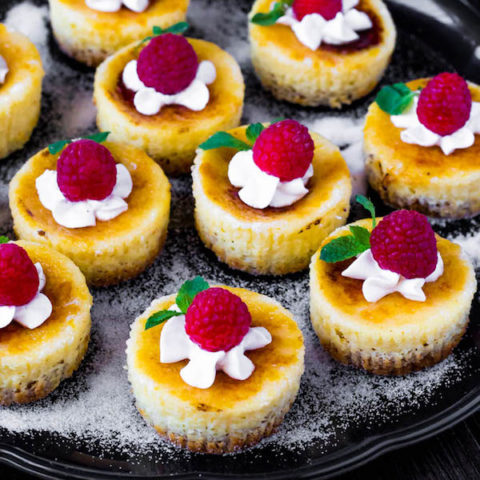
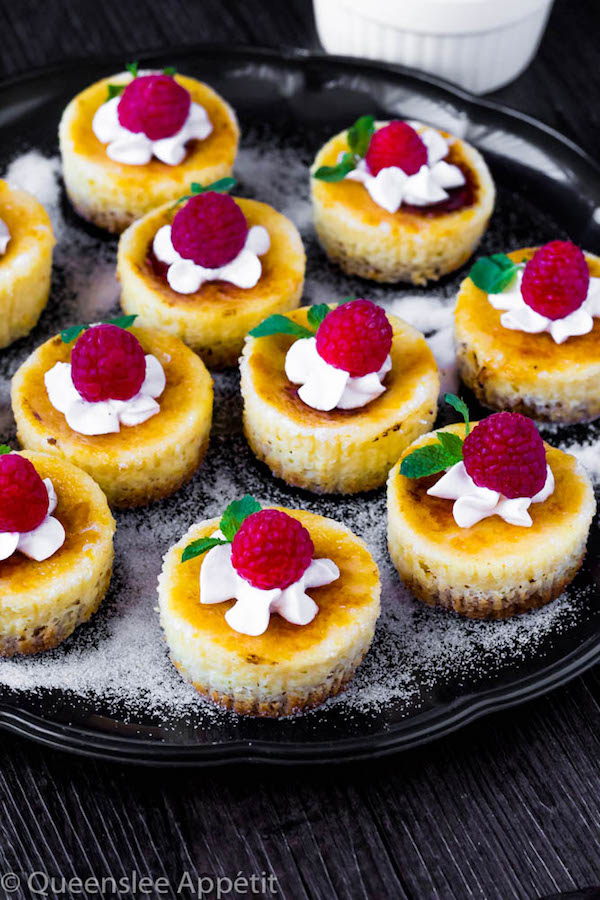
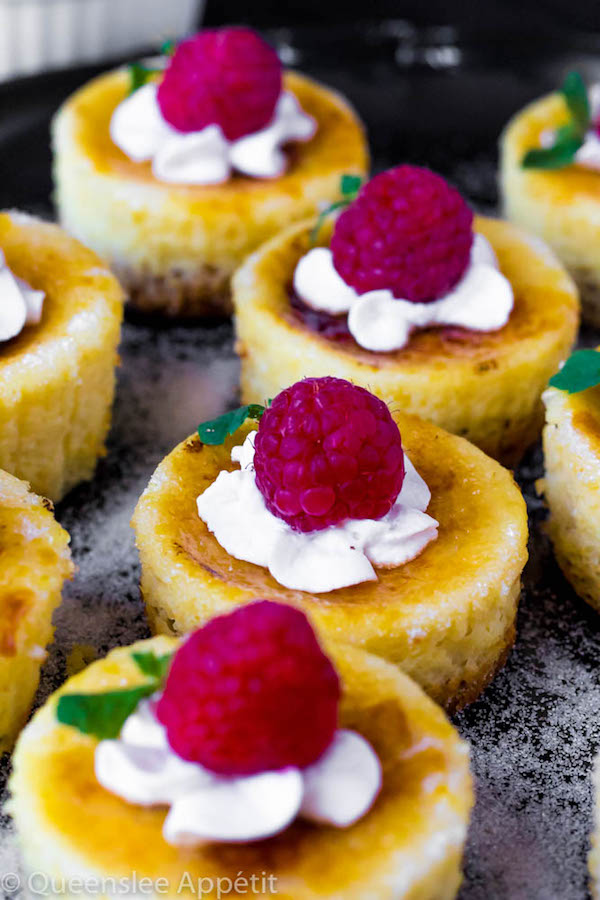
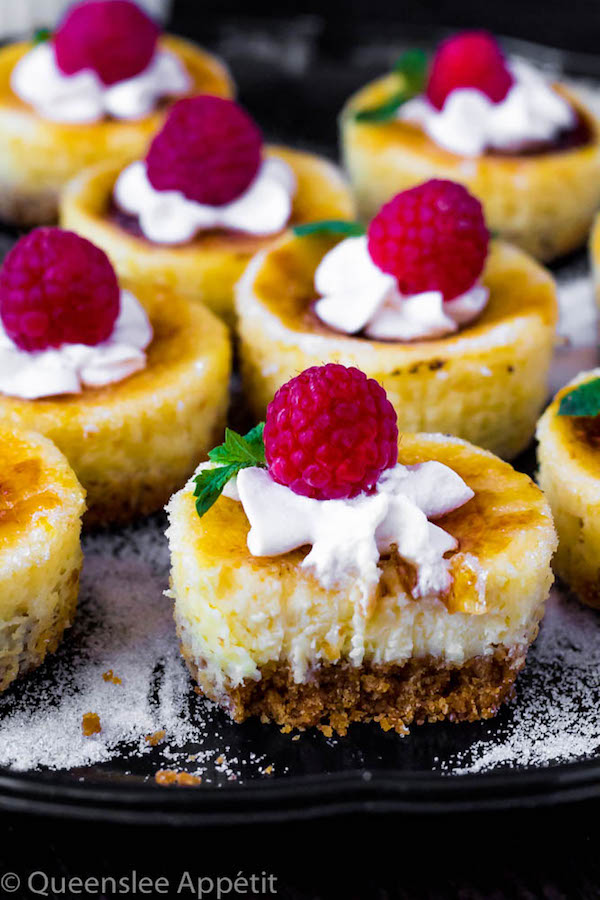
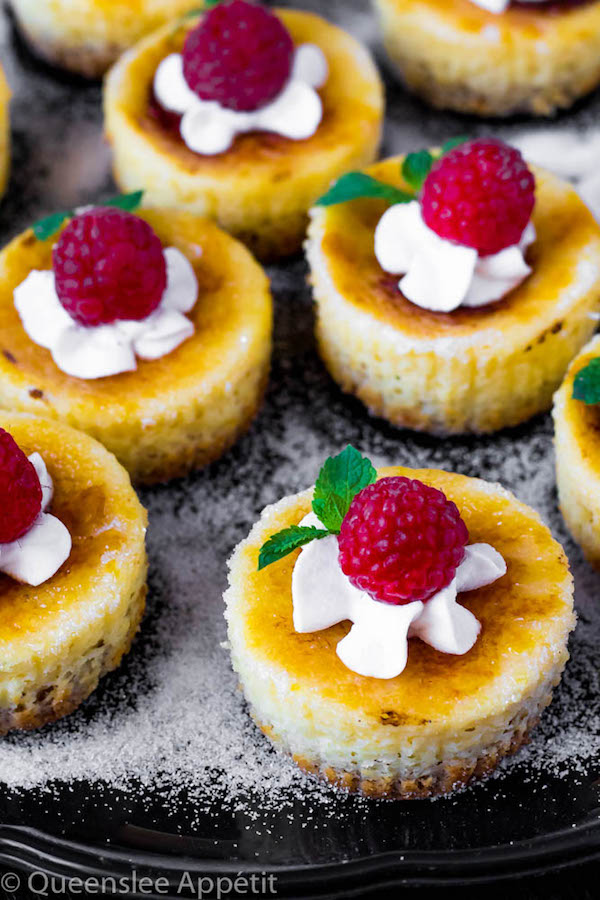
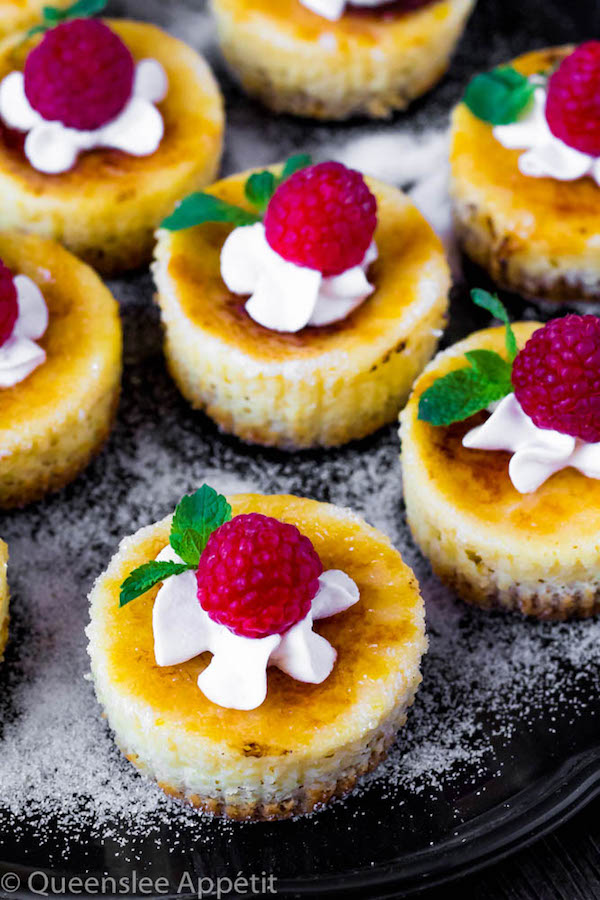
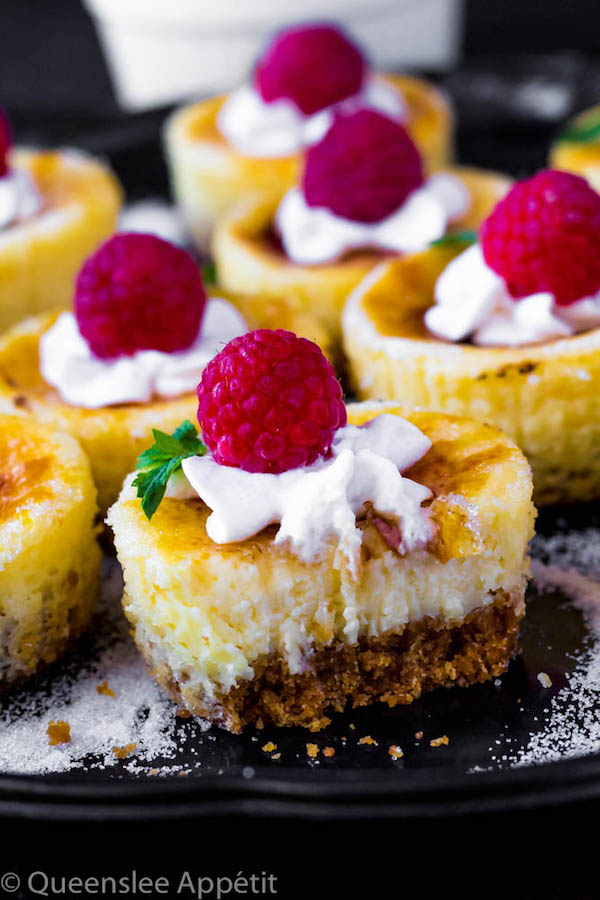
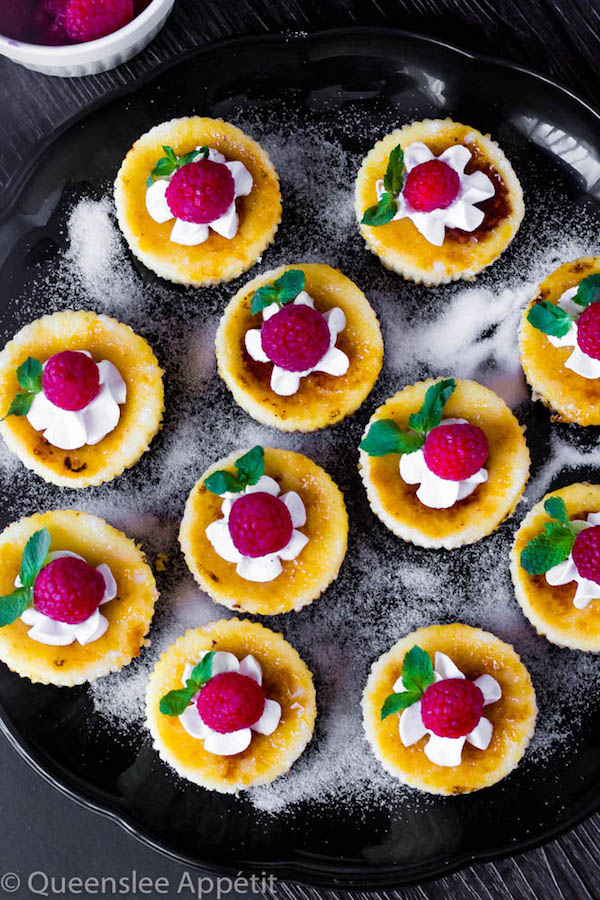
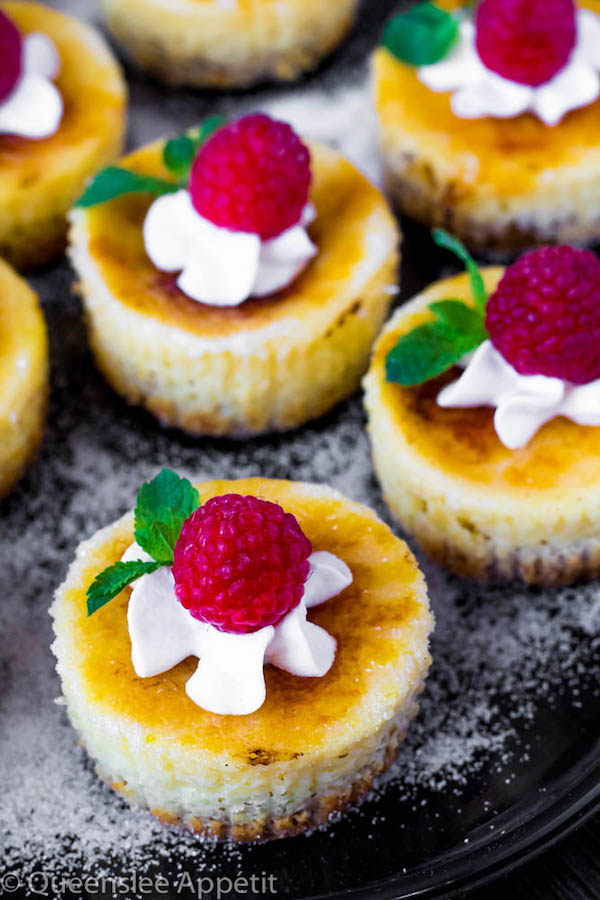
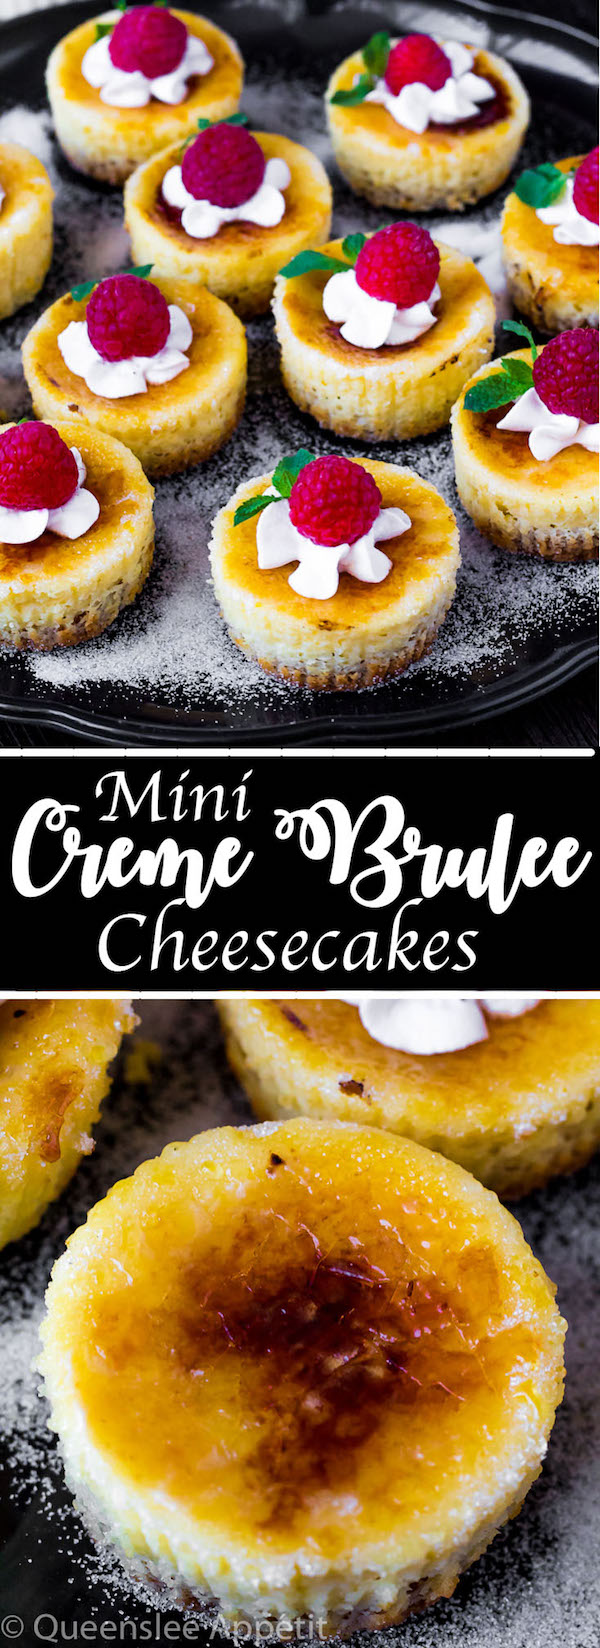
To decorate the cheesecakes some more (and to cover up any imperfections), I piped a small amount of whipped cream on top and garnished with raspberries and mint leaves. The raspberry and mint pairs perfectly with the crunchy sugar and creamy cheesecake!
Very Important Tip: Do NOT top these cheesecakes until the day you plan to serve. After a day, the sugar will dissolve and become a watery mess, along with the whipped cream. I highly recommend you wait until the day you plan to serve these to top with the sugar and garnishes. Even if you aren’t serving them to others and just plan to eat them on your own (same, girl, same) I recommend you top them just before eating. Trust me, they’ll be much more enjoyable if you do.
I was amazed at how, well, AMAZING these mini cheesecakes were. The textures were just incredible! The hard, crunchy, flavourful caramelized shell sitting on top of a creamy, smooth and silky “custard-like” cheesecake and the buttery sweet graham cracker crust.
Each bite is a burst of flavour! My favourite thing about these cheesecakes, aside from the taste, is that I can that the back of a spoon and smash the hardened topping. It‘s the funnest thing to do when enjoying a Creme Brûlée.
>>PIN ME FOR LATER<<
SHOP THE RECIPE
Here are some of the tools I used to create today’s recipe:
Cupcake Pan | Cupcake Liners | Kitchen Torch | Hand Mixer |
FOLLOW QUEENSLEE APPÉTIT
Like what you see? Make sure you‘re following Queenslee Appétit for more tasty recipes!
Pinterest | Instagram | Facebook | Twitter |
Did you make a recipe? I’d love to see how it turned out! Follow me on Instagram and use the hashtag #queensleeappetit so I can see all of the Queenslee Appétit recipes you’ve made!
Have any questions about the recipe? Contact me here, and I’ll be happy to help!
Let’s get baking!
Mini Creme Brûlée Cheesecakes
Classic Creme Brûlée and Creamy Cheesecake collaborate to make these incredible Mini Creme Brûlée Cheesecakes!
Ingredients
Crust:
- 1 cup graham cracker crumbs or vanilla wafer cookie crumbs
- 1 and ½ Tbsp. Granulated Sugar
- 2 tablespoon Unsalted Butter, melted
Filling:
- ¾ cup heavy cream
- 2 teaspoon pure vanilla extract
- 1 and ½ packages (12 oz) full-fat cream cheese, room temperature
- ½ cup granulated sugar
- 1 Tbsp. cornstarch
- ⅛ teaspoon salt
- 5 large egg yolks, room temperature
Topping:
- 3 tablespoon granulated sugar
- Whipped Cream (store bought or homemade)
- Fresh Raspberries
- Fresh Mint Leaves
Instructions
For the Crust:
- Preheat oven to 350°F and Line a 12-cup muffin pan with liners. Set aside.
- Add graham cracker crumbs and sugar to a mixing bowl and mix together using a fork. Mix in melted butter. Place about 1 to 1 and ½ tablespoons of crumbs into each liner and flatten using the back of the tablespoon or a small glass. Bake in preheated oven for 5 minutes. Allow to cool on a wire rack. Lower oven temperature to 325°F.
For the Filling:
- In a small saucepan, heat the cream over medium heat, stirring occasionally, until it begins to simmer, 2-3 minutes.
- Once cream begins to simmer, remove from heat and stir in the vanilla. Set aside.
- In a medium mixing bowl using a handheld mixer, beat the cream cheese on medium-low speed until creamy, about 1-2 minutes.
- Scrape down the sides of the bowl and add sugar, cornstarch, and salt. Beat until smooth and combines. Set aside.
- Whisk the egg yolks until pale. Slowly pour ⅓ of the heavy cream into the egg yolks while whisking to temper the eggs.
- Slowly pour the remaining cream into the egg mixture while whisking constantly until combined.
- Pour the egg/cream mixture through a fine mesh strainer into a large measuring cup or a bowl with a pouring snout.
- While mixer is running, slowly pour the egg/cream into the mixture and continue beating until smooth. Batter will be thin.
- Scrape sides and bottom of the bowl with a rubber spatula to make sure everything is combined. Forcefully tap bowl on the counter a few times to release any air bubbles.
- Fill each liner with ¼ cup of batter. Bake in preheated oven for 18-20 minutes until the tops are puffed and look dry.
- Remove from oven and allow to cool completely on a cooling rack.
- Cover with plastic wrap and refrigerate until firm and chilled, about 1-2 hours or overnight.
For the topping:
- Read the notes before continuing.
- Once cheesecakes are chilled, remove from muffin tin and paper liners. If the tops or the cheesecake are wet, dab off the moisture with a paper towel.
- Sprinkle an even layer of sugar on top of each cheesecake. Then, using a kitchen torch, torch the sugar until it caramelizes. You may need to go over it a few times, but be careful not to burn the sugar. Allow to cool and harden.
- Pipe stars of whipped cream in the middle of each cheesecake, making sure to leave the edges showing so the caramelized topping is visible. Garnish with fresh raspberries and mint leaves, if desired. Serve and Enjoy!
Notes
- Do NOT top these cheesecakes until the day you plan to serve. After a day, the sugar will dissolve and become a watery mess, along with the whipped cream. I highly recommend you wait until the day you plan to serve these to top with the sugar and garnishes.
BON APPÉTIT!
Love, Dedra




Leave a Reply