
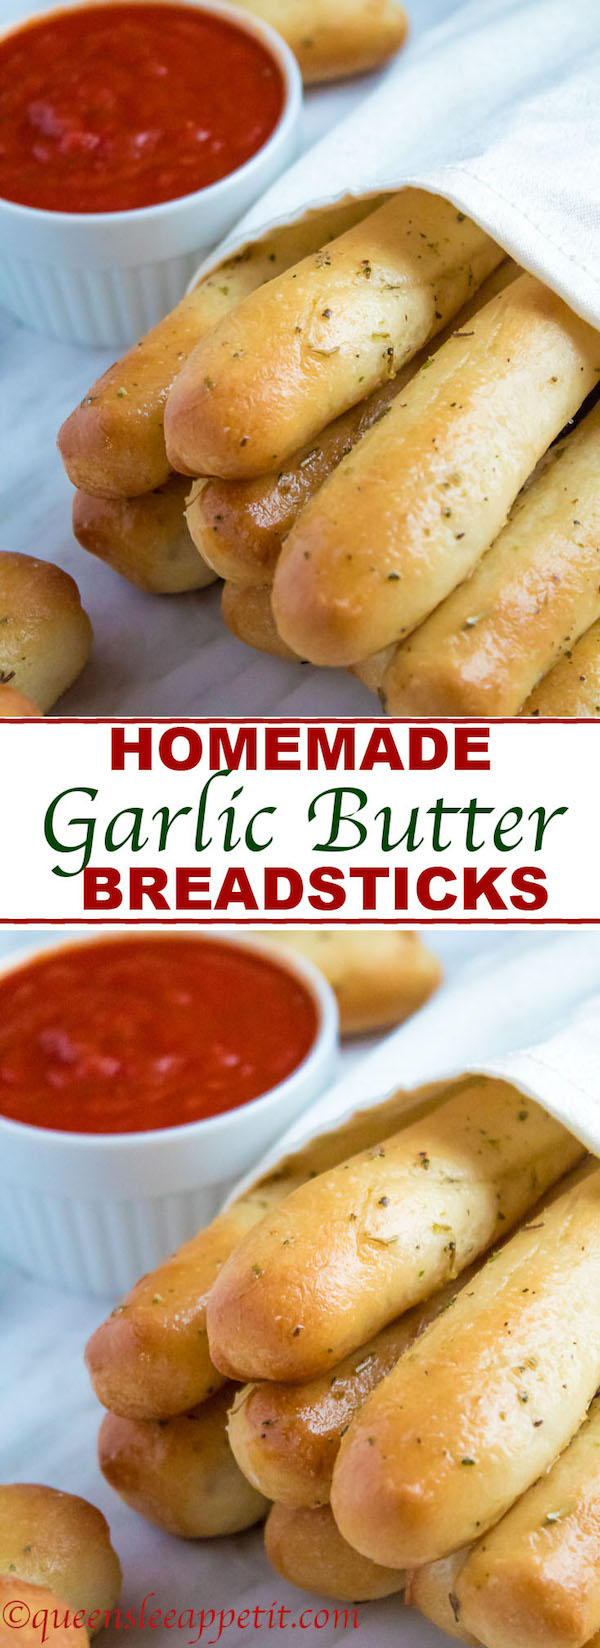
These Homemade Garlic Butter Breadsticks are incredibly soft, fluffy and buttery. They're so simple to make and are a great addition to all your meals!
If you're the type of person who goes to Olive Garden for the main purpose of eating as many breadsticks as humanly possible, then boy do I got the recipe for you! We don't have an Olive Garden here in Canada, so I can't really go on and on about how similar these breadsticks are to theirs. However, if you eat Olive Garden breadsticks religiously, then I'm almost certain you'll find these to be just as good!
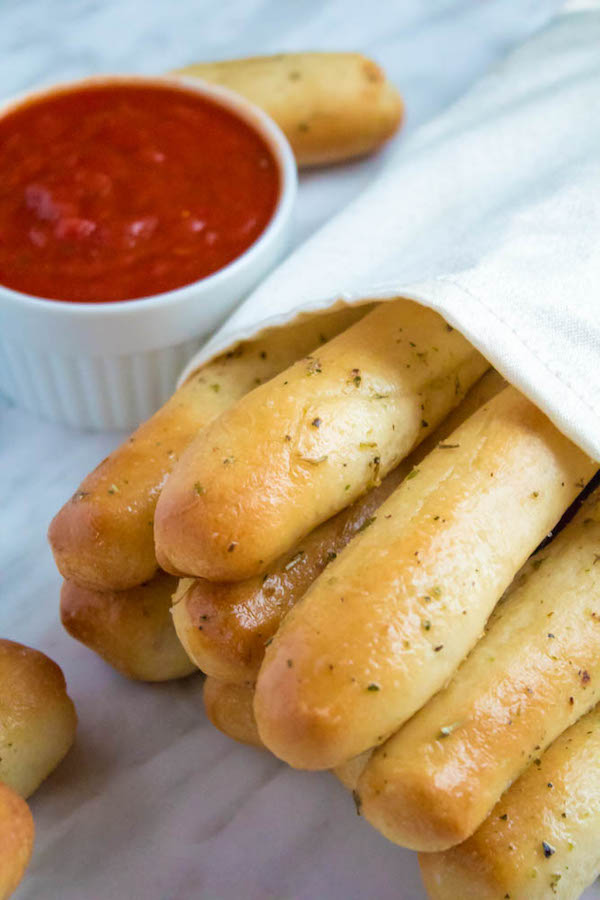
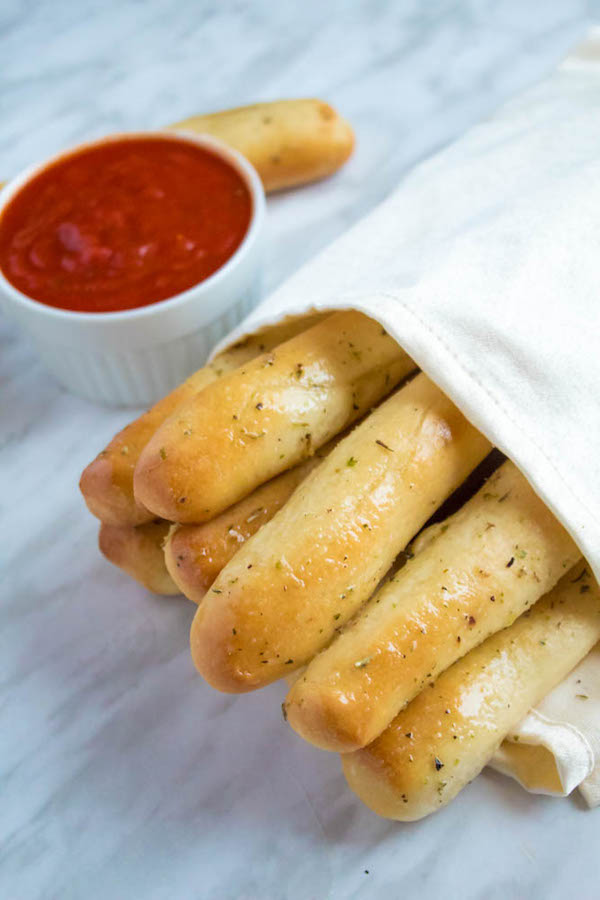
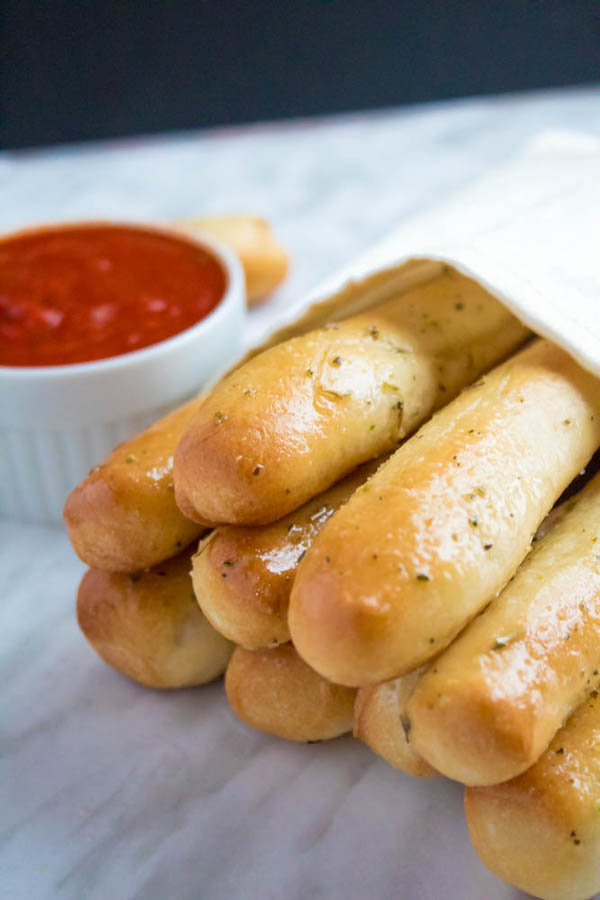
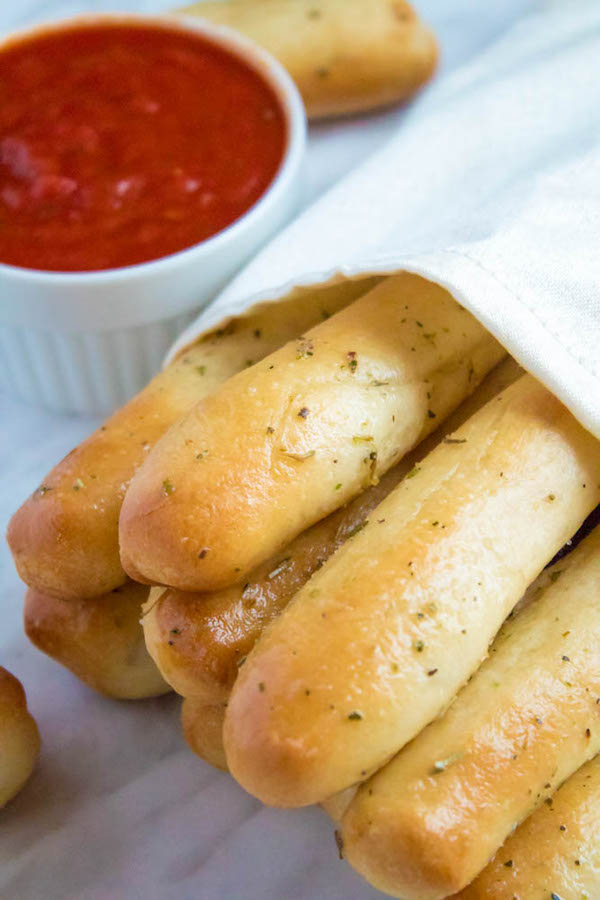
There's absolutely nothing better than a basket of warm, soft, buttery, garlic breadsticks! If you're anything like me you may not have the time, energy, or money to eat at a restaurant every time you're craving these buttery beauties. Luckily for you, it is ridiculously easy to make your beloved restaurant breadsticks in the comfort of your own kitchen!
Once you see how cheap, quick and easy it is to make your own breadsticks at home, you'll be making them every chance you get! Only 7 simple ingredients are required, excluding water because I'm sure you have it. Heck, you probably have all of the other ingredients too — yeast, sugar, butter (feel free to use margarine), salt, flour, garlic powder and Italian Seasoning.
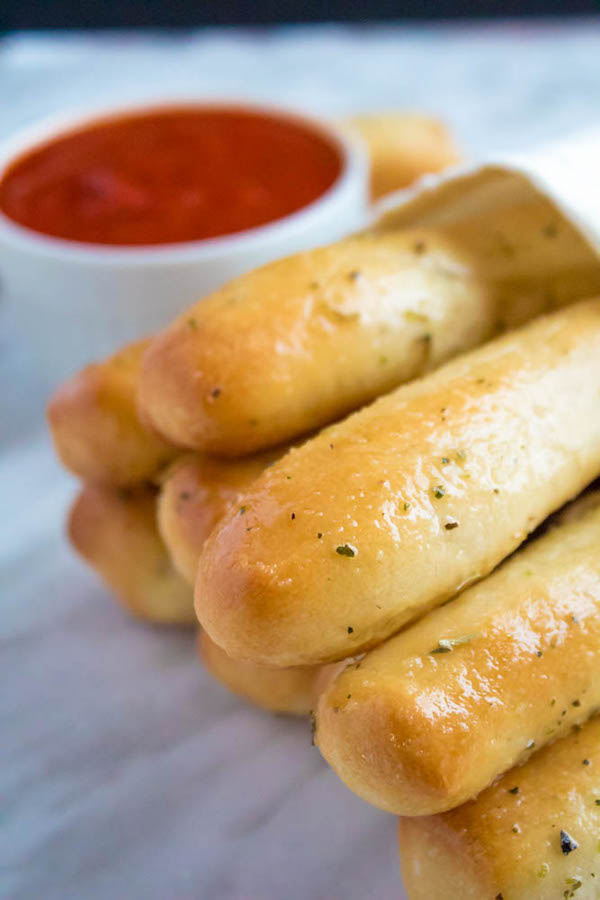
That's it. Seriously. It takes no time to make the dough, although you'll need to wait a bit for it to rise. Believe me though, it's totally worth the wait once you bite into that soft and fluffy bread. I mean look!
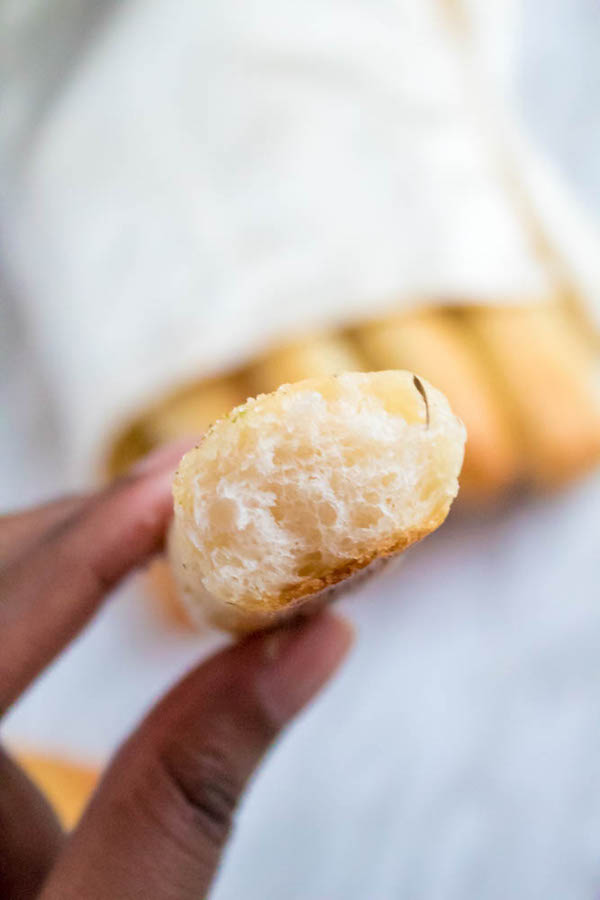
In the words of Agnes from 'Despicable Me' — IT'S SO FLUFFYYYY! And this recipe makes a lot of breadsticks too, which means you'll have enough for quite a few meals. Unless you eat about 5-6 in one day like I may or may not have done.
Tips for making Homemade Breadsticks:
Make sure your water isn't too hot
The water should be around 110-115˚F. You don't exactly need a thermometer for this, simply test the water by holding your hand/wrist under the tap. The water should be warm enough to keep your wrist there, it shouldn't burn. If the water is too hot it will kill the yeast, preventing it from foaming up.
Use a fresh package of yeast
Make sure your yeast is fresh. If you have to question it, I recommend buying a new package. Some recipes call for mixing the yeast and all of the other ingredients together, but I prefer to proof the yeast with the warm water and sugar. Doing this will allow you to see if your yeast is active or not. If it's not, you can easily dump it out and try again with more water and a fresh new package of yeast.
Measure your flour CORRECTLY!
This is very VERY important if you want your breadsticks to have a soft and fluffy texture. Too much flour will result in a hard and tough breadstick. Using too little flour isn't as unforgivable because you can add more flour a little at a time until your dough is smooth and elastic.
To measure your flour, use a flour scoop to loosen up your flour. Scoop it out and sprinkle it into your measuring cup. Repeat until the flour reaches the top, then use the back of a butter knife to scrape off the excess flour.
Rolling out the breadsticks
I had trouble with this part with my first batch. I rolled the dough out to be as thick as a sausage, but here's the thing about yeast doughs — they double in size. This means my breadsticks ended up being, well, hoagies. They still tasted amazing, but they didn't look like breadsticks so I had to try again.
After learning from my mistakes, I made a few changes to my technique. I started by rolling the dough out into a long log, then sliced it into 16 1-inch pieces. From there I rolled each piece between my palms into a thin log. It should be thinner than you want since the dough will double in size. The breadsticks are really long, so feel free to cut them in half (then you'll end up with twice as much!!)
Spray the tops of the breadsticks with cooking spray
Before baking, spray the top of the breadsticks with cooking spray to help prevent them from drying out in the oven.
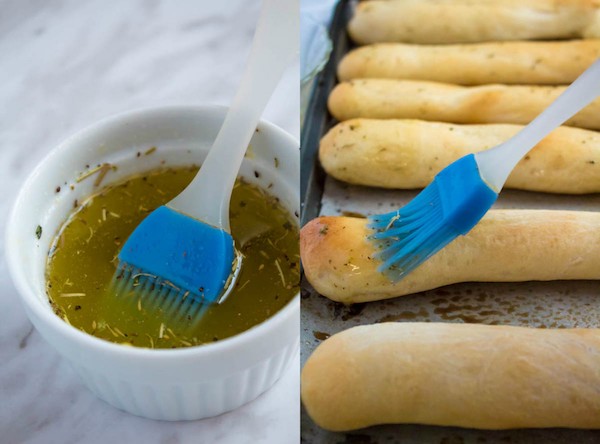
Onto the buttery garlic topping! Simply combine melted butter, salt, garlic powder and Italian seasoning. As soon as the breadsticks come out of the oven, slather the tops with this buttery goodness and allow the bread to soak it all up. Yum!!
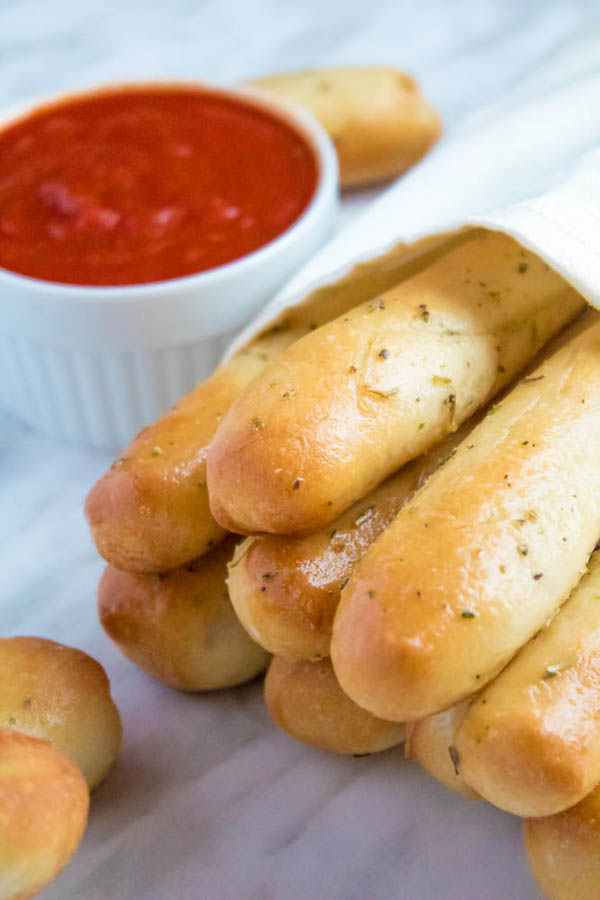
Super soft, super buttery and super easy! These breadsticks are addictive to say the least. Serve them alongside your favourite meal (may I suggest this lasagna or this mac and cheese?) I guarantee they will become your new favourite!
>>PIN ME FOR LATER<<
Follow Queenslee Appétit
Pinterest | Instagram | Facebook | Twitter |
Did you make a recipe? I'd love to see how it turned out! Follow me on Instagram and use the hashtag #queensleeappetit so I can see all of the Queenslee Appétit recipes you've made!
Let's get baking!

Homemade Garlic Butter Breadsticks
These Homemade Garlic Butter Breadsticks are incredibly soft, fluffy and buttery. They're so simple to make and are a great addition to all your meals!
Ingredients
Dough:
- 1 and ½ cups warm water (110-115˚F)
- 1 tablespoon active dry yeast
- 2 tablespoon granulated sugar
- 2 tablespoon unsalted butter, melted
- 1 and ½ teaspoon salt
- 4 cups All purpose flour
For Brushing:
- 5 tablespoon Melted butter
- ½ teaspoon - 1 teaspoon salt, to taste
- ½ teaspoon garlic powder
- 1 teaspoon Italian seasoning
Instructions
For the Dough:
- Pour warm water into a stand mixer bowl fitted with a dough hook. Sprinkle the yeast and sugar into the warmed water, do not stir. Allow to sit for about 5-10 minutes or until frothy. If yeast doesn't foam up, your yeast is either dead or the water is too hot, which means you have to start over.
- Add melted butter, salt and half of the flour. Mix on low speed and gradually add the remaining flour. Once combined, increase speed to medium low (2 on a kitchenaid mixer) and knead dough until it's smooth, elastic and pulls away from the sides, about 7-10 minutes. Or you can transfer the dough to a lightly floured surface and knead by hand for about 7-10 minutes until dough is smooth.
- Lightly oil a separate large bowl with olive oil or cooking spray, place dough inside and turn to cover both sides. Loosely cover with plastic wrap or a tea towel and let rest in a warm place for 1 to 1 and ½ hours, until dough has doubled in size. *see notes
Shaping the Dough:
- Once dough has risen, punch it down and remove it from the bowl and shape into a long log. Divide the log into 16-18 even 1-inch pieces and roll each piece between your palms to create a thin 7-inch log. If you want regular sized breadsticks, feel free to cut the log in half.
- Place logs onto a baking sheet lined with parchment paper that's been greased with cooking spray or a silpat mat, about 1-inch apart. Cover with a tea towel to prevent them from drying out while you shape the rest of your breadsticks.
- Once you've shaped all the breadsticks, cover the baking sheet and allow the dough to rest for another 1 hour, or until doubled in size.
- Preheat the oven to 400F. Lightly spray the tops of the breadsticks with cooking spray, this prevents them from drying out. Bake breadsticks for about 14-15 minutes, or until golden brown.
- While the breadsticks are baking, combine the melted butter, salt, garlic powder and Italian seasoning.
- Once breadsticks are done baking, remove from oven and immediately brush the tops with the melted garlic butter mixture. Serve warm and enjoy!
Notes
- For the warm place, I preheated my oven to 200F. Once preheated, turn the oven off and place the bowl in there with the light on and allow to rise.
- Breadsticks are best on day 1 but can be stored in an airtight container at room temperature for about 1-2 days. You can reheat in the microwave for a softer texture, or in the oven if you want the outside to be crunchier.
- Butter can be substituted for margarine. I made 2 batches using both and didn't notice a huge difference.
©QUEENSLEE APPÉTIT. All images & content are copyright protected. Please do not use my images without prior permission. If you want to republish this recipe, please re-write the recipe in your own words, or link back to this post for the recipe.
Bon Appétit!
Love, Dedra ❤️


Dustin
Had this with my chrismas lasagna. Made it just like you said and it was AMAZING! Thanks
Rena
Is hand kneading the dough okay? I don’t have a mixer
Dedra | QueensleeAppetit
Definitely! Mix everything with a wooden spoon, then knead on a floured surface for the same amount of time until the dough is smooth.
Erin
These were great! Loved them
Savita Gonsalves
Made tonight to go with eggplant and chicken parmasean, was hit with everyone! Easy, and delicious.
Kayla
I made the dough and now hubby wants something different for dinner. Is it okay to sit for 24 hours?
Dedra | QueensleeAppetit
You can either cover the dough and let it rise in the refrigerator overnight or you can make the breadsticks and keep them in a container at room temperature, then re-heat the next day.
Jennifer
I made these but didn’t have any butter on hand 🙄, so I subbed olive oil for the butter in the dough. They taste amazing!!
Linda
Wow made these tonight grandkids and hubby said we're awesome ty love your how u explained everything ty so much