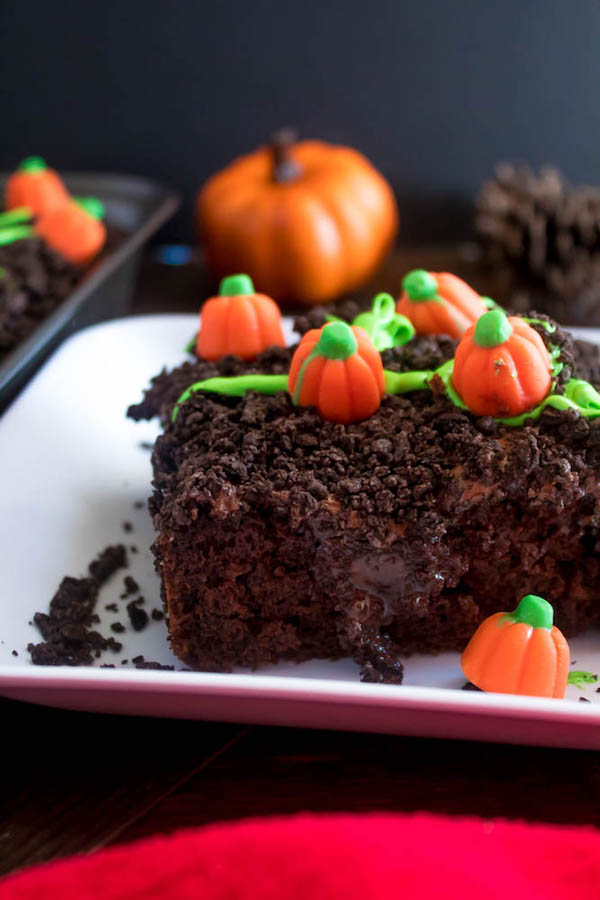
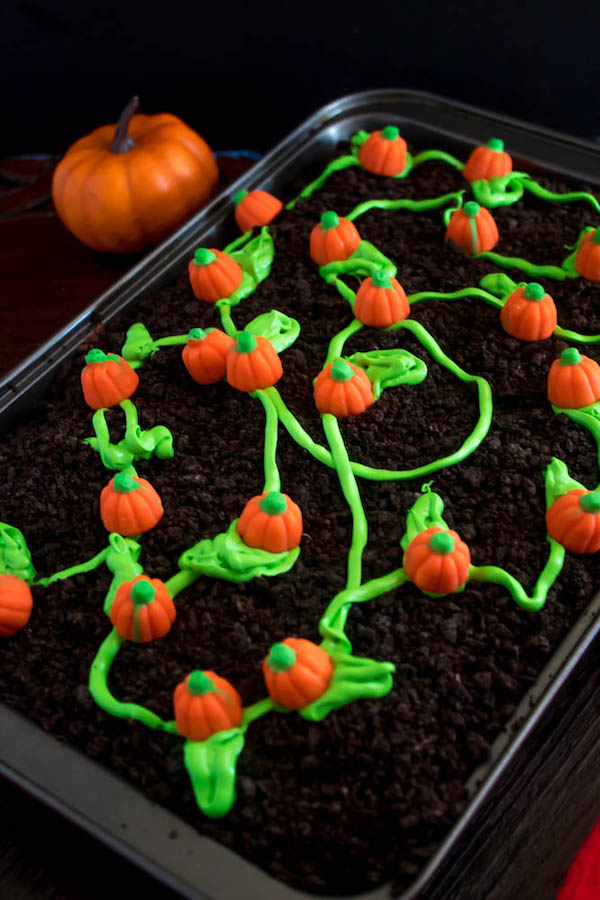
This Pumpkin Patch Poke Cake is super fun, easy and festive! This cute dessert would be a great treat to serve after Thanksgiving dinner!
I've always wanted to make a poke cake and a pumpkin patch dessert, and with it being the fall season, it was the perfect opportunity to make both! This Pumpkin Patch Poke Cake is such a fun way to celebrate fall or Thanksgiving. It's super simple, so if you have kids, they could help you out! Get them to poke the holes, sprinkle the dirt and place on the pumpkins!
I love poke cakes because they're so delicious and easy to make! They're a great alternative to the more difficult Layer Cakes, and there are a ton of cake and filling flavour possibilities!
To start, I made a chocolate cake. I used a simple box mix to make this recipe as easy and affordable as possible. You can make the cake from scratch, if you prefer (may I suggest this chocolate cake recipe). The cake also doesn't have to be chocolate. You can use a vanilla box mix, red velvet, carrot, whatever you want.
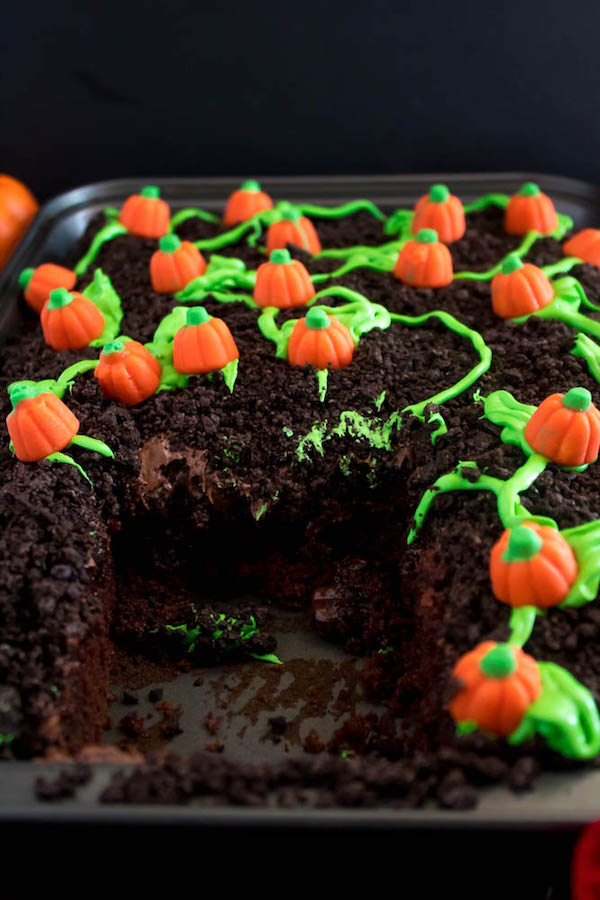
Once the cake was done, I poked holes over the top. You can use many things to do this. I used the bottom of a cake spatula, but you can use anything from a wooden dowel to the round bottom of a kitchen utensil.
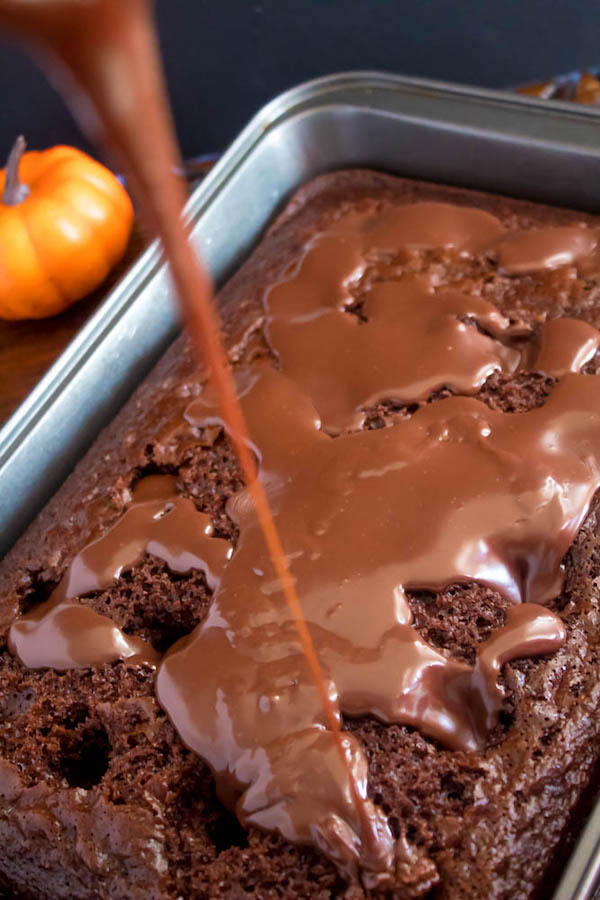
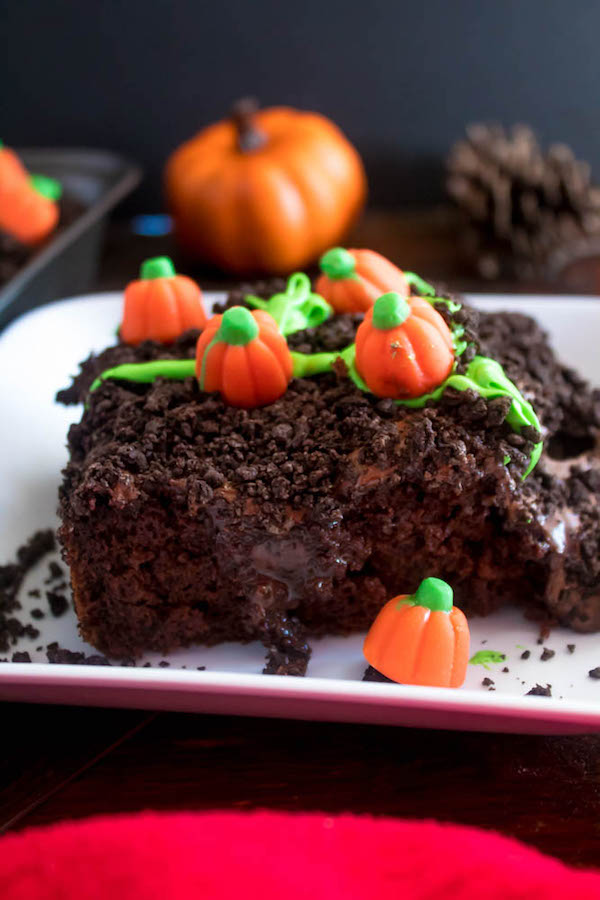
I then melted some chocolate chips and sweetened condensed milk together and poured it over the cake and allowed it to sink into the holes. Chocolatey goodness!
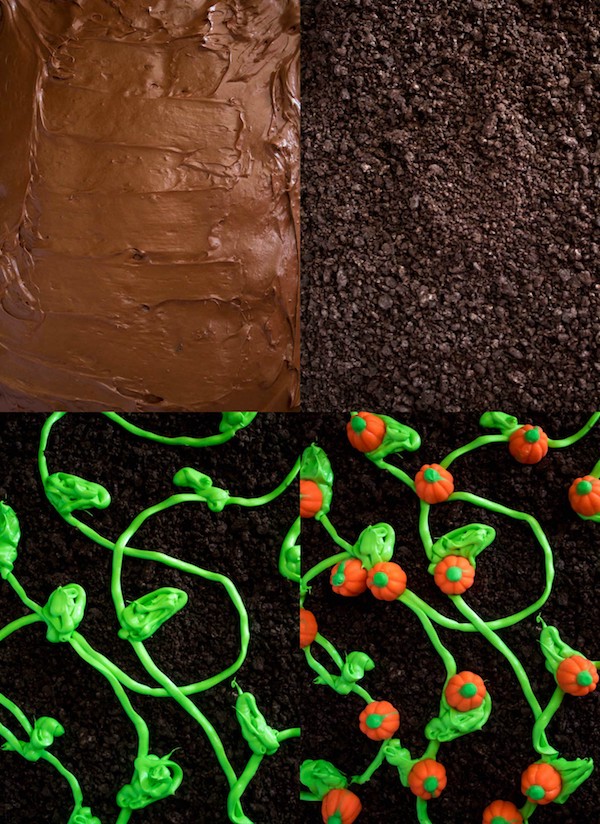
Now here comes the fun part: creating your pumpkin patch! For the frosting, a.k.a. the mud, I used a can of store-bought chocolate frosting and spread it over the top of the cake.
For the dirt, I crushed some Oreos in a food processor. You can also put them in a large ziploc bag and whack them with a rolling pin until they're fine crumbs. I then sprinkled the "dirt" all over the "mud".
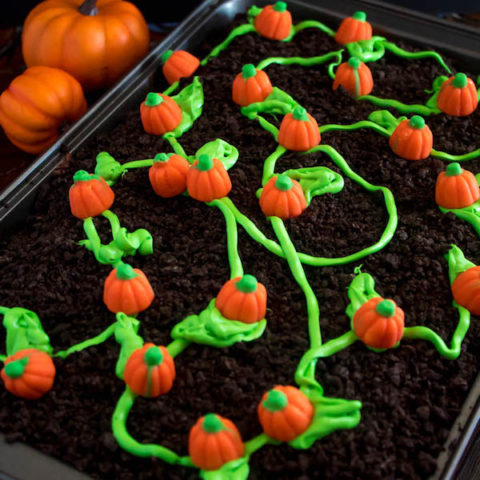
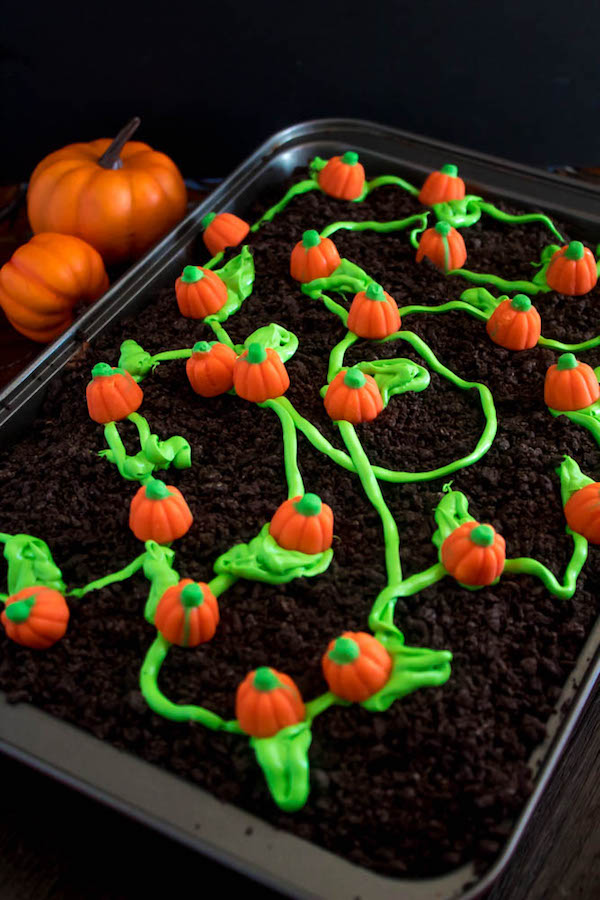
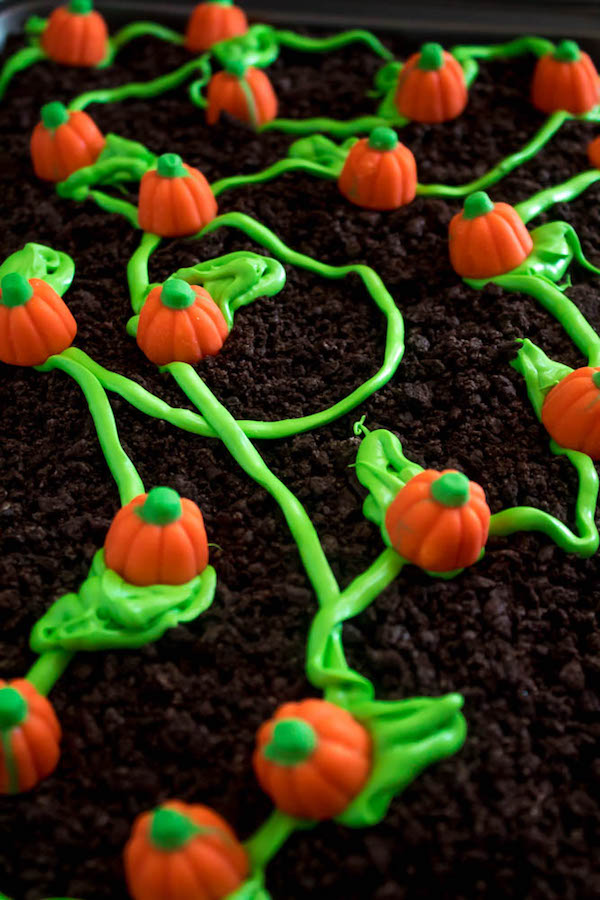
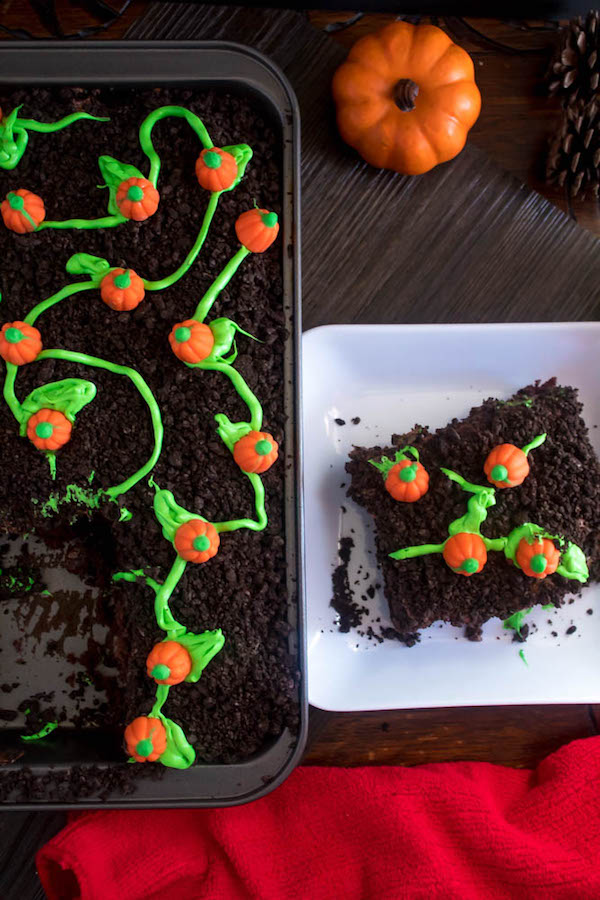
For the vines, I tinted a can of store-bought white frosting green using leaf green gel food colouring. An alternative to this is to use a tube of green decorating icing. Put the frosting into a ziploc bag and snip off a small corner, if using decorating icing, just squeeze it out. The vines don't need to be neat at all, simply squeeze out the frosting and randomly swirl it around. Then squeeze out little triangles around the vines for the leaves.
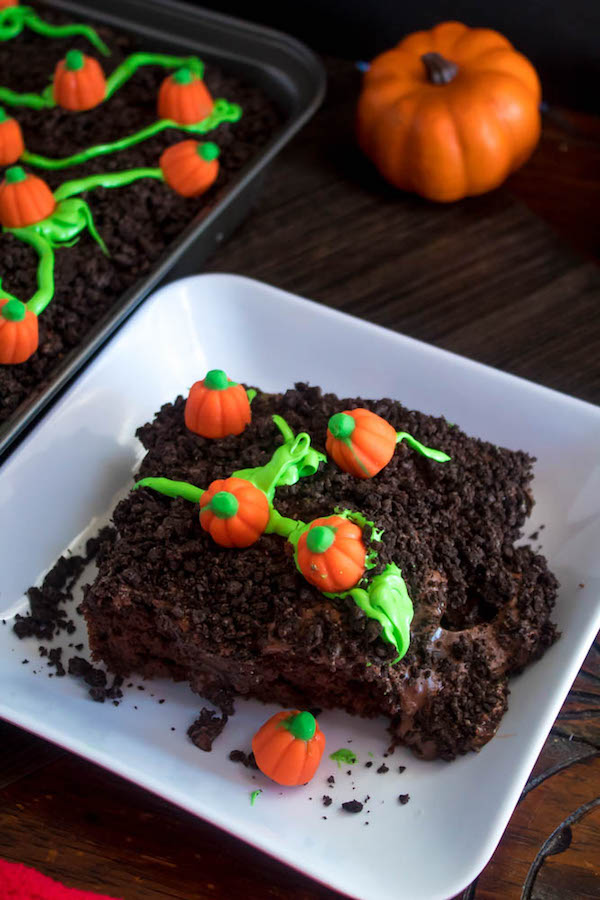
To finish the cake off, I placed these cute little mellowcreme pumpkins on top of the vines.
There you have it! An adorable and delicious pumpkin patch cake your entire family will love. Enjoy!
>>PIN ME FOR LATER<<
Follow Queenslee Appétit
Pinterest | Instagram | Facebook | Twitter |
Let's get baking!
Pumpkin Patch Poke Cake
This Pumpkin Patch Poke Cake is super fun, easy and festive! This cute dessert would be a great treat to serve after Thanksgiving dinner!
Ingredients
Cake:
- 1 box Devils Food Chocolate Cake Mix + ingredients needed for preparation
- 1 and ¼ cup sweetened condensed milk
- 1 cup semisweet chocolate chips
Pumpkin Patch:
- 1 can store bought chocolate frosting
- 2 cups crushed Oreos (about 24 whole Oreos crushed)
- ¾ cup store bought white frosting
- Leaf green gel food colouring (see notes)
- Pumpkin Candies (I used Mellowcreme Pumpkins)
Instructions
For the Cake:
- Bake cake mix in a 9x13 pan according to package directions.
- Remove from oven and immediately poke holes over the top of the cake using a wooden dowel. Allow to cool to room temperature on a wire rack. Then transfer to the refrigerator to cool completely.
- Put chocolate chips and sweetened condensed milk in a medium microwave safe bowl and microwave in 30 second intervals, stirring after each interval until melted and smooth.
- Pour chocolate mixture over the top of the cake, allowing it to fill in the holes.
For the Pumpkin Patch Decoration:
- Spread the chocolate frosting over the top of the cake. Sprinkle the Oreo crumbs over the cake, making sure the frosting is completely covered.
- Tint white frosting with green gel food colouring. Transfer the frosting to a disposable piping bag and snip off a small tip.
- Pipe swirls of frosting on top of the Oreo crumbs to represent vines. Pipe triangle leaves on the vines, then Arrange pumpkin candies on top of the vines. Slice and serve!
Notes
-You can also use a tube of pre-made green decorating icing for the vines and leaves. This way you won't need the green food colouring.
©QUEENSLEE APPÉTIT. All images & content are copyright protected. Please do not use my images without prior permission. If you want to republish this recipe, please re-write the recipe in your own words, or link back to this post for the recipe.
Did you make a recipe? I'd love to see how it turned out! Follow me on Instagram and use the hashtag #queensleeappetit so I can see all of the Queenslee Appétit recipes you've made!
Bon Appétit!
Love, Dedra ❤️
This post may contain affiliate links. Please see my full disclosure policy for details.



Lori
Ooooh, this is perfect for a cake walk booth at our church Harvest Festival on Halloween! Looks adorable and delicious.